
Allowing your caulk to fully dry and cure is key to long-lasting results. But how long does it take for caulk to dry? Learn the factors that affect the process.
Don’t seal your project’s fate—get a flawless finish, instead

Expired silicone caulk is one of the most common reasons your caulk won't dry, as the chemical composition degrades and prevents proper curing.
Low humidity levels slow curing because silicone caulk absorbs moisture from the air to dry, making humid areas like bathrooms ideal for faster drying.
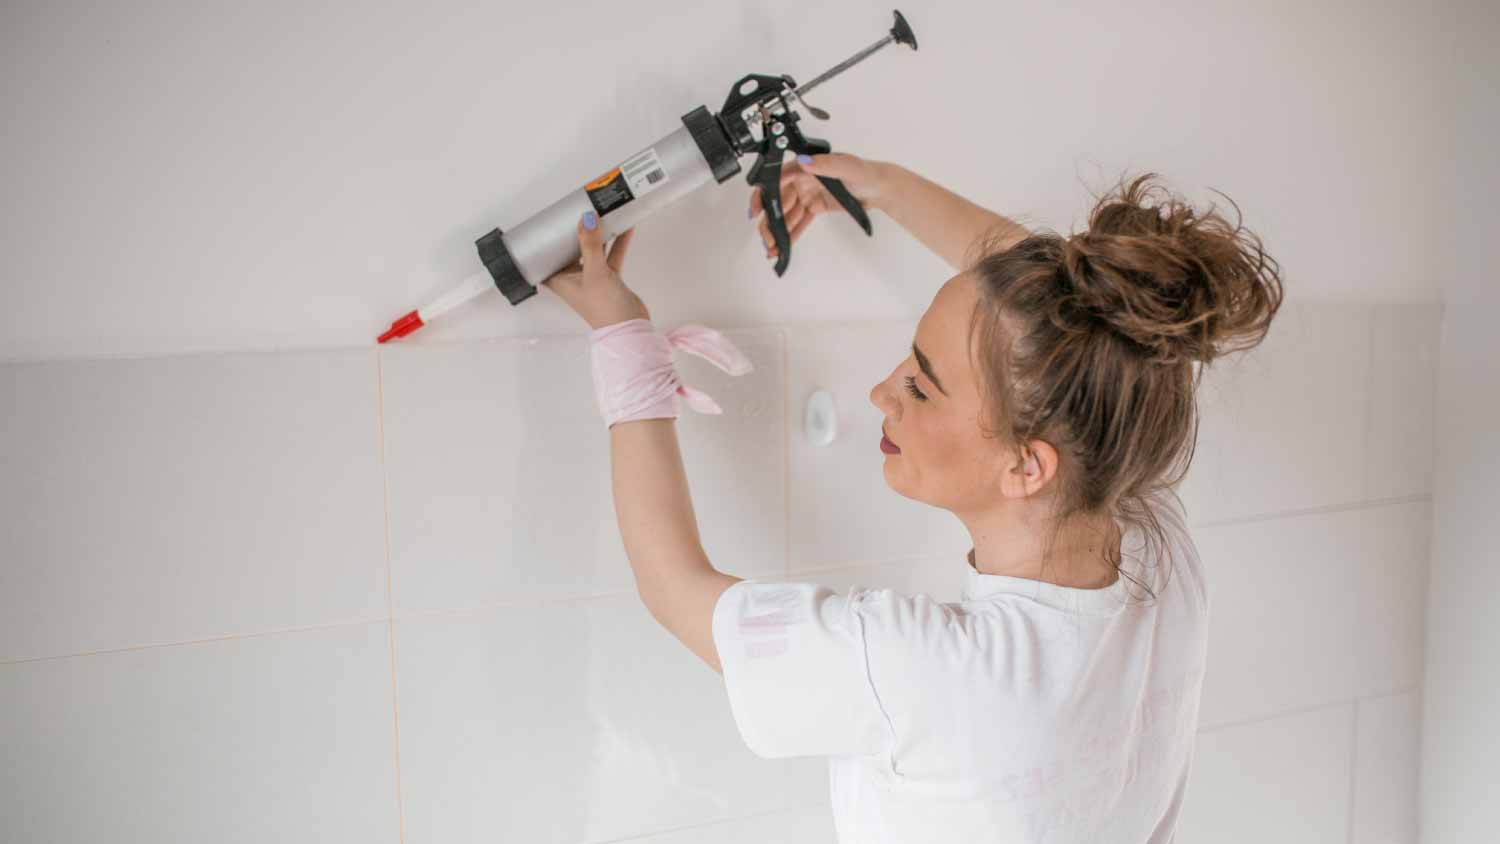
Applying thick caulk beads or smoothing improperly delays drying time, so use a consistent, even bead and smooth it with a caulking tool.
Hiring a local caulking service professional takes the guesswork out of application and ensures your silicone cures properly without frustrating delays or sticky results.
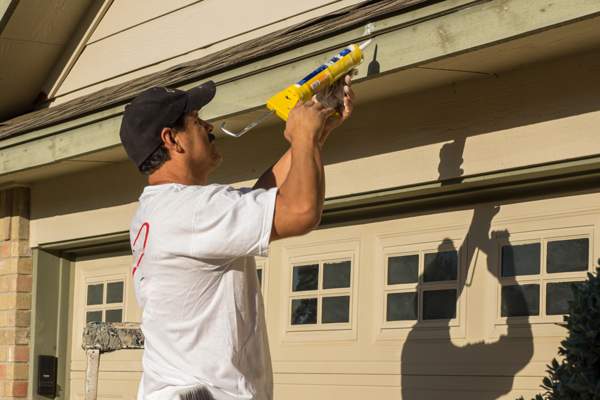
Is your silicone caulk not drying? Silicone caulk is a versatile sealant used in a ton of different home improvement projects, but what happens when it simply refuses to cure properly? This frustrating situation can stall your projects and leave your surfaces looking incomplete. Understanding why your silicone caulk isn’t drying is crucial for addressing the issue and ensuring a successful project moving forward. That’s why we’re going to explore the common reasons behind this problem and how you can fix them.
When taking on this project, expect questions only a pro can answer. With our network of local pros, you'll get the job done and your questions answered—without the hassle and stress of doing it yourself.
One of the most common reasons for silicone caulk not drying is using old caulk. If you're using leftover tubes from a previous project or you accidentally purchased caulk that’s already expired, it will struggle to dry properly. Silicone caulk relies on a chemical reaction with moisture in the air to cure. When the caulk expires, the chemical composition degrades, leaving you with sticky caulk that won’t dry.
Always double-check the expiration date on a tube of caulk before purchasing, and check it again before using it during your next project. If you want to play it safe, hire a pro to caulk for your project since they can ensure a smooth result quickly without any bumps in the process.
While acrylic caulk requires dry conditions to cure, its silicone cousin actually benefits from higher humidity levels. Silicone caulk cures by absorbing moisture from the air, so if the environment is too dry, the curing process will take longer and may remain sticky and soft. This is why silicone caulk is often recommended for caulking showers or around kitchen sinks, where humidity levels are higher.
Temperature is another critical factor that affects the curing of silicone caulk. Most caulks, including acrylic and silicone, require warm temperatures to cure properly. In cooler temperatures, the chemical reactions necessary for curing occur more slowly, leading to extended drying times. Ideally, you want to apply silicone caulk when the temperature is between 40 degrees Fahrenheit (4 degrees Celsius) and 100 degrees Fahrenheit (38 degrees Celsius).
If you can't wait for a temperature change, you may have to use a type of caulk that’s specifically formulated for cold weather. These may have additives that promote curing in cooler conditions.
Poor ventilation can also contribute to silicone caulk not drying. Proper airflow is essential for the evaporation of solvents in the caulk, which is a crucial step in the curing process. Without adequate ventilation, these solvents can become trapped, causing the caulk to remain soft and sticky.
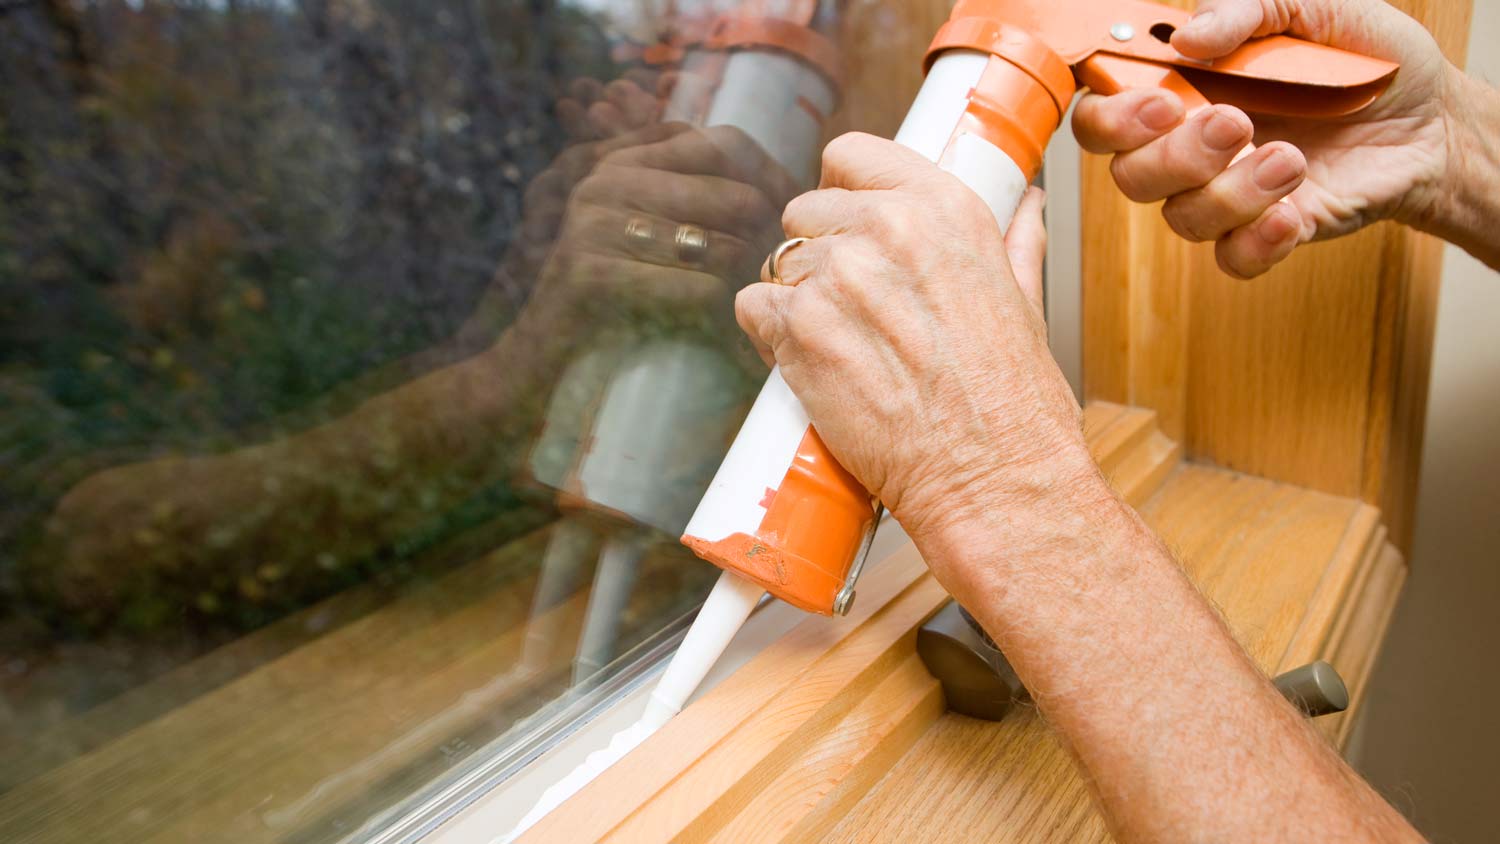
Poor application techniques can also affect the drying of silicone caulk. Applying beads that are too thick and smoothing the caulk incorrectly can all contribute to curing problems. Thick beads of caulk take longer to dry because the outer surface cures first, trapping solvents inside and delaying the overall curing process.
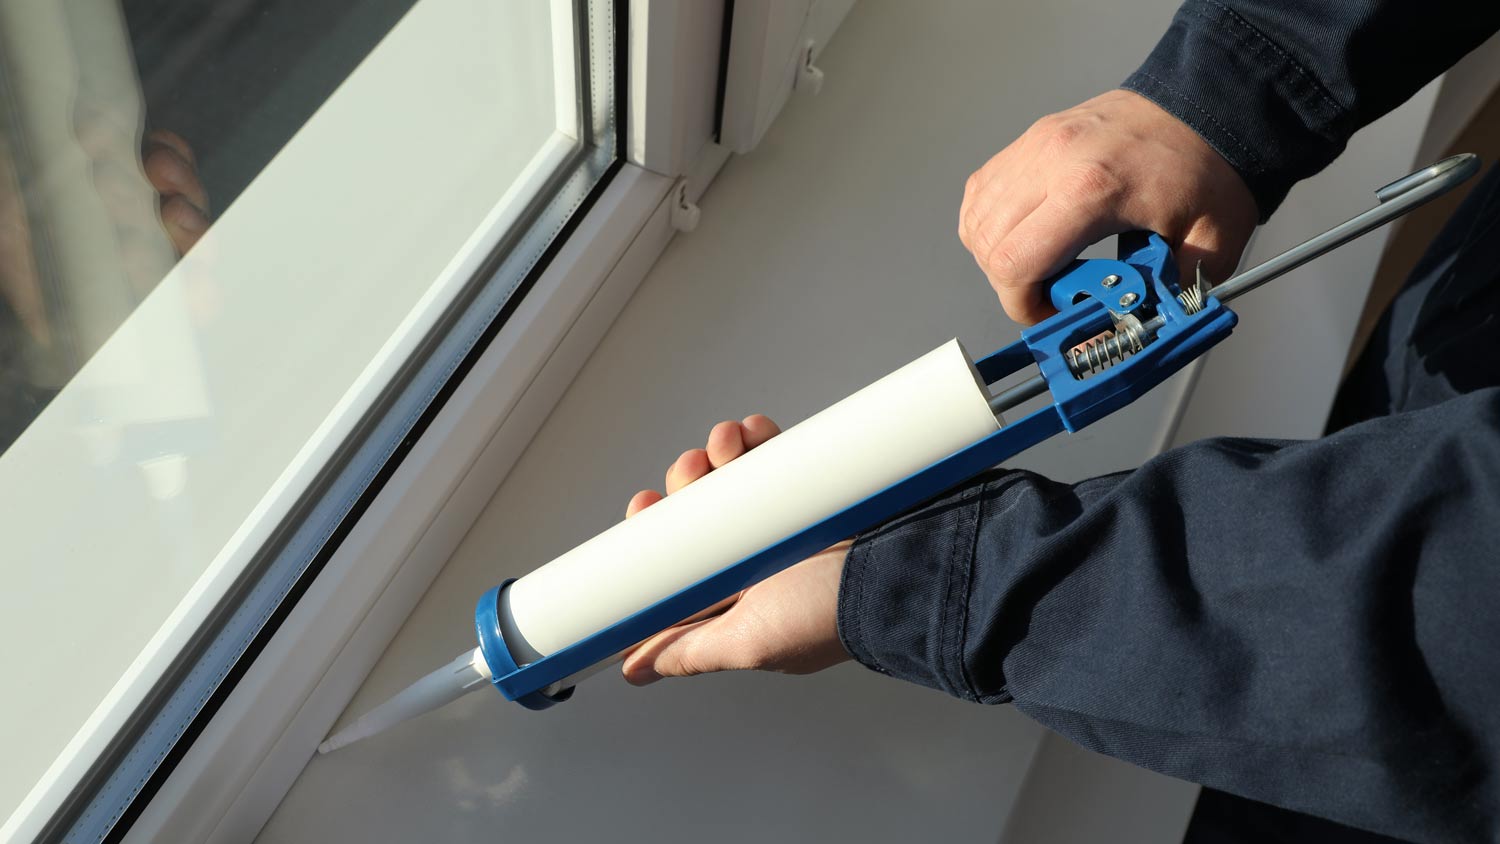
To ensure proper curing, apply a consistent, even bead of caulk by using a caulking gun, and work it in smoothly with a caulking tool or your finger. This will help remove any excess material and promote faster drying. Also, make sure to follow the manufacturer's instructions regarding the recommended bead size and application techniques.
Most caulk guns have a built-in tool to cut the tip of the caulk tube. Look for a hole on the handle. If there is one, you can stick the tip of the tube in the hole at an angle and squeeze the trigger to cut it open.

The condition of the surface where you’re applying caulk can also impact caulk’s drying time. Applying caulk to a dirty, oily, or wet surface can lead to poor adhesion and much slower curing times. Silicone caulk requires a clean, dry surface to adhere properly.
Before applying silicone caulk, thoroughly clean the surface with soap and water or a mild cleaning agent. Remove any grease, dust, or debris, and ensure the area is completely dry. Additionally, some surfaces may not be compatible with silicone caulk, like some plastics and oily wood. In these cases, consider using a different type of caulk or adhesive that’s better suited for the material.
Under optimal conditions, silicone caulk takes 24 to 48 hours to dry and fully cure. However, silicone caulk’s drying time is impacted by temperature, humidity, surface quality, and the thickness of the caulk bead. While the caulk may feel dry to the touch within a few hours, you should still allow sufficient time for it to cure completely before exposing it to water or doing other tasks near the fresh caulk.
To ensure that your silicone caulk is fully cured, follow the manufacturer's recommendations regarding drying times and conditions. Be patient and avoid rushing the process because premature exposure to water or pressure can compromise the integrity of the seal.
If you've identified one or more reasons why your silicone caulk is not drying, there are steps you can take to correct the problem. Here are some tips to help you fix the issue:
Check the expiration date: If you're using expired caulk, replace it with a fresh tube. Always check the expiration date before purchasing or using caulk.
Adjust humidity levels: If the humidity is too low, increase moisture in the air by using a humidifier or misting the caulk with water. Don’t overdo it, though. Excessive moisture can cause other problems.
Warm up the space: If temperatures are too cool, use a space heater to warm the area or wait for warmer weather. Consider using cold-weather caulk if necessary.
Improve ventilation: Ensure proper airflow by opening windows and doors or using fans to increase air circulation. Use an exhaust fan in confined spaces.
Reapply with proper technique: If you made an error during your first (or second) time DIY caulking, remove the existing caulk and reapply it with consistent, even beads. Use a caulking tool to smooth and work the caulk properly.
Prepare surfaces thoroughly: Clean and dry the surface before applying caulk. Make sure the caulk and the material you’re caulking actually work together.
If these steps don’t resolve the issue, it may be time to call a local caulking pro. A professional can assess the situation, recommend appropriate solutions, and ensure your silicone caulk has a clean, dry, and effective finish.
Flawless finish and exceptional service. Custom Paint Jobs LLC is the only choice for me.
Visited my home for estimate same day that I called. Painted on Saturday. Great job. Good price!
Window Depot did an amazing job on my deck. I wasnt sure what I wanted to do, but their composite decking was affordable and will last a long time. I am excited to have family over, and I am no longer embarrassed by my backyard. Jeff and the ground crew were polite, respectful, and caring for...
The guys did an outstanding job and we had a great experience with CarifaTile. I appreciated that Joe reviewed the quotes with me and set expectations prior to the install. The crews showed up as scheduled and always left the areas clean upon leaving the house. We will definitely use...
 CarifaTile
Beginning with the estimate, Larry and Peyton were super helpful in getting my new condo's interior re-painted. Not only was the job well done, but also done in a super timely manner as promised.
 Five Star Painting of Plain City and Powell
BJ Trim Carpentry rescued me in the middle of a do-it-yourself project. I found I needed more expertise than I had...and more TOOLS! BJ Trim Carpentry responded quickly and completed what I needed expertly, politely and with a little humor!
This brownstone is historical and the carpentry work is very detailed. I was very happy to secure a company in NY and living in OH to complete the request. Wood work on this brownstone has been existing since approximately 1888 and West side did a GREAT JOB. I will not be able to...
 Westside Home Improvement
We had a great experience with Mark Rodgers Construction. We were in the process of seeking out estimates for possible foundation work for our front porch. Mark came out himself to provide the estimate. Turned out that the company deals mainly with concrete, so we wouldn't be getting an...
Overall this experience was incredible! I looked on Angies List for a cleaning service because I was planning a holiday party and wanted to make sure we found a reliable, thorough and efficient cleaning service to make sure everything was perfect for the party since we had co-workers and...
From beginning to end our experience with Joe was very good. He was professional and prompt in his estimate for the job and worked hard to meet our schedule so that he could remove our old backsplash the day before our new countertops were removed and return shortly after they were removed to...
From average costs to expert advice, get all the answers you need to get your job done.
Allowing your caulk to fully dry and cure is key to long-lasting results. But how long does it take for caulk to dry? Learn the factors that affect the process.
Discover the key differences between acrylic versus silicone caulk to choose the right sealant for your next DIY project.
Discover the key differences between caulk versus silicone. We discuss the pros and cons and when to use each for the best results in your DIY projects.

The best caulk for windows will be different depending on many factors, but we’ve gathered some of the top options for every possible need right here.

Caulk can be made with different materials that are suited to different types of projects. Discover the key differences between latex versus silicone caulk.

Discover the best methods for how to clean silicone caulk and prevent mold. Keep your bathroom and kitchen spotless with our expert cleaning tips.