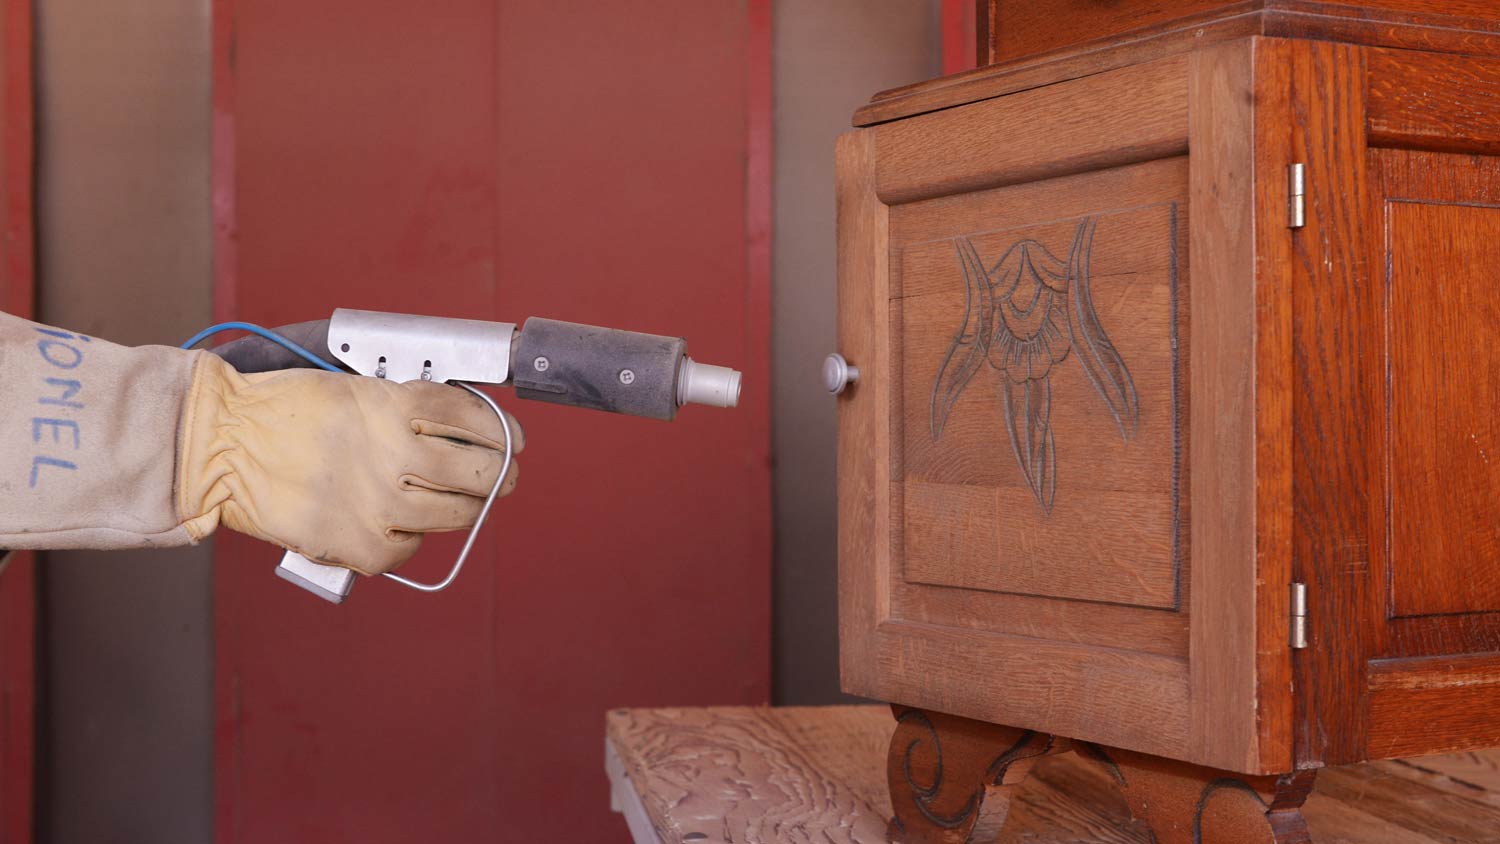
Sandblasting is a powerful method to remove paint, primer, and other coatings from hard surfaces. Learn the cost to rent a sandblaster and the factors involved.
Let’s get down to the nitty gritty

Sandpaper types for walls include fine grit sandpaper ranging from #100 to #220, ideal for smoothing surfaces and removing textured paint on drywall.
Aluminum oxide sandpaper is versatile and works well for your woodworking projects, while garnet is best for finishing wood and silicon carbide handles wet sanding.
Start with coarse grit sandpaper to remove material or old finishes, then move to finer grits for each subsequent run to achieve a smooth surface.
Hiring a local woodworking professional provides reliable guidance on selecting the right sanding tools and techniques, helping you achieve professional results for your project.
Sandpaper is a versatile tool, and can be used from the beginning of a project to its completion. However, choosing a sandpaper that is too rough can take off too much material, whereas a sandpaper that’s too fine won’t produce the desired effect. Use this guide to learn and how to choose the right sandpaper grit to find the best option for your project.
First things first, it’s important to understand what the grit number on sandpaper means. The grit size refers to the number of particles that make up the sandpaper This is determined by the amount of particles that fit through the filter or screen during the manufacturing process.
The most coarse sandpapers are assigned the lowest numbers. As the grit number increases, the level of abrasion decreases. Extra coarse sandpaper, used for commercial jobs, can be found as low as #12 grit, and extremely fine grits range from #800 to #1,200 grit. However, most DIY projects will fall somewhere between #60 to #220 grit.
Pro tip: Many projects will require multiple grits of sandpaper to get the best results, starting with the most coarse for the first run moving to a finer grit in each subsequent run.
Learn about the different sandpaper grit ranges to pick the right one for your project.
Best for: Heavy duty projects and removing material
Extra coarse sandpaper ranges from #24 to #36 grit. This is the most abrasive type and works well for heavy duty projects and tough jobs, such as:
Industrial sanding jobs
Shaping wood
Removing rust
Sanding old hardwood floors
Removing caked on paint or varnish
Take extra care when choosing this type of coarse grit, as it can damage the surface if this level isn’t absolutely necessary.
Best for: Removing material or paint
Coarse sandpaper typically falls between #40 to #50 grit, and it is strong enough to use on tougher jobs, such as:
Shaping wood
Removing paint
Removing finishes, such as varnish or polyurethane
Quickly removing material
Best for: Removing material and preparing surfaces
Medium coarseness sandpaper ranges from #60 to #80 grit and is a versatile option for various projects, such as:
Removing planning marks
Removing paint
Gently removing various finishes, such as varnish or polyurethane
Taking out flaws in the wood
Preparing bare wood for finishing
Sanding between runs during hardwood floor refinishing
Best for: Smoothing and preparing surfaces
Finer grits range from #100 to #120 grit and are typically used for the smoothing portion of a project, or for preparing wood for painting or staining. Here are a few examples:
Preparing wood for finishing
Removing stains on wood
Removing scratches in wood
Smoothing surfaces
Removing textured paint on drywall
Best for: Finishing and touch ups
Extra fine sandpaper ranges from #150 to #220 grit. It is most often used as one of the final steps in a sanding project, and rarely used as a first run. Here are a few instances when you might choose a very fine grit:
Removing finishing scuffs
Removing wood grain fibers
Second and third wood sanding jobs
To rough up semi-gloss or high gloss paint before applying another coat
Best for: Polishing and smoothing
Ultra-fine grit is the least abrasive type of sandpaper and has specific uses, such as:
Polishing jobs
Final wood finishing
Sanding between coats of finish
Ultra-fine sandpaper can also be used to wet sand, which is a process when liquid is added to sandpaper to serve as a lubricant. This provides an extra-smooth finish, and it is usually done after dry sanding.
Sandpaper isn’t actually made from sand, as it is actually composed of a certain type of abrasive material. There are different abrasive grain materials that can make a difference on the overall outcome of your project. Here are some of the most common abrasive grains and their specific properties so you can select the best one for the job.
Aluminum oxide: This is one of the most versatile abrasive grain materials, and it is durable and more cost-effective to produce than other types. Aluminum oxide works best for a wide variety of home improvement projects, and can be used on different surfaces, such as wood, metal, and painted materials.
Garnet: Garnet is a naturally occurring mineral that can be used to make sandpaper sheets. It is most commonly used for woodworking projects, such as sanding wood, polishing, and finishing wood.
Silicon carbide: Silicon carbide is a common sandpaper material choice, and it works well on both wood and metal rough surfaces. Moreover, this abrasive grain can be used for wet sanding projects, like polishing various types of stone.
Ceramic: Ceramic sandpaper is one of the hardest and most durable abrasive grain types, but it comes with a higher price tag. It is typically used for rough sanding in conjunction with a power sander to tackle heavy duty projects.
Zirconia alumina: This type of sandpaper is more coarse than other options, but it’s not as budget-friendly. It’s typically used for heavier projects, such as sanding metal or raw wood.

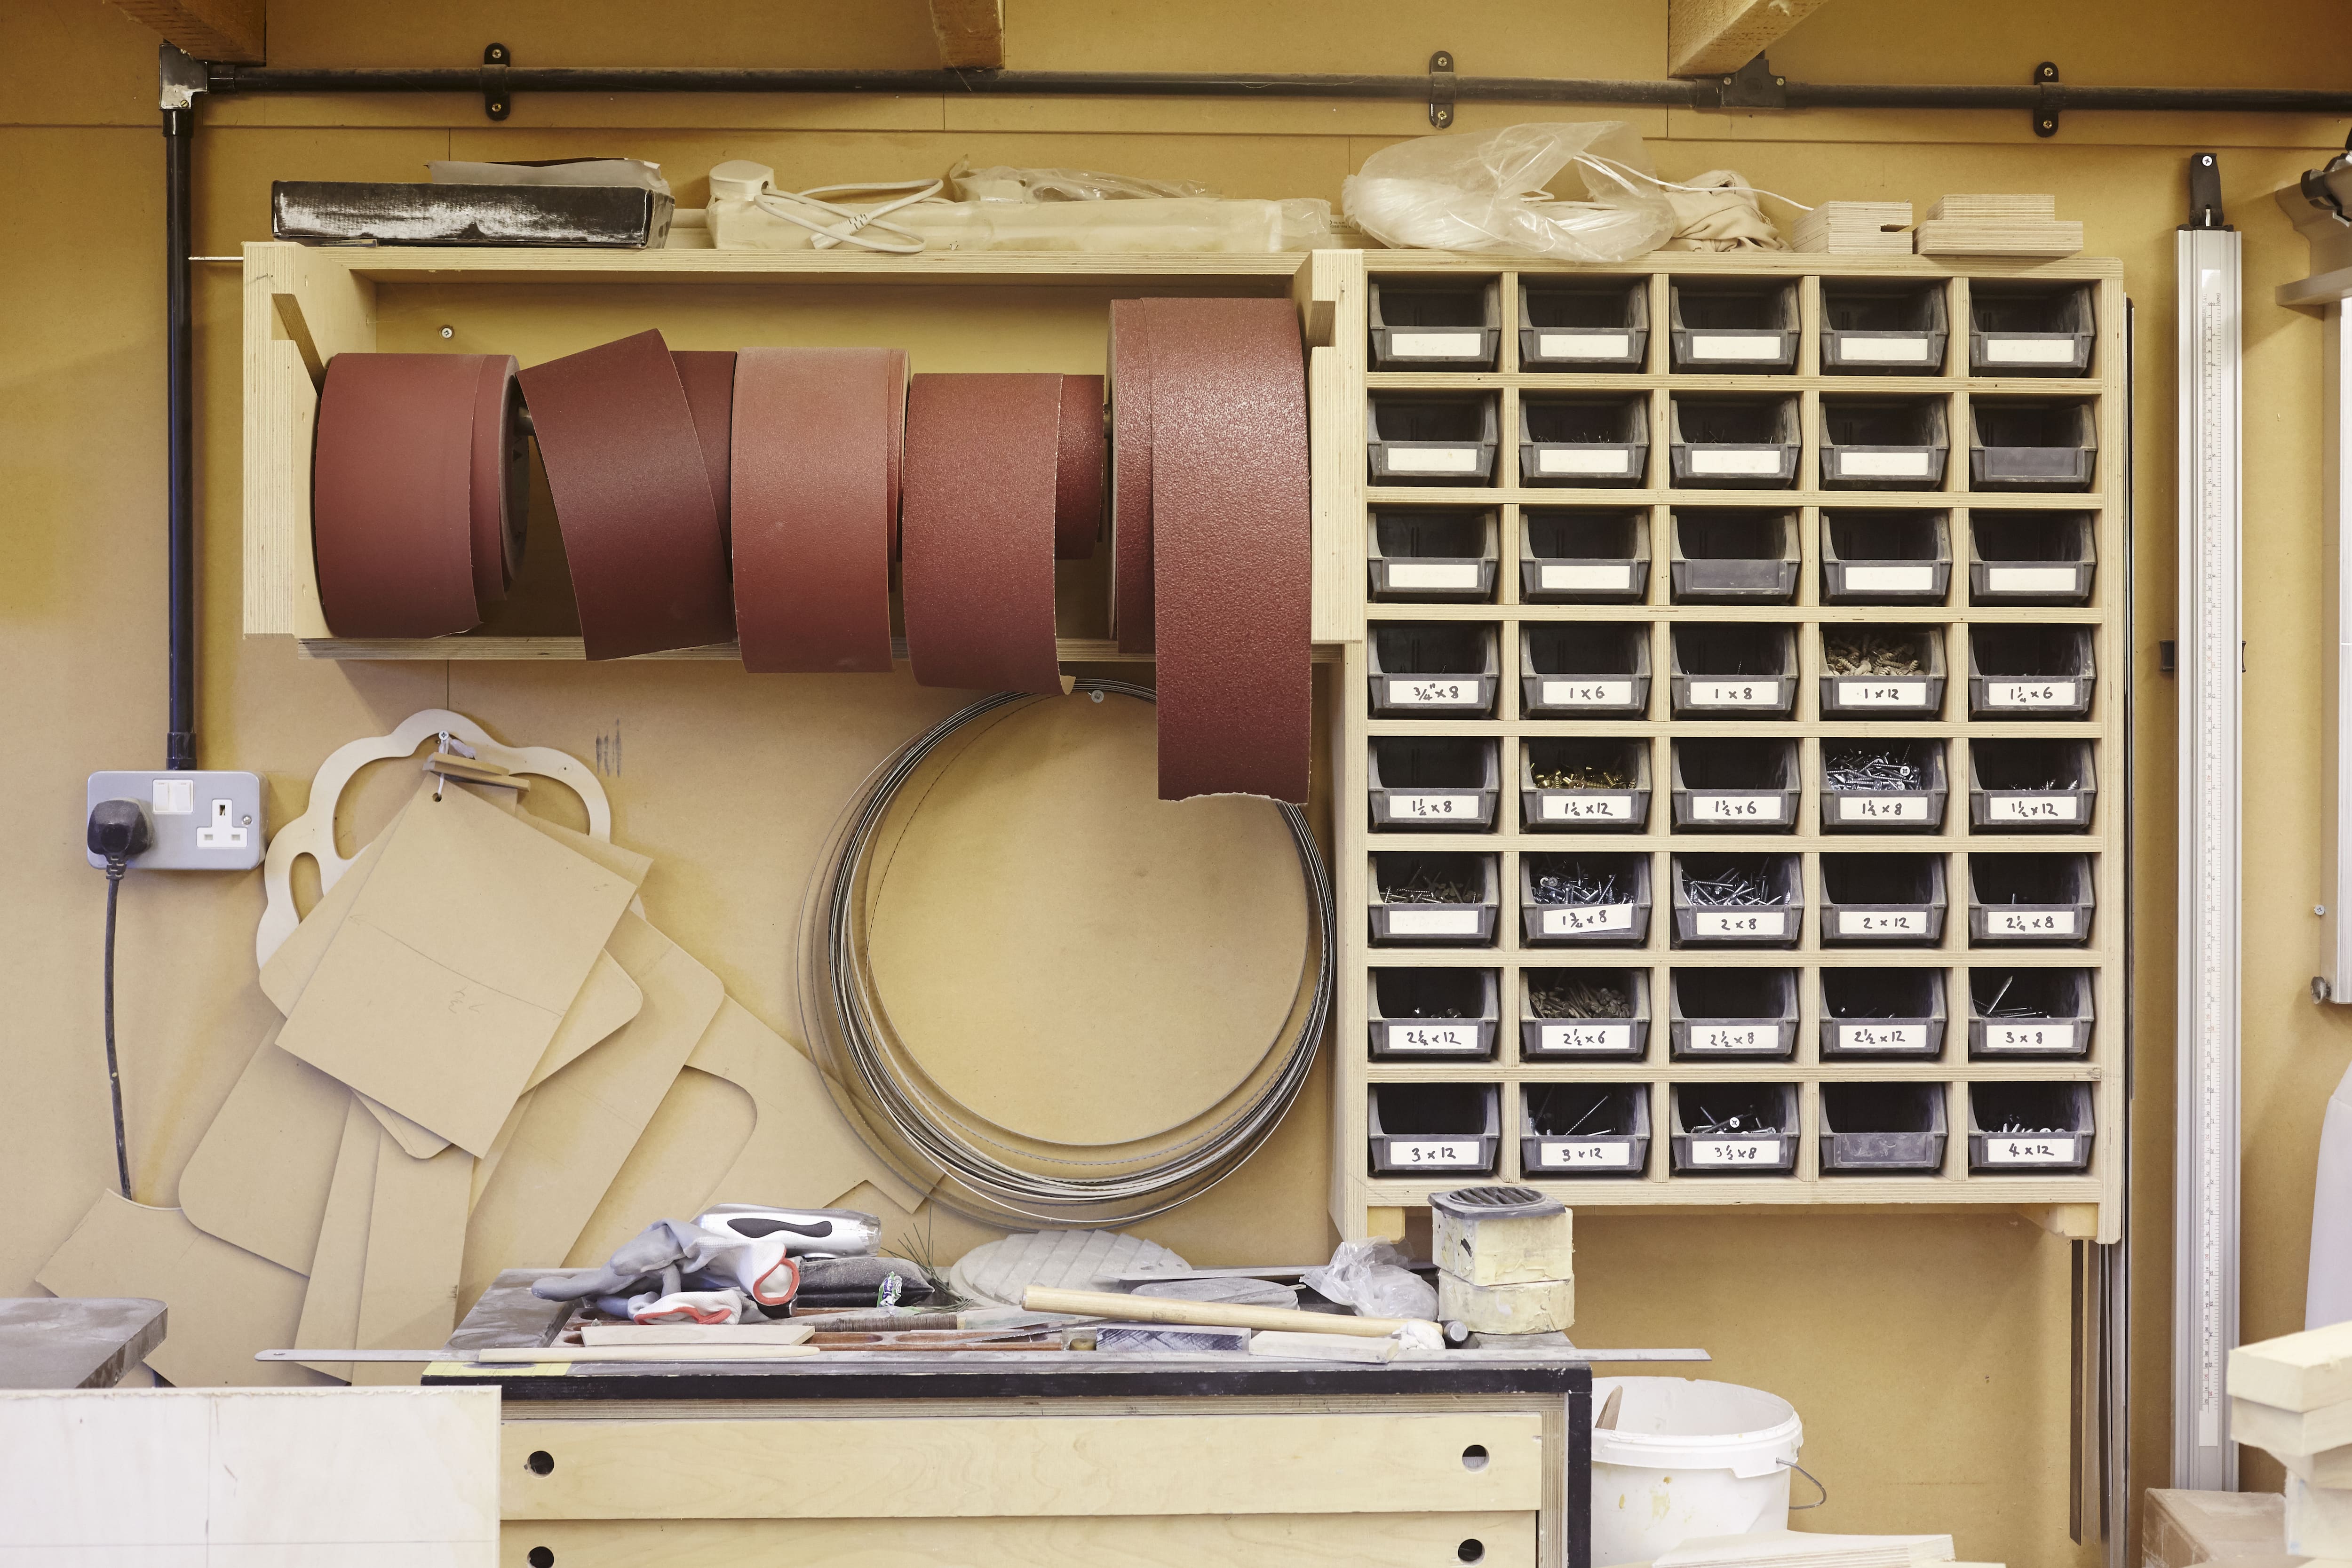
Keep in mind that the tool you’re using can dictate the type of sandpaper you purchase. For example, power tools, such as orbital sanders or belt sanders, require a specific sandpaper shape. While you can manually use just the piece of sandpaper, here are some sanding tools that can make the project easier:
Sanding block: A sanding block, also known as a sanding sponge, is a simple, manual tool that works as a base to the sandpaper. They come in various sizes, and you can use different types of grit, depending on the project you’re working on.
Palm sander: A palm sander, sometimes called a hand sander, is a small device made to easily fit in the palm of your hand. They are the lightest strength power sander, and are typically used with #160–#220 grit sandpaper, ideal for polishing and finishing projects.
Orbital sander: Orbital sanders are bigger and more powerful than palm sanders, and are circular in shape. They are used with #80–#160 grit for projects, such as removing paint and varnish, or prepping wood for paint (without removing a lot of material). Keep in mind that because of their shape, they will need a specific sandpaper disc to fit the tool.
Detail sander: A detail sander is similar to an orbital sander, but it is triangular in shape, usually on the smaller side. They work well for getting into corners and small crevices.
Belt sander: You can find two different types of sanding belts—handheld and tabletop. Both work by removing material from a given surface with a rotating band, but a tabletop sander is better for larger objects. Take care when using this type of power sander to avoid leaving unwanted gauges or notches in the pieces.
Disc sander: This is a powerful sander that works like a tabletop belt sander by quickly removing material from larger surfaces. However, a disc sander produces a smoother finish compared to a belt sander.
Pole sander: This is a manual type of sander, using a clamp attached to a pole, so you can sand in an upright position. This type of sander is most commonly used for sanding walls, ceilings, and floors.
Incredible workers! Very skilled with the machinery, climbing, cutting, roping, and removal. Handled everything. Professionals!
 Hoffman Expert Tree Services
I m so impressed with Custom Paint Jobs LLC s craftsmanship. They truly care about quality.
Storms Mobile Welding was great to work with. They were prompt, professional and did an overall excellent job on the project. I highly recommend.
Excellent choices and quality of materials. Workmen were very efficient and took their work very seriously. Pride of workmanship and cleaned up beautifully at end of job. Would recommend this company highly.
Great job...edging and pre clean up went well with a great job with seal coat. Friendly, efficient and professional.
 All Star Paving and Sealing
Great tree company, very professional and honest. Glad we found them, they had the best pricing
It was wonderful working with Yordy and his team. They were very professional and are experts in what they do. They have completed the work on time, with better quality and with in fairly reasonable price. We just started with backsplash work , but liking his work, we went on to provide...
We hired Jim to replace our hardwood floors with new hardwood. He and his helper Jerry did a fantastic job. Their work ethic is impeccable!! We would highly recommend McColl Floors!
The job went extremely well. Work was done as promised and the job came out better than expected due to Mr. Moyer's commitment to excellence and personal pride in providing the best work possible. He is one of those professionals who is not satisfied until the customer is completely happy...
 Pro Flooring
We needed to have a wall cabinet resized so that we could fit a larger refrigerator underneath. I removed the cabinet from the wall myself and brought it in, where Wally was able to resize it for me in his shop. The results were perfect: it's exactly the size that I asked for, and...
 Pioneer Woodworks
From average costs to expert advice, get all the answers you need to get your job done.
Sandblasting is a powerful method to remove paint, primer, and other coatings from hard surfaces. Learn the cost to rent a sandblaster and the factors involved.
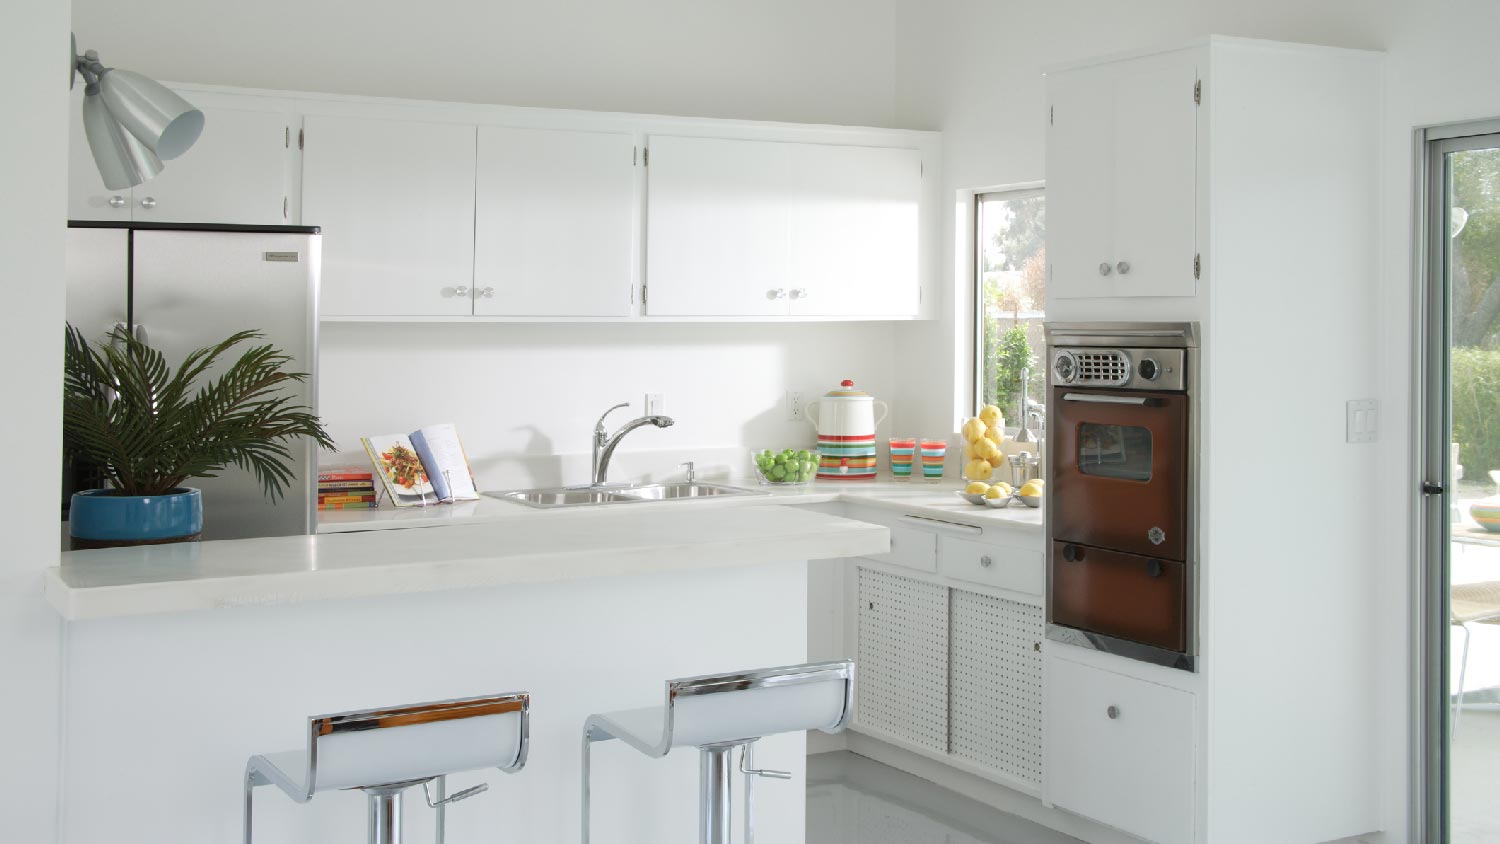
If you are wondering how to sand cabinets for painting, there are several ways to do it. We share the most effective sanding methods.

When looking to alter a room's appearance, you may ask: Can you sand texture on a painted wall? You can, but there are some key things to know.
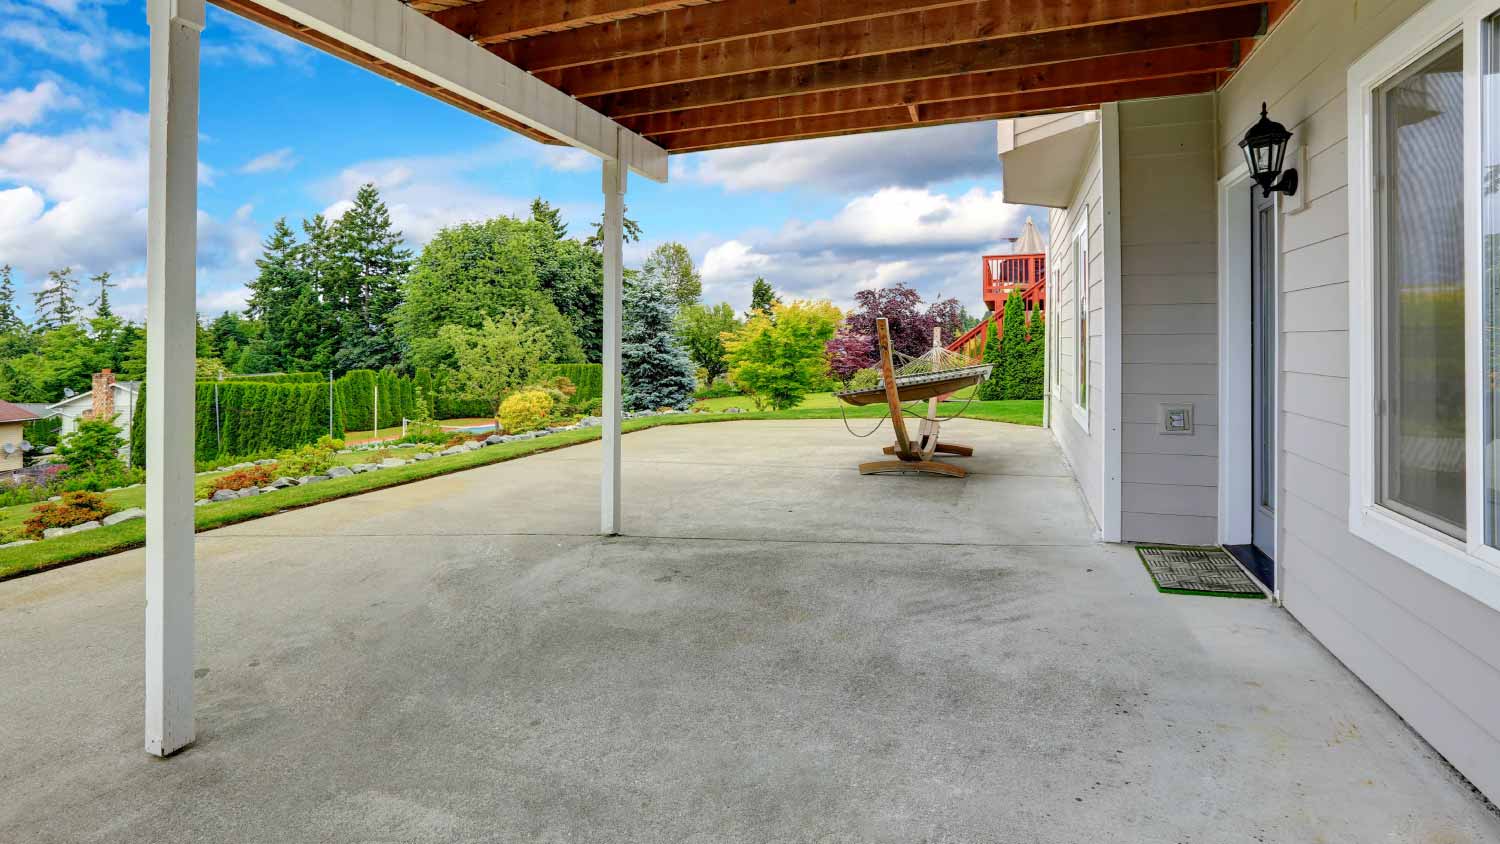
Does your rough concrete need some TLC? Learn how to sand concrete to smooth out holes, chips, and other imperfections to get your concrete looking brand new.
Dull marble floors got you down? This simple guide on how to polish marble floors can revive your floors to a flawless shine.
Unsure who to hire for hardwood floor refinishing? A professional floor refinisher is the answer. They provide guaranteed results and save you time and energy.