
Installing solar roofing shingles can help you save on energy costs. Our expert guide breaks down the cost of solar shingles for your roof.
Bolster your roofing knowledge in a flash


There are nine different types of roof flashing, all of which are integral parts of your roof anatomy and help protect your home from water damage by keeping rain and snow outside where it belongs. Each roof flashing type serves a different purpose and protects a specific part of your roof system.
Understanding what roof flashing is and how it functions together with underlayment and roofing material should paint a picture of how your entire roof protects your home from the elements. This guide will help you know what to expect when you call a roofer near you for your next project.
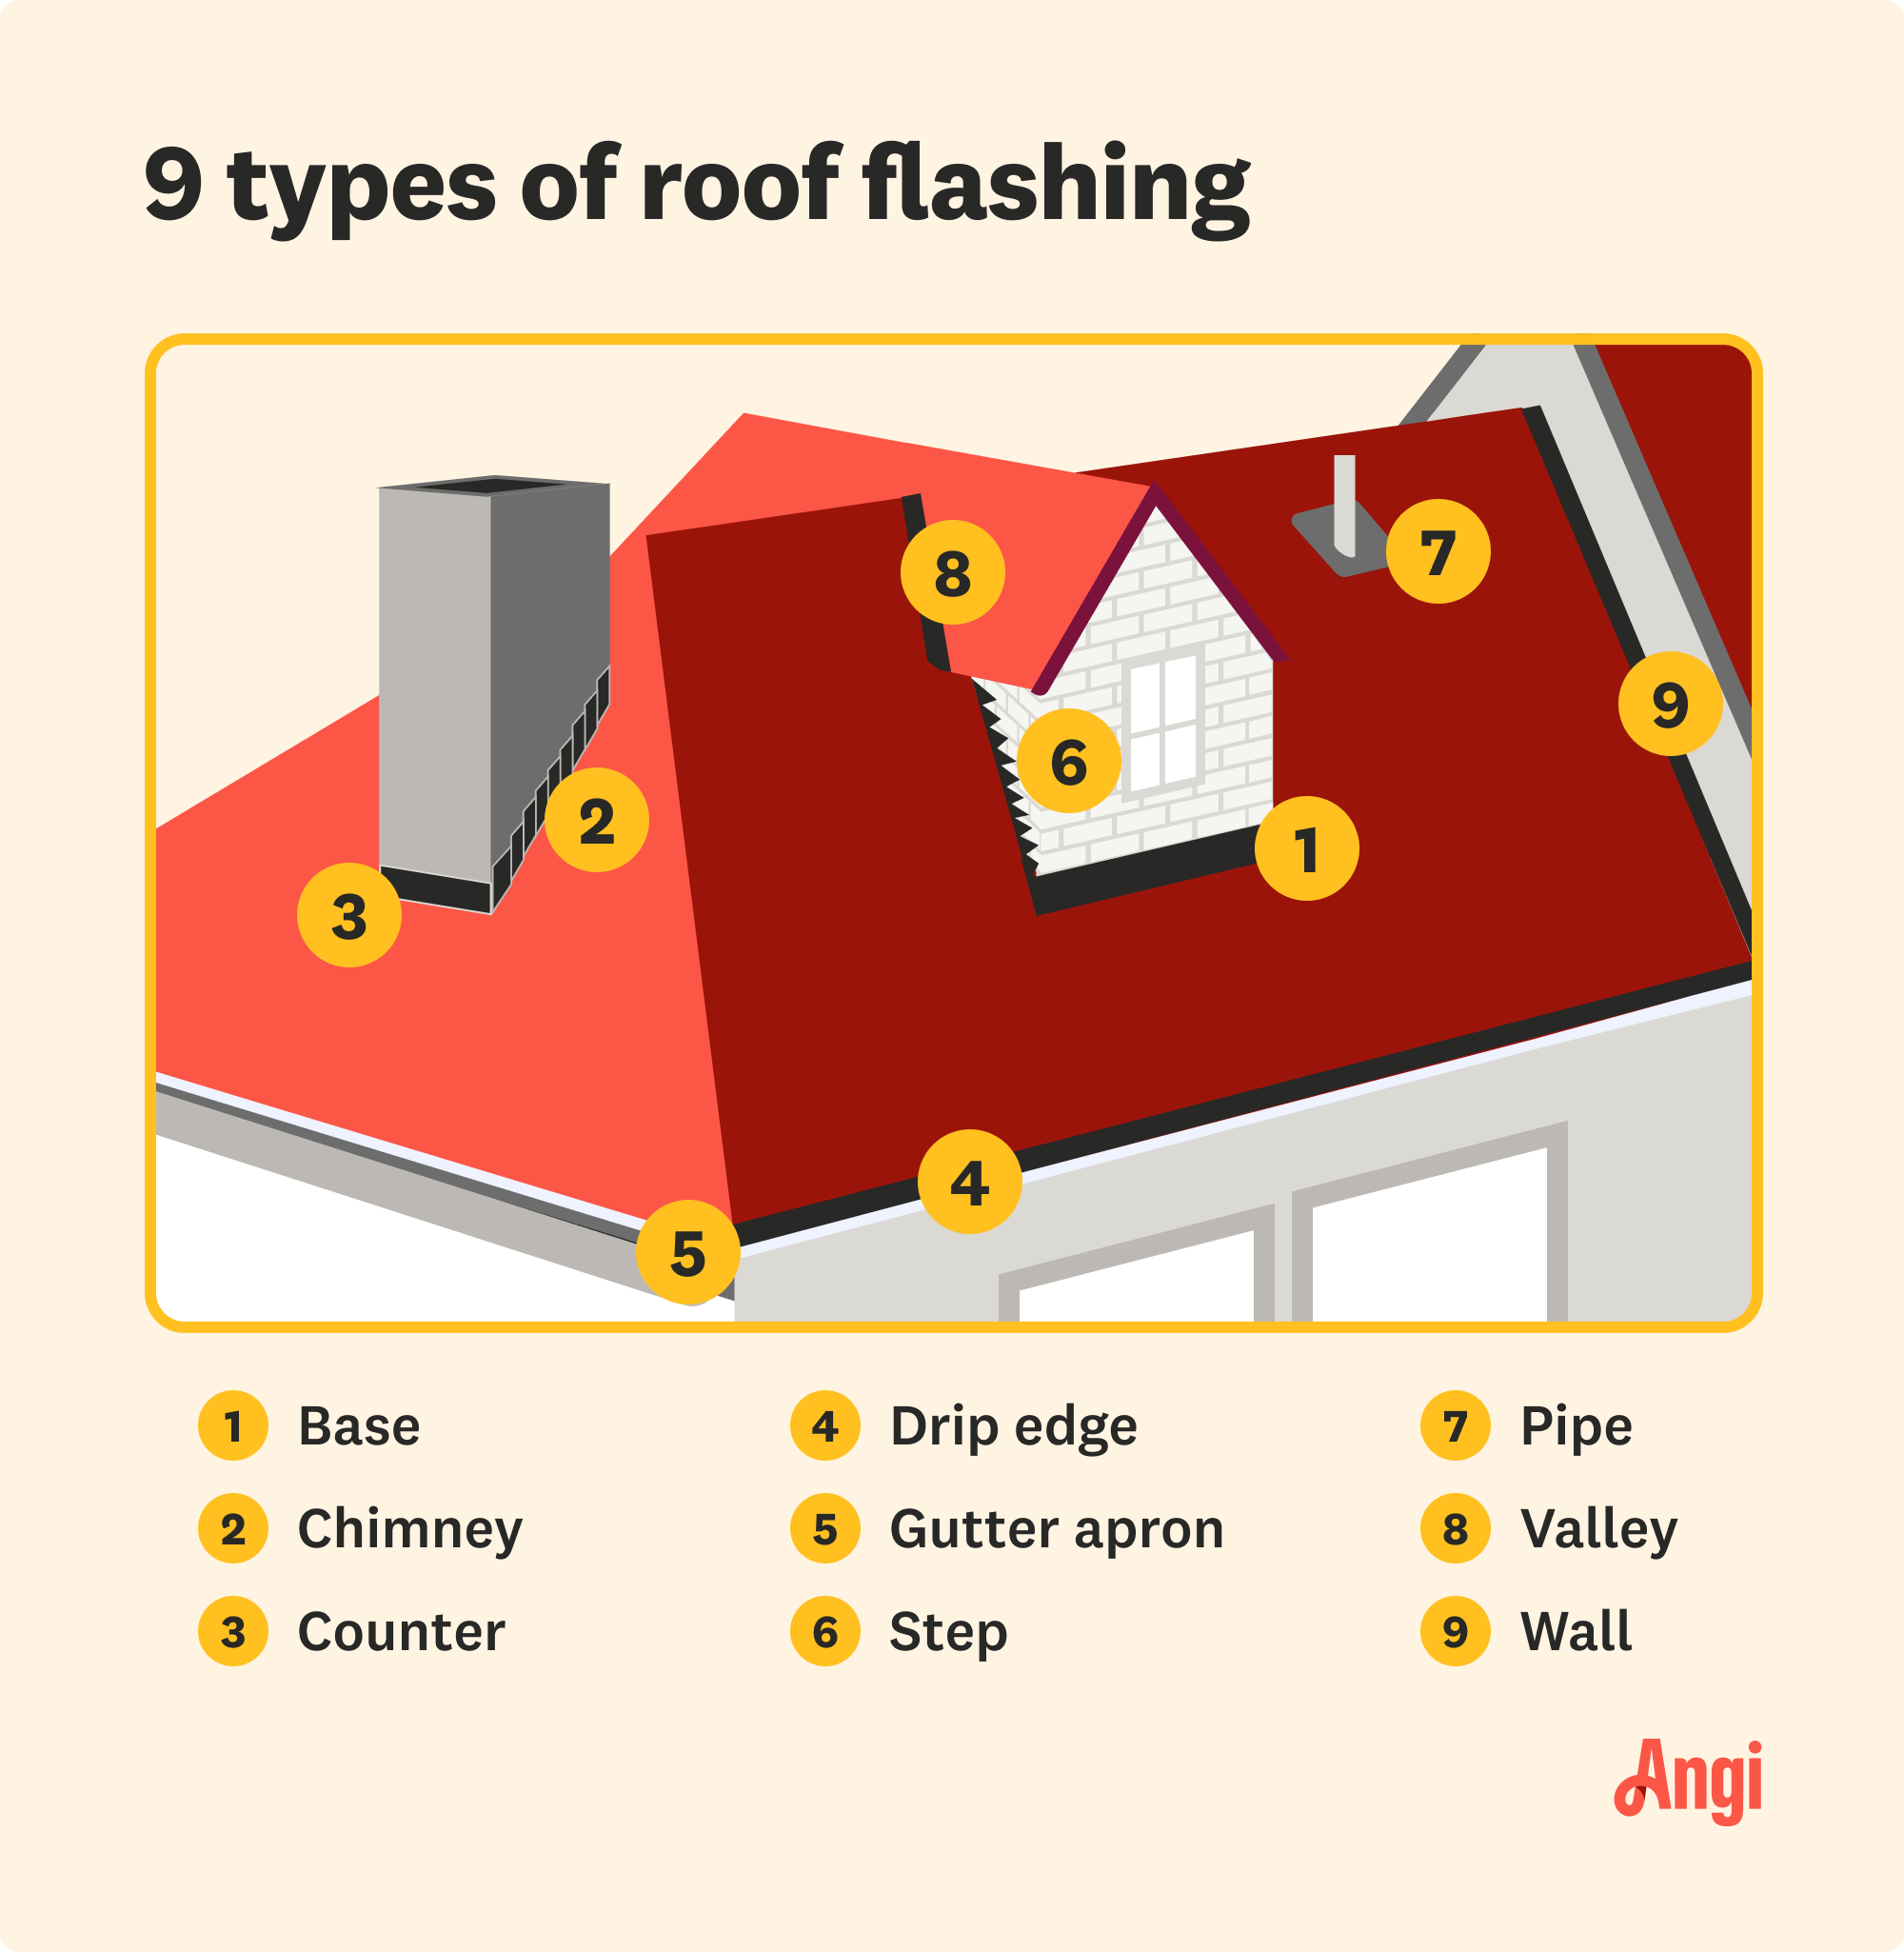
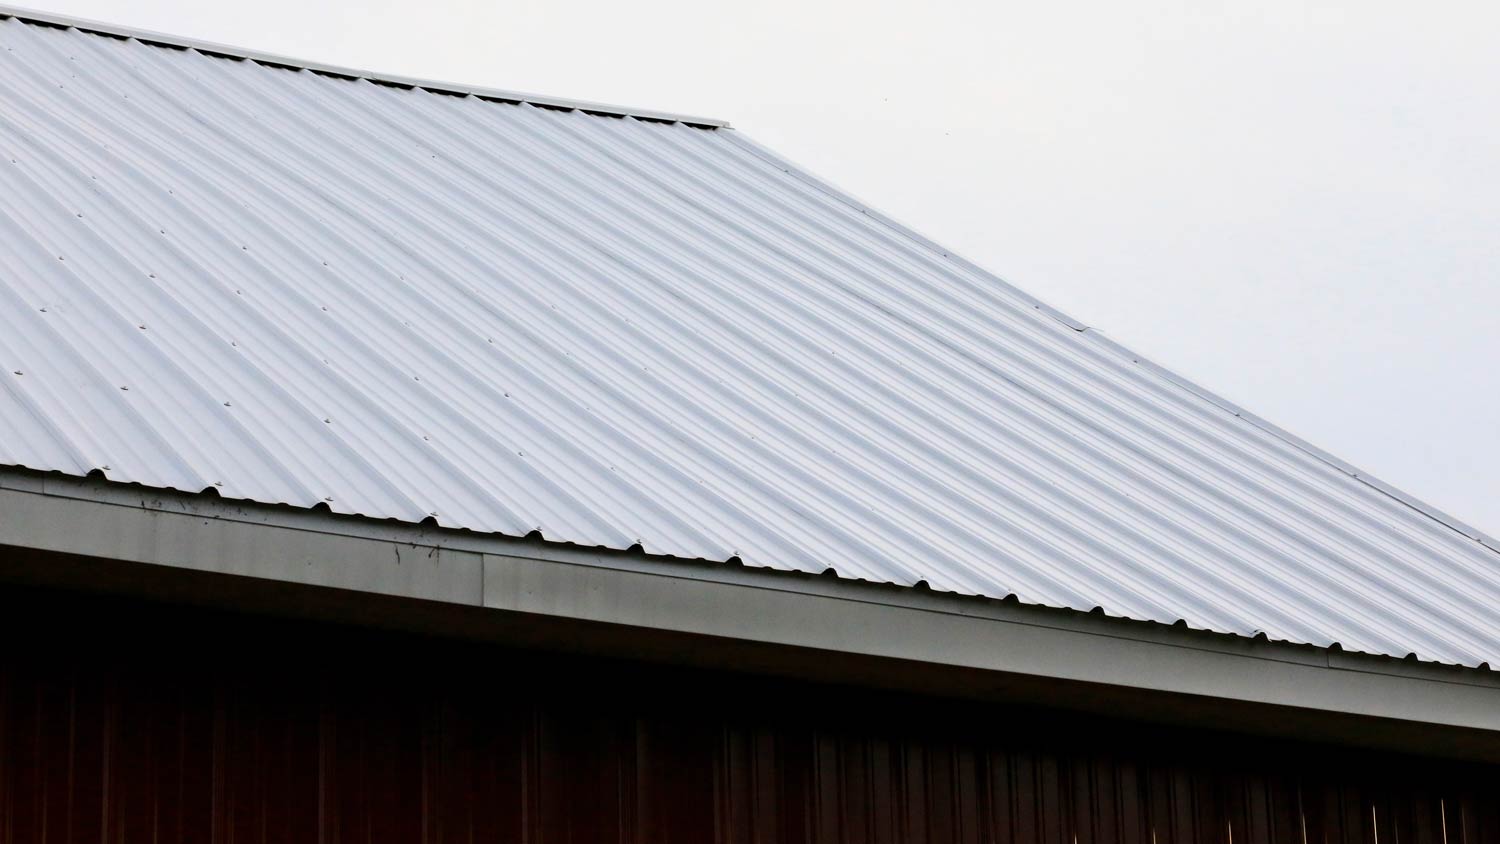
Base flashing sits at the intersection between vertical walls and different roofing materials, like at the front base of a doghouse dormer. The flashing is bent so that the top half can sit behind the siding on the vertical wall and under the roofing material on the roof. Base flashing redirects any water that would otherwise leak between the siding and under the roofing material to the underlayment or the next layer of roof shingles for safe disposal.
Best for: Where vertical walls, including chimneys, intersect with sections of the roof
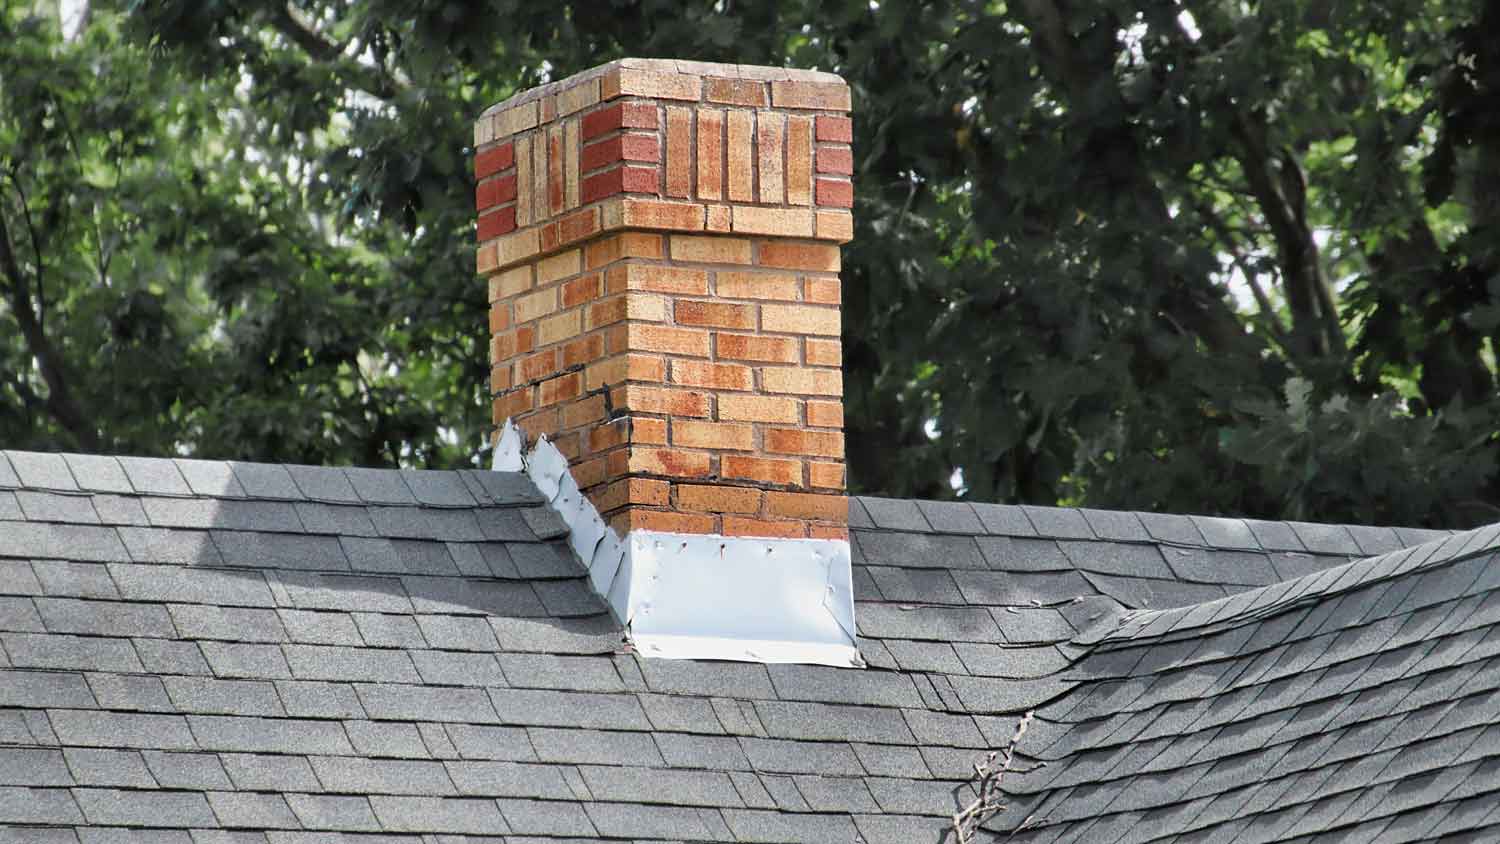
As the name suggests, chimney flashing sits around the base of a chimney and prevents water from leaking through the gap between the roof deck and the masonry. Chimney flashing often includes multiple other roof flashing types, with a common combination being base flashing and counter flashing. This allows water running down the chimney to drip over the counter flashing and down onto the base flashing for disposal.
Chimney flashing costs more than most other types because it’s more labor intensive and often requires two different types of flashing for adequate protection.
Best for: Protection around the base of a chimney
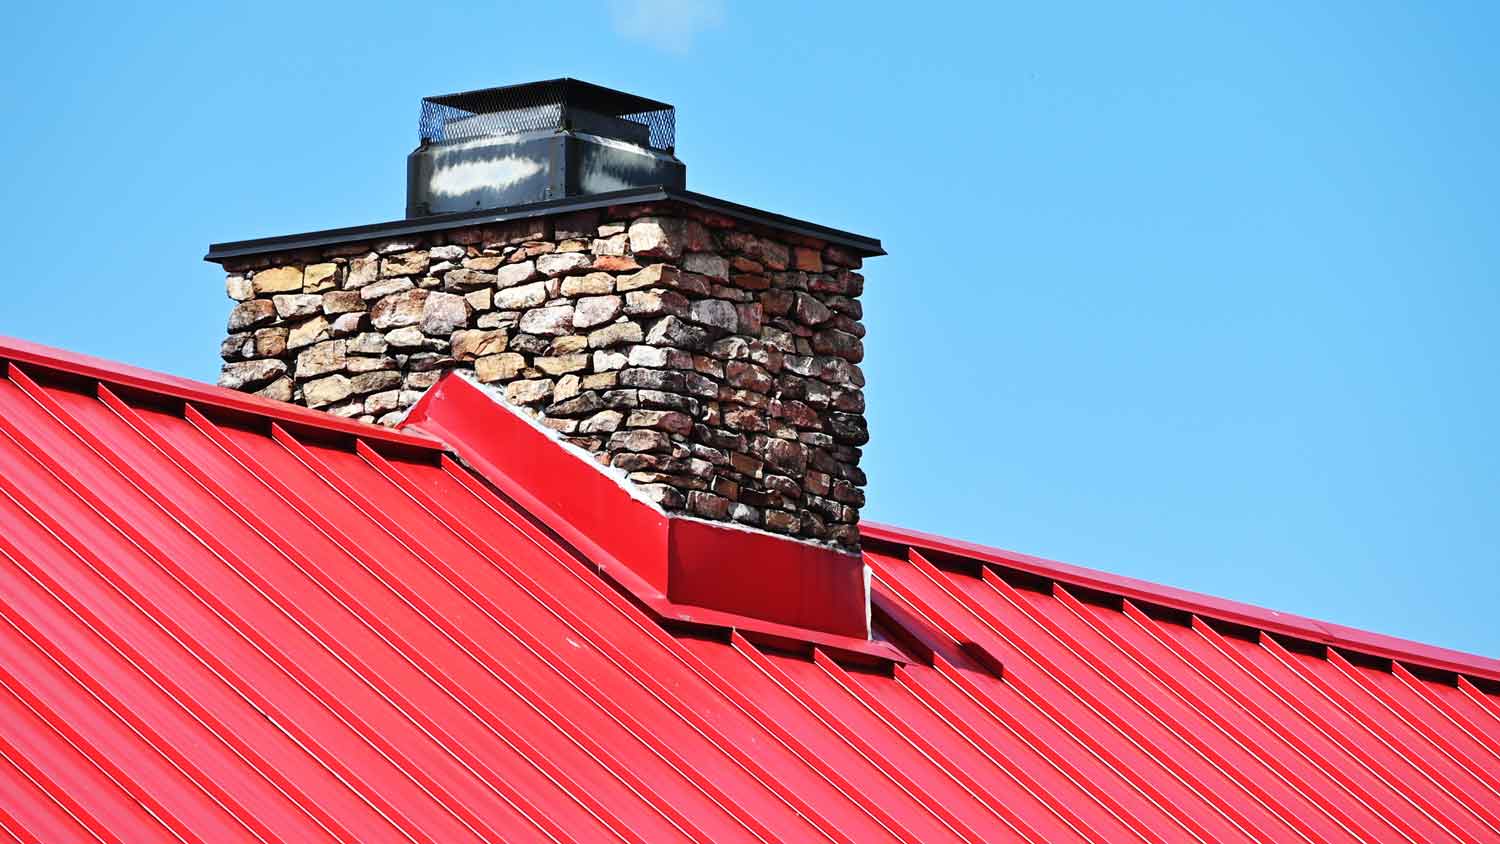
Counter flashing is a popular option around the base of a chimney or a brick wall where base flashing cannot sit behind the siding. A roofing professional will either install the top portion of the counter flashing in the mortar joints of your chimney or brick wall or cement it to the mortar joints. The bottom portion kicks outward from the wall or chimney to direct water toward another type of flashing around the base.
Best for: Where vertical brick walls or chimneys intersect with roofing material
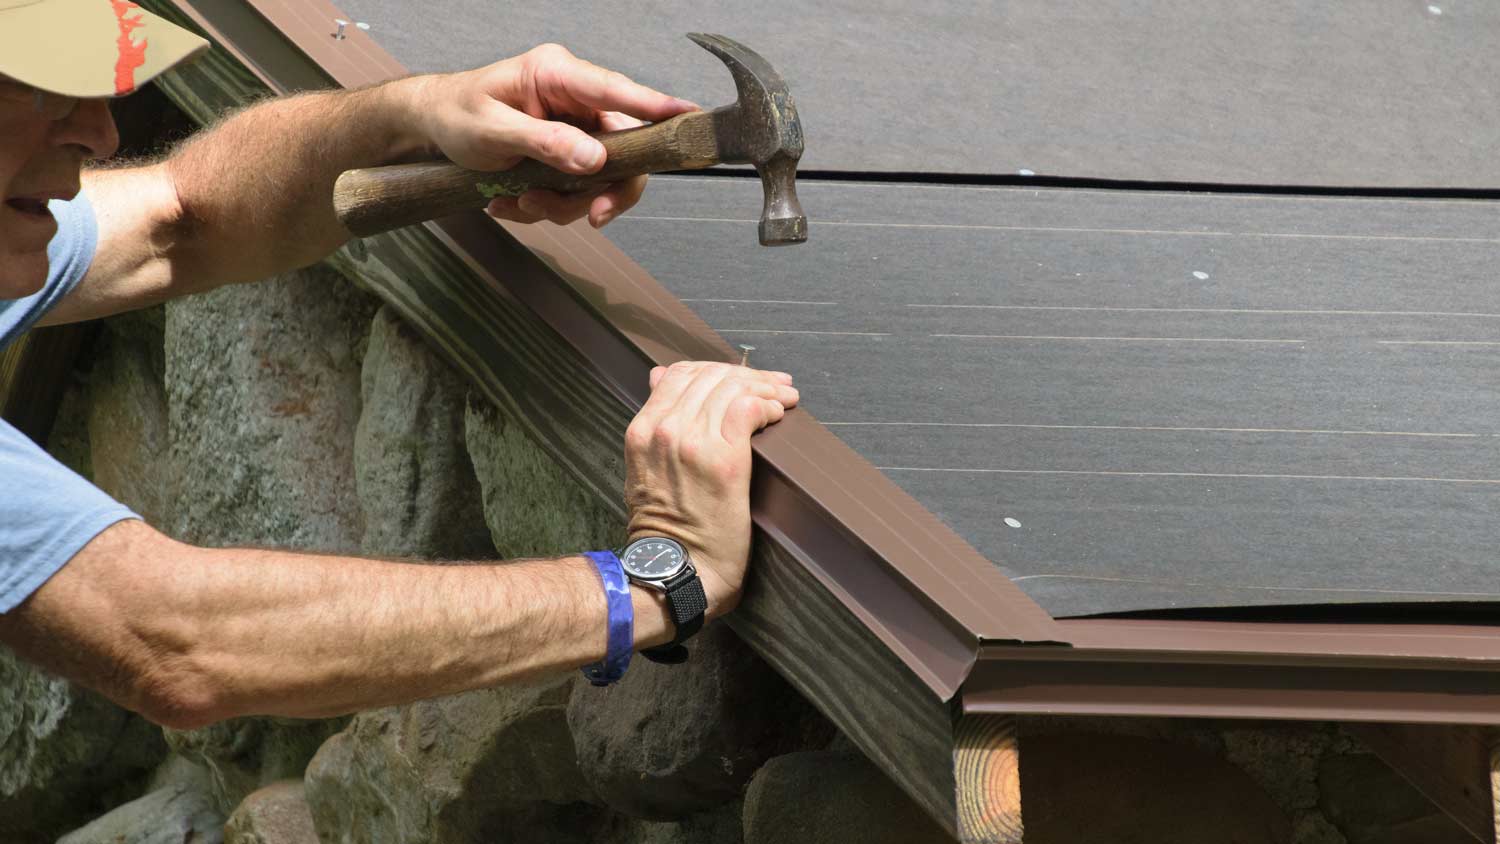
Drip edge flashing directs water flowing off of your roof away from the fascia board, specifically at the ends of roof sections that don’t have gutters. Drip edge flashing is angled so that you can install the top portion over your underlayment and under the roofing material, and the bottom portion extends down from your roof edge perpendicular to the ground.
Since most homes in the U.S. have gutters, drip edge flashing is more common on the sloped sides of the roof where gutters wouldn’t make sense. They typically lead down to the horizontal section of the roof edge that has a gutter.
There are three types of drip edge. Type C drip edge is L-shaped and lets water drip straight down toward the ground, type D is T-shaped and extends out from the roof before curving back inward and down, and type F is technically a gutter apron but often is lumped in with drip edge flashing.
Best for: The ends of angled roof sections that aren’t fitted with gutters
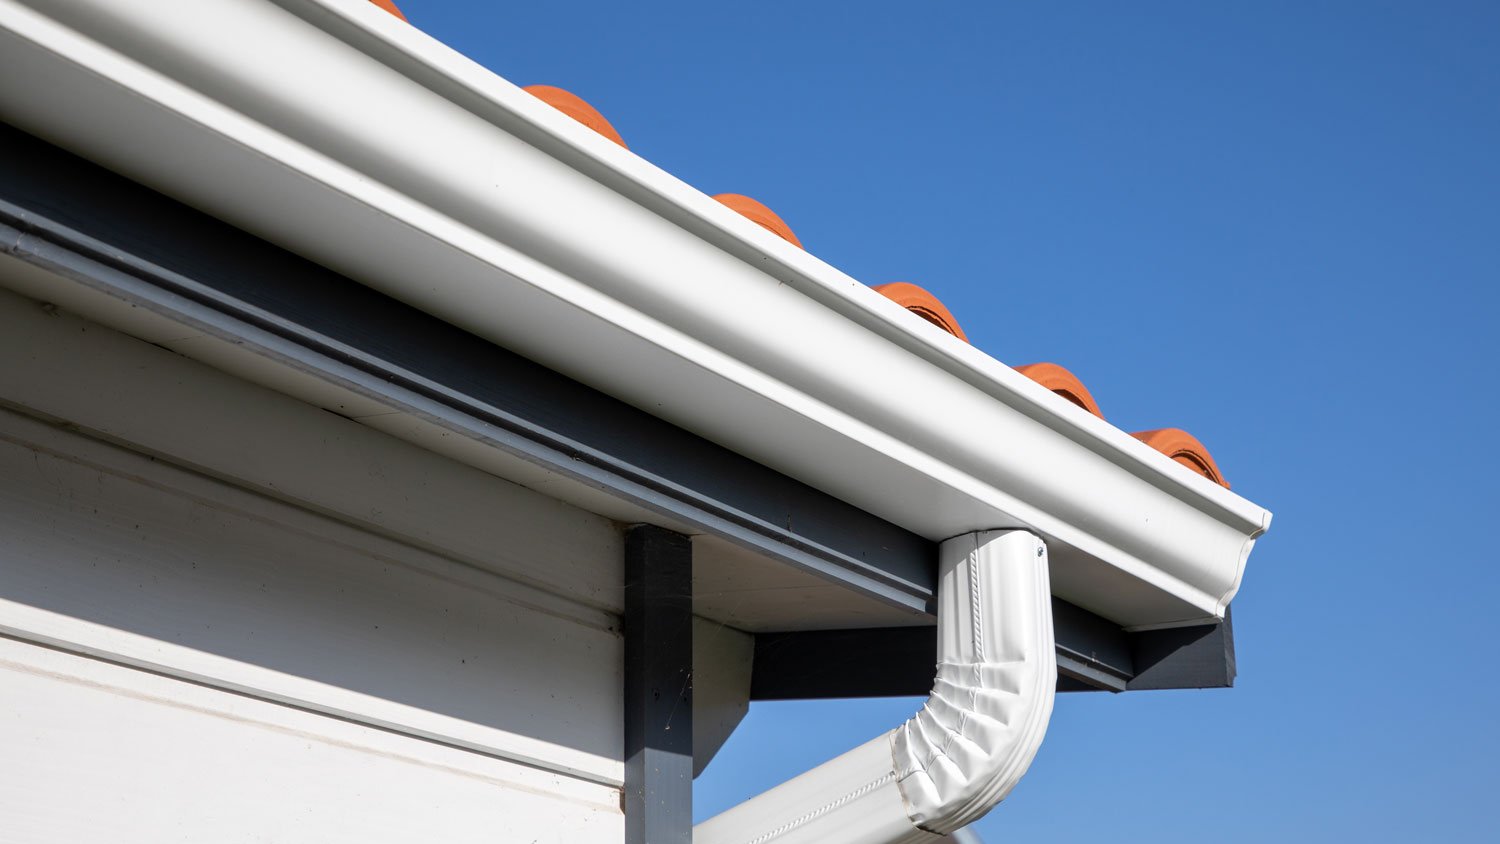
Gutter apron flashing serves the same purpose as drip edge flashing, but its design is such that it protects your fascia by directing water into your gutters rather than onto the ground. Much like drip edge flashing, gutter apron flashing is angled. The top edge sits under the lowest row of roofing material, and the bottom edge covers the fascia and sits inside the back lip of your gutter.
Best for: The ends of angled roof sections that lead into gutters
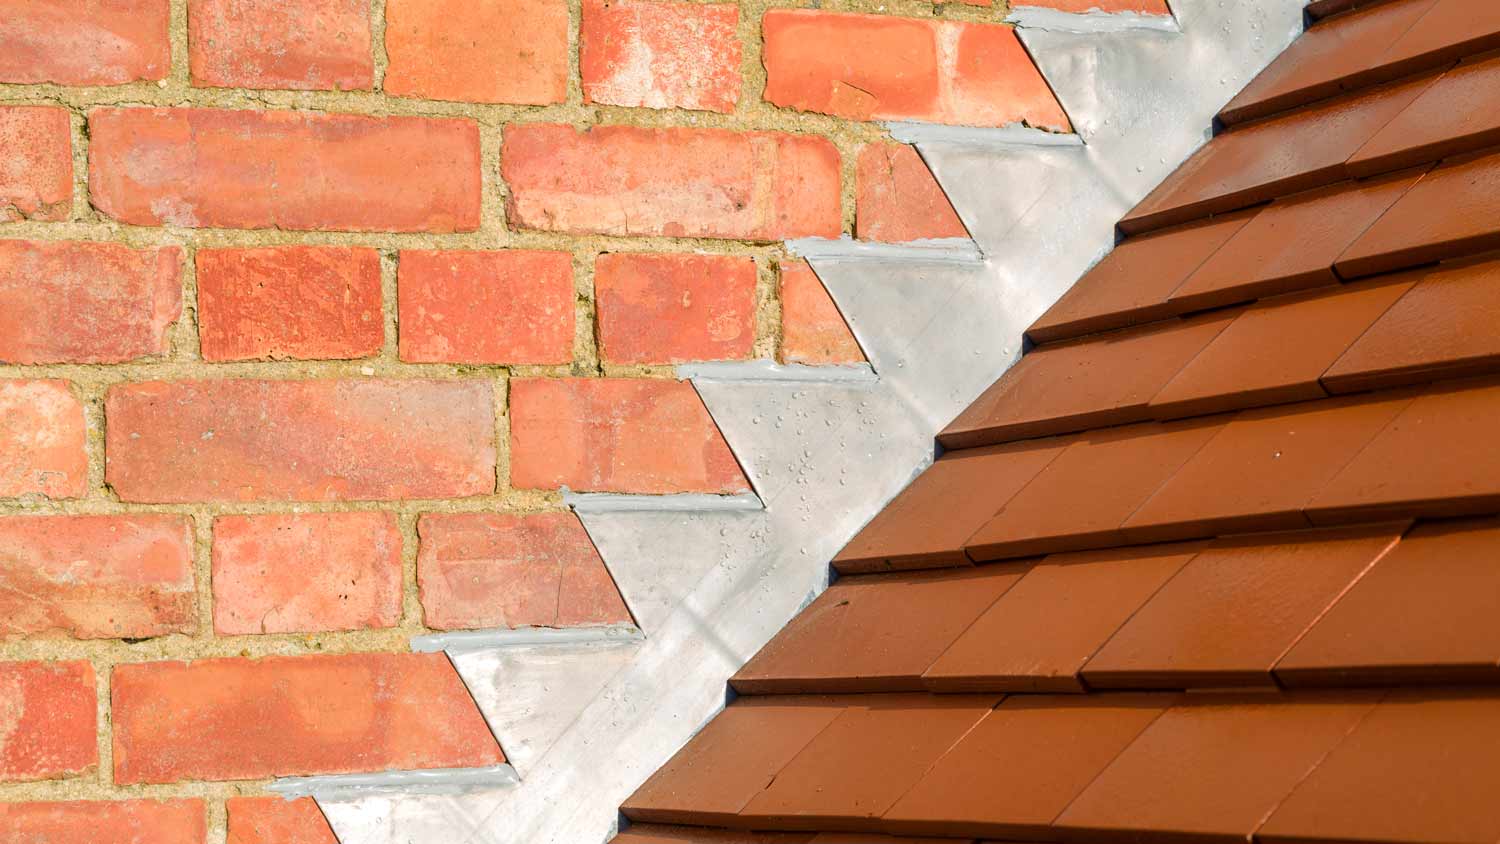
Step flashing is similar to base flashing, but it sits in sections along the angled bases of vertical walls that meet your roof, like the sides of a doghouse dormer. Step flashing is bent so that the top portion sits under your siding material and the bottom portion sits under your roofing material. You install it in steps because the angle of the roof doesn’t allow for a clean installation of continuous flashing.
Best for: Protecting the angled base between a sloped roof and a vertical wall, like on the sides of a doghouse dormer
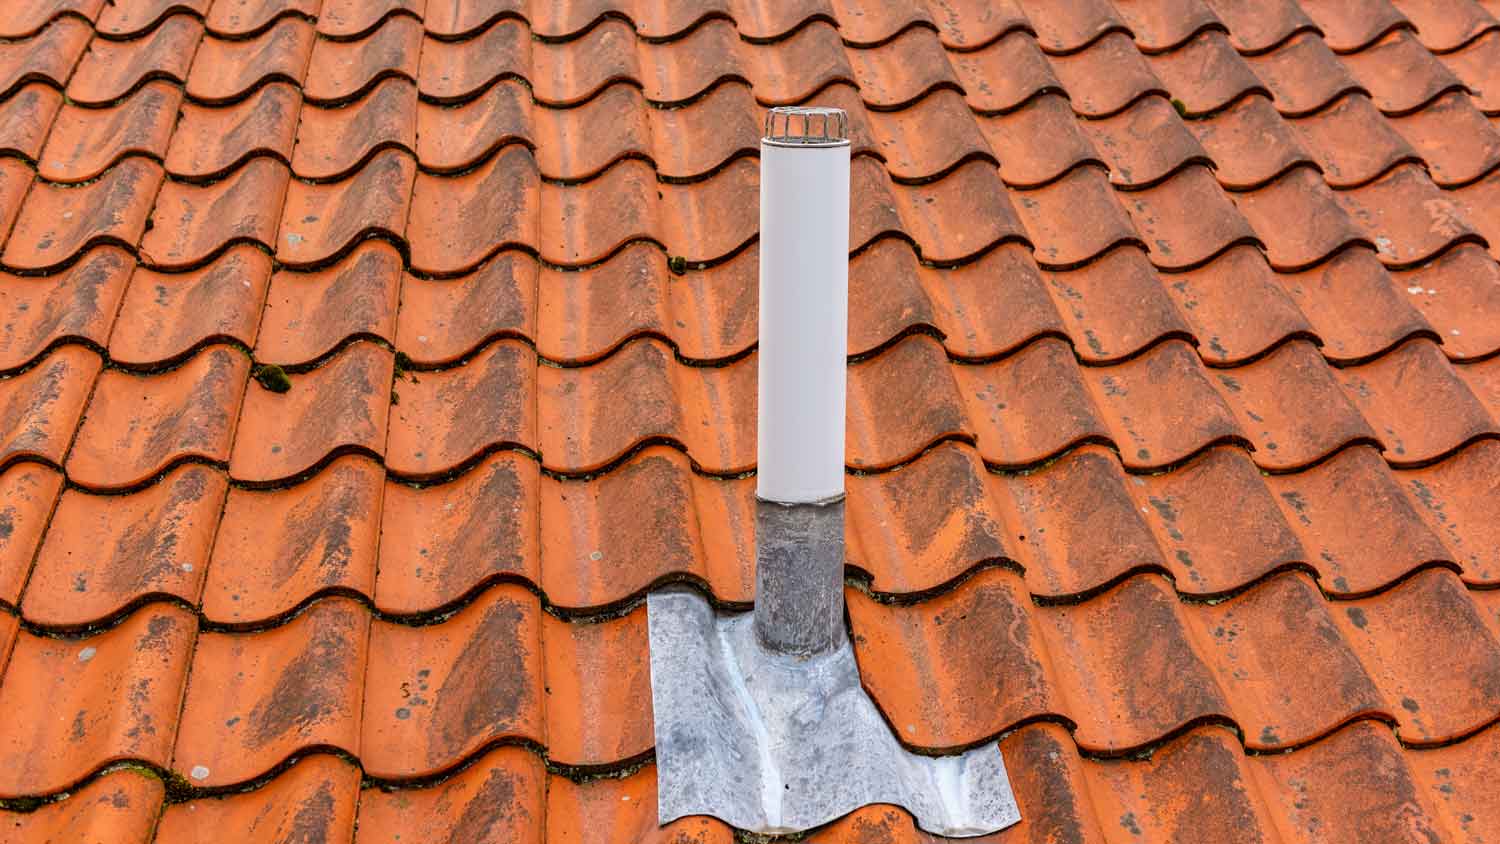
Pipe flashing is ideal for preventing water intrusion around pipes and vents that exit through your roof, like dryer vents and plumbing vents. The flashing has a flat bottom that sits under your roofing material and on top of your underlayment, as well as round vertical walls that clamp onto the vent pipe.
Best for: Preventing water intrusion around pipes and vents that extend through your roof
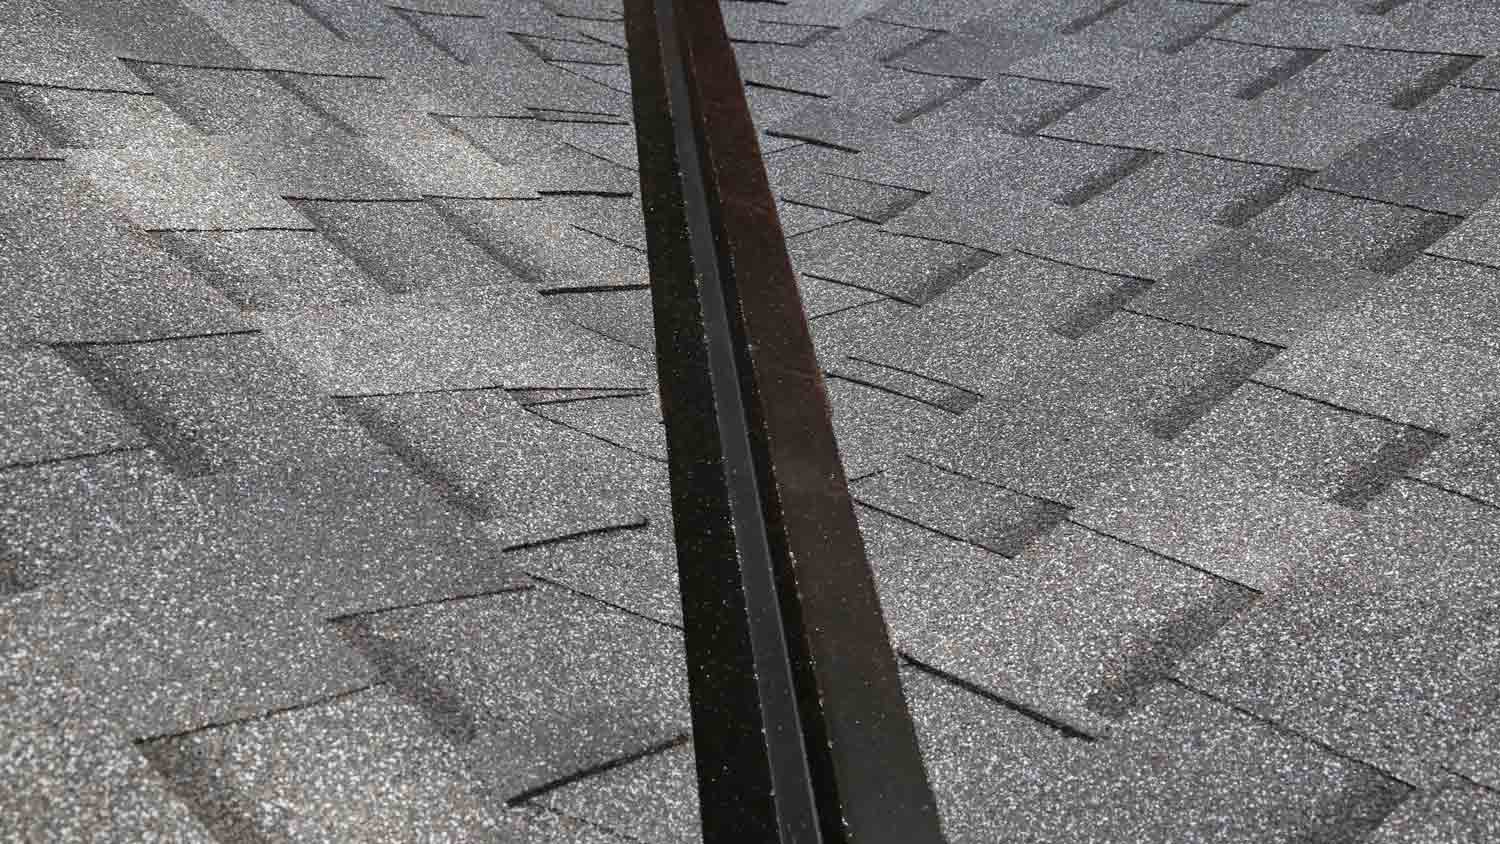
Valley flashing sits in the valley between two angled sections of roof that meet each other beneath the roofing material on either side of the valley. The building code in most municipalities requires that roofers cement the flashing down on either side to prevent water from getting underneath.
Best for: Preventing water intrusion where two roof slopes meet each other and form a valley
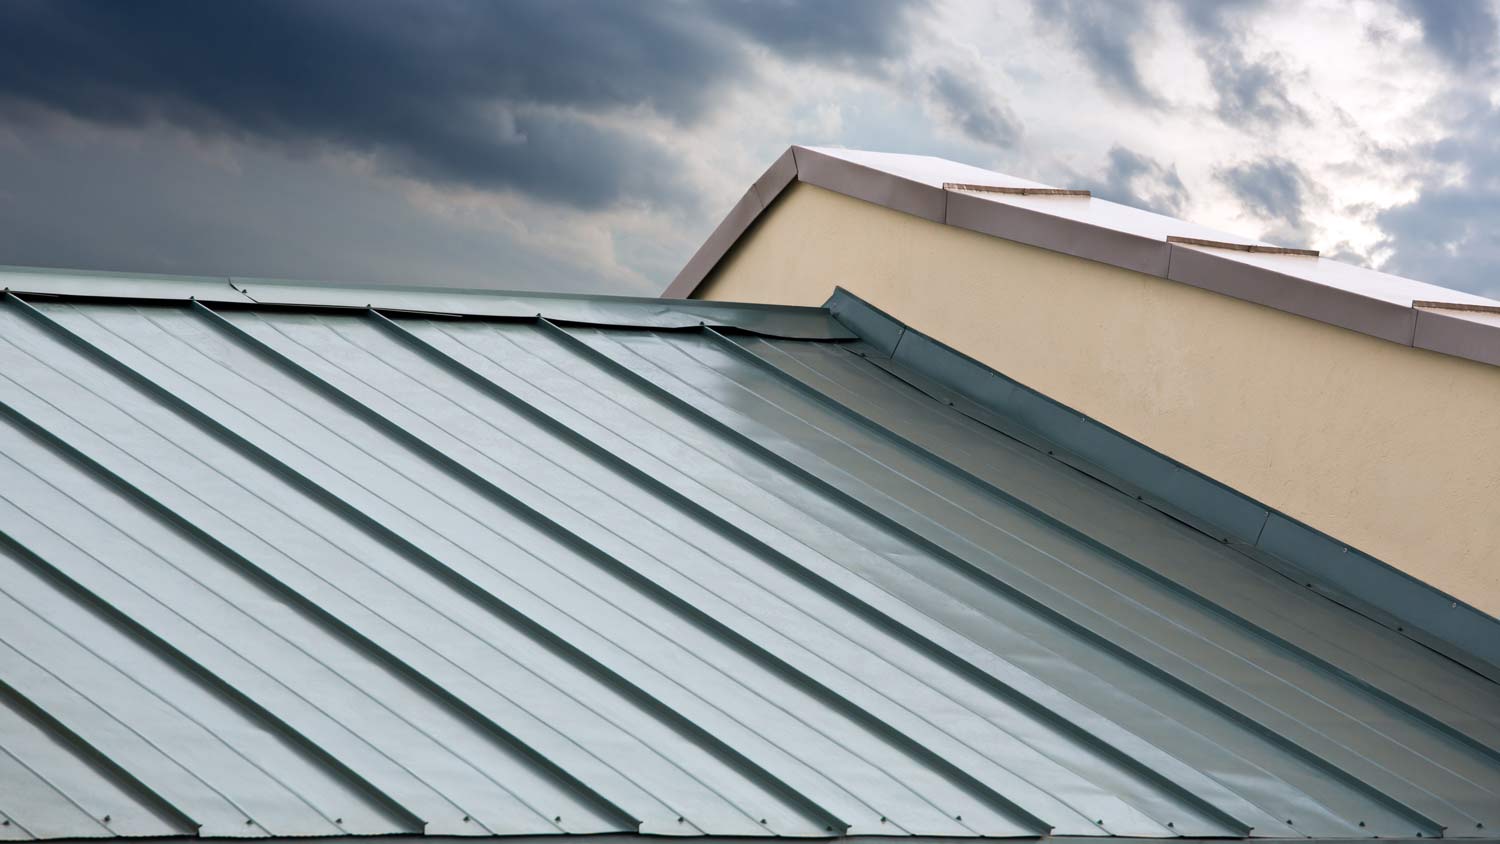
Wall flashing, sometimes called headwall flashing, extends over the top edge of a wall. This type of flashing can sit at the top of walls that extend up to or over flat roofs, often on commercial construction, or from the exterior wall and out over other building materials, like brick facades.
Best for: Covering the exposed top of a vertical wall
From average costs to expert advice, get all the answers you need to get your job done.

Installing solar roofing shingles can help you save on energy costs. Our expert guide breaks down the cost of solar shingles for your roof.

Discover common roof framing cost factors, including the differences between rafter and truss designs, to estimate the cost of your new roof.

Discover the most significant factors regarding aluminum roofing cost to help you make informed decisions about your investment in one for your home.

Are you trying to pick a soffit and fascia material for your roof? Here are 10 options for the right finishing touch on your house.

Dreaming of a tile roof but not in love with how expensive clay tiles are? Concrete tile roof costs are much lower, but you still get that classic look.
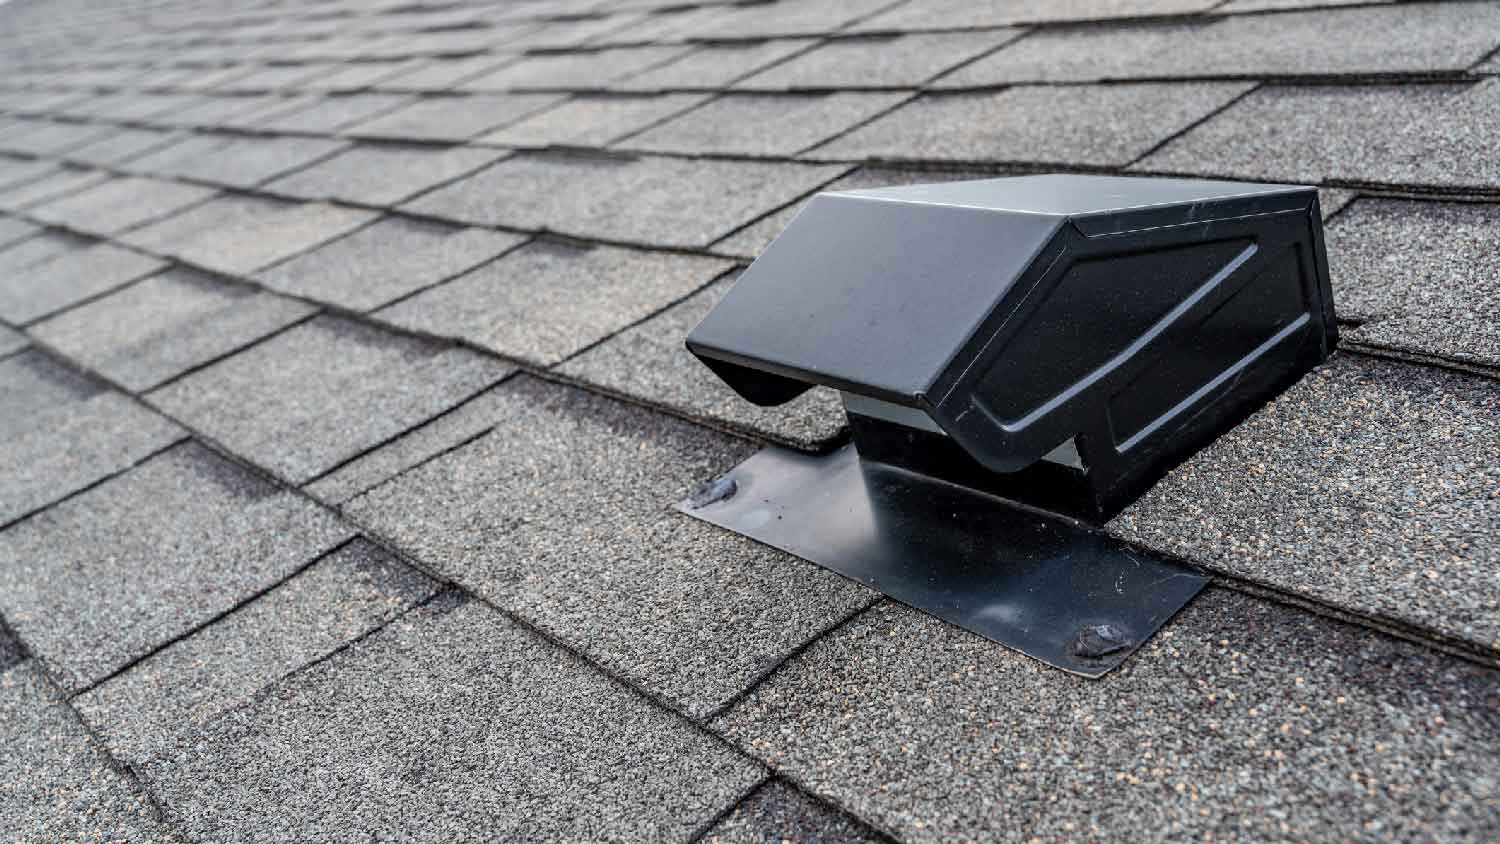
This guide lays out the cost to install a roof vent on your home depending on the type of ventilation that's best for your roof based on several factors.