
The cost to paint the interior of a house in Orlando, FL depends on size, layout, type of surface, and more. Learn what factors can influence your total in this guide.
Restore the beauty of your stairs


Refinishing wood steps can breathe new life into your home, transforming worn, dull stairs into a stunning feature. Whether your stairs are scuffed from years of use or you’re looking to change their finish to match aesthetic wooden staircase ideas, refinishing is a rewarding project that can save you money and add value.
Refinishing wood steps will produce a large amount of dust and debris. Gather all your gear to protect your safety, furniture, walls, and floors. A dust mask, safety goggles, and gloves are recommended to prevent exposure to wood dust. You should also have a drop cloth, painter's tape, and a vacuum handy to keep things tidy.
You should also get familiar with the different parts of your staircase, including the treads, risers, and nosings.

Refinishing wood steps doesn't require a long list of complicated steps. However, the process for each step can be time-consuming, so some patience is required.
If your stairs are carpeted, you'll need to remove the carpet and any nails or other obstructions. You should also remove rugs and railings if they hinder stair access. Use painter's tape along the edges of the stairs where they meet the walls or railings to protect these surfaces from sanding dust, stain, or finish. Place drop cloths on the floor surrounding the stairs to avoid a mess.

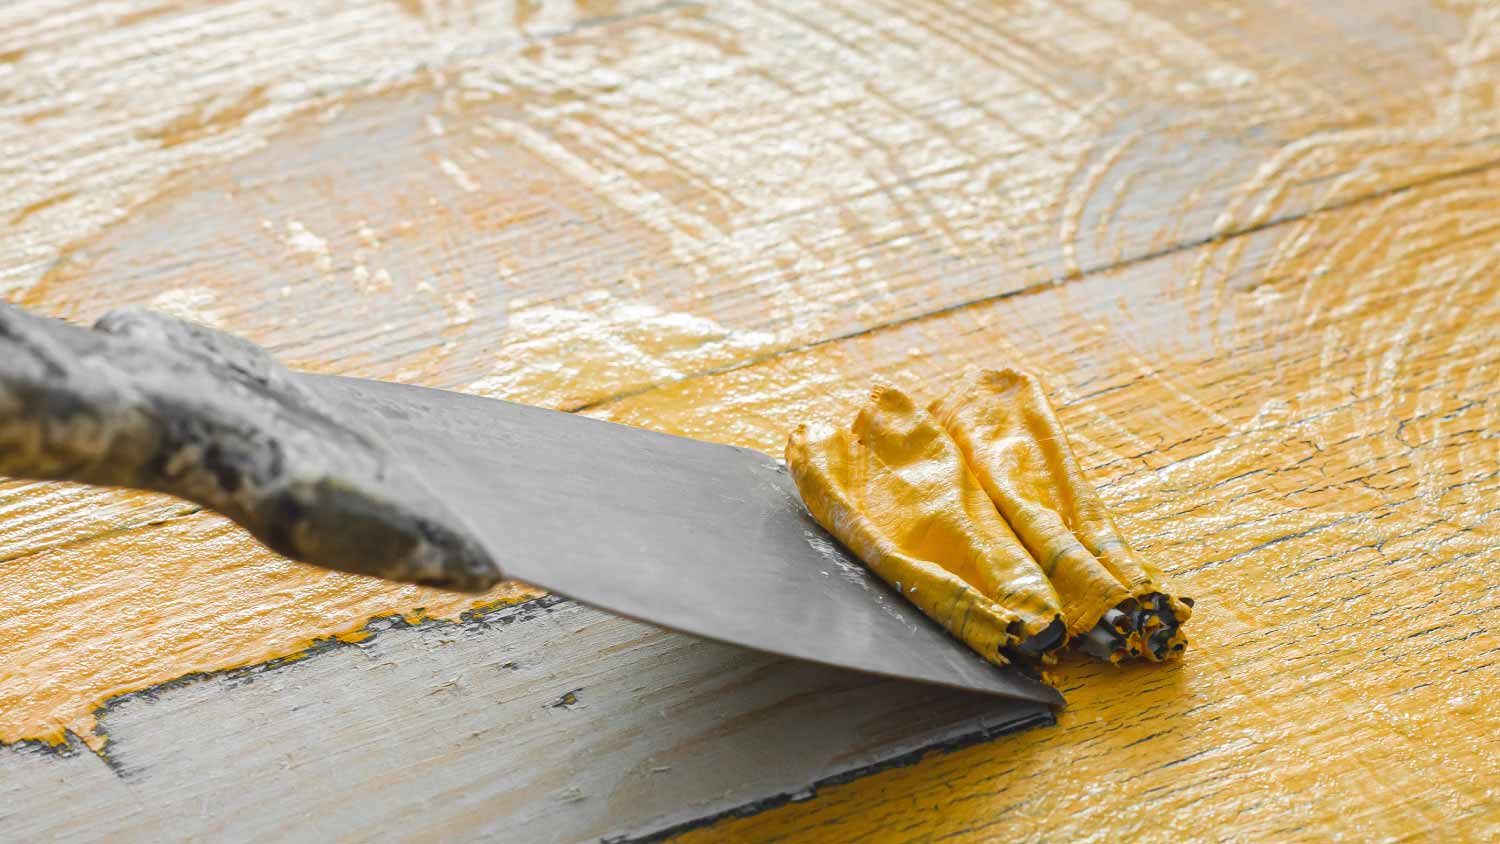
Start sanding with 60-grit sandpaper to remove the old finish or paint. You can use an orbital sander for faster results or sand by hand for more control in tricky spots like corners and edges. Once the surface is smooth and free of the old finish, move on to 80- and 120-grit sandpaper to even out imperfections. Finish with 220-grit for a smooth, refined surface that’s ready for stain or finish.
After sanding, there will be a significant amount of dust that could cause bumps in the finish. Use a vacuum cleaner with a soft brush attachment to remove dust from the stairs and surrounding area. Wipe the sanded surfaces with a tack cloth to ensure no dust particles are left behind.
Inspect the stairs for cracks, dents, or holes, and fill them with wood filler using a putty knife. Ensure that the wood filler you choose matches the type of wood or is stainable if you plan to change the wood color. Allow the filler to dry according to the manufacturer’s instructions, then sand the patched areas lightly to smooth them out.

If you want to change the color of the wood, apply a wood stain with a brush in long, even strokes, following the grain of the wood. Wipe off excess stain with a clean cloth to avoid uneven spots.
You may need to apply multiple coats depending on the depth of color desired, allowing adequate drying time between coats. Staining adds character to the wood, but it requires patience for an even, consistent result.
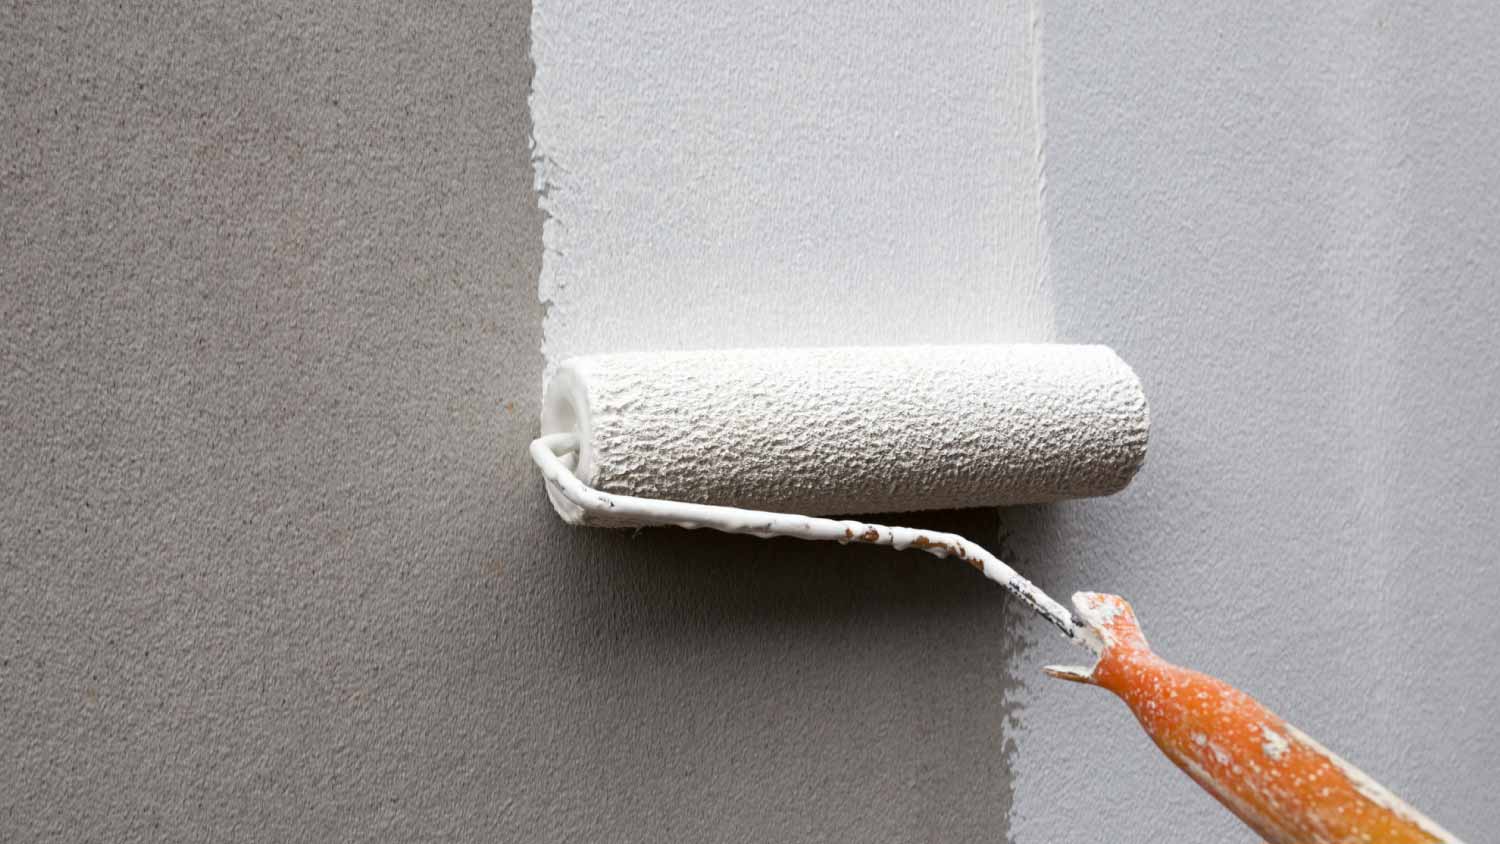
Once the stain is fully dry, apply a protective wood finish like polyurethane to seal the wood and protect it from wear and tear. Use a high-quality brush or foam applicator to apply in thin, even coats, ensuring there are no bubbles or drips.
After each coat dries, lightly sand with 220-grit sandpaper to smooth the surface, then wipe away any dust before applying the next coat. Apply at least two to three coats for a durable finish that will withstand foot traffic.
After applying the final coat of finish, allow the stairs to dry for at least 24 to 48 hours. Keep the area free from foot traffic during this time to prevent smudging or damage. If needed, set up barriers or warning signs to remind household members to avoid the area. Once fully dry, your stairs will be restored and ready for use.
DIY refinishing can be cost-effective if you have basic carpentry skills, the time to dedicate to the project, and know how to refinish hardwood floors. However, mistakes can be costly in terms of time and material, and redoing any steps can be frustrating.
Hiring a professional stair company near you offers the assurance of expertise and efficiency. A professional refinisher will have experience with a wide variety of wood types, finishes, and techniques to achieve a high-quality, durable result. They are also likely to have all the equipment and can complete the job quickly, saving you from the time commitment and potential for error.
The cost to refinish wood steps ranges between $9 and $12 per square foot, with the average hardwood refinishing cost ranging between $375 and $500. While this option comes with a higher up front cost, it may be worth the investment for those who want flawless results or simply don’t have the time or tools to tackle the job themselves. For complex staircase renovations or heavily worn steps, going the professional route is often the best option.
From average costs to expert advice, get all the answers you need to get your job done.
The cost to paint the interior of a house in Orlando, FL depends on size, layout, type of surface, and more. Learn what factors can influence your total in this guide.
The cost to paint the interior of a house in Portland, OR depends on size, layout, type of surface, and more. Learn what factors can influence your total in this guide.
The cost to paint the interior of a house in Kansas City, MO depends on size, layout, type of surface, and more. Learn what factors can influence your total in this guide.
Wondering who to hire to strip paint or remove paint? Compare paint stripping contractors and lead abatement pros, and start your project with confidence.
.jpg?impolicy=leadImage)
Painting your kitchen cabinets may take some elbow grease, but you’ll get a kitchen makeover without a lot of money. Here’s how to paint cabinets for a new look.
Wondering how much it costs to stripe a parking lot? Learn about average prices, key cost factors, and tips to save on your next parking lot striping project.