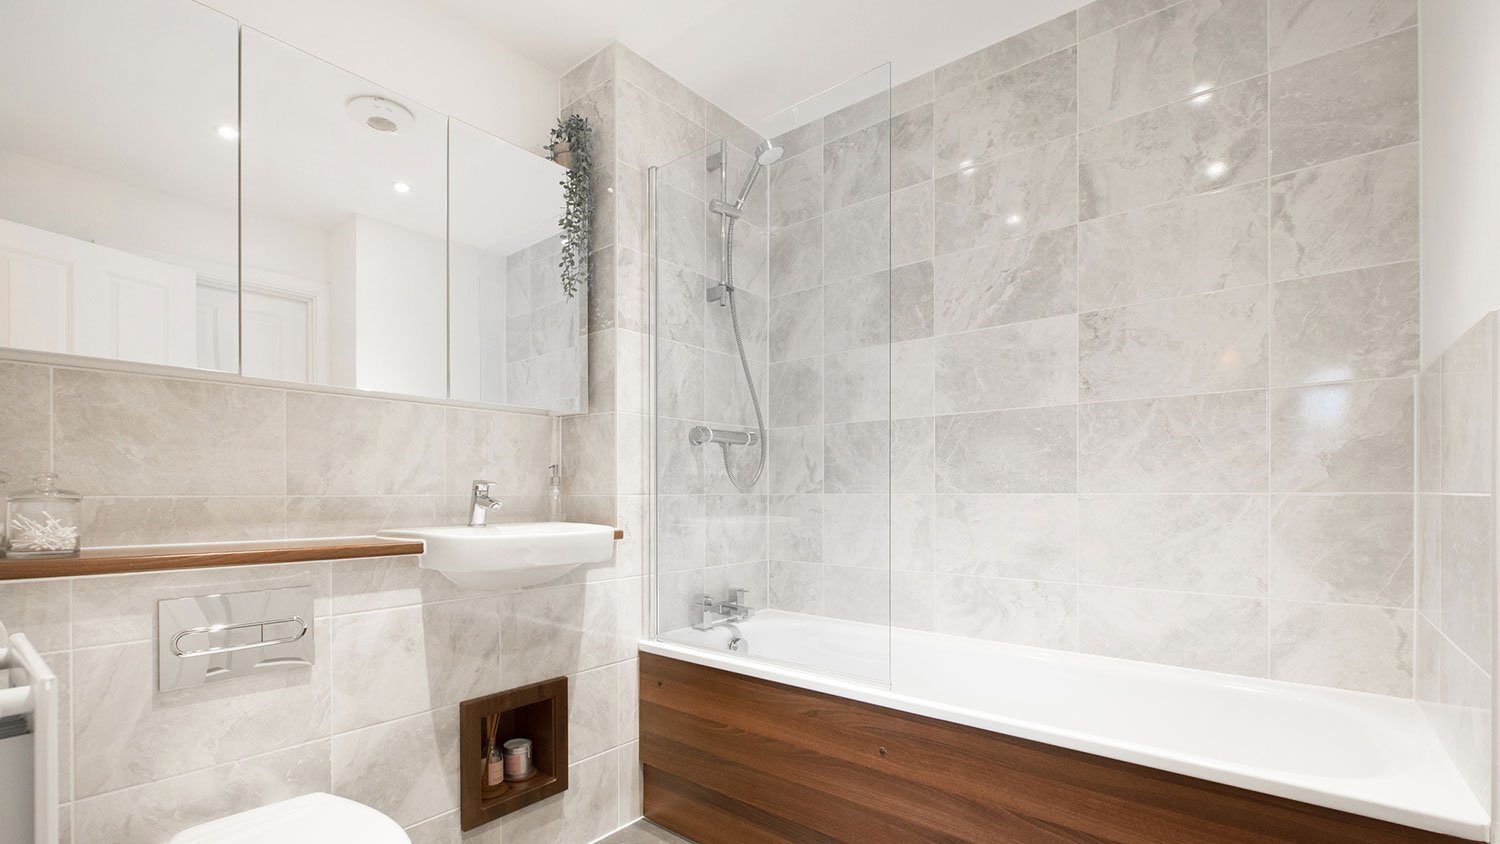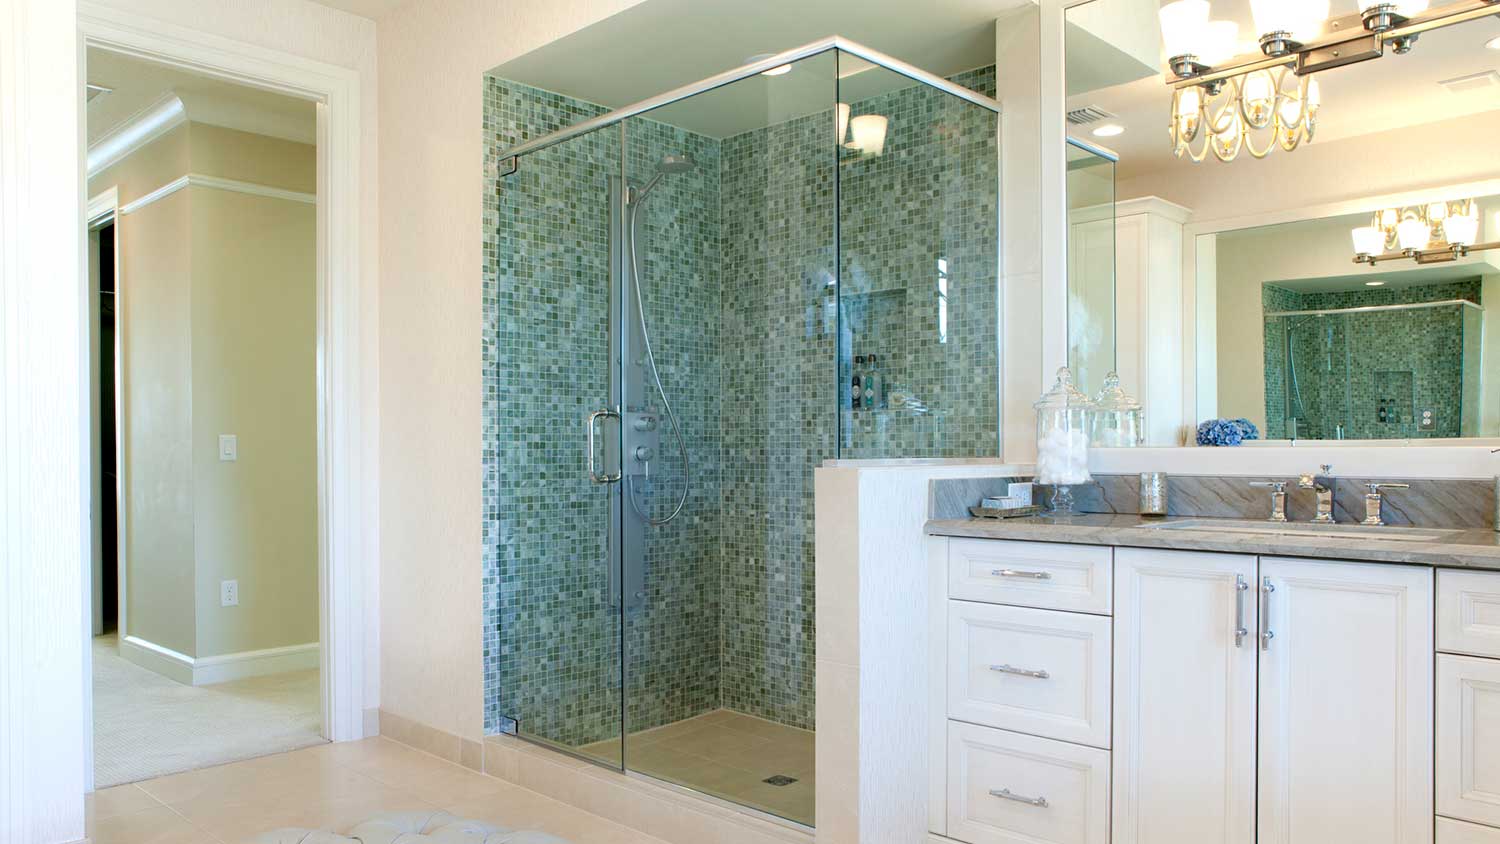
Discover the cost to regrout shower, including average prices, key cost factors, and tips to help you budget for a fresh, watertight shower.
Work smarter, not harder


Installing a new type of shower tile is an exciting home project, and a new feature like a honeycomb tile arrangement across a shower wall might be what you need to tie your bathroom together. While it can be tempting to jump right in, consider some of these tips for tiling your shower before you start creating your dream bathroom.
Just as you would for almost any home project, you’ll want to set a budget. Having a specific number or range will help you narrow down your options for materials.
Once you have a budget, you’ll have a much more specific scope when searching for the right tiles for your project and buying tiling tools which will make the whole process a little easier. Plus, your wallet will certainly thank you.
When tiling the shower, planning out a color scheme beforehand will make for a more organized process and installation. If you’re redoing your entire bathroom, you might want to design a whole new color scheme, but if you’re just tiling the shower, you can pick colors that go nicely with your current bathroom color palette.

Something else to think about when choosing your shower tiles is the size. Usually, larger tiles make the space seem larger and vice versa. So if you have a small space, consider using larger tiles to make the shower area feel more open and spacious.
On the flip side, when you use smaller tiles, you’ll have more grout lines, which means it’s really important to learn how to clean grout. more maintenance for you. However, if you have small children and are looking for a tile option that offers more traction, smaller tiles may be the way to go.
Stay organized while tiling your shower by planning your layout ahead of time. Creating your layout beforehand provides you with a blueprint you can follow through the installation. Plus, with a plan in place, you’re less likely to be left with bits of tile sticking out.
Consider tile shape, size, type, and pattern when designing the layout. You’ll have many options to choose from; some tile pattern ideas include grid, staggered, and diamond.
Before it’s time to install your tiles, check your shower stud walls, ensuring they are straight and level. This is essential because studs that aren’t level will likely yield irregular-looking tiles.
Use a level to do this; place your level across all studs, and do it vertically, horizontally, and diagonally. If you’re finding non-level studs, contact a local shower repair service before moving on to tile your shower.

Although glass tile can be sleek and pretty, it does come with some downsides. Glass tile on a shower floor or wall can become incredibly slippery when wet, which may be a hazard, particularly if you have small children.
In addition, using glass may affect your shower’s appearance since glass tiles can show the moisture that gets trapped behind them—which may alter the whole look. This makes tile shower waterproofing even more important.
Depending on your shower layout and design, you may need smaller tiles on hand for the curves. It’ll likely be much easier to install these smaller tiles on the curves than trying to cram in the standard tiles.
If you’re looking to get creative and create a unique shower look, consider adding a new tile style as an accent wall. In other words, one of the shower walls will showcase a different tile than the rest of the layout. Adding a tile accent wall provides more creative freedom and is a great way to keep up with bathroom tile trends and spice up your bathroom.
If the shower pan is already tiled or is a tile-over shower pan, you can keep it in place and install new tiles on it. This will save both time and money. Be aware, however, that you can’t tile over all shower pans. Acrylic and fiberglass shower pans, for example, can struggle to hold the weight of tile, so while it may be possible to tile over these materials, there’s also a chance that the grout will crack as the base flexes.
Using smaller grout joints—between ⅛ inch and 1/16 inch—can help keep shower maintenance more manageable, since smaller joints mean less cleaning. But there’s also a greater chance that they could appear crooked, so take care to ensure all tiles are properly spaced as you install them, adjusting if necessary.
Lydia Schapiro contributed to this piece.
From average costs to expert advice, get all the answers you need to get your job done.

Discover the cost to regrout shower, including average prices, key cost factors, and tips to help you budget for a fresh, watertight shower.

Whether it’s on your floor, walls, or shower, ceramic tile can add style to your space. So, how much does ceramic tile installation cost? Let’s break it down.

The cost to install travertine tile depends on materials and the size of the project. This guide to travertine tile cost will help you budget accordingly.

Renovating your bathroom? From classic chic to contemporary cool, we’ve got the lowdown on the best tile for shower walls and the greatest shower floor tiles.

If you’re wondering how long it takes for grout to dry, our guide has the answers. Letting grout dry and cure completely ensures a long-lasting tile job.

When you're getting ready to tackle a tile installation, you need to know how to tile inside corners. Read this guide to learn how.