Discover the average home energy audit cost, what impacts pricing, and how to save money on your audit. Get transparent, expert-backed cost info for homeowners.
Stay one step ahead of your attic and take control of air leaks


Attic air leaks are the common result of air flowing through tiny gaps in the ceiling and walls.
There are several reasons to seal your attic air leaks, including increased comfort, reducing pests, and saving money on energy bills.
Sealing attic air leaks is a doable DIY project but it may take substantial time and effort.
Does it feel drafty every time you venture into your attic? It might be time to consider sealing your attic air leaks to put a stop to a common energy-efficiency mistake. Air leakage doesn’t only affect the attic’s temperature, but it can also majorly increase your energy bills and result in other consequences such as unwanted pests. Check out these X tips to seal your attic air leaks for good.
The first step to sealing any air leaks in your attic is locating the leaks, gaps, and holes that let in drafts. You will find most air leaks around chimneys, light fixtures, plumbing pipes, ventilation, wiring holes, rafters, windows, and doors.
When searching for air leaks, look for warning signs like dirty insulation, or hold up your hand to detect air movement. Ensure that you’re extra cautious when poking around electrical or wiring components.
After looking in those common spaces for air leaks, you can test the air within these areas—all you need is a candle or an incense stick. If you hold up the flame or smoke, look for erratic movements that indicate air movement. Hold up your hand, and if you feel cold air, there’s an air leak. Of course, you should avoid moving the flame too close to flammable objects or surfaces.

Once you identify the gaps and leaks in your attic, the next step is to decide whether you’ll seal the areas yourself or hire a professional to tackle the job. Sealing attic air leaks is manageable for many homeowners, but it’s crucial to get proper tools before jumping into the project. Keep in mind that the cost of purchasing the tools to make this repair may outweigh the price of hiring a local insulation contractor.
The necessary tools for DIY sealing attic air leaks include:
Caulk gun
Dust mask
Flashlight or headlamp
Knee pads
Safety glasses
Utility knife
Insulation—batt, roll, or blown
Garbage bags or plastic bags
Caulk
Foam spray
Work gloves
Ensure you follow the necessary safety instructions when sealing attic air leaks yourself. For instance, you should always wear a dust mask to reduce the chances of breathing in toxins. Make sure you’re on the lookout for any exposed nails and ensure that your work area is decently lit to reduce the chance of making a repair error or causing an injury.
If you’re tackling this project yourself, you should make a game plan that prioritizes sealing the biggest holes because that’s how you’ll save the most money and energy. You should seal the large gaps before moving onto smaller air leaks.
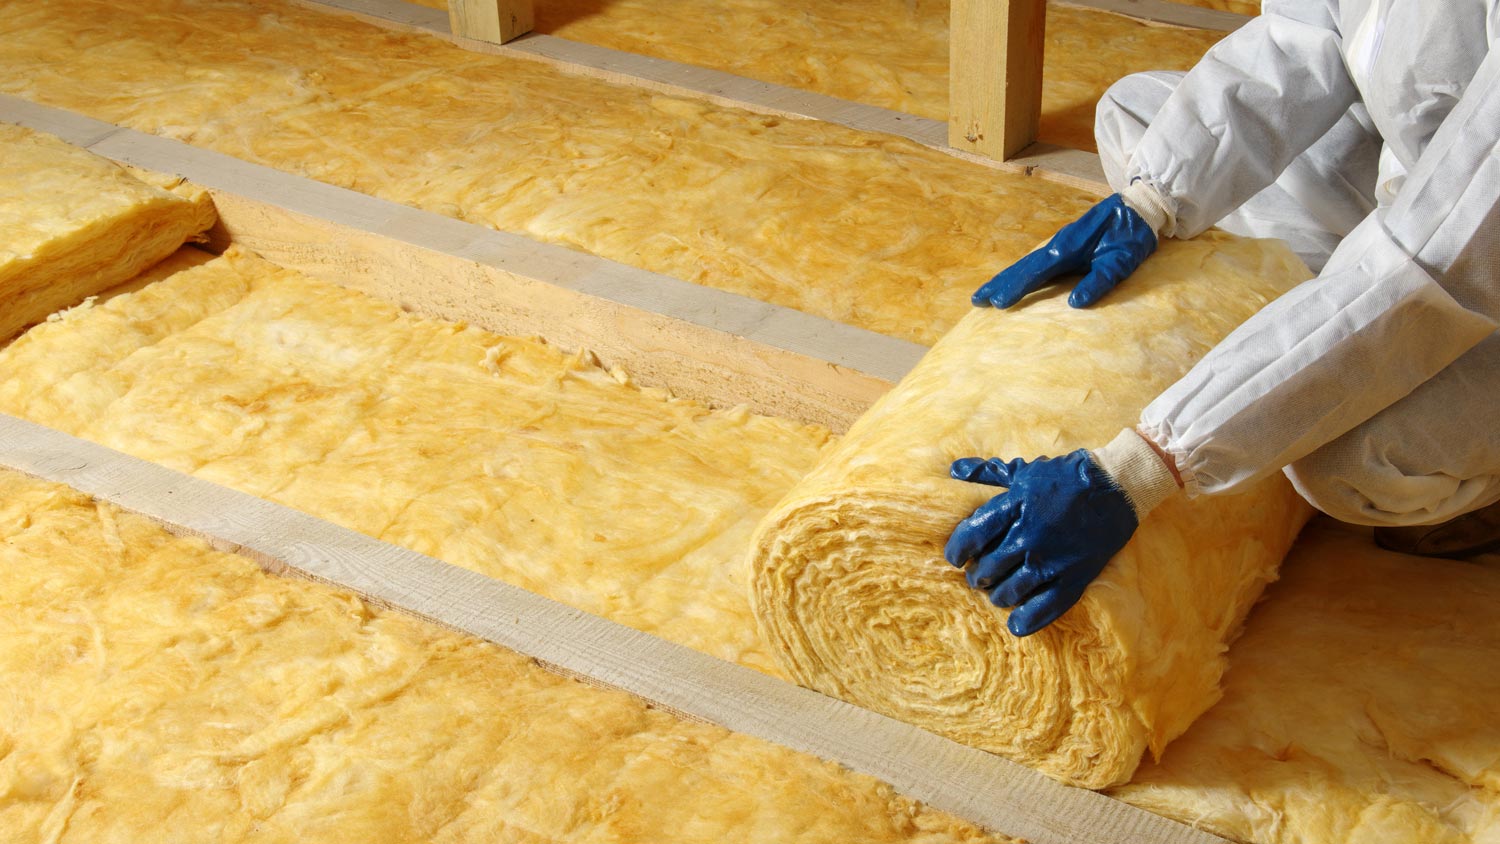
To fill in large leaks, cut a piece of batt or fiberglass insulation and cover it with a plastic bag to create a vapor barrier. Common sources for attic air leaks are the gaps between studs and places where the ceiling height changes—fill these drafty spots with insulation.

After finding and sealing the large gaps, close up any small holes or cracks that let in air. For gaps that are smaller than one-fourth inch, use weatherproof caulk to seal the area. Ensure that you use heat-resistant caulk if the air leak is near the chimney or flue areas.
If the small leak is larger than one-fourth inch, use expandable spray foam to seal the gap. You’ll typically find slightly larger leaks near plumbing vents and wiring holes. Put the insulation back in place once the caulk or spray foam is dry.
Since the attic door is usually one of the thinner areas of the attic, it is often a source of air leaks. By adding insulation around the door, you’ll create a tighter seal.
You can also prevent future air leaks around your attic door or windows by upgrading the weatherstripping around the area. That way, the new weatherstripping will seal the attic door or windows off from the outdoor elements, and make it easier to open and close them.

This is a project for which homeowners often decide to hire professional attic insulation contractors since it can be complicated and dangerous if you don’t know what you’re doing. Professional insulators will seal all the attic air leaks and install new insulation. The cost to seal attic air leaks runs between $250 to $750.
From average costs to expert advice, get all the answers you need to get your job done.

Discover the average home energy audit cost, what impacts pricing, and how to save money on your audit. Get transparent, expert-backed cost info for homeowners.

A home energy audit is a detailed write-up of how to lower your utility bills and increase your comfort level. Find out if they’re worth the cost.

Get a detailed breakdown of thermal imaging home inspection costs, including average prices, cost factors, and tips to help homeowners budget.

Home energy audits can identify ways to make your home more energy-efficient. Learn whether an energy audit is a good investment for your home.