

Everyone can relate to having toilet issues—we’ve all been there. There are several reasons why your toilet might need repairs, and the cost varies based on the damage.
Be in the know and get with the flow


Most bathroom and kitchen sink faucets have the same basic parts.
Knowing the parts and what they do helps you maintain and troubleshoot.
Keep your faucets clean and repair minor leaks and small problems.
You can repair and replace some sink faucet parts yourself.
Call a pro for bigger and harder-to-do repairs.
You probably turn your faucets on and off dozens of times every day, but do you know what the parts of a sink faucet are and how they work? This article details common parts of most types of bathroom and kitchen faucets, what those parts do, and how they work. We’ve also got helpful maintenance tips, and we compare the cost of DIY repairs versus hiring a professional faucet repair service near you.
While faucet parts vary depending on the type of bathroom faucet or kitchen faucet you have, most have similar parts that function in familiar ways. Here, we give you a handy rundown of the parts you’ll almost always find on your kitchen and bathroom faucets, what each part does, and how it works with the rest of the faucet parts.
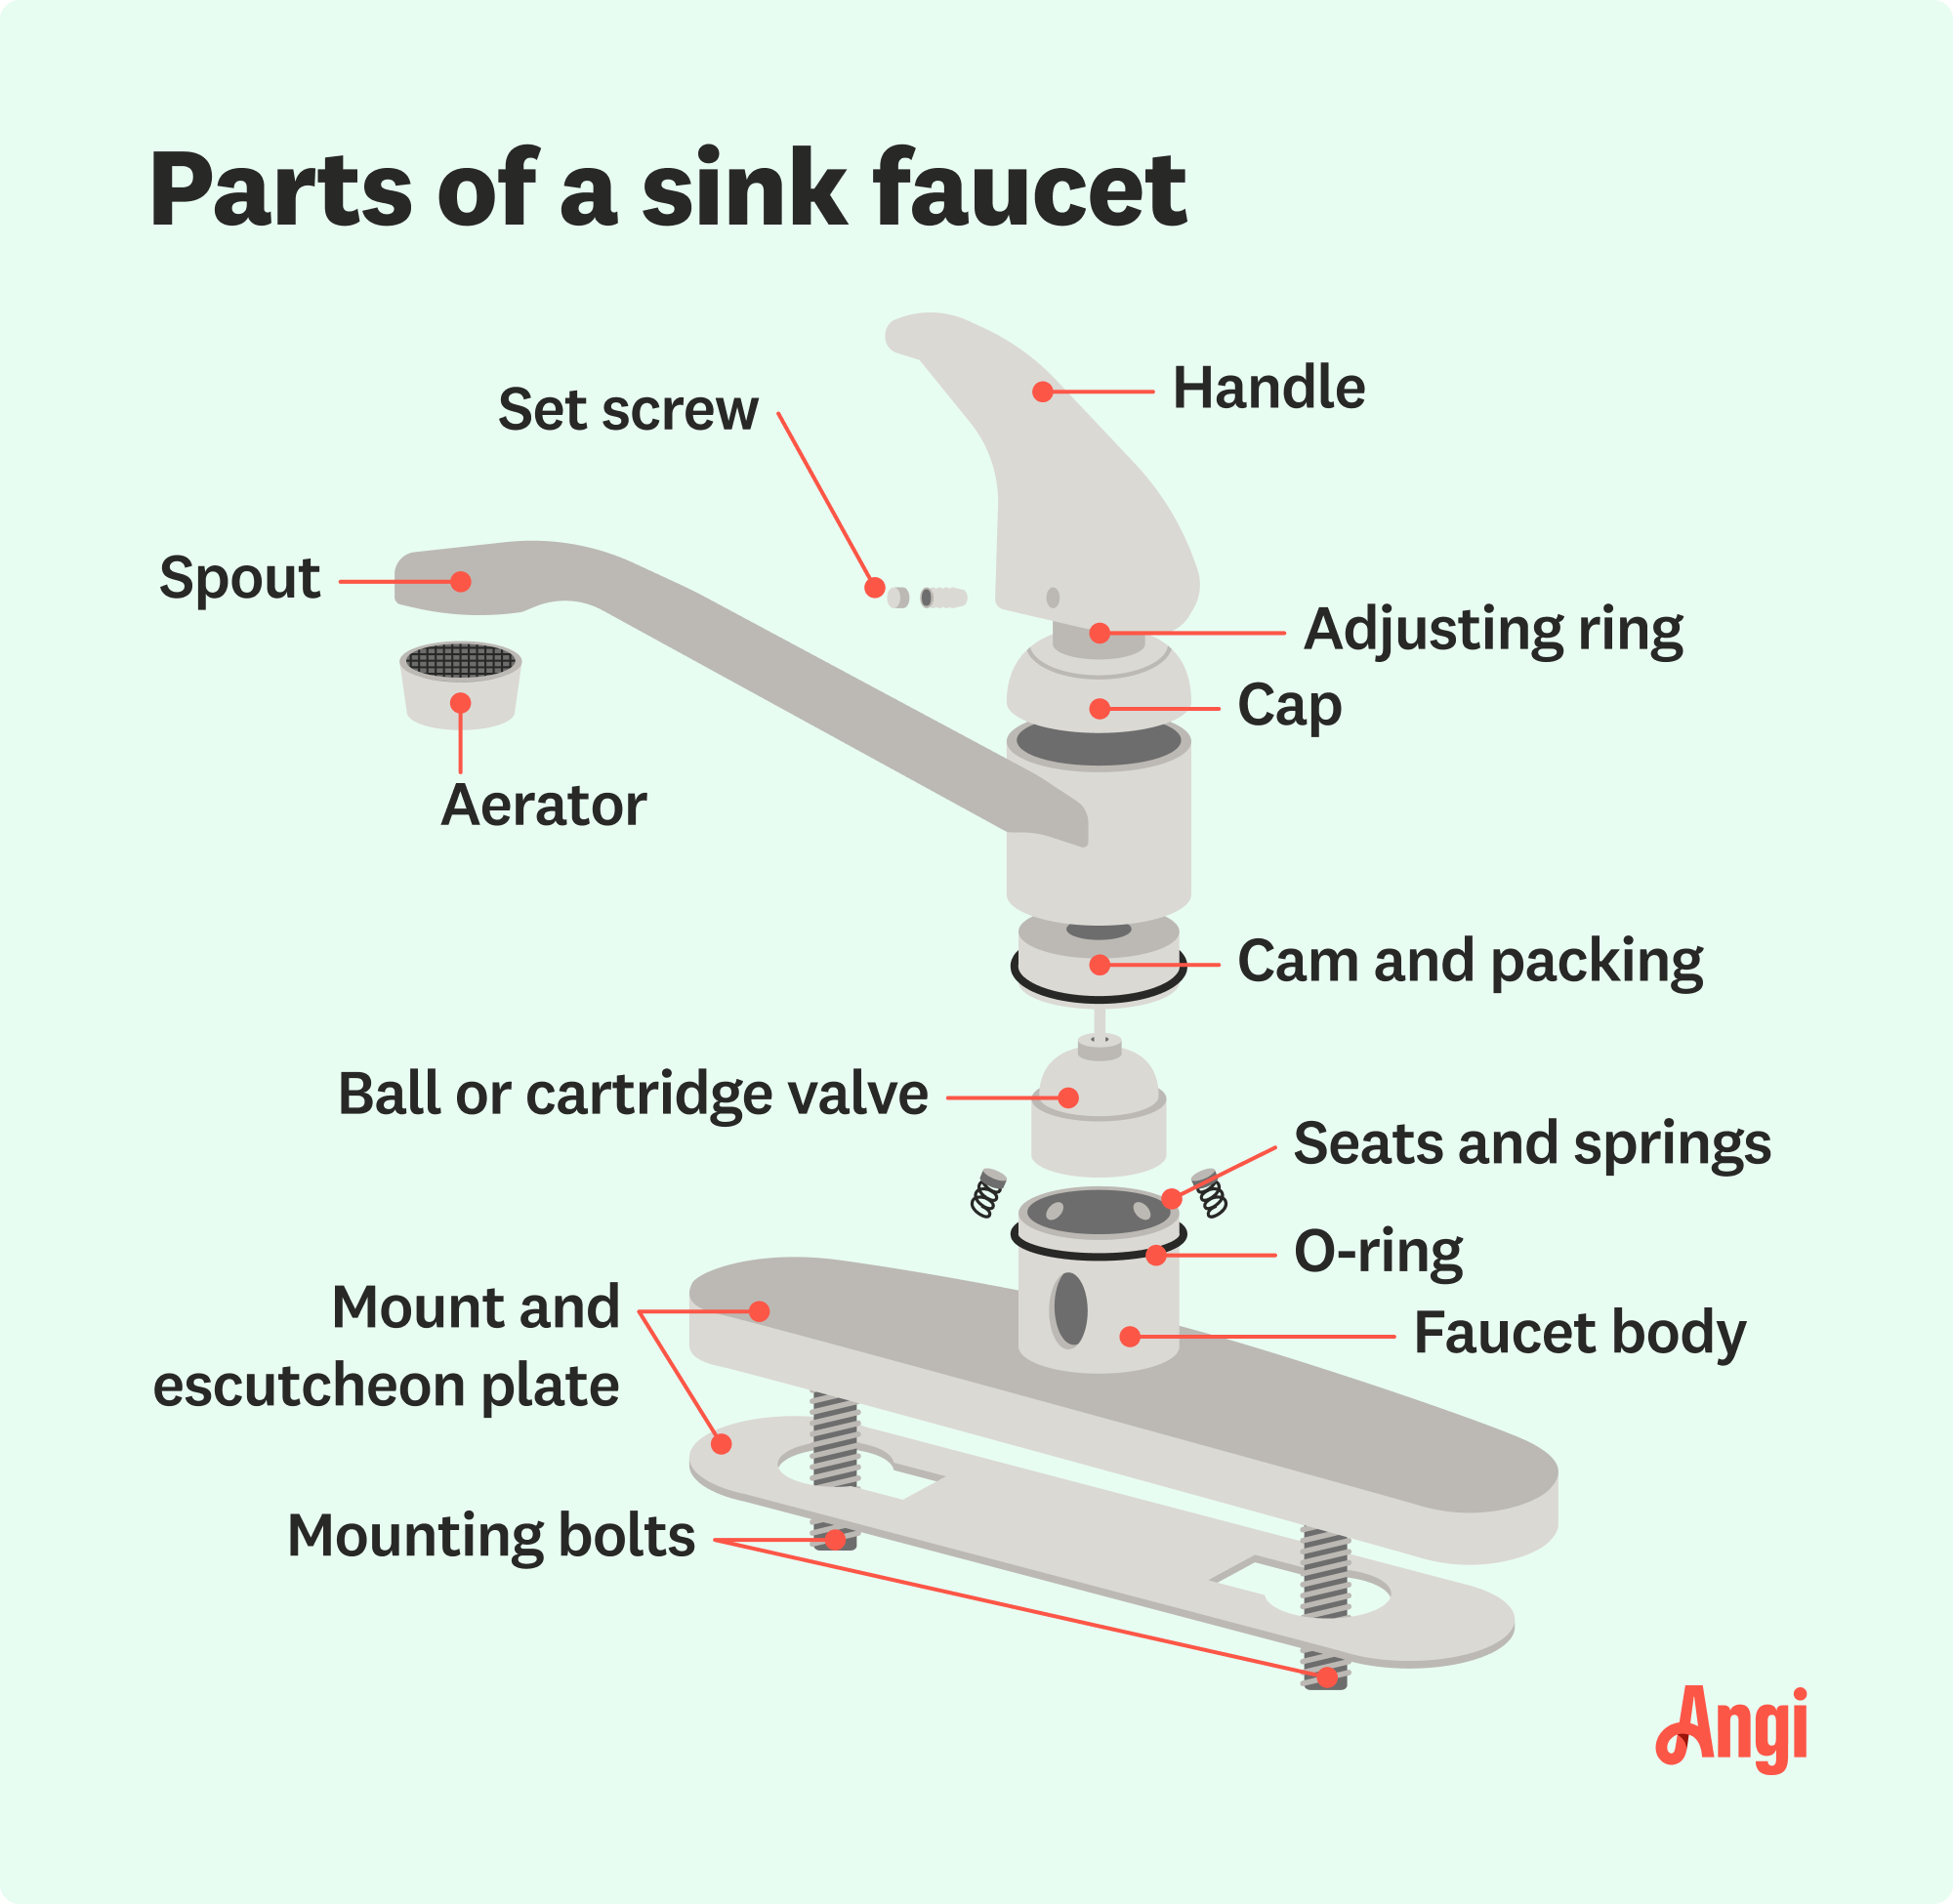
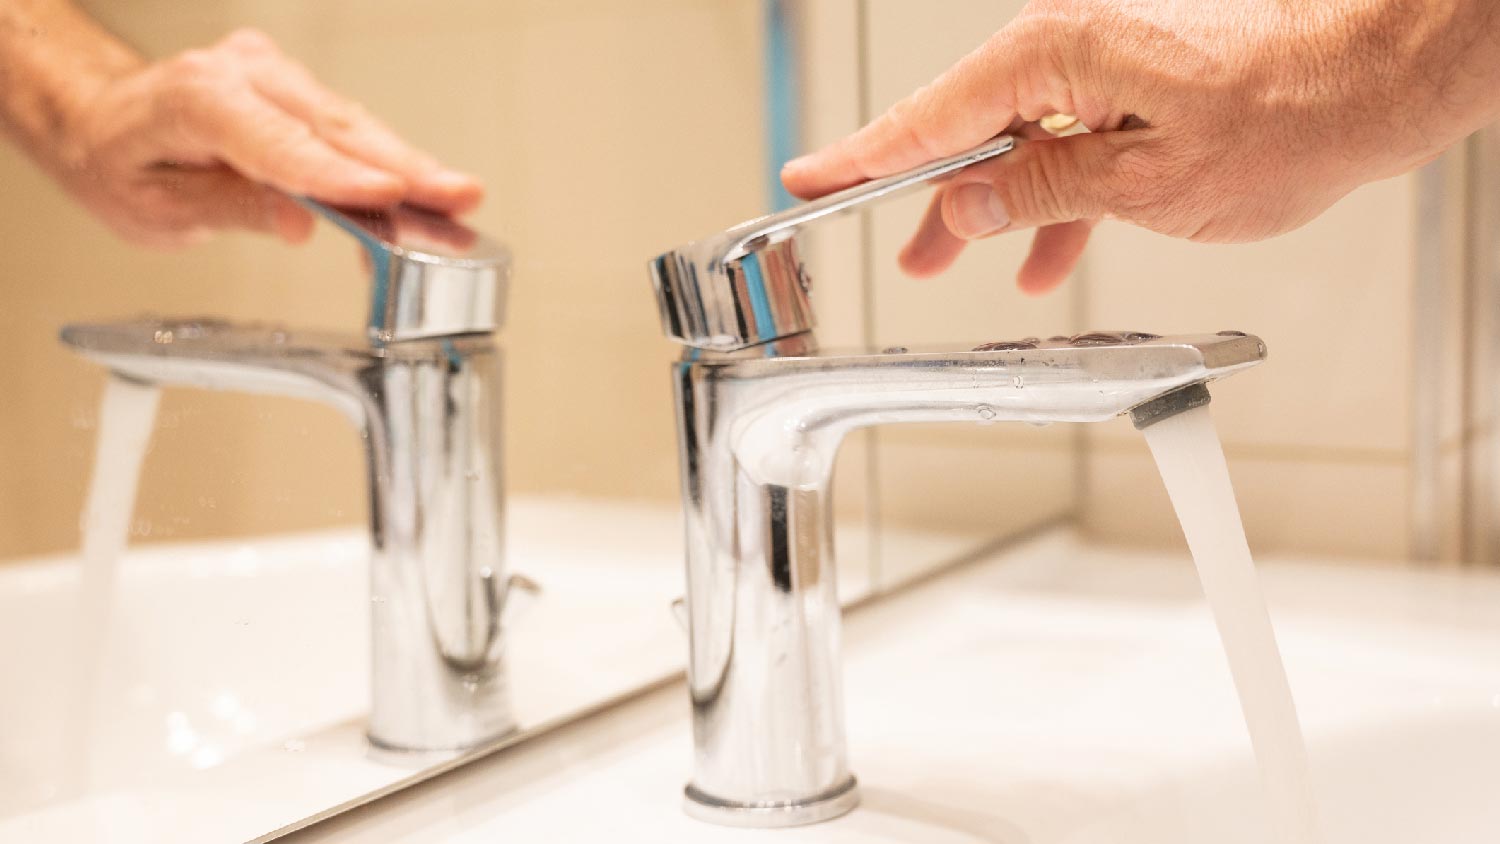
The handle is the part of the faucet that regulates water flow. It functions by opening and closing the valve that’s connected to your water supply line. When the handle is positioned to on, water comes out. When it’s positioned off, so is the water.
Faucets can have one handle or two, depending on style. A single handle can be easier for people to use, while double-handled faucets can look more designer and give you more accurate temperature control.
Each faucet has a set screw that attaches the handle to the faucet stem and keeps it from coming apart. On most faucets, set screws are located underneath or on the side of the handle. When tightened correctly, they hold the handle in place. You may need to adjust or tighten the set screw over the life of your faucet; if it falls out, replace it so your faucet keeps working correctly.
Most faucets, especially those with compression valves, have adjusting rings. This part regulates the water flow as you turn the faucet handle. You can customize your faucet’s flow by tightening or loosening the adjusting ring.
Faucet caps are decorative coverings that cover faucet handle attachment points and set screws. They’re pretty, and they keep your faucet looking and functioning its best. As a bonus, you can buy caps in various finishes and styles to fit your faucet and your decor.
The spout is the part of the faucet that delivers the water. Spouts can take any number of shapes—crooked, straight, low-profile, arcing, pull-down, and even articulating—but they all serve the same purpose: getting tap water into your sink, glass, or pot.
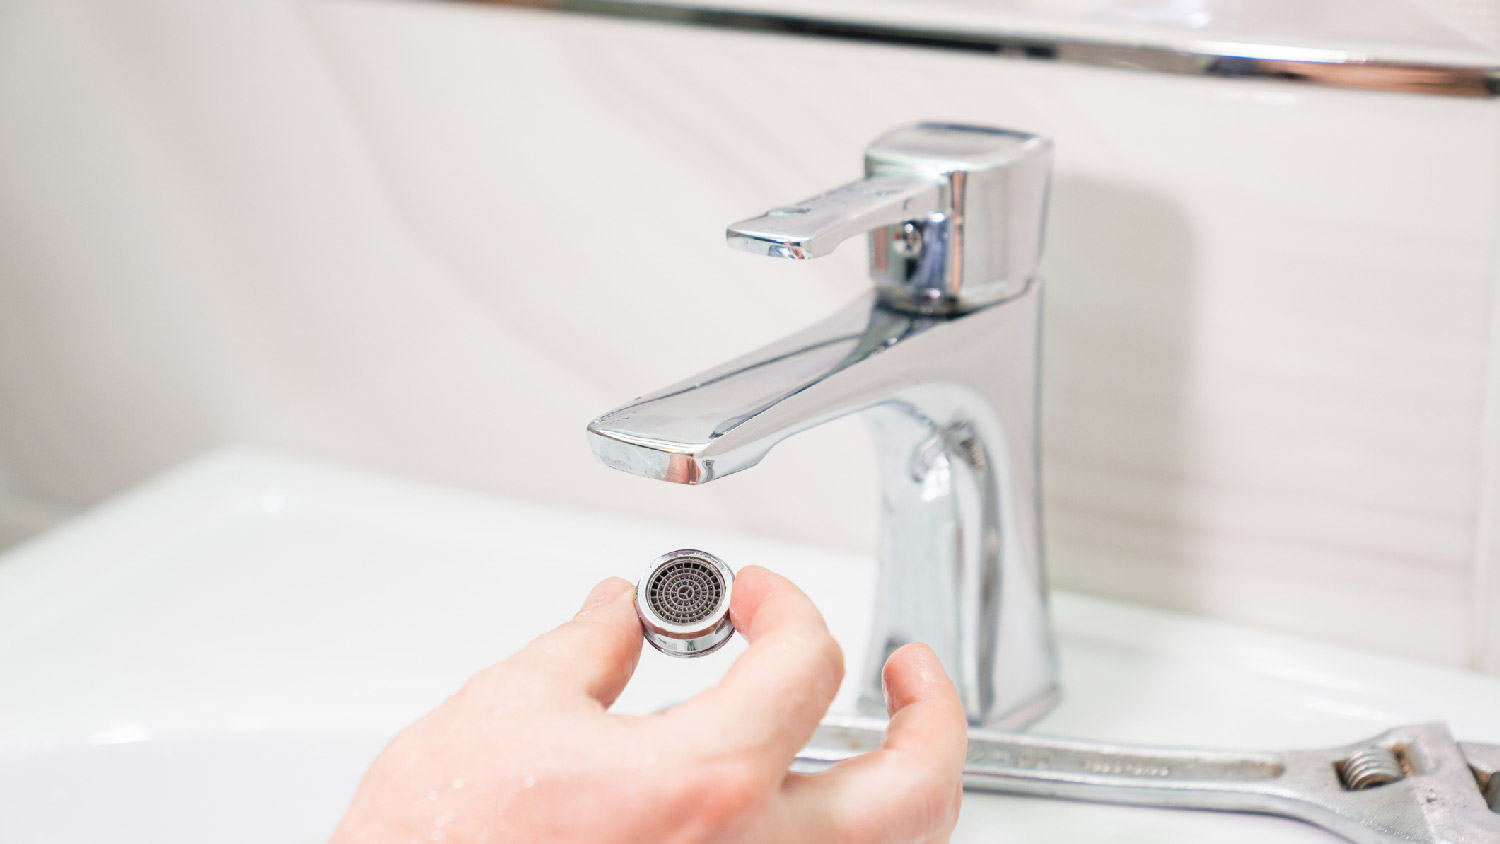
Located at the tip of the faucet spout, aerators are the final component separating you from fresh water. Most are made of mesh, and they break up the water flow and infuse air into the stream to give you higher-pressure flow while still reducing the amount of water. This saves water and reduces splashing without compromising on water pressure. You can also buy add-on aerators for even more water savings and better water pressure.
If you have a ball-type faucet, or a faucet that has a single handle that rotates on a ball to change the water temperature and flow, it will also have a cam and packing assembly. This is a combination of a cam mechanism that turns the ball valve and the packing material that seals around the ball valve to prevent leaks. These parts often need regular lubrication and maintenance so the faucet continues to work smoothly.
Depending on the type of faucet you have, it will include a ball valve or a cartridge valve. Here’s the differences between the two:
Ball-type faucets with a single handle use a ball valve to control the flow and temperature of the water. This valve is round like a ball and has channels or holes that align with inlet ports to let water flow through. As you rotate the handle, you move the ball valve, which lets water pass through the channels and out the spout.
Cartridge-type faucets have a plastic piece that controls water flow and turns the water on and off. Cartridge valves connect to the sink handle; when you turn the handle, it turns the cartridge, which opens up the channel and allows water through in the amount you choose. Cartridge valves are more commonly kitchen sink faucet parts than bathroom sink faucet parts.
If you consult a faucet parts diagram, you'll see that compression-type faucets, those with a compression stem that presses against a rubber seal to restrict water flow, have seats and springs. These parts of a sink faucet create a water-tight seal to prevent leaks when the faucet is turned off.
O-rings are rubber seals that make watertight connections between faucet components. You’ll find these rubber gaskets between the spout and the faucet body, and between the handle and the valve stem. O-rings don’t last forever; as you use your sink, they get pinched between the faucet parts to do their job, but this damages them over time. This damage and wear will allow leaks over time, so you’ll need to inspect and replace o-rings over the life of your faucet.
Before the water reaches the spout, it runs through the faucet body. This is the main part of the faucet, where water mixes before it passes out through the spout. There are three types of faucet bodies: single-hole faucets, where hot and cold water mingle in a single piece that includes the valves; widespread bodies, which have three holes (one for the spout and two for the handles) and mix the hot and cold water beneath the cabinet; and bridge faucets, in which two separate valves meet in a single pipe where the water is blended.
Every faucet has to sit somewhere, and that somewhere is usually the mount, also called a mounting plate or deck mount. The mount secures the faucet to the sink or countertop with mounting bolts, depending on the installation. While most faucets have mounts, wall-mount faucets may not, as you can mount them directly onto the wall. Some sinks also have an escutcheon plate, a decorative metal plate that covers gaps left between the mounting surface and the faucet itself, hiding the water supply tubing and keeping water and debris out from under the faucet.
Mounting bolts are usually long, threaded metal bolts that run through holes in the faucet mount and down through the sink or countertop. Washers and nuts usually tighten to the bolts to secure the entire assembly. If the mounting bolts aren’t tight enough, the faucet can shift or loosen over time. If the bolts become loose, you can usually tighten them by accessing them from under the sink or countertop.
Regular maintenance will help keep your sink faucet running well for a long time. Here are a few top maintenance tips to keep water flowing and leaks at bay:
Regularly wipe down the handle and spout to keep your faucet looking good. This will also remove dirt, grime, and mineral deposits, which can make your faucet function better for life.
If you see drips or leaks, check and repair or replace any worn valves, cartridges, or o-rings right away to prevent wasted water and keep the problem from getting worse.
Remove and clean your sink’s aerator regularly to prevent clogging and maintain the water flow. Most aerators simply screw off and on, and rinsing them or soaking them in a lime-fighting cleanser is enough to keep them clean.
Frequently inspect the faucet body for damage, corrosion, rust, or worn-out components. Clean or repair components as needed to keep the sink in good working condition.
If the faucet begins to shift or becomes wiggly, that is a sign that you should tighten the mounting bolts. Access them from under the sink or countertop or inside the cabinet the sink and faucet are mounted on. You will probably need a wrench and a little upper-body strength to do it.
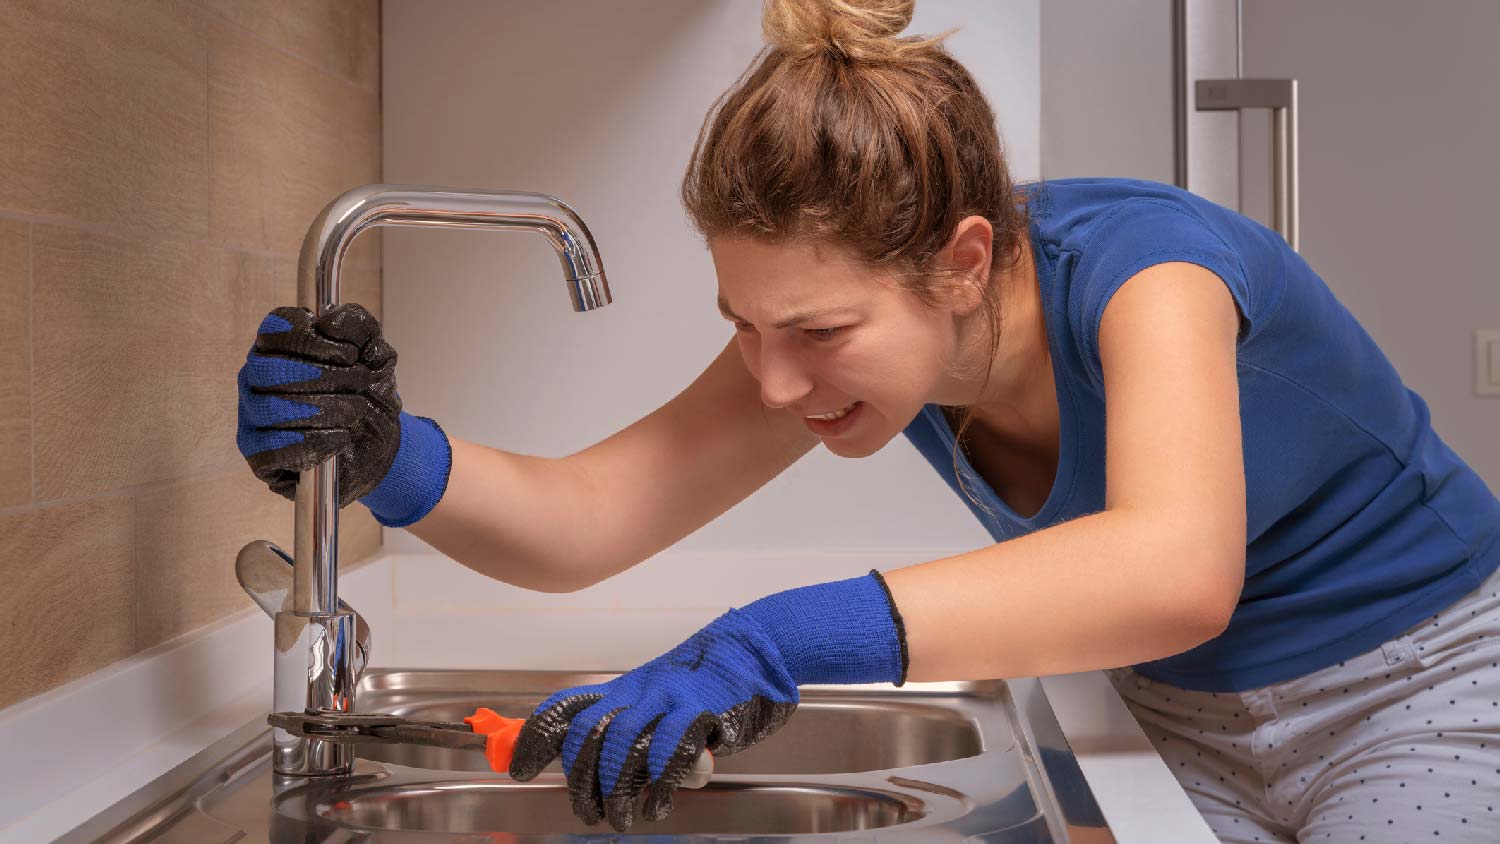
It can be possible to repair faucet parts yourself, especially if the broken or malfunctioning part is obvious and easy to reach. For example, clogged aerators and missing bolts are fairly easy for even inexperienced DIYers to replace. But for bigger problems, such as issues with the larger parts or problems you can’t easily identify, you may want to hire a professional. They’ll have the specialized tools and expertise to do the job right the first time.
If you are up for attempting a repair yourself, you’ll only need to pay for the replacement parts (that’s assuming you have the basic tools on hand to do the job).
On the other hand, hiring a plumber who replaces faucets or a faucet repair company will cost you time and materials. The cost to fix a leaky faucet can run between $100 and $400, depending on what’s wrong and what the remedy is. How much does it cost to replace a bathroom faucet? Expect to pay an average of $270, but your costs will vary.
Then there’s the question of whether to repair or replace a leaking faucet or a faucet that’s broken or damaged. If it’s newer, in otherwise good condition, and the problem is a small one, repair may be possible and even smart. However, for older, very damaged, or lower-quality faucets, sometimes the cost of repair is more than the cost to replace the faucet with a new one.
For both DIY versus a pro and repair versus replacement, you’ll need to balance your priorities and your budget to decide which is the right move for you.
From average costs to expert advice, get all the answers you need to get your job done.
Everyone can relate to having toilet issues—we’ve all been there. There are several reasons why your toilet might need repairs, and the cost varies based on the damage.

Pipe leak repair costs depend on the location and severity of the leak, as well as the type of pipe being replaced. Use our guide to price out repair work.

We’ll cover the cost of replacing a shower or bathtub drain, whether you can tackle this repair yourself, and what other projects to consider along the way.

If the temperatures plummet below 20 degrees, you should pay attention to your home’s pipes. Learn what to do if pipes freeze, and how to prevent them from bursting.

Learn how to remove a bathtub drain for cleaning or replacing, whether you’ve got a simple toe-touch stopper or a more complicated trip-level model.

Clogs can keep drains backed up and build up odors in kitchens and bathrooms. Learn how to use a plumbing snake, a simple solution to clearing clogs.