How to Condition Paint Brushes to Last as Long as Possible
Break out the conditioner to keep your paint brushes looking and feeling fresh


- Scissors
- Plastic wrap or a plastic bag
- Bowl
- Water
- Hair conditioner or fabric softener
Paint brushes are usually something we only think about when we’re using them to transform the color of our furniture, walls, or roofs. But how often have you used a paint brush, put it away, and then returned later to find it stiff, out of shape, and impossible to use? Let’s change the way we treat our paint brushes by learning the right way to clean and condition them before every home painting project.
6 Steps to Conditioning Paint Brushes
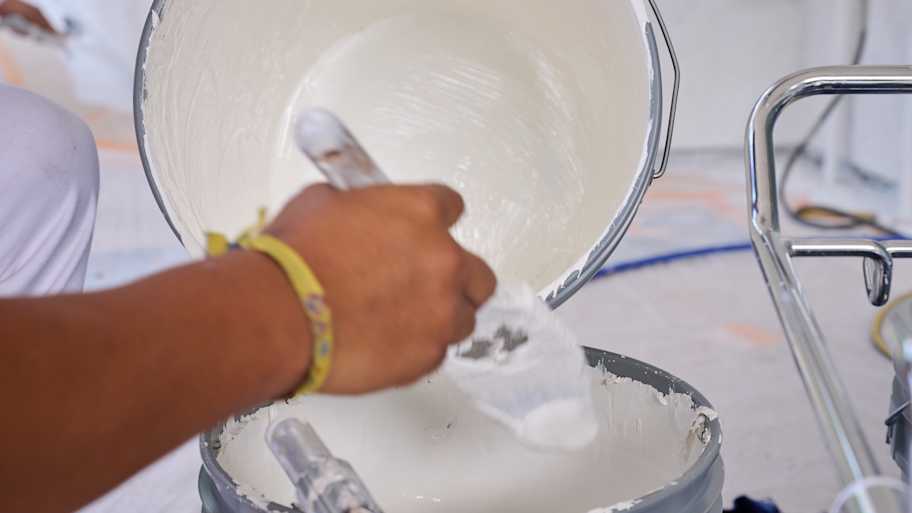
Clean Your Brush
 Photo: Miljan Živković / Adobe Stock
Before you do anything to your paintbrush, take five minutes to clean it thoroughly. Did you clean paintbrush before you put it away last time? That’s great, but you still have to wash it thoroughly. Is it a brand new paintbrush? Even better, but you still need to wash it thoroughly.
Pro tip: Since paintbrushes are usually made of porous materials, like animal hair or high-quality polyester, paint and debris tend to stick to the bristles. Thoroughly washing the bristles removes debris, plus it gives new paintbrushes a chance to become more pliable for conditioning and use.
Precondition Your Brush
There are two products that you can use to precondition your paint brushes: hair conditioner or fabric softener. Be careful to avoid hair conditioners with lightening agents, as they can be overly harsh. Both types of products are equally effective, so it all comes down to personal choice.
Once you’ve selected your product of choice, dip your brush into a bowl of the conditioning agent. Be sure to dip all the way up to the top of the brush where the bristles are housed. (That spot is called the ferrule—feel free to share that trivia at your next cocktail party.)
Use your fingers to ensure that every bristle gets a healthy coating of the conditioning agent. Don’t worry if it seems like too much product—it’s not human hair—it’s a brush that you’re setting up for a long life with this preconditioning project.
Wrap and Soak
Once you’ve covered your brush bristles in a conditioning agent, break out the plastic wrap. A plastic bag will also work for this step.
Wrap the paintbrush, making it as airtight as possible. Now, step away and let the brush soak up the conditioning agent for at least eight hours. This is a good step to tackle right before bed so that you can let the brushes sit overnight.
Rinse the Bristles Clean
Once the allotted time has passed, rinse out the brush using warm water. The warm temperature of the water will help remove any excess conditioning agent from the brush’s bristles with ease.
Condition Monthly
While preconditioning will help keep your brush in fighting form, it’s still a good idea to condition your brushes monthly or after big projects, such as painting your entire kitchen. To condition your brush, simply repeat the preconditioning steps. You’ll return to a soft, clean brush that works like it’s brand new.
Trim the Ends
 Photo: Kiryl Lis / Adobe Stock
The older your brushes get, the more likely it is that you’ll notice straggly ends that can make painting clean, even lines a real chore. When you spot these dried-out ends, clip them off using a pair of scissors. This step is a surefire way of extending the life of your brushes.


Get our Angi-powered app


