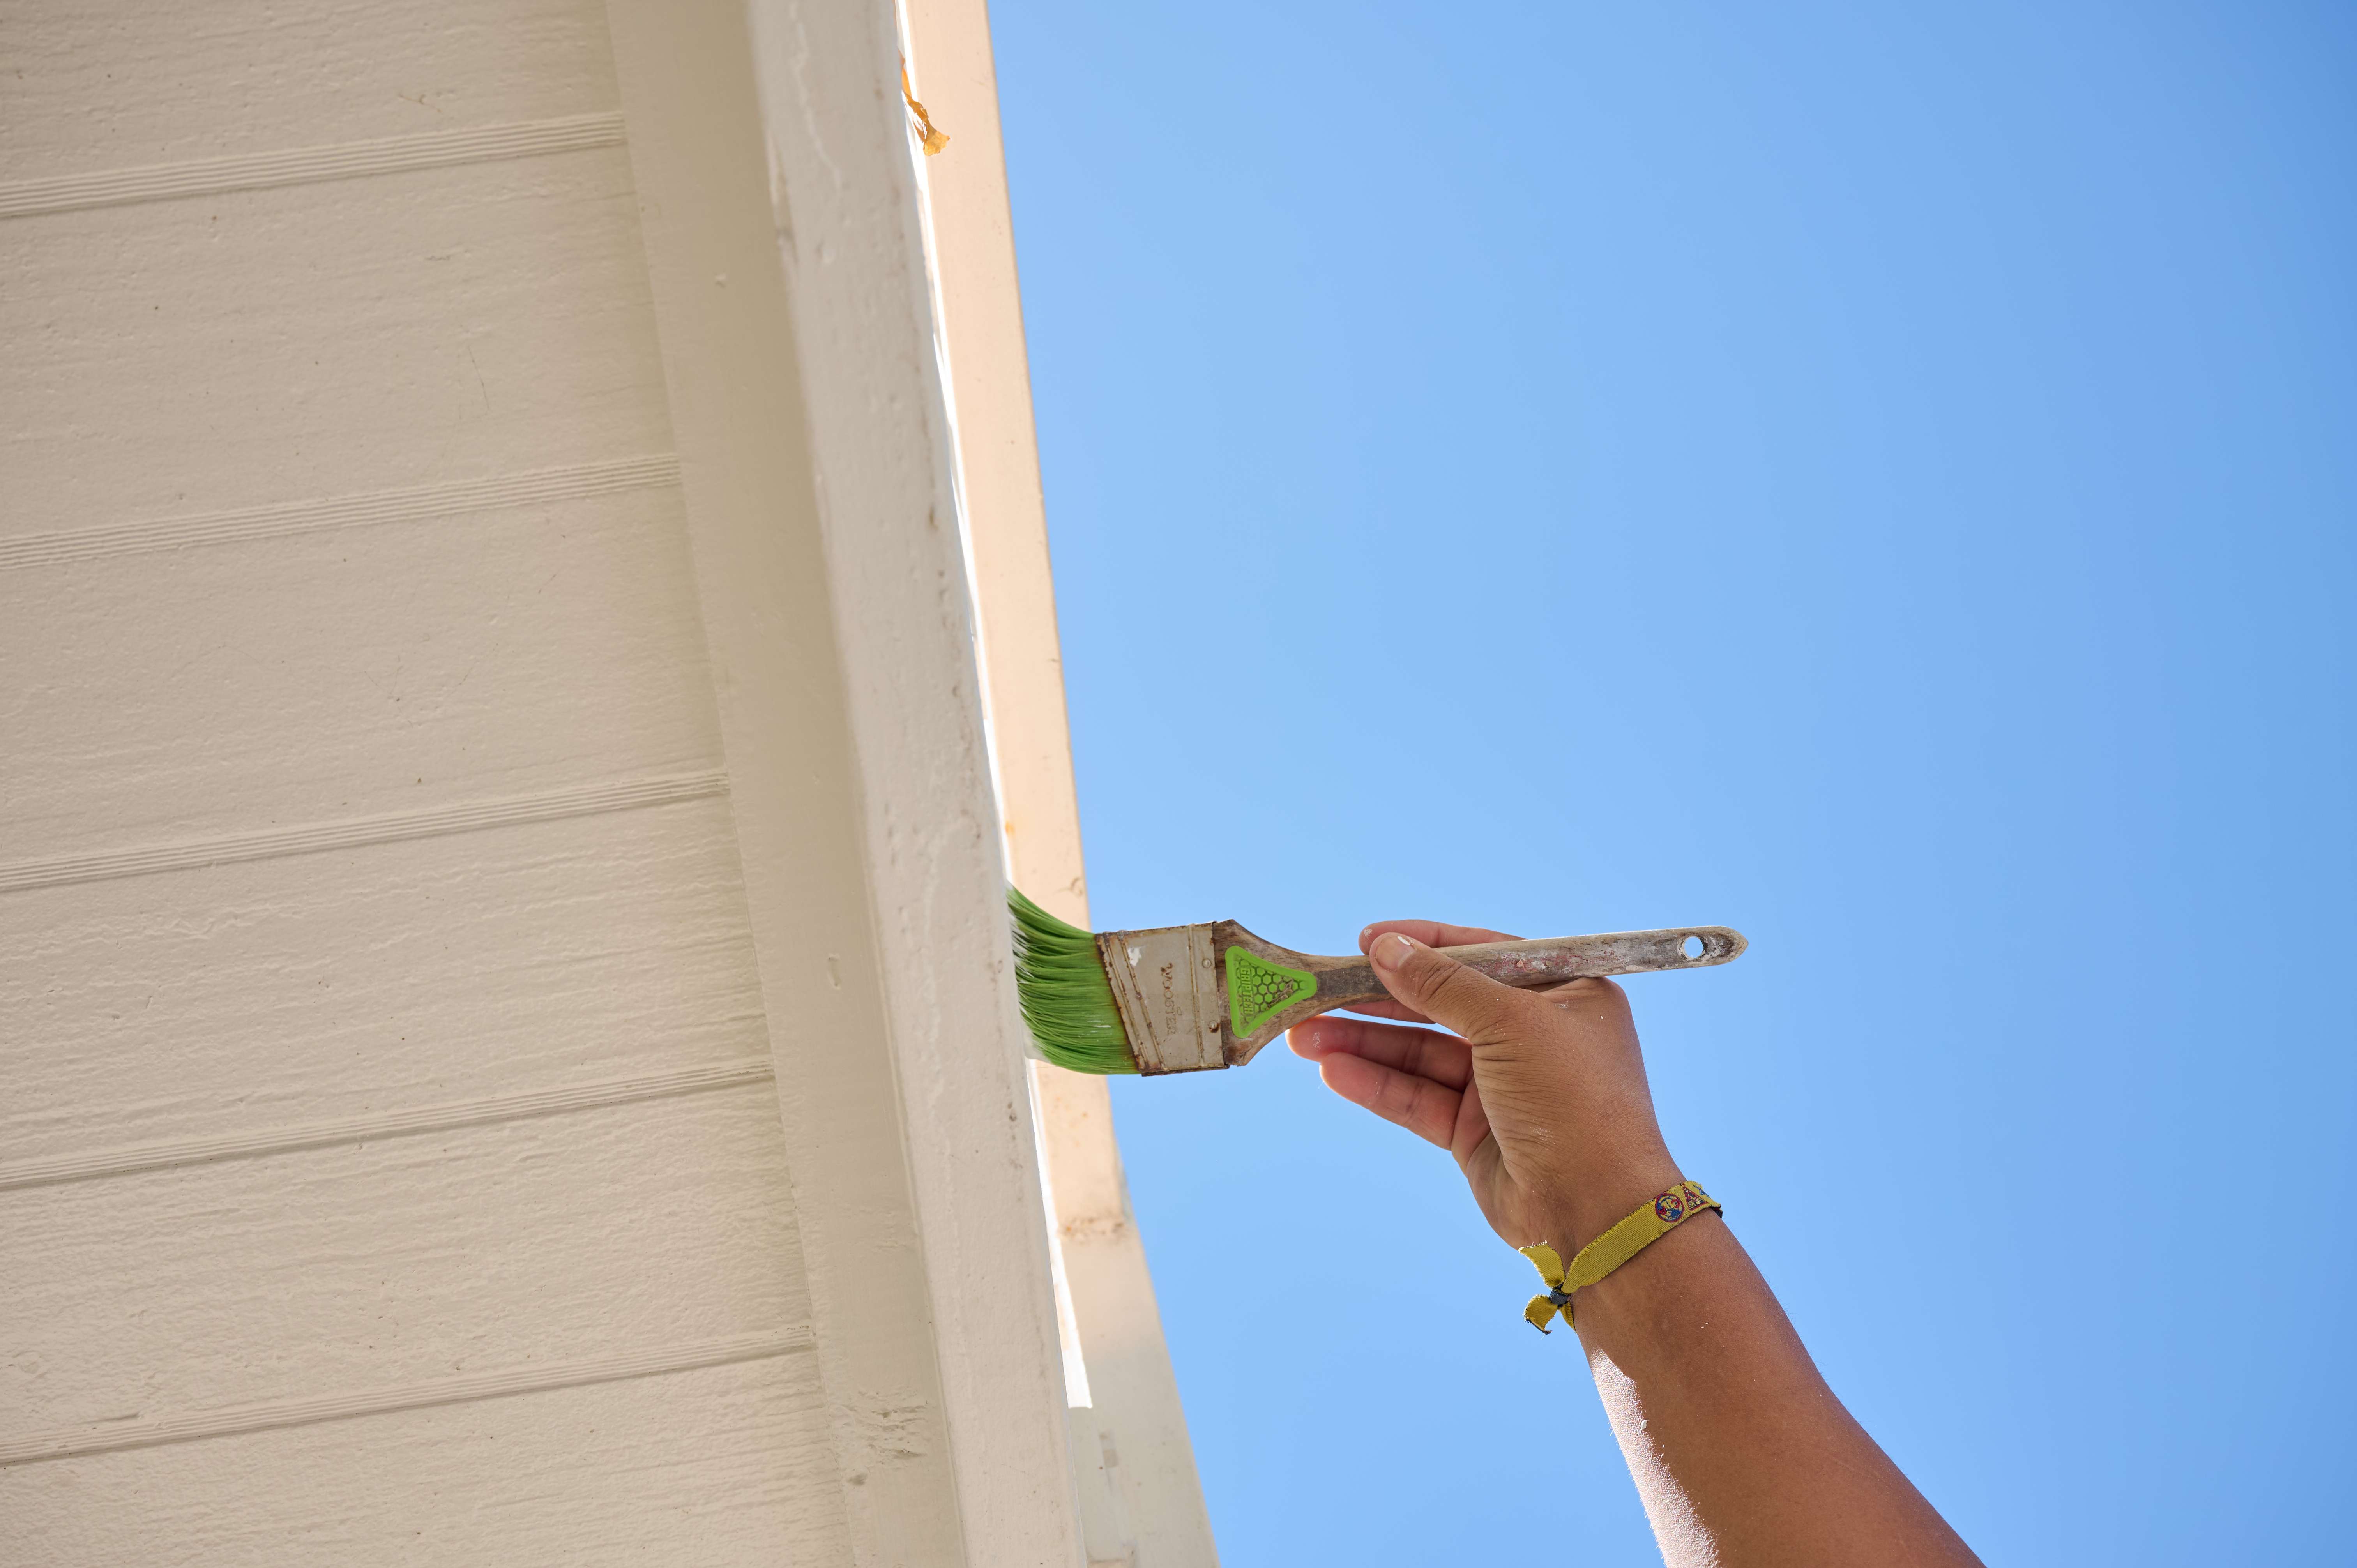
Painting your gutters can give your home the fresh finishing touch it needs to look its best. This guide walks you through the cost to paint gutters.
Give aluminum siding a budget-friendly makeover with paint


Can you paint aluminum siding to give it a makeover? Yes, aluminum siding can be painted. In fact, painting aluminum siding can be a cost-effective way to do an upgrade on well-performing aluminum that has simply become worn, faded, or "out of style." This guide to how to paint aluminum siding shows you all of the careful steps needed to create a perfect finish!
Start by confirming the status of your siding. First, it's important to verify that you're dealing with aluminum instead of vinyl or steel siding that merely looks like aluminum. Here are three ways to confirm that your siding is aluminum:
Tap on the siding to check for a hollow, subtly metallic sound.
Use a magnet to rule out steel siding. While a magnet will stick to steel, it will slide off of aluminum.
Look for telltale brown-red rust that shows up on steel.
It's also important to check if the aluminum siding has been previously painted. This will help you decide if you should strip or sand. The red flag to know about here is that some paint used on aluminum siding could contain lead. A lead testing kit can help you figure this out. If you'd prefer to not come into contact with lead, consider contacting exterior home painters to get expert opinions. Of course, finding out that your aluminum siding has lead paint instantly turns this from a DIY project to a task that's strictly for certified professionals. Finally, consider repairing aluminum siding before you begin painting to create the best results.
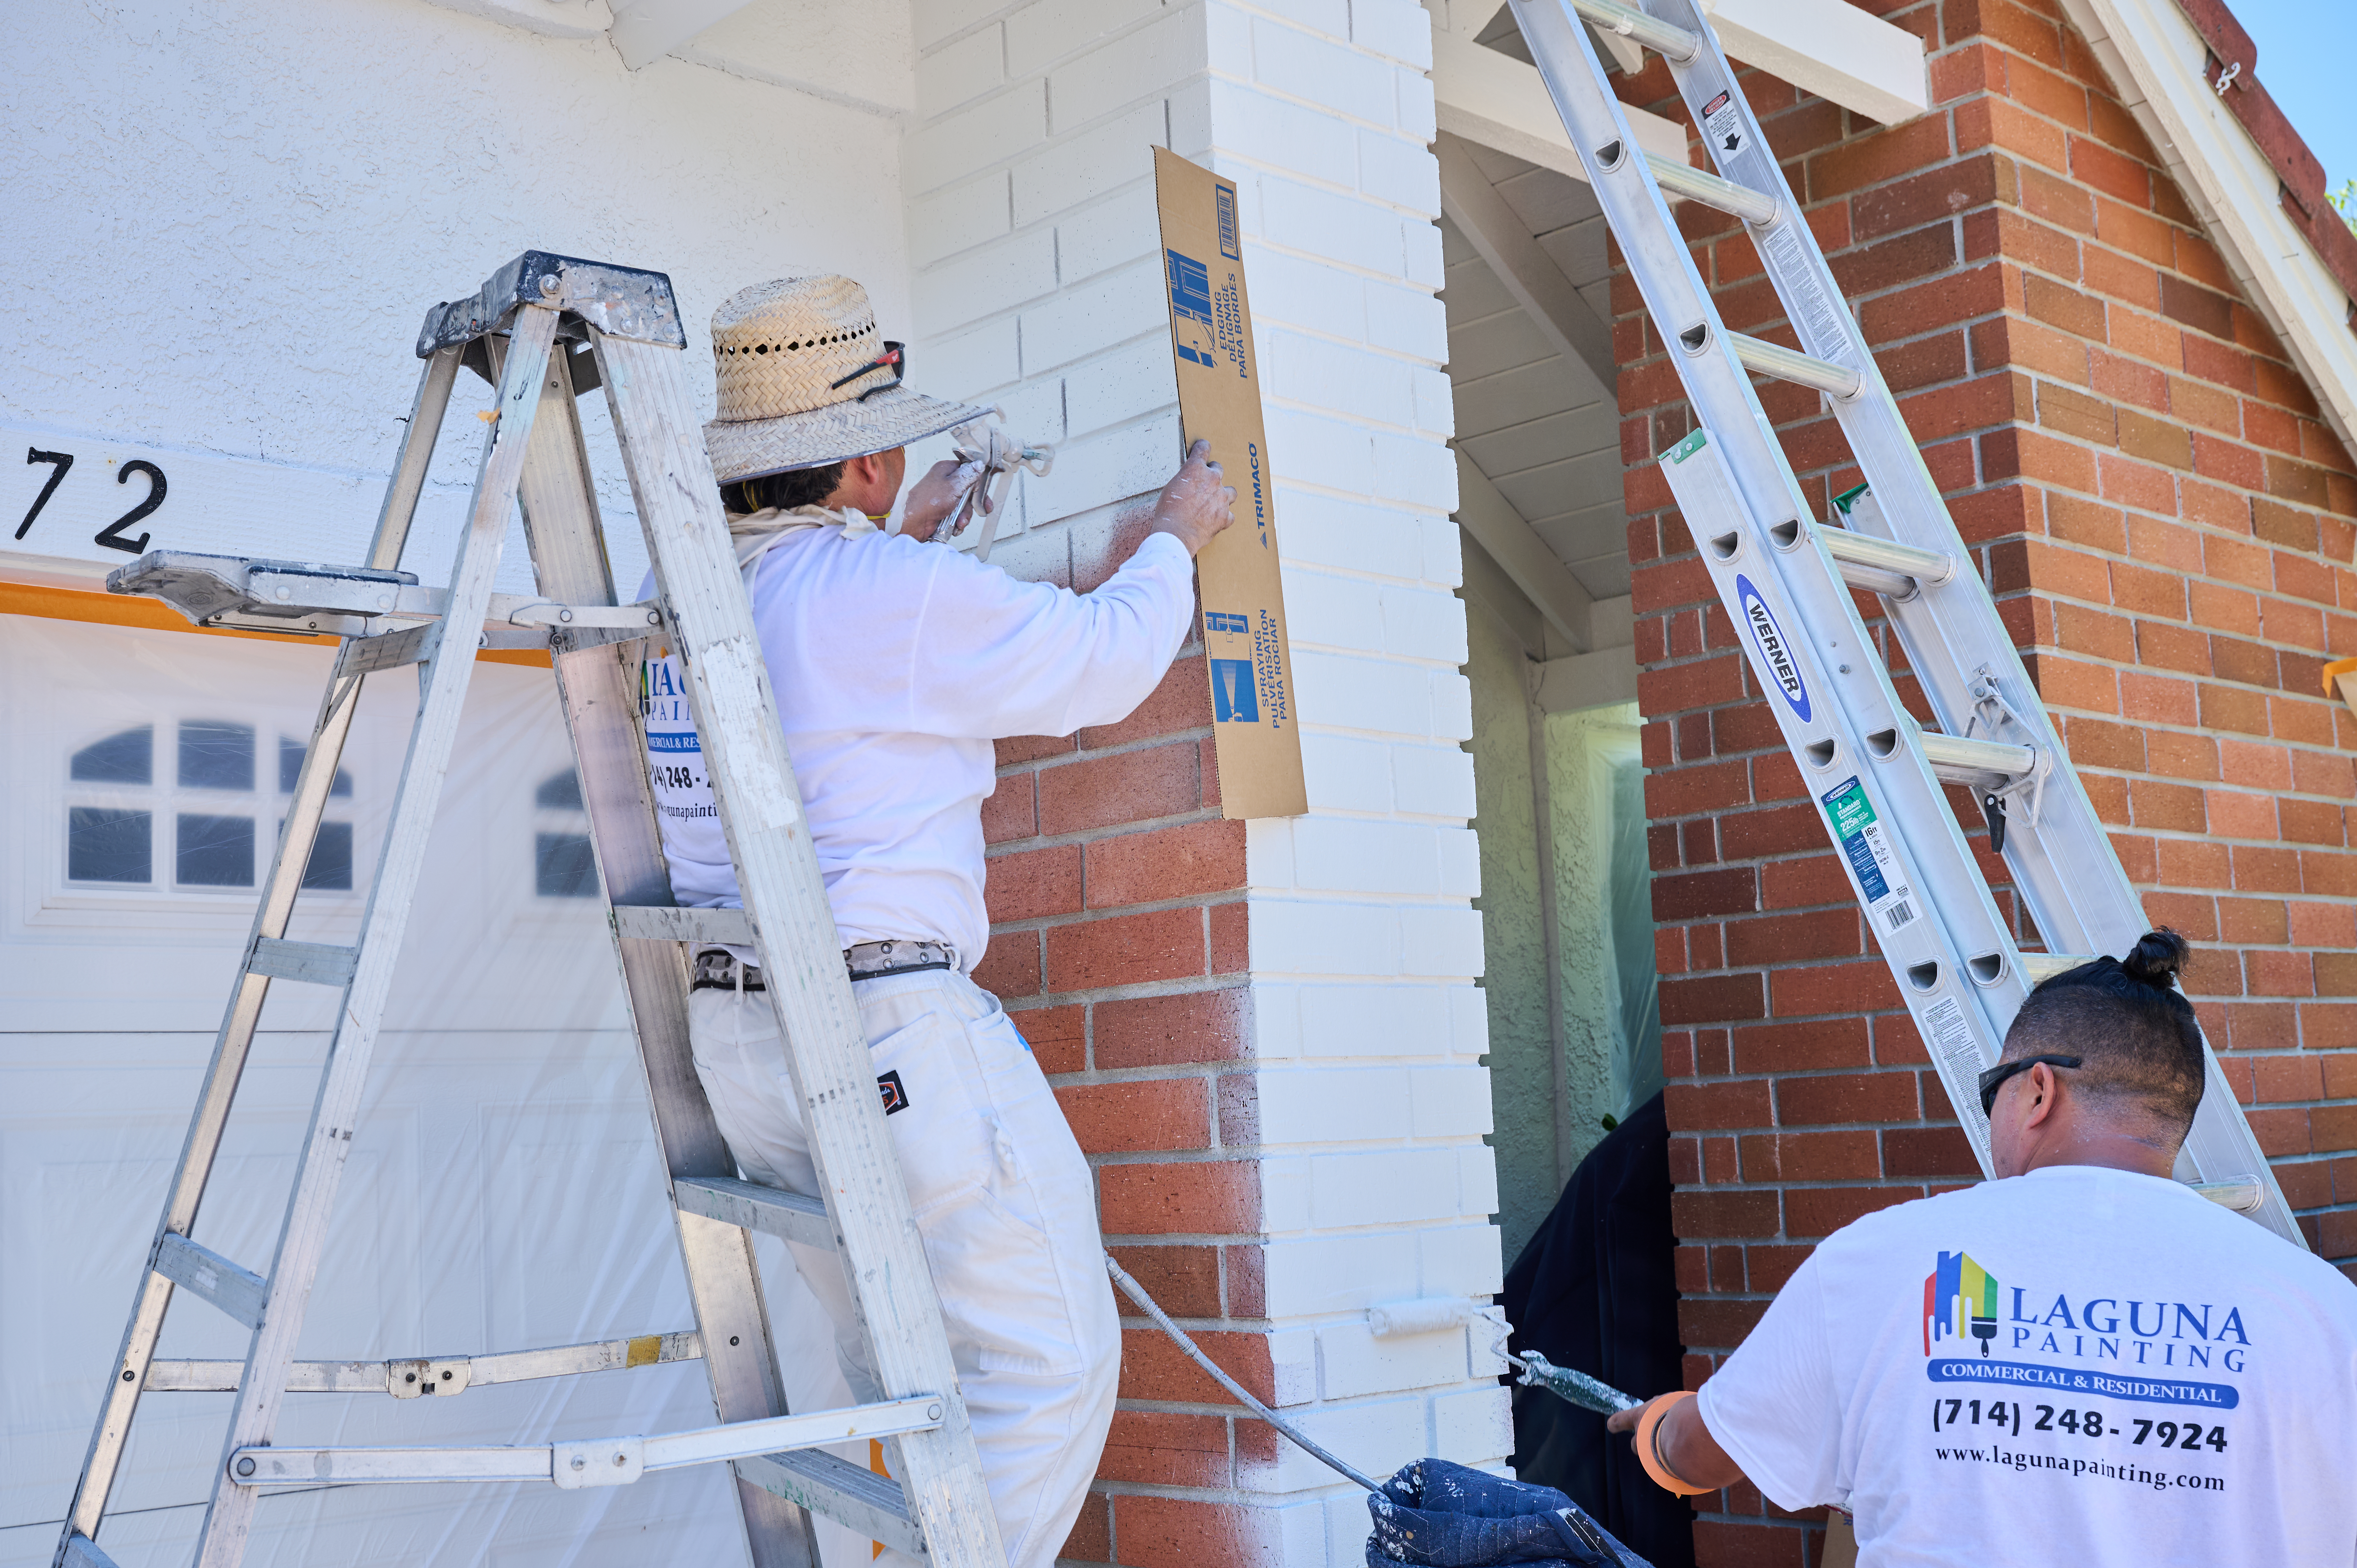
Start by placing drop clothes beneath the area where you'll be painting. To save money, move the clothes with you as you move from area to area. If you are using a sprayer to apply paint, it may be necessary to use enough drop clothes to cover each side of the home fully. Next, use painter's tape to protect light fixtures, cable boxes, satellite dishes, and other features from paint.
Cleaning aluminum siding gives you a clean slate to work with that will help primer to properly adhere to the surface of your siding. Simply painting over chalky oxidation and mildew can prevent paint from sticking. Generally, power washing siding offers the fastest and best results for avoiding the hassles of painting chalky aluminum siding.
Using a purchased or rented power washer, tilt the sprayer at a downward angle to mimic the angle of natural rainfall. The reason why you want to avoid simply spraying upward is that this can cause damage to your home's siding. If a power washer cannot be obtained, a garden hose can be used as a substitute.
It's recommended that you use a biodegradable laundry detergent over harsh chemicals in order to protect your home and surrounding lawn from damage. Siding should be washed by hand with a sponge prior to rinsing with a power washer. If the siding is extremely dirty, creating a solution that consists of one cup of bleach, one gallon of warm water, and one cup of trisodium phosphate (TSP) can create a heavy-duty solution that won't leave suds.
An orbital sander fitted with a 100-grit disk is recommended when smoothing aluminum siding in preparation for fresh paint. If the siding has already been repainted in its lifetime, it may be necessary to remove old layers of paint by stripping them off instead of merely sanding. While sanding eliminates existing finishes to create a clean slate, it merely primes the surface of the siding for a new coat of paint. Stripping paint involves manually scraping and peeling it away using a scraper or brush. Heating the surface of the siding with a heat gun can help to make the process go along faster by causing the paint to crack and peel on its own.
It's best to select an oil-based primer that will add extra protection against the elements. Acrylic primer can also be acceptable. Latex primers should be avoided entirely due to the way the ammonia in most latex products can create small gas bubbles that cause chipping. Here are tips for getting the best results from primer:
Apply two to three thin coats instead of one thick coat.
Be patient about letting each coat dry properly before starting the next one.
Work either left to right or right to left when priming to ensure that the primer dries evenly without lines.
Avoid priming on a day with rain, moisture, or dew.
Avoiding priming when the temperature dips below 50 degrees Fahrenheit.
If possible, avoid priming in direct sunlight which can cause rapid drying that leads to bubbles and cracks.
Do an inspection after your final coat of primer before moving on to your main paint color. It's important to look for any bubbles or cracks that have formed during the drying process. These blemishes will need to be sanded off before moving on to painting.
When choosing what paint to use on aluminum siding, it's important to select a paint that is intended for use with aluminum. Generally, an all-season, exterior-grade acrylic paint is recommended due to its durability and fade resistance. High-gloss paints are generally not recommended for siding because they can cause glare issues.
Brushes, rollers, and sprayers can all be used when applying paint for aluminum siding. However, it's important to decide which method you'd like to use far in advance. While brush painting by hand offers the least expensive option, using a brush or roller could take two to three times longer compared to applying color using a sprayer. When selecting brushes and rollers for painting aluminum siding, look for high-quality designs that feature soft fibers or wool.
When painting aluminum siding, it's important to start with a light coat that doesn't cause paint to drip down the side of the house. Work your way from the top down using long, careful strokes. The advantage of starting from the top instead of working your way up is that you won't have to worry about drippage. This also ensures that you're not rubbing against freshly applied paint with your body.
If you're painting horizontal aluminum siding, paint from either right to left or left to right on every strip of siding. If your siding is vertical, paint up and down in the same direction for every strip. Like primer, paint requires ample time to dry between coats to ensure a beautiful finished product. While paint generally takes two to four hours to dry, each can of paint should come with specific instructions regarding drying times. You can confirm that your siding is ready for a second coat by checking to see if the painted area feels dry instead of sticky.
If any visible bumps can be seen, gently sand them out before moving on to the second coat. If any paint is removed during the sanding process, add a dab of primer that can be covered with paint once the area is dry. Next, begin applying a second coat of paint that will add to the overall beauty and durability of your siding. The second coat also creates an opportunity to conceal any stroke lines that were created when the first coat was applied.
From average costs to expert advice, get all the answers you need to get your job done.

Painting your gutters can give your home the fresh finishing touch it needs to look its best. This guide walks you through the cost to paint gutters.

The cost to paint a house's exterior depends on its size, siding type, and height. The finish and the home's exterior condition also play a role.

Painting a brick house typically costs between $1.40 and $4.20 per square foot. Your total cost will depend on where you live and the finish you use.

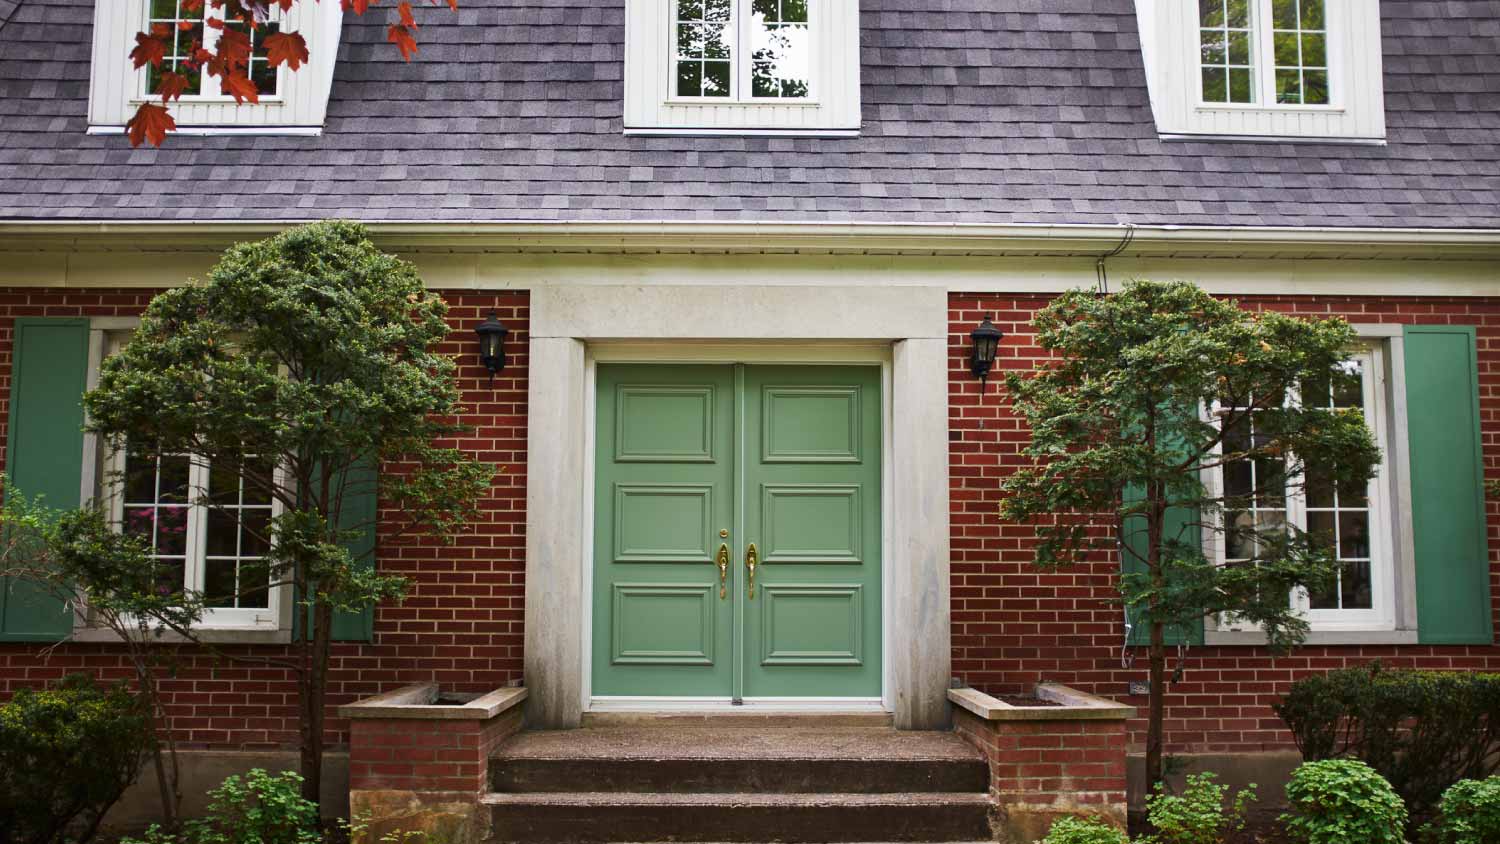
Knowing how to pick a front door color will help you achieve the style you desire and boost your curb appeal.

Brick stain colors come in many shades, ranging from brown to red to gray. Keep reading to discover some of the best stain colors for your brick home.

Painting your stucco home can take your curb appeal up several notches. Here’s a step-by-step guide on how to paint a stucco house, including tools and supplies.