How to Paint Corian Countertops: A Complete DIY Guide
Painting Corian may be worth it for a fresh look


If you have Corian®, a type of solid surface countertop, in your kitchen and need a refresh, new kitchen countertops may not be in the budget. Corian® comes in lots of different colors and patterns, so if the previous owner—or a previous version of yourself—chose a style or color that doesn’t fit with your new aesthetic, you may decide to paint your Corian® countertops. Luckily, this wallet-friendly project can help you achieve your kitchen countertop ideas, but it will take some supplies and a few days to complete the process.
What Is Corian?
If you had them installed, you likely know what Corian® countertops are. But if you bought a new house that has Corian® countertops, you may not be familiar with them.
Corian® is the brand name of solid surface countertops invented by DuPont™ in 1967. It’s a nonporous surface that’s consistently colored throughout. Made from a mix of natural minerals, resins, and pigments, it can mimic other materials like granite and marble, but it can also take on a look that is all its own with various colors and patterns.
One reason homeowners like this countertop material is that it can come in almost any shape with curves and rounded edges. While the cost of Corian® isn’t as high as granite or even quartz, Corian® countertops cost more than materials like laminate, and they’re still quite an investment.

How to Prep for Painting Corian Countertops
Most projects go more smoothly if you gather your supplies before you begin, and painting Corian® countertops is no exception. Here are the tools and supplies you’ll need to get started right and finish strong.
Tools:
Drop cloths
Plastic sheets
Orbital sander
Wet-dry vacuum
Tack cloth
Microfiber cloths
Paint roller
Paint tray
Supplies:
Epoxy primer
Epoxy paint
All-purpose cleaner
Degreaser
Dish soap
400-grit sandpaper
Painter’s tape
Paint roller covers
Paintbrush
Paint tray liners
How to Paint Corian Countertops
1. Clear and Protect the Area Around the Countertops
The first step to painting Corian® countertops is to clear the area and protect the surrounding areas with drop cloths and plastic sheeting. Sanding the countertops will create dust and even the most careful painter can let a few drops escape. Protecting the nearby cabinets and appliances can let you spend more time working and less time worrying about spills or splatters.
2. Clean and Degrease the Countertops
Before sanding, it’s important to clean any spots of food or grease on your counters. Even if you wipe your counters regularly, there may be areas with built-up grease. Once you remove all the items from the countertop, clean it with an all-purpose cleaner followed by a degreaser. After degreasing the counters, wash them again with warm water and dish soap. Finally, rinse them with warm water to remove any traces of soap and allow them to dry.
3. Sand the Countertop
Corian® is a nonporous surface, making it difficult for paint to adhere to it. To remedy this, lightly sand the counter to create a slightly rough surface to which the paint can attach. Using your orbital sander with a high-grit sandpaper, sand the surface using continuous circular motions. Don’t let the sander sit in one spot for too long, or you’ll risk an uneven sanding job. And don’t forget to sand the edges and any corners. For the best results, do this by hand.
4. Remove All Dust From the Counters
Vacuum as much dust as possible from the countertop. Make sure to get in the corners and on the edges. Then, use a tack cloth to remove any leftover dust. Follow with a damp cloth. Let the countertop dry and sit for about a day so any dust in the room can settle, and then wipe it with a damp cloth again.
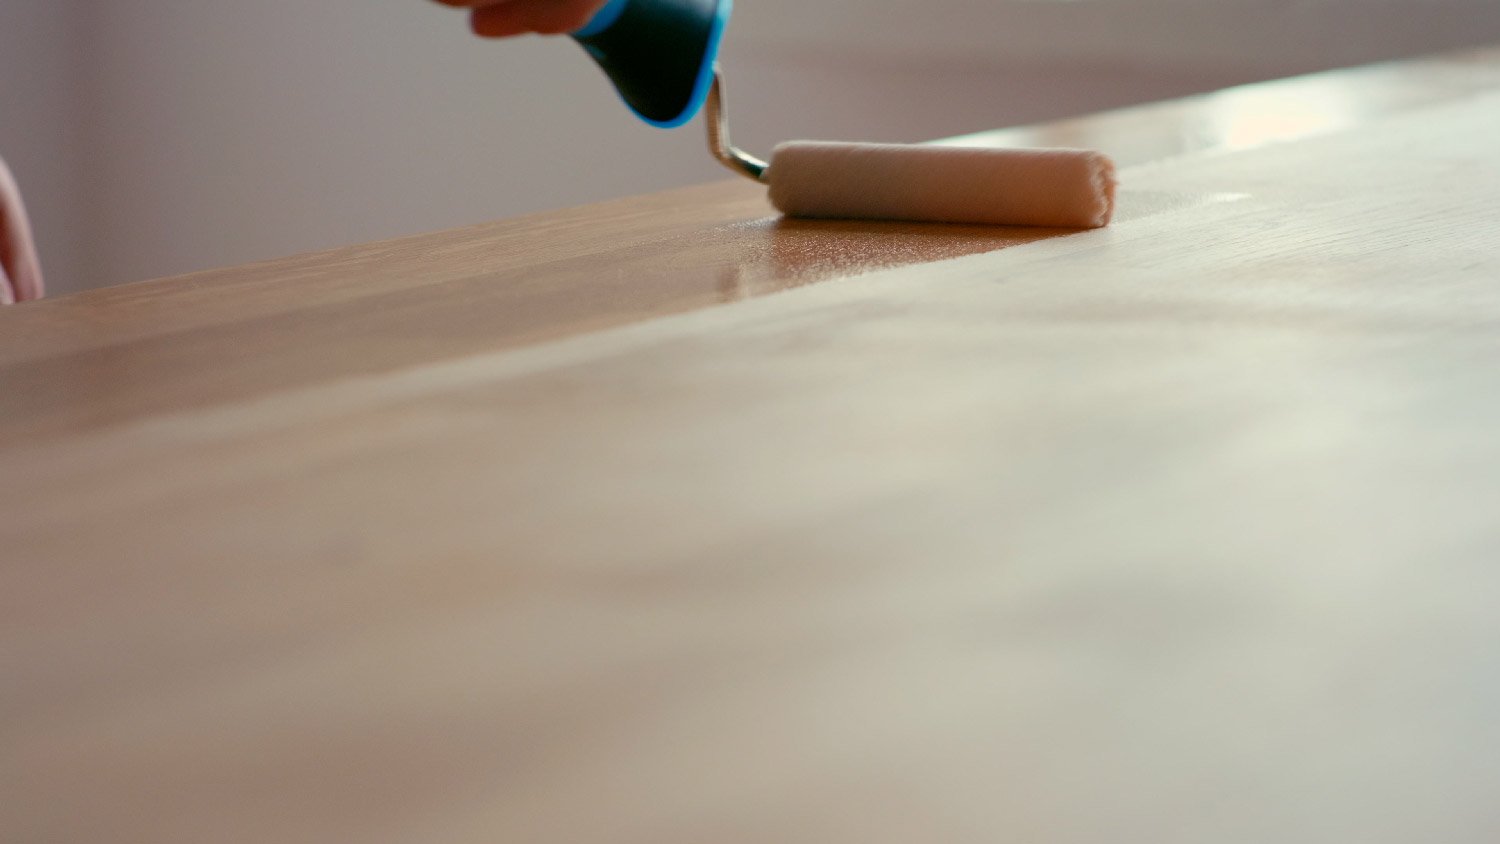
5. Prime the Surface
Using the epoxy primer and roller, prime the entire surface, including the edges. For corners and along the seam of the backsplash or wall, use a paintbrush. Let the primer dry for the appropriate amount of time, as per the manufacturer’s instructions.
6. Paint the Countertop
After cleaning or replacing the roller and paintbrush, paint the surface of the Corian®, getting in all of the corners with a paintbrush. Let the first coat dry thoroughly, and then apply a second coat. Epoxy paint is highly durable, so you likely won’t need to seal the paint job.
Tips for Taking Care of Painted Countertops
After spending all of this time learning how to paint Corian® countertops and putting that knowledge to use, the last thing you want is to damage them. As with any countertop, it’s important to protect it from heat by using a pot holder or trivet under hot pans, pots, or plates. Even though epoxy is heat resistant, there’s no sense in taking chances that you could leave a scorch mark on the counter. You can clean the surface as you would Corian® using a mild detergent or all-purpose cleaner for daily maintenance.
DIY vs. Hiring a Pro
If you’re wondering if you can paint Corian® countertops on your own, the answer is probably yes. It takes some tools and supplies, many of which you likely have on hand if you’ve taken on DIY projects in the past. And you should set aside a good chunk of a weekend or a few weeknights to give yourself enough time. That said, a local Corian® countertop pro may be able to do the project for you or at least offer suggestions to make the project as successful as possible.
Frequently Asked Questions
If your Corian® countertop begins to appear dull or dirty, or you notice scratches on the surface, you can return it to its original finish while maintaining its look. To do this, repair any scratches with a repair compound and sand the surface after it dries.
Then, use an orbital sander with either a 100-, 30-, or 15-micron disc and finish with a hand pad (like Scotch-Brite™ 7447 or 7448) or lamb’s wool bonnet and automotive cutting compound for a matte, semi-gloss, or gloss-finish, respectively.
Corian® is a nonporous surface that won’t absorb stains, so you shouldn’t try to stain these counters. If you’re unhappy with the look of your Corian® countertops, you can try to resurface them by sanding them back to their original shine, or you can paint them to match your kitchen aesthetic.


Get our Angi-powered app


