The cost to move a 4-bedroom house depends on home size, distance, and whether you hire movers. Learn the necessary costs before moving long distance.
Avoid damage fees and move out with confidence


From packing boxes and tidying to organizing your inspection, there’s a lot to manage when planning a move out of your old home. That’s where a move-out inspection checklist comes in handy—helping you keep track of essential tasks, clean all the key areas, and avoid damage costs before you vacate for good.
Not only does a move-out checklist help renters get that security deposit back, but it’s also key for landlords who are preparing for the next tenant as well as homeowners who want to clean up before selling a house. Put on your rubber gloves, break out the cleaning wipes, and use this move-out inspection checklist to get ready for anything your next move has in store.

A move-out checklist is a list of home components to check up on before you leave. It’s the counterpart to the move-in checklist, and ensures that all major damages are repaired and everything is in working order and clean. In some states, a move-out inspection is required by law.
Even if a move-out inspection isn’t legally required, it’s still a good idea. For renters, a landlord-tenant walkthrough helps you confirm that everything is in order for your security deposit. For homeowners, it’s a chance to check that everything is in great condition for your next tenant or a new homeowner.
If you’re renting a home, a tenant move-out inspection checklist is important for getting your security deposit back. Use it during the move-out inspection, where you and your landlord will walk through the apartment and check that everything is in the same condition as when you moved in. Remember, normal wear and tear doesn’t count as damage on your move-out checklist.
Landlords typically bring a landlord move-out inspection checklist of their own when they do the inspection, but it’s a good idea to also have your own so you know what to expect. If you’re a landlord, using a move-out checklist ensures that everything looks great for your next tenant and helps you take note of any repairs or tidying that needs to be done. In cases when you do find damage, clear move-in and move-out checklists help you determine who pays for repairs after a home inspection.
For homeowners, a pre move-out inspection checklist is necessary to ensure everything is in the condition that was promised for the sale. Move-out inspections are often a bit more in-depth for housing sales and can include things like electrical inspections, as well.
Once you’ve loaded up the moving truck, it’s time to go through each room and check for damage and cleanliness. Every home is a little bit different, but here are some common areas and things to check for.

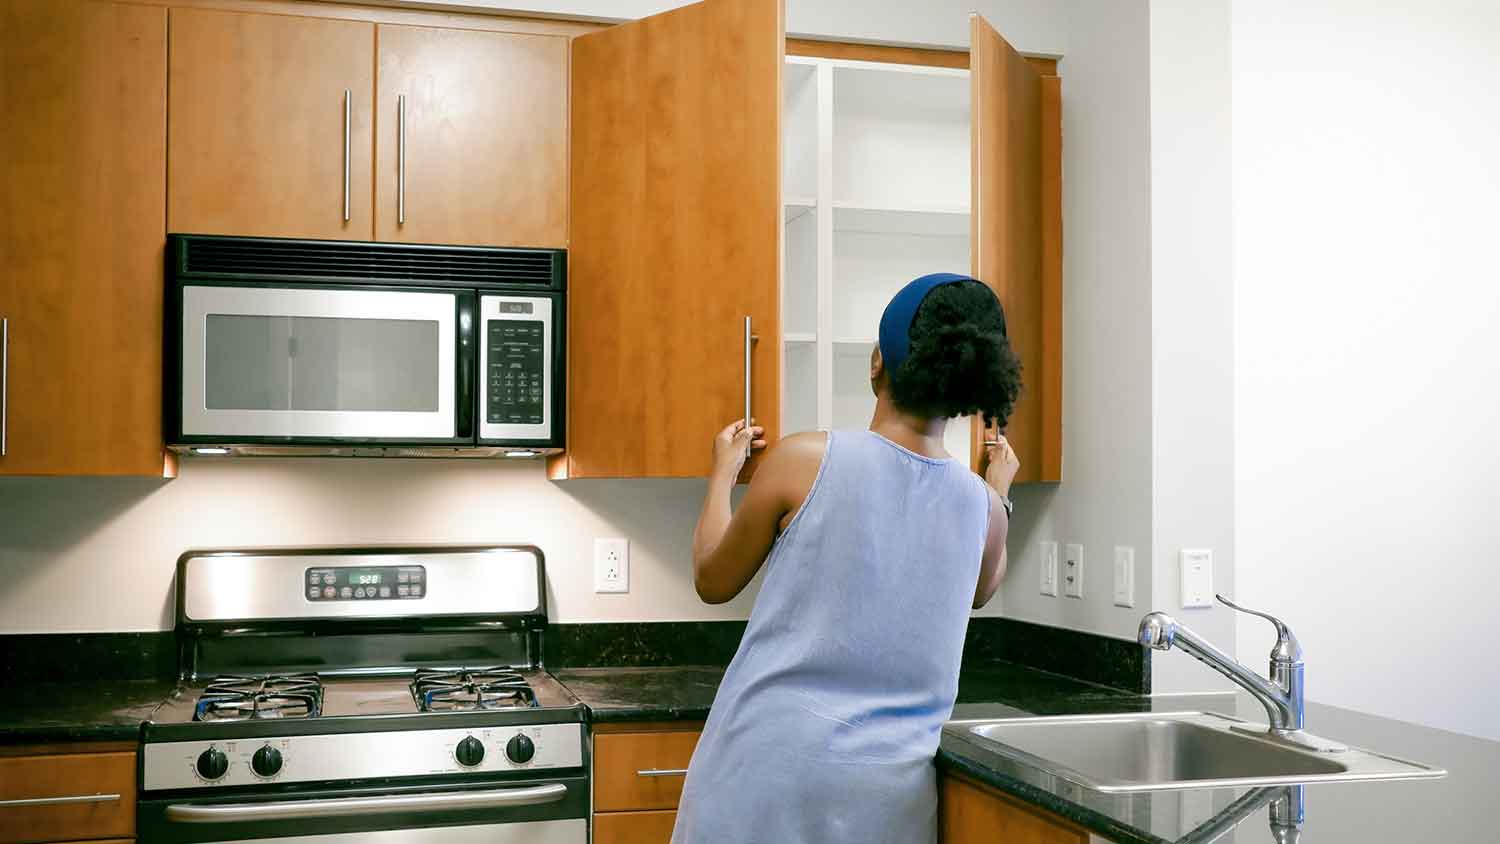
Kitchens see a lot of use, so you’ll want to pay extra attention to the cleanliness in this room. There are also a lot of important appliances, so make sure everything is working as it was when you moved in.
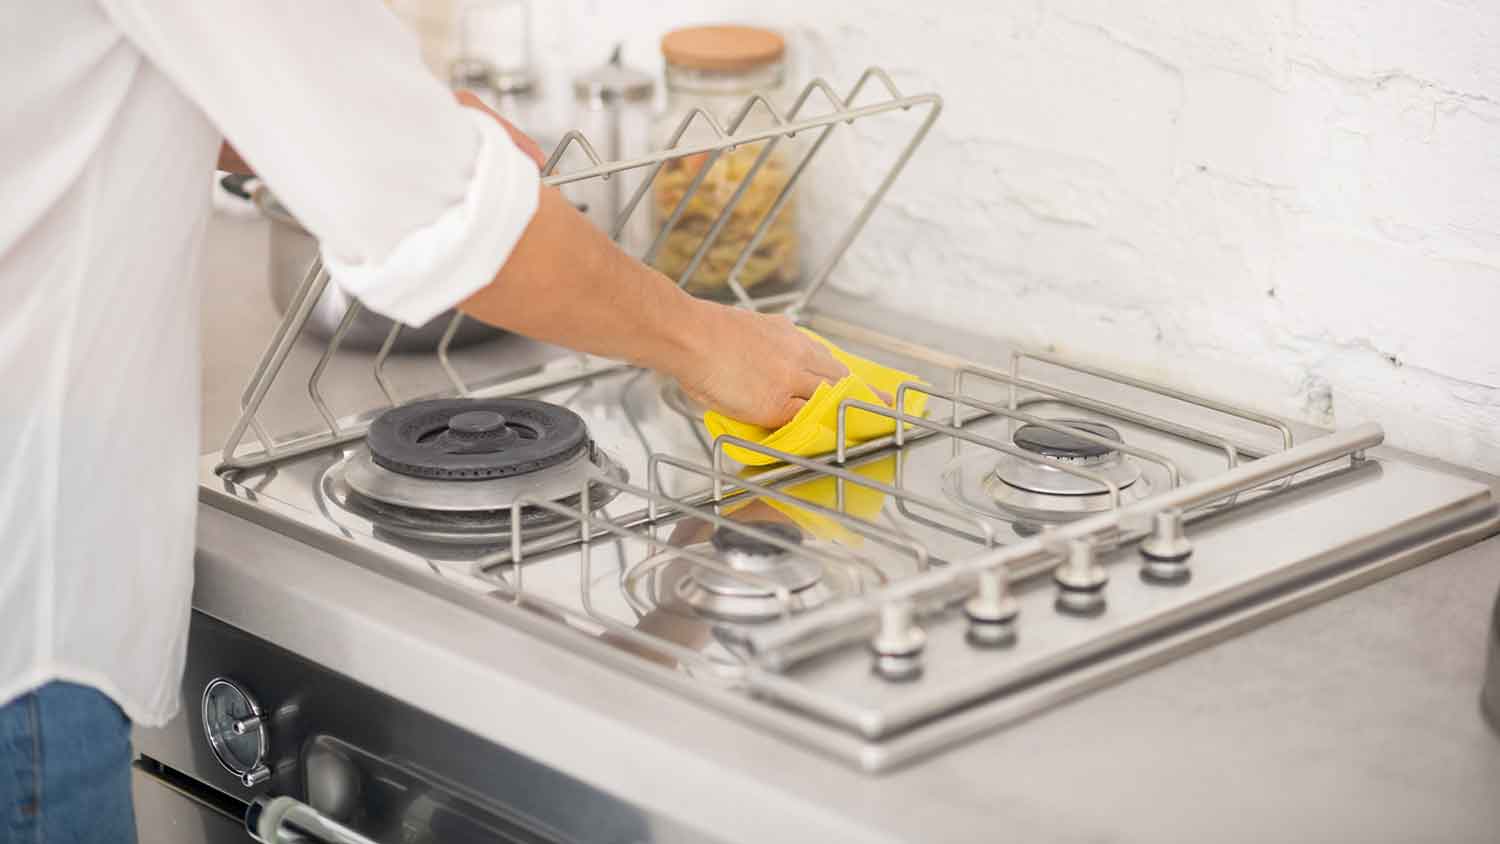
Here are a few moving-out cleaning steps for a sparkling kitchen:
Wipe down the refrigerator, oven, stove, and microwave
Clean sinks and faucets
Unclog any drains
Wipe down cabinets, countertops, and backsplashes
Fix any broken cabinet doors
Clean grease from exhaust fan and lights
Clean the dishwasher
Run salt and cold water through the garbage disposal—and toss in a lemon rind for an extra-clean smell
Bathrooms are another busy spot, and come with the extra challenge of moisture. Keep an eye out for any signs of mildew, especially in the corners, behind the toilet, around the showerhead, and along the baseboards.
The following are some good move-out practices for cleaning the bathroom:
Clean all tiles, floors, and grout
Sanitize toilets, showers, sinks, and faucets
Polish the mirrors
Wipe down countertops and shelves
Fix any broken drawers or cabinets in vanity
Fix any towel racks that came off the walls
Check for any signs of mold or mildew

Most other spots like bedrooms, living rooms, and hallways just need a simple cleaning. If you have any extra appliances like air conditioners, give these a quick wipe and a test.
Then go through all your rooms to do the following:
Vacuum and mop all floors
Steam clean the carpets
Remove nails and patch any holes
Wash the walls and baseboards
Clean dust and cobwebs
Wash windows
Clean window coverings (wipe down blinds or wash curtains)
Take out any garbage and recycling
Clean lint filters from the dryer
Test smoke detectors and carbon monoxide alarms to make sure they are installed and working
If you’re planning to sell your rental property or house, you’ll need a full home inspection and your move-out checklist will include a look at the exterior which can be a little more in-depth.
Take a look at exterior features like:
Outdoor security lights: Test that they detect motion and that the bulbs work.
Doorbells: Make sure they are working. If they are video doorbells, ensure you leave information about how to sign up for the service.
Exterior locks: Make sure they are working and you leave all keys.
Decks and patios: Ensure all boards are fixed and there is no water damage. If there is, disclose it to your real estate agent.
Gates and fences: Ensure all boards are in place and that gates open, close, and lock.
Exterior outlets: Test outlets to make sure they work and that they are covered correctly.

If you’re renting, you’re not usually required to book in-depth inspections like electrical, furnace, or HVAC checkups. Major appliances are the responsibility of your landlord, unless you damage them in the course of your stay. It’s still a good idea to give the place a final once-over to look for any socks hiding in the dryer or mugs at the back of the kitchen shelves.
If you’re a homeowner, you will need to book inspections for plumbing and electricity, as well as anything else that’s included in the sale contract.
If you’ve gone through your move-out checklist and everything is sparkling clean and working well—you’re all set. But there’s always a chance that a walkthrough will turn up some minor damage. If that’s the case, it’s important to know whether it’s your responsibility and how to resolve it.
Start by reviewing your move-in checklist to see if the damage you found was there prior to your stay. If you’re a renter, you’re not responsible for prior damage or for normal wear and tear (this includes minor cosmetic things like floor scratches that don’t affect the liveability of the space).
There are some types of damage that you’re responsible for if it occurs during your stay:
Carpet stains
Broken windows
Damage from pets
Holes larger than those for hanging pictures
Unapproved renovations (including new paint or wallpaper)
Broken appliances
Excessive uncleanliness
If you notice any of these, it’s a good idea to clean, repair it, or call in a professional. For renters, finding a professional appliance repair person to fix this damage before your inspection is the best way to get your deposit back. If you’re a landlord or homeowner, you’ll also want to have any damage repaired before the new occupant moves in.
If managing your move-out tasks, cleaning, and checking your home for damage and other issues feels overwhelming—on top of the packing and actual moving—find a local professional home inspector that will clear your conscience and ensure your home is thoroughly checked, room by room.
From average costs to expert advice, get all the answers you need to get your job done.

The cost to move a 4-bedroom house depends on home size, distance, and whether you hire movers. Learn the necessary costs before moving long distance.

If you’re moving, you need to consider distance, weight, packing, and more. Our guide provides the average cost to move a 3-bedroom house long distance.

Wondering how much it costs to ship a bed and bedroom set? Start by determining the weight of the furniture and the distance of your move.

Packing dishes is often an overlooked part of the moving process. Learn how to pack dishes for moving in a safe and strategic way with this DIY guide.

The number of boxes you need to move depends on how many items you have and the type of stuff it is. Here’s how to figure it all out so you can plan your move perfectly.

Moving is usually a stressful time, especially if you’re unsure of the rules and regulations. Here’s all the information you’ll need for a successful move.