Painting a brick house typically costs between $1.40 and $4.20 per square foot. Your total cost will depend on where you live and the finish you use.
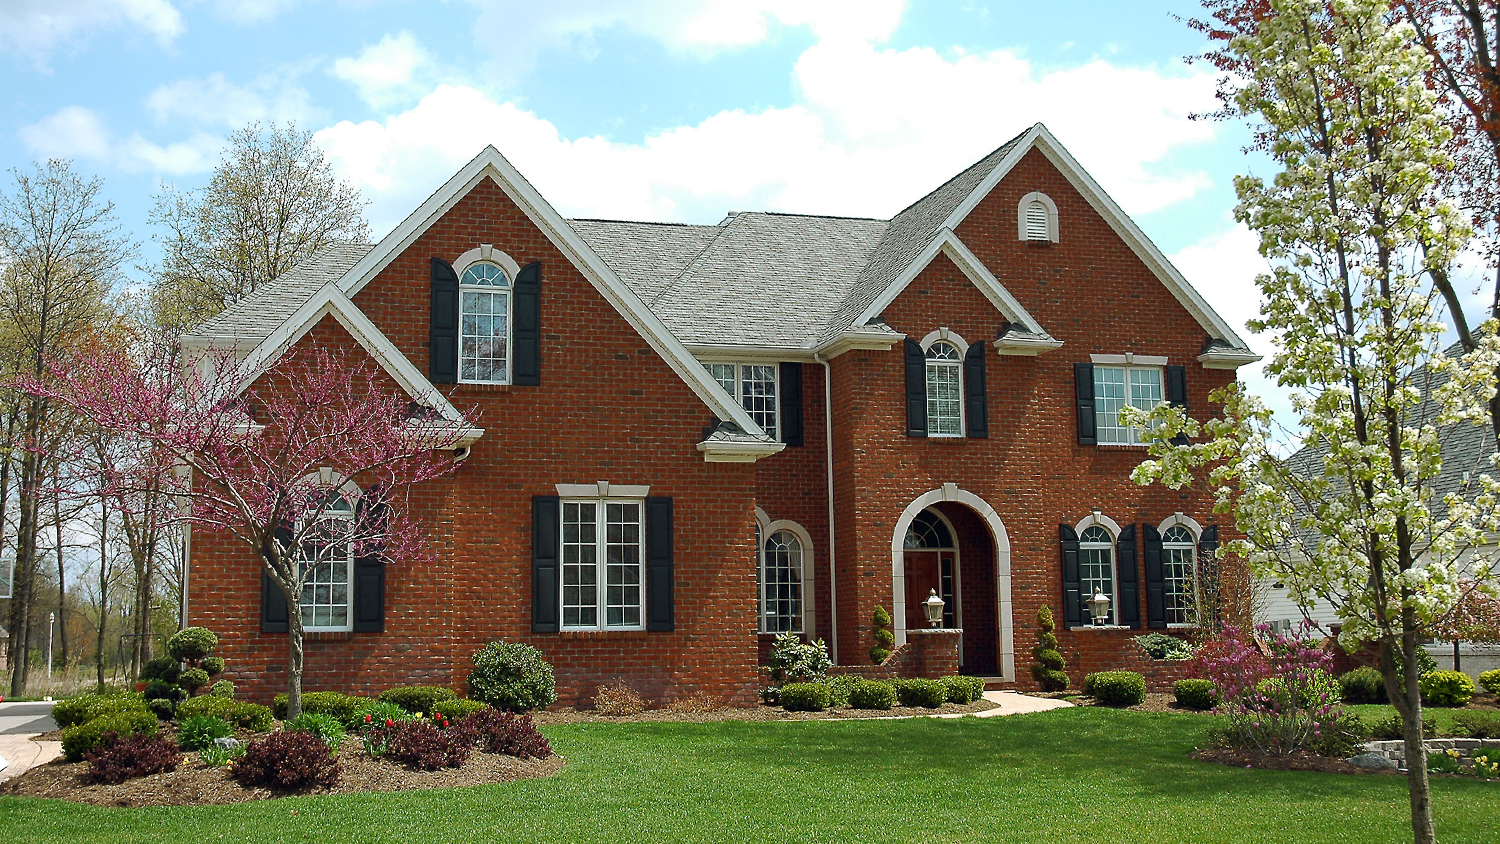
A few coats of the right stain can make old brick look brand new


Classic red-hue brick homes or fireplaces are beautiful to look at, but sometimes you’re just ready to spice it up a bit. Brick staining can change the entire feel of the exterior or interior of your home, allowing you to go for a more traditional or modern style, or even to resemble stone while staying true to the brick’s natural beauty.
If you’re ready to jump into this transformation, this guide gives you a step-by-step process of how to stain brick, along with tips. Plus, find out how brick staining and painting compare and when you should consider contacting a pro.
Before you start a brick staining project, you'll want to wait for a warm, dry day to work. You'll need to clean your brick beforehand, and it needs to dry throughout the day before you can apply stain. Watch the weather and postpone your project if there's rain in the forecast. Wind can also make the process more difficult, so calm weather is ideal.
Your first step to staining your brick is to check for sealant. If there’s sealant on the brick, the stain won’t adhere properly. You can check the brick for sealant by tossing water on it—if the water is absorbed, it’s sealant-free, but if it rolls off, then there’s a layer of sealant on it.
If there’s no sealant, you can move on to the next step. If there is, use a lacquer thinner to remove the sealant. You’ll need to let it sit for 10 minutes before wiping it off. If some sealant remains on your brick, use the same method with a brick sealer stripper. Also, if you’re removing sealant from an exposed brick wall, make sure to properly ventilate the space.
Before you go through the process of cleaning, repairing, and staining the entire brick surface, make sure you like the brick stain color you've chosen. Test the stain on a brick in an inconspicuous area to see how the stain looks when it's finished.
Depending on where you're working, this could be in a bottom corner, on the back of your house, or on a spare brick you happen to have lying around. It could take multiple coats to achieve the look you're after, so try applying a few coats while testing.

When cleaning your brick, use a water hose or pressure washer for exterior brick and a spray bottle for interior brick. Saturate your surface with water, then use a mild detergent to clean any dirt, debris, dust, and mildew.
Before moving on to the next step, wait for the brick to dry completely.
Once your brick is clean, you should be able to see where repairs may be needed. Look for spots where mortar is missing, cracked, or chipped. This can happen after power washing. If you notice damage, purchase a bag of mortar mix and prepare it by following the manufacturer's instructions on the bag.
Use a pointing trowel to replace or patch the mortar in damaged areas. Press it as far into the joints as possible and shape it to blend in with the surrounding mortar. You'll need to allow two or three days for the new mortar to fully dry before you can continue with your staining project.
Brick staining is messy, so protect yourself with safety goggles, gloves, and old clothing. Once you’re all set, use painter’s tape and drop cloths to protect the surrounding area from runaway stain.
The exact instructions you’ll need to follow will depend on the manufacturer’s directions. But since the brick stain is likely to be unevenly distributed in its container, you’ll need to mix it to ensure an even stain when applied.
Take some of the brick stain out of the bucket. If the manufacturer requires you to dilute your stain, place the mixed, diluted stain into a separate bucket.
Test your mixed stain in an out-of-the-way location to see if the pigment is what you want. If you’re looking for a lighter color, add small amounts of water at a time until you achieve the right stain color. If you want a darker stain, add more of the undiluted stain to the mix.
Pro Tip: Keep track of your water-to-stain ratio so you have the exact measurements in case you need to recreate the mixture.
Dip a paintbrush into the mixture and glide it across the bucket’s rim to remove as much excess stain as you can. Stain one brick at a time with one stroke. You should be able to stain three to four bricks before you re-dip and start the process again.
Stir after each dip so you’re always staining your brick the same color. Another tip to help you create a more aesthetically-pleasing look: stain your brick in a random pattern. If you move horizontally or vertically, it’s likely to create a noticeable row-like finish.
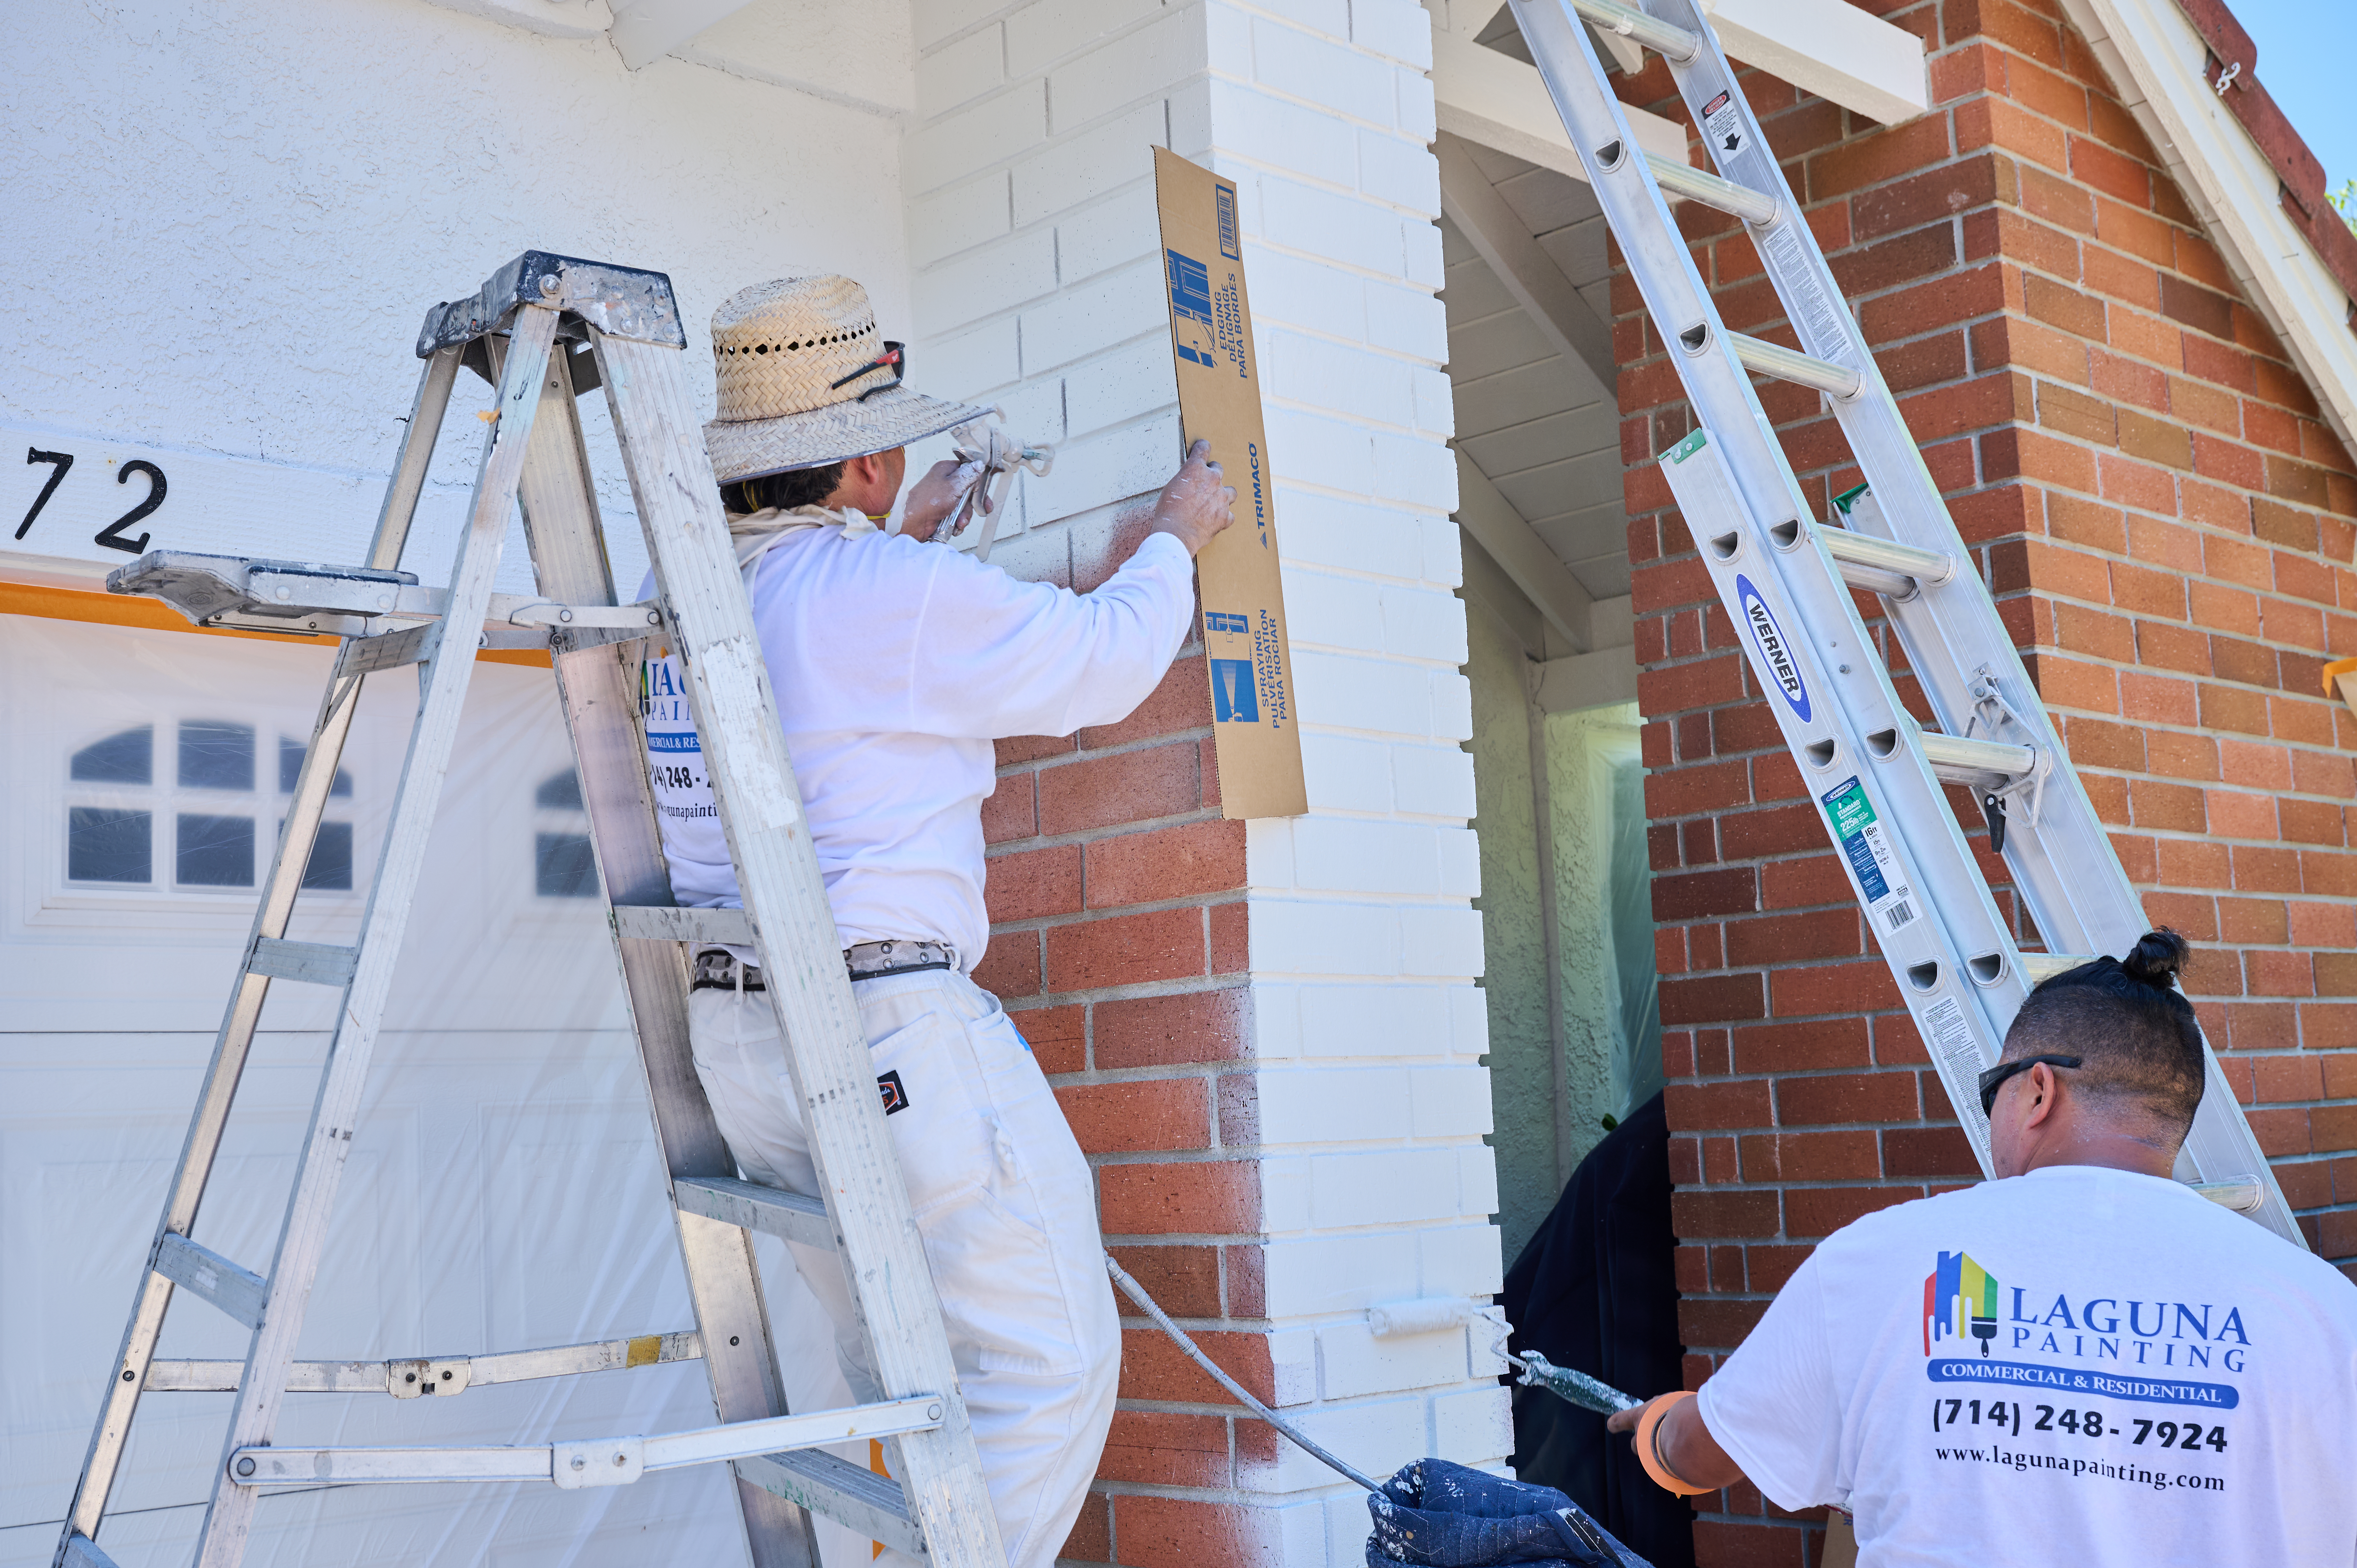
If you’re staining exterior brick, use a ladder for out-of-reach areas and work slowly.
If you have experience using a paint sprayer, you may be able to save some time on this project. A sprayer provides even coverage on the bricks, but be sure to cover and tape off any areas you don’t want to get stain on.
While you always want to remove as much excess stain as you can from the brush, sometimes drips are unavoidable. Don’t stress if it happens; just clean up any drips with a damp cloth quickly. If the stain landed on the mortar and it’s stubbornly not coming off with the cloth, lightly scrape it off using a screwdriver.
Cleaning up stain that’s had a chance to sit is a time-consuming chore. So, after you’ve finished staining your masonry, wash all the tools you want to keep and reuse, and toss the rest.
Depending on the products you used, there might be specific ways to clean them, so make sure to follow the directions on the label.
Wait until it finishes drying to see how your finished product looks. The exact amount of time it’ll take for your back to finish drying varies based on temperature, humidity levels, and wind conditions, among other factors. If you think you’ll need an additional coating, wait until the first coat is fully dry.
Whether you’re interested in brick staining or painting, both can give your brick a new appearance that can dramatically change its current style. But here are a few differences to keep in mind:
Brick stain is absorbed into the surface, allowing the brick to breathe and prevent moisture build-up and cracking, while paint sits on top of the masonry like a barrier from external elements.
Brick paint has more color options than stains, allowing for a more customized finish.
With proper preparation and application, brick staining can last 15–20 years, depending on the weather and climate. Brick paint will need a touch-up every 3–5 years.
Although brick staining lasts longer, it requires more labor upfront than its paint counterpart.
Painting brick is an easier DIY project than staining because it usually takes fewer coats to reach the desired color.
Staining brick is more affordable than painting, costing $1.40–$4.20 per sq. ft.
Stain works better for more types of brick than painting.
To benefit from its long lifespan, brick staining requires thorough prep work and application. Without proper prep, your stain may not absorb properly and you'll be left with uneven or incomplete coverage. Be ready to apply several coats to achieve the look you want.
DIYers can save up to 50% on the cost of exterior brick staining by doing the labor themselves. Small projects like fireplace mantles or short garden paths are very DIY-friendly. Larger projects like staining an entire patio or exterior patio are much more time-consuming and require a higher skill level to pull off.
If you’re not comfortable committing to this project or have bricks that are impossible to reach on a ladder safely, an exterior painter near you would be able to help. The average cost homeowners pay a pro to stain brick is $0.70 to $1.90 per square foot. This is, at most, half the cost to paint a brick house with professional labor.
Paige Bennett contributed to this piece.
From average costs to expert advice, get all the answers you need to get your job done.
Painting a brick house typically costs between $1.40 and $4.20 per square foot. Your total cost will depend on where you live and the finish you use.

The average cost to paint shutters is $350, depending on the size, number of shutters, and labor. Read this guide to learn more about shutter costs.

The cost to sandblast your home’s exterior or another surface on your property depends on the method and the materials you use. Learn more with this guide.

The wood stain you choose impacts the look and longevity of your deck, fence, or wood furniture. Learn about the best types of stains depending on your project.

Learn how to paint your deck like a pro. Behold this step-by-step guide for achieving a beautiful and long-lasting finish
Find out who to hire for exterior shutter repair, who can repair shutters, and when to call a professional. Get expert guidance.