How to Clean Your Cleaning Supplies
Cleaning with dirty cleaning supplies just doesn’t make sense


There you are, humming along while wiping the living room windows clean of toddler fingerprints, when you notice that you’re only streaking and spreading more dirt onto the glass. That’s your sign to toss your cloth into the wash. Dirty cleaning supplies make cleaning a lot harder than it needs to be. Take the time to give your supplies love, too, so they can do their job when cleaning day comes.
1. Toss Your Scrub Brushes into the Dishwasher
Your scrub brushes help you get even the yuckiest things clean. Make sure they don’t collect germs and grime along the way.
Supplies Needed
Dishwashing detergent
Instructions
You should rinse your scrub brushes after each use. After doing the dishes, cleaning the bathtub, or scrubbing the sink, hold them under warm, running water to remove dirt or food particles.
Air dry your brushes after each use to avoid mildew and bacteria build-up that could occur if you toss them into a drawer or cabinet while they’re still wet.
Wash your scrub brushes more thoroughly at least once per month. Place your brushes on the top rack of the dishwasher and run them through a cycle without your dirty dishes. The scalding hot water and dishwashing detergent will kill the bacteria hiding between the brush bristles.
While most scrub brushes are dishwasher safe, it’s always wise to check your care tag or instructions to be sure they won't be damaged by a spin through the dishwasher.
2. Wash Your Mop Head
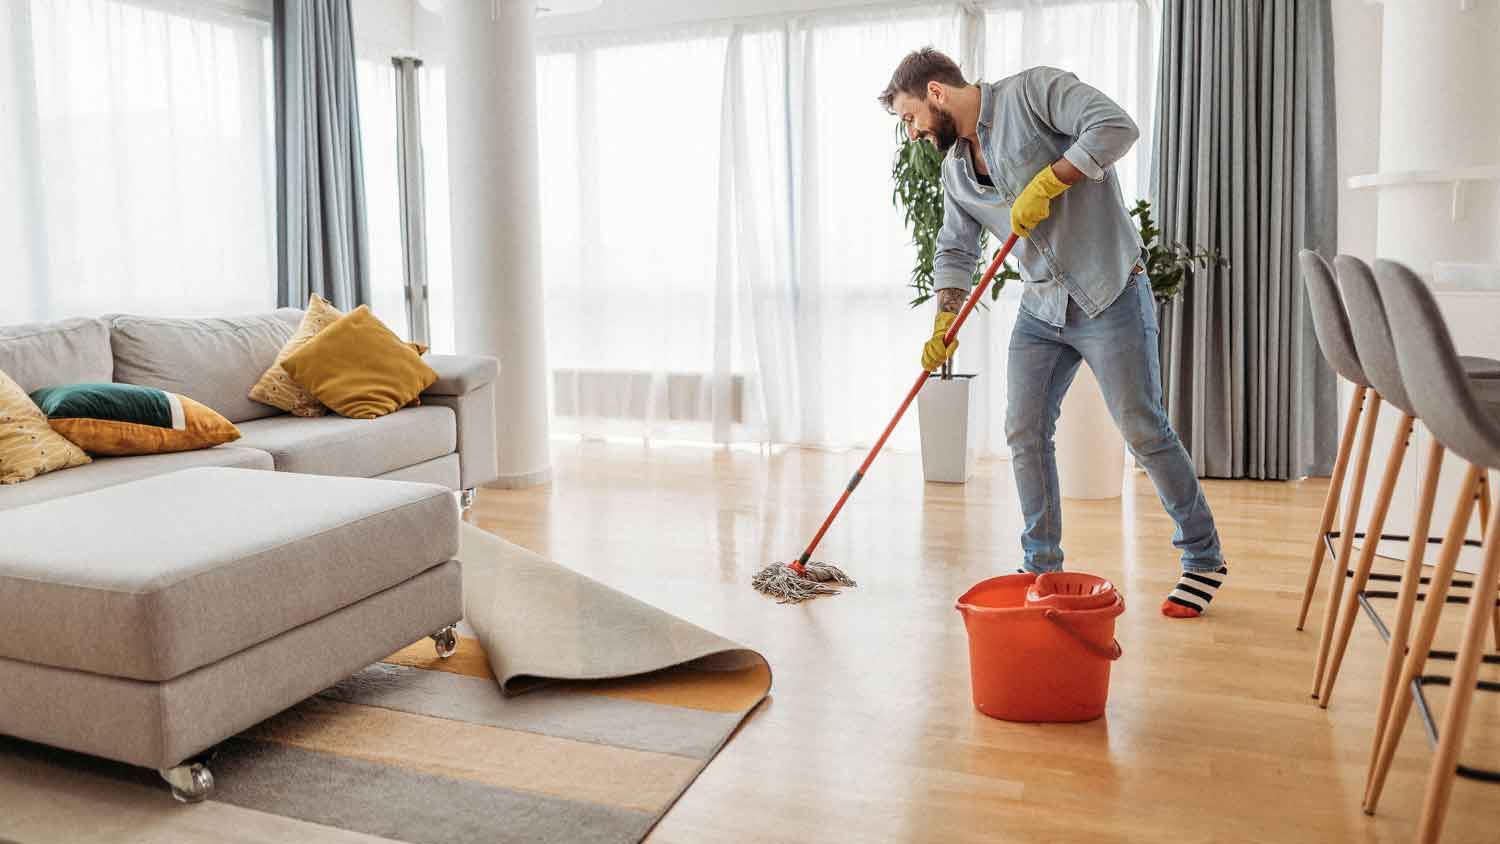
Clean your mop head regularly so you don’t just spread dirt around your floors when you mop them.
Tools and Supplies
Laundry detergent
Baking soda
Dish soap
Vinegar
Bleach
Bucket
Instructions
There are two ways to wash your mop head. If your mop head is easily removable, follow the steps below.
Remove your mop head.
Load your mop head into your washing machine and set the cycle to hot.
Add a small amount of laundry detergent and 1 cup of baking soda.
Remove your mop head once the cycle is finished and allow it to air dry completely in the sun.
If your mop head is not easily removable, follow the steps below.
Create a cleaning solution by combining 1 cup of hot, soapy water and either 1 cup of vinegar or 1 cup of bleach in an industrial bucket.
Dip your mop head into the cleaning solution and swirl it around several times.
Allow your mop head to sit in the cleaning solution for at least 10 minutes.
Remove your mop from the bucket and allow it to air dry completely in the sun.
Keep in mind that "although it’s safer to use a less abrasive cleaner such as baking soda, a bleach solution is known to clean upwards of 99.9% bacteria and mold," says Asya Biddle, Angi Expert Review Board member and manager of The Dust Busters janitorial company in Williamsport, PA.
3. Swirl Your Duster in Soapy Water
Your duster helps your home stay cleaner, but it can pick up some serious debris along the way. Help your duster stay dust-free by taking care of it after every use and cleaning it thoroughly every few months.
Tools and Supplies
Bucket
Dish soap
Instructions
Once you finish dusting the house, take your duster outside and shake it out. This process will send dust and dirt particles flying, so cover your eyes and nose and keep it as far away as possible.
When it’s time for a deep clean (think at the beginning of a new season), create a cleaning solution by filling a bucket with warm water and several drops of dish soap.
Dip your duster into the soapy solution and swirl it around to make sure it is well saturated. Allow your duster to soak for several minutes.
Remove your duster from the soapy solution, gently wring it out, and hang it to air dry.
“Another option for cleaning the head of your duster is to run the extension/attachment of your vacuum over the outside of the duster head to remove any lingering dirt and debris,” says Biddle.
4. Take Apart and Wipe Down Your Vacuum Cleaner

With kids leaving behind cracker crumbs and the dog shedding his fluffy winter coat, your vacuum has its work cut out for it. Thank this workhorse by occasionally taking it apart and giving it a nice, warm bath.
Tools and Supplies
Bucket
Dish soap
Cotton cleaning cloth
Instructions
Create a cleaning solution by filling a bucket three-quarters of the way with warm water and adding several drops of dish soap.
Submerge any plastic, removable attachments in the soapy solution and allow them to soak for several minutes.
Remove the attachments from the bucket and wipe them dry with a cotton cleaning cloth.
Dip your cotton cleaning cloth in the soapy water and wipe down the remainder of the vacuum's exterior.
Allow the entire machine to air dry completely before use.
5. Whack Your Broom Around Outside to Remove Dirt
A dirty broom won’t get anything clean. Shake the dust off of your broom after each use and clean it more thoroughly after every few uses.
Tools and Supplies
Vacuum cleaner
Instructions
Take your broom outside after sweeping your floors and whack it hard against something with an edge—like your patio stairs or a garden brick—to dislodge all the dirt and debris stuck between its bristles.
After several uses, comb through the bristles with the hose of your vacuum cleaner to remove any stubborn dirt or debris.
6. Wash Cleaning Cloths With Baking Soda
No matter the material of your cleaning cloths (washcloths, old rags, etc.), you don’t want to use them in your space unless they’re clean and sanitized.
Tools and Supplies
Laundry detergent
Baking soda
Instructions
After each use, toss your cleaning clothes in the washing machine, add your regular laundry detergent, and run a normal cycle.
For cleaning cloths that appear particularly stained or dirty, add 1 cup of baking soda to your wash cycle.
Dry your cleaning cloths in the dryer on regular heat or hang them to dry outside in the sun for an extra fresh feeling


- 6 Tips for Keeping Your Floors Sparkling Clean, From Tile to Hardwood
- These Are the Best Tools for Cleaning Hard-to-Reach Areas
- Learn How to Clean Your House (and Maybe Even Have Fun Doing It) With These 27 Tips
- The Ultimate Room-by-Room Spring Cleaning Checklist
- 11 Cleaning Hacks Everyone Should Know
- 7 Ways to Clean High Ceilings Safely
- Cleaning Methods for Every Floor Type
- 15 Things You Should Clean That You’ve Never Thought About
- 10 Cleaning Shortcuts That Will Speed Up Your Chores
- 26 House Cleaning Tips to Elevate Your Cleaning Game


