
Backsplash installation costs vary by tile type, design, kitchen layout, and contractor. Find out how much your dream backsplash will cost you.
Instantly revamp your kitchen with a new backsplash

If you want to quickly and cost-effectively transform your space, learning how to install a kitchen backsplash is your best bet. And you can tackle this project yourself over the weekend with the right tools and supplies. Our guide will show you how to install a kitchen backsplash in 12 steps.
When installing a kitchen backsplash, properly preparing for your project is essential. With the average backsplash installation cost between $15 and $40 per square foot, you’ll want to ensure you get the job done right the first time. Here’s how to prepare for your kitchen backsplash installation project:
The first step in installing a kitchen backsplash or applying peel-and-stick backsplash is correctly measuring your space. Take a tape measure and multiply the width by the height to get your square footage. If your walls aren’t straight lines, you need to take smaller measurements. Divide your walls into smaller sections and measure each width and height. Then, add the sums of each section to get the total square footage. Finally, add 10% to your total square footage to leave room for errors or broken tiles.
Put on safety goggles and remove the old tiles with a chisel and hammer. Next, you may want to remove the existing drywall and install a concrete backer board to prevent moisture buildup. Otherwise, if your wall needs a simple patch job, you can repair and sand the holes to create a smooth surface.
Installing a kitchen backsplash is a messy job. Here’s how to prep the area and keep it neat and clean before installing your backsplash:
Turn off the electricity to the outlets near the backsplash.
Remove the cover plates of switches and outlets with a screwdriver.
Add electrical box extenders to your outlets.
Lay down drop cloths on the countertops.
Cover the undersides of your upper kitchen cabinets with plastic sheeting.
You need a smooth, clean surface to add backsplash tiles. So, start by dusting your walls and applying a wall-degreasing spray. Wipe your walls clean with a damp rag and make sure they dry thoroughly.
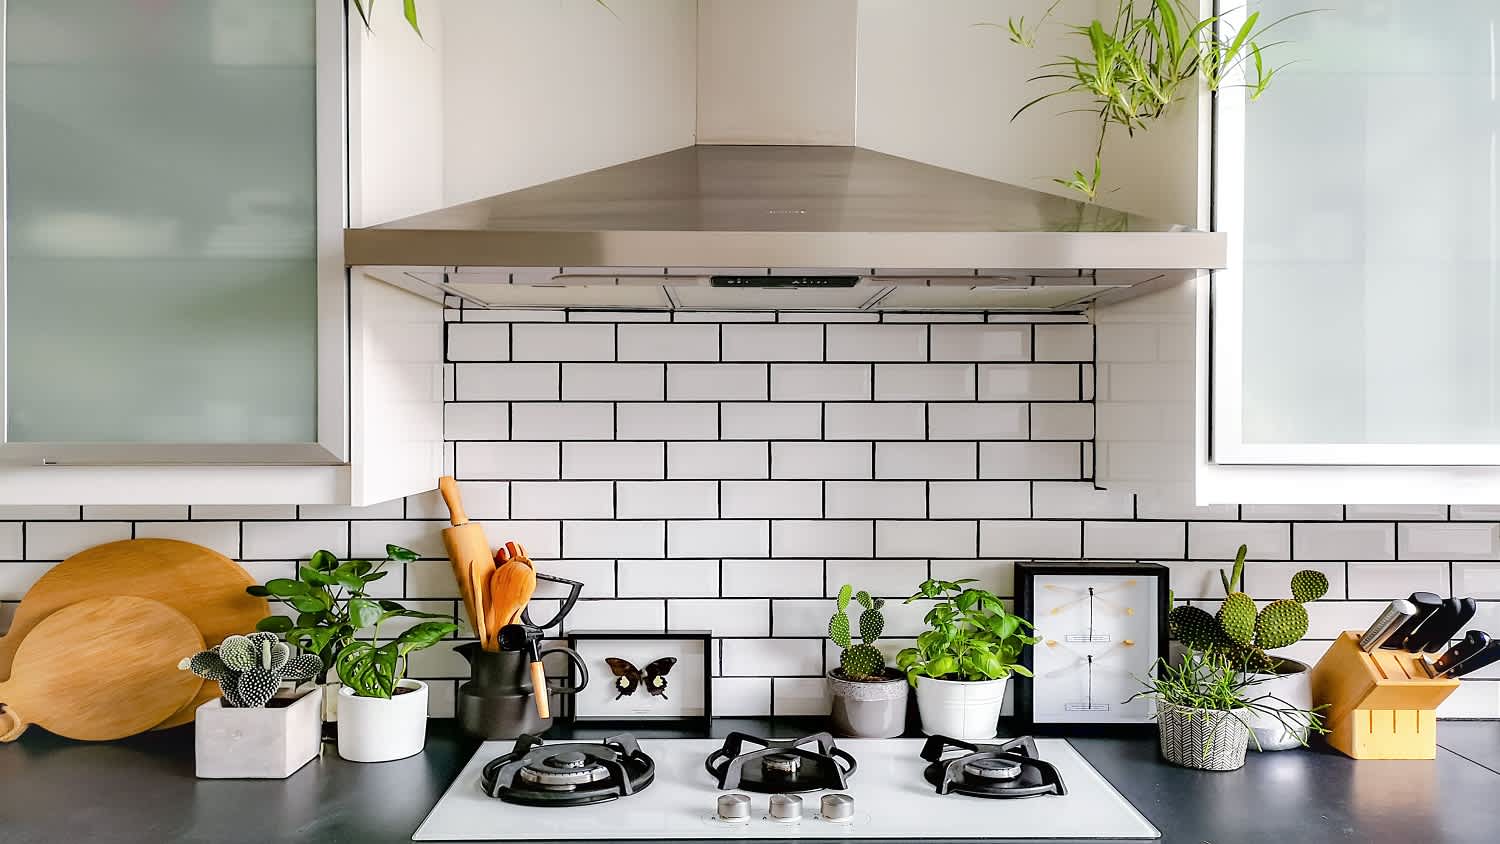
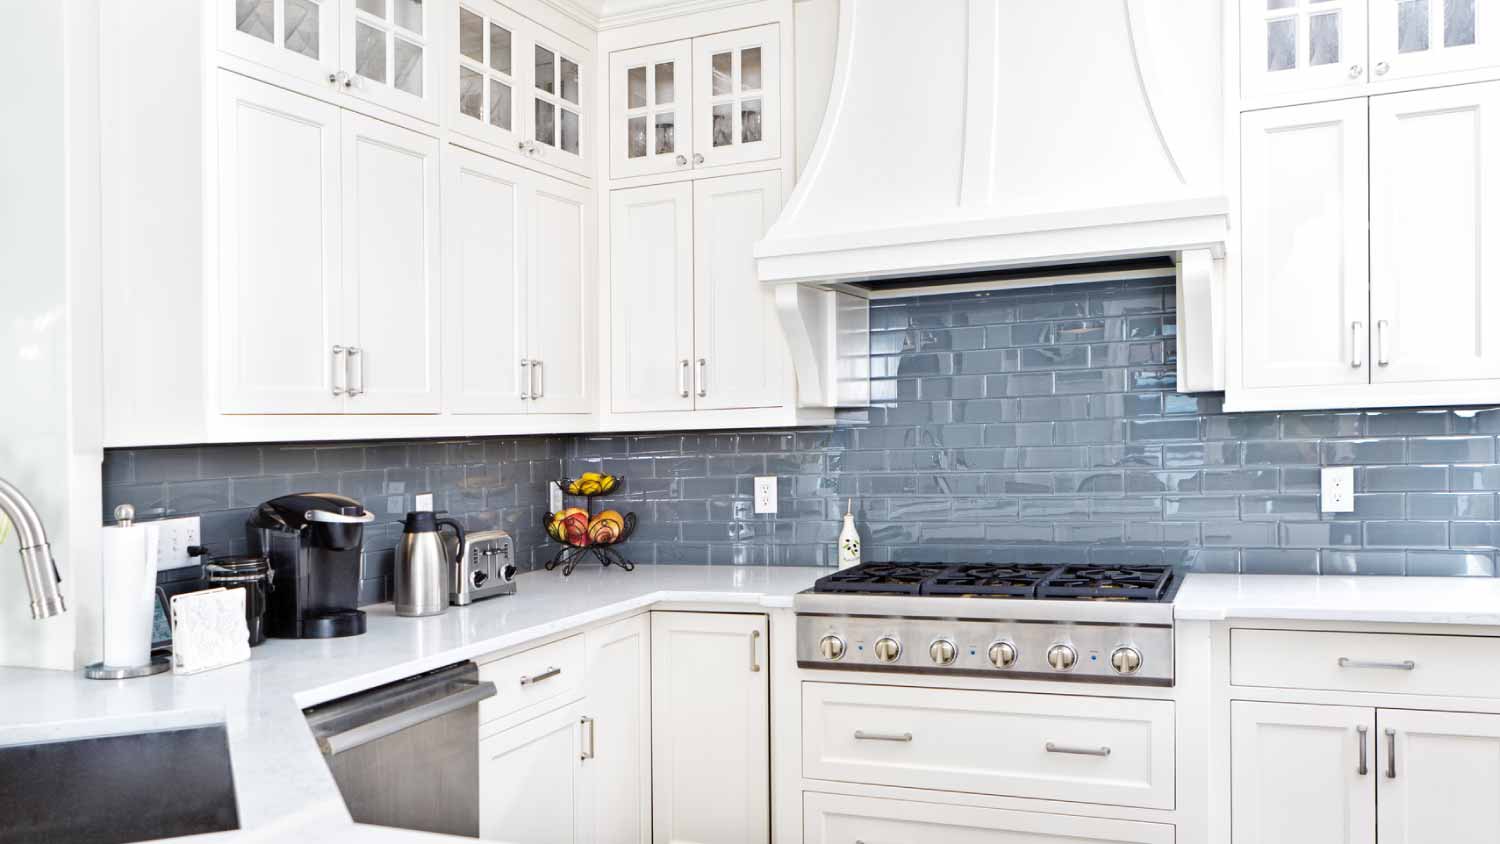
Take a tape measure and find the center point on your kitchen walls—usually the large area between the stove and the range hood. Mark a center point vertically with a pencil or chalk.
Lay your tiles out, starting from your center point, and work your way out. You can shift your tiles to ensure you’re not cutting off any unique design elements. Mark the walls with a pencil or chalk above the tiles you lay out.
Once you’ve finalized your layout, you will likely need to cut the tiles to fit the edges of your walls, the space under the upper cabinets, and around the outlets and switches. Use a tile cutter for ceramic or porcelain tile or a wet tile saw for natural stone, such as glass or mosaic tiles.
Thin-set mortar is an adhesive that goes on the wall. First, read the instructions—each brand has its recommended measurements of water versus mortar needed. Grab a bucket, add water and thin-set powder, and mix thoroughly. Let the mixture stand for five to 10 minutes and remix it until it is the consistency of mashed potatoes or peanut butter.
Because thin-set mortar dries quickly, you only want to add it to small sections at a time. Take a notched trowel—the size depends on the size of your tiles. Dip the trowel in the thin-set mortar and spread it up the wall at a 45-degree angle. Next, take the trowel's notched edge and comb through the mortar at the opposite angle to create even ridges.

Put spacers on the countertop so the tile won’t lay directly on the countertop. If you have a border or schluter trim, start with that first. Next, align the first piece of tile directly over the center point. Wiggle the tile into place and secure it by pushing it down with a grout float. Keep adding tiles to the wall, and place spacers between each set of tiles to hold them in place and ensure straight grout lines. Let the tile and mortar completely dry for 24 hours.
Once you’ve laid the tile, now is the time to use a wet saw to cut tiny pieces of tile to fill in gaps around the outlets and switches. Apply fresh mortar to the back of the tile pieces if the mortar on the wall is too dry.
When choosing the best grout for your kitchen backsplash, you’ll want to pick a complementary color and decide whether you want to use sanded (best for ⅛ inch to ½ inch joints) or unsanded grout (for smaller joints up to ⅛ inch). Read the instructions to see how much water and grout mix to add to the bucket. Combine thoroughly and let the mixture sit for five to 10 minutes before remixing. It should have the consistency of peanut butter, like the mortar.
Take a sponge and wipe the tiles clean with water. Remove the spacers, grab the grout float, and apply the grout to the tile at a 45-degree angle, working diagonally. Ensure there are no voids in your grout lines. Wipe off excess grout with your grout float, moving from the bottom to the top of the tiles. Let the grout dry for 24 to 72 hours.
Take a fresh, damp sponge and wipe the tiles clean—making sure to rinse the sponge in clean water consistently. Next, wipe the tiles with haze remover to dissolve any excess stains.
To keep your beautiful new backsplash tiles in great shape, you’ll want to seal them properly. Grab a small container, sponge paintbrush, and brush on the tile sealer. Let it sit for five minutes, and wipe it with a rag. Finally, take a caulk gun and caulk the perimeter of your backsplash and countertops.
If you have previous tiling experience and have the proper tools, you can tackle installing a kitchen backsplash over the course of a weekend. Depending on the type and amount of supplies required for your backsplash, the total cost could range from $100 to $500.
Hiring a backsplash installer near you will cost between $600 and $1,300 on average. The cost will also increase if you opt for a higher-price backsplash material, such as marble. Also, if you don’t have experience removing electrical outlets and switches, we recommend hiring a local electrician to handle the task. You can expect to pay $350 on average for this service.
Terrible experience. Walls/trim/floors/cabinets/doors all have drip marks, overspray, etc. Tiling at the fireplace had to be redone by another vendor due to incorrect and shoddy install by Profect. Contractor had his children in our house while he was on site without prior authorization or...
 Profect painting & exteriors
It was wonderful working with Yordy and his team. They were very professional and are experts in what they do. They have completed the work on time, with better quality and with in fairly reasonable price. We just started with backsplash work , but liking his work, we went on to provide...
We were having 2”x 2” tile installed . There was a small installation error and the new additional replacement tile was from a different lot and the colors didn’t match. Joe assured us that he would rectify everything , which he did without hesitation. We decided to go with the 18” x 36” tile...
 CarifaTile
For several months I was looking for somebody to tile a wall in my master bath and move lighting fixtures, and could not find anybody who was responsive. I contacted Rowe through Home Advisor and within days they came by to assess the job and provide an estimate. The cost was very...
It went very well! The end product was amazing and we keep getting a lot of compliments from friends! M&E were very professional and they made sure we were happy with the product before leaving. They met with us in our home and at the tile shop to make sure we were okay with our tile and...
 M&E Remodeling
Involved an extensive bathroom remodel, including removing tub & installing walk in shower, new drywall, custome tile work to ceiling, plumbing, etc. Overall, job was done on time and on budget. Nick & his team were very professional and had high attention to detail. Quality was great. Highly...
 Stamos Flooring and Remodeling LLC
Very pleased with the service and level of professionalism. Courteous and very unobtrusive in performing service. Unlike several other companies, Bradford Xteriors was willing to perform work on a three story home with a clay tile roof. <br />
 Bradford Xteriors
This company did a very good job on the brick wall and it looks just amazing. The staff was always professional and was practically OCD on how the bricks were stacked and how they were laid. Although it took longer than expected, I am willing to sacrifice time over perfection anyday. The...
 My Handy Mate LLC Improvement & Remodeling
He did the tile work and he was good at it. He used other subcontractors for the rest of the work (like putting in the cabinetry) and they were okay but not great. He was a great guy! He was easy to work with and had a good eye for the detail of his work. There were a couple of things that I...
 Brian Miller Custom Remodeling
I was very impressed with Miller Cantrell! I live in an old home in which the sewage line that runs from my home to the sewage system is a line of clay tile. These eventually collapse and need to be replaced - an expensive problem and sure to happen at the worst time. I told them that my...
From average costs to expert advice, get all the answers you need to get your job done.
Backsplash installation costs vary by tile type, design, kitchen layout, and contractor. Find out how much your dream backsplash will cost you.
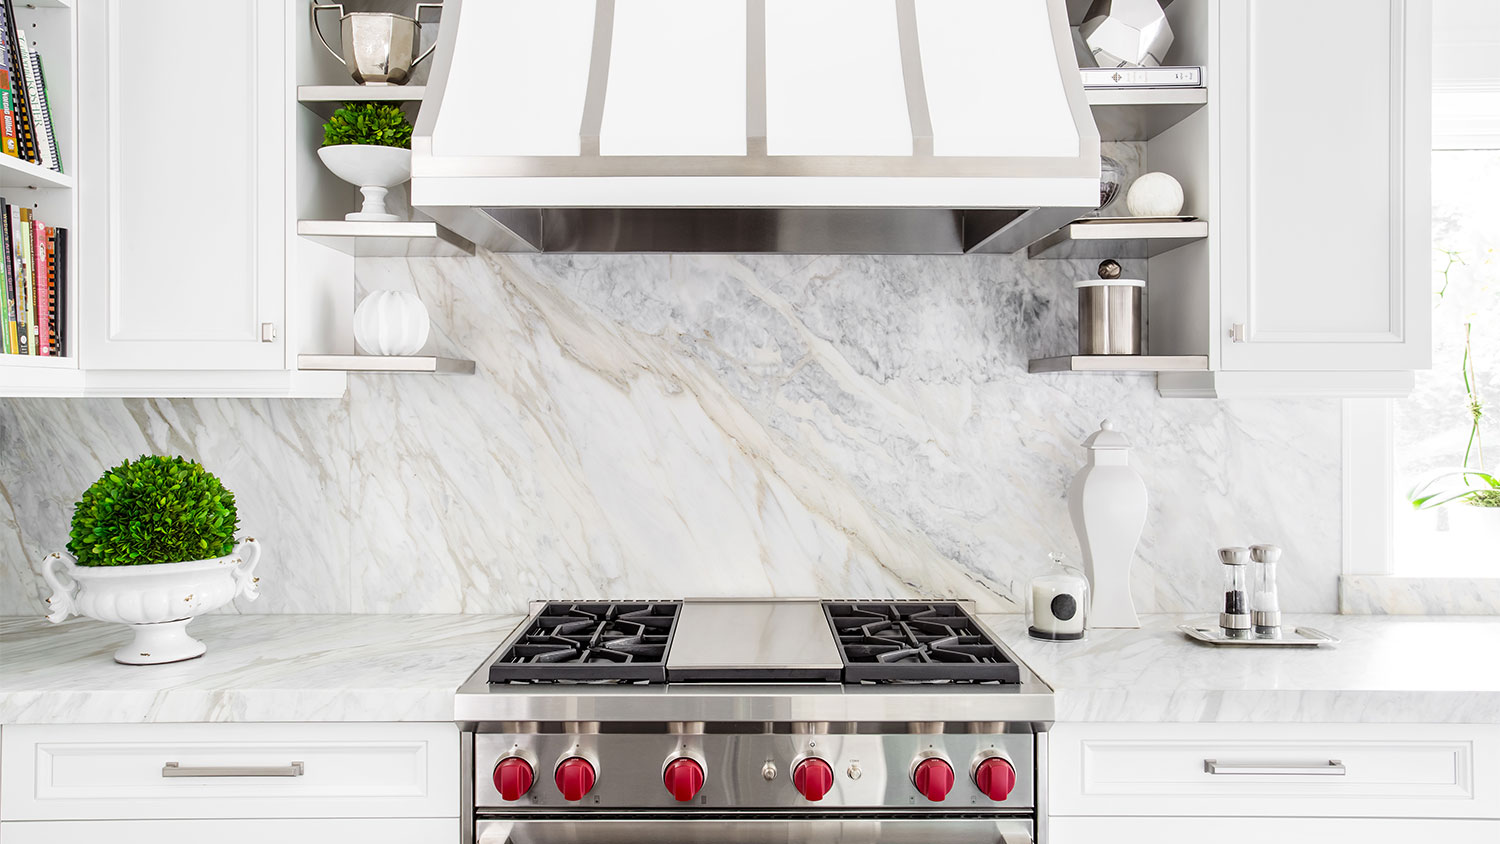
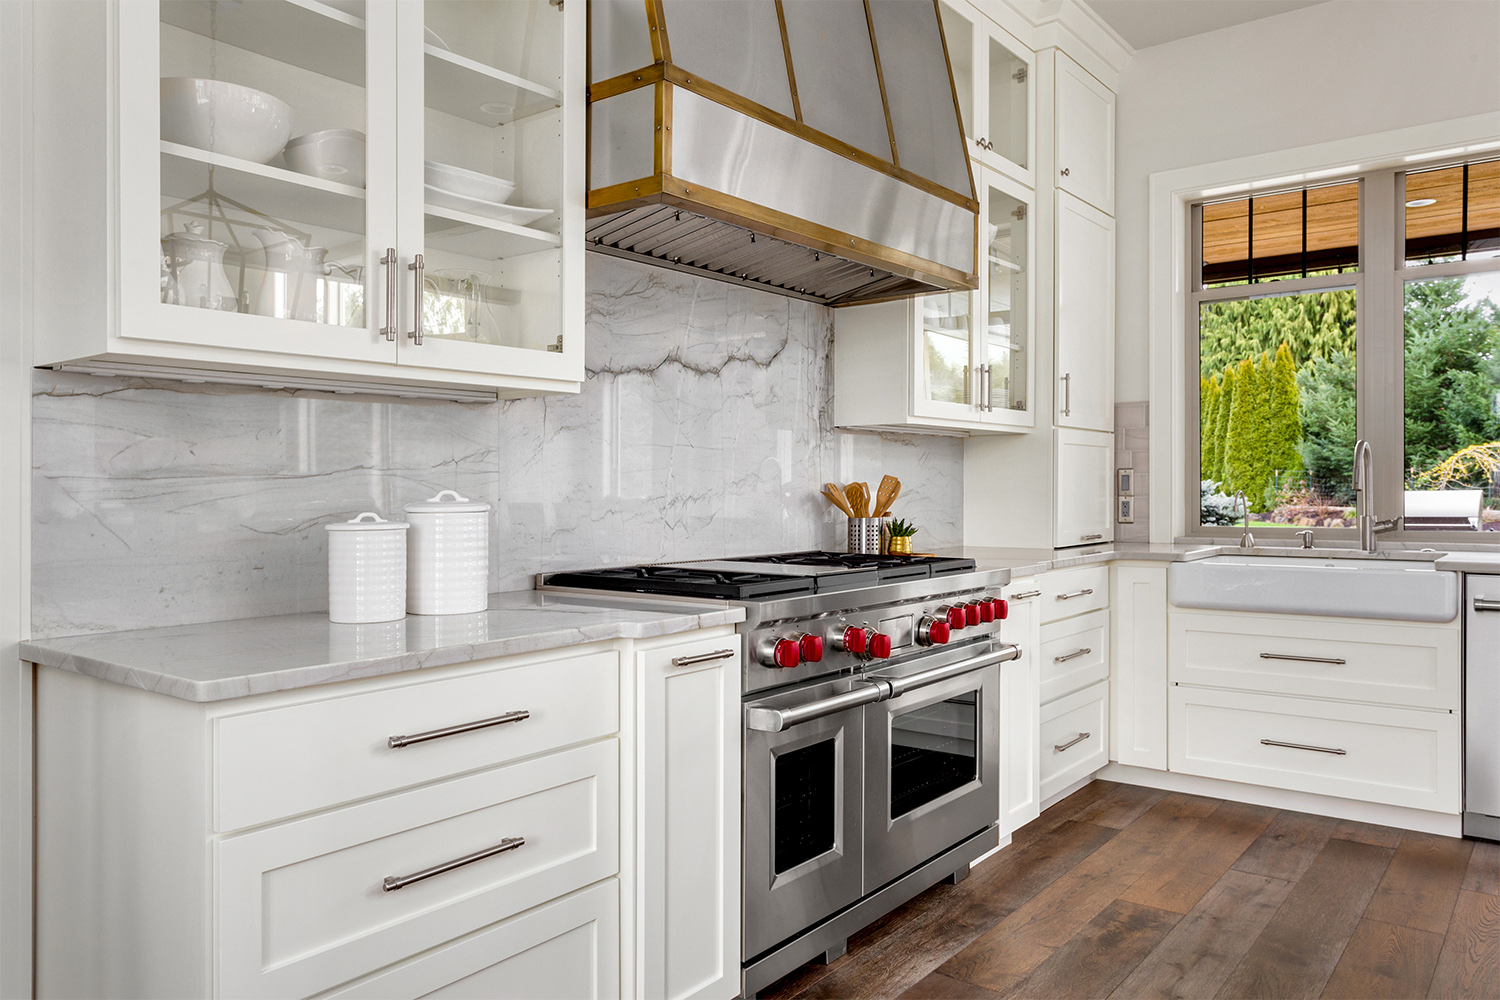
Marble backsplashes are beautiful and costly additions to your kitchen. Our guide lays out marble options and the labor required to install it.
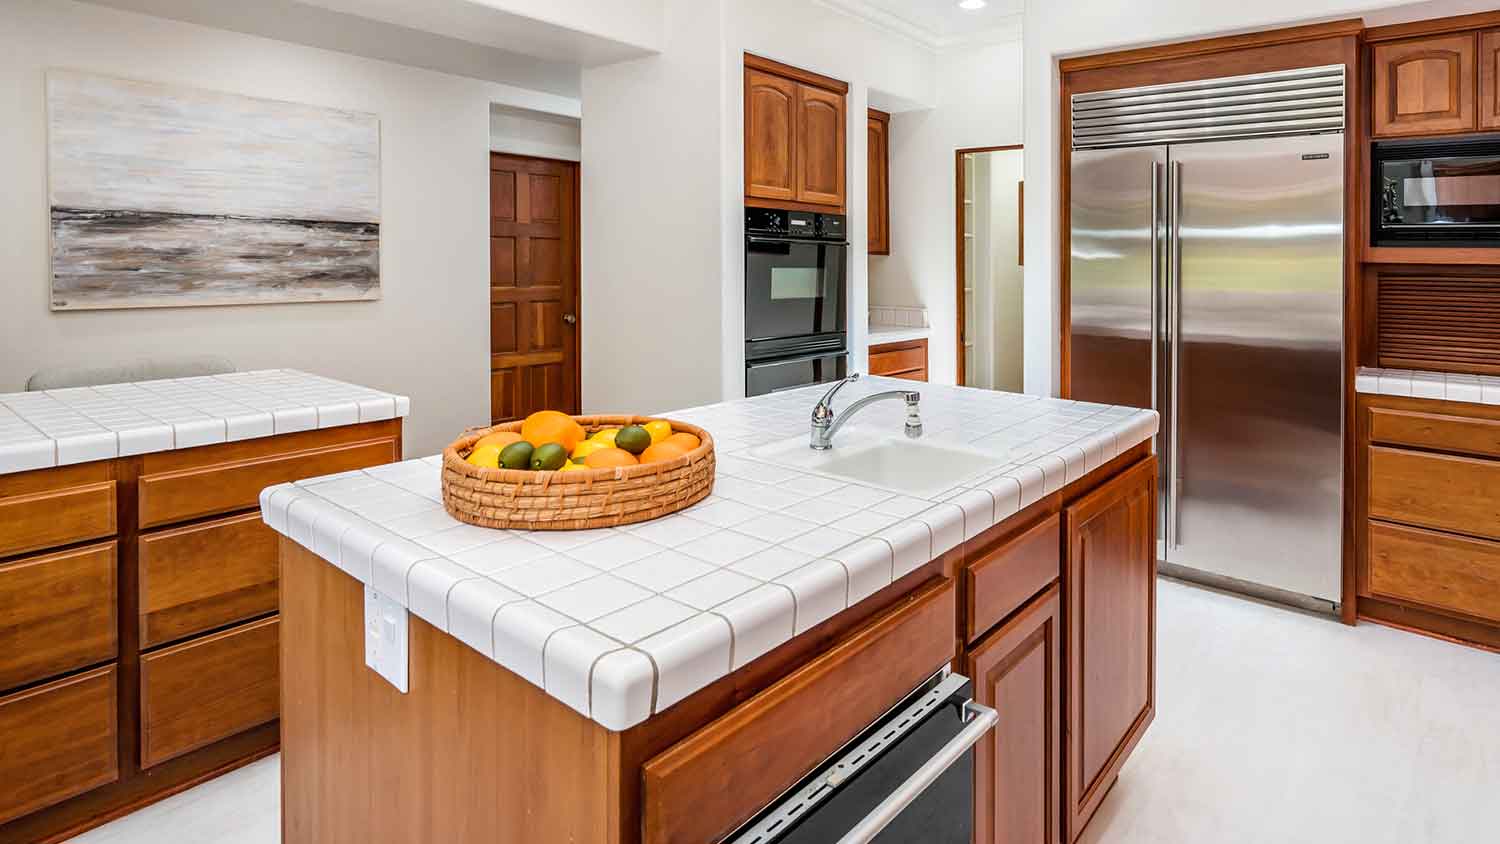
This guide covers the cost to tile a kitchen countertop and the main cost factors, including tile type and grade, kitchen size, and whether you hire a pro for the installation.
Do you need a backsplash? Technically, no. However, installing one in your kitchen can add beauty and help avoid costly repairs. Here's how and why.
Looking to design a beautiful backsplash for your kitchen on a budget? This article gives a dozen examples of affordable, attractive materials to consider. Find inspiration and get educated about ways to spruce up your kitchen without breaking the bank.
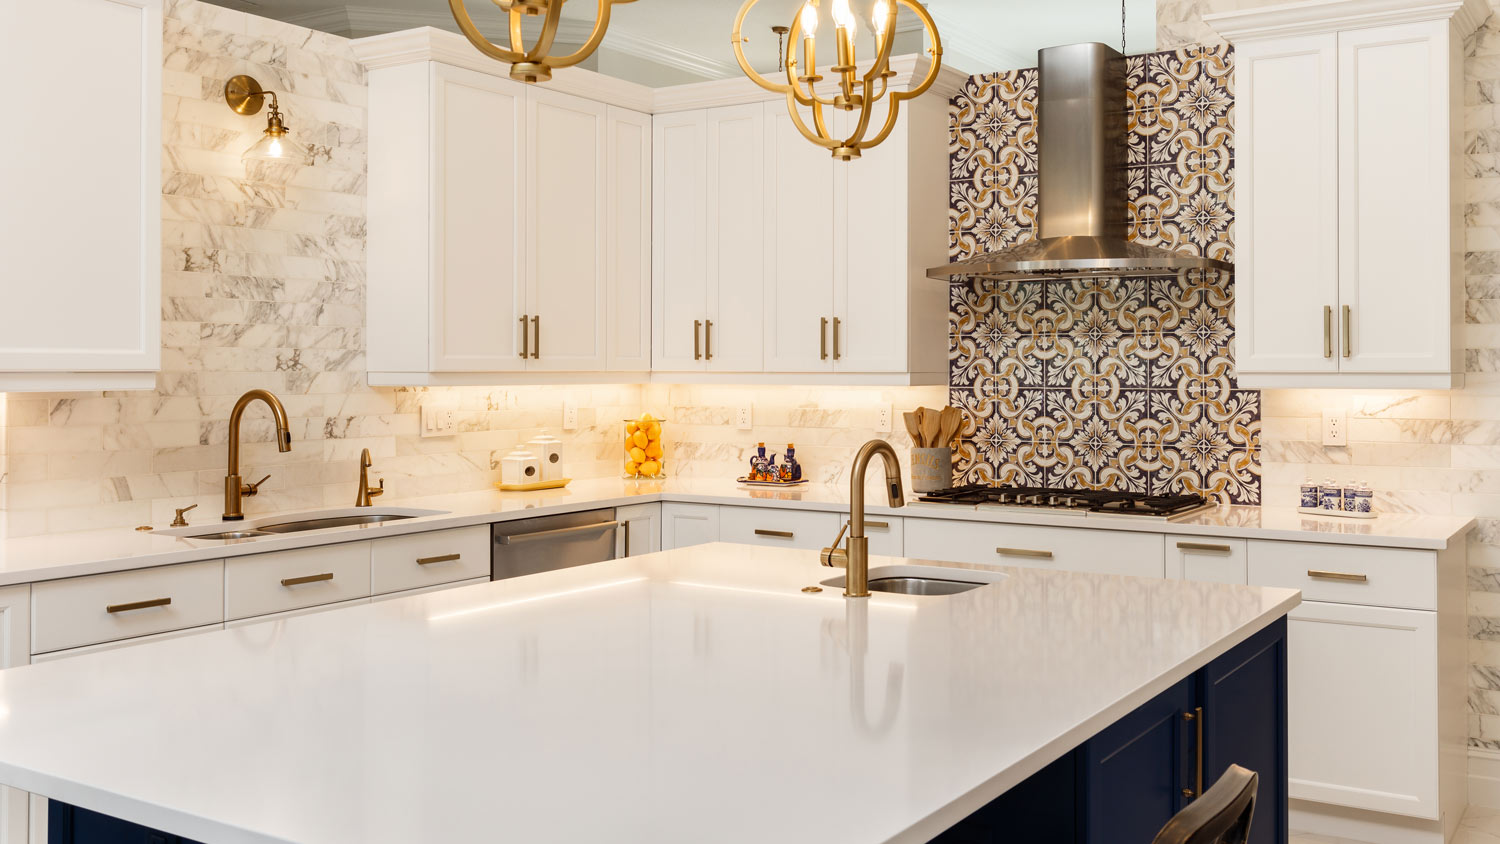
From protecting your walls from cooking spatter to solidifying your aesthetic, these backsplash ideas will elevate the form and function of your kitchen.