How to Install a Hinge Pin Doorstop: A Pin Popping, Wall-Saving Solution
Put a stop to slamming, door dings, and holes in the wall


- Flathead screwdriver
- Nail (optional)
- Pin popper (optional)
- Hammer
- Hinge pin doorstop
A door that gets thrown or blown open on the regular can leave the wall or door looking battle-worn. Installing a hinge pin doorstop can put a stop to wall damage in less than half an hour. This simple project protects your home and saves your walls from daily wear and tear. Follow these three steps to get your hinge pin doorstop working.
Prepping to Install a Hinge Pin Doorstop
Prep for this project is minimal but essential. Before starting, plan how to support the door while replacing the hinge pin. Otherwise, the entire door’s weight could be on a single hinge, which can easily damage the remaining hinge, door jamb, or doorframe. Support can look like a helping friend, shims under the door, a book, or anything sturdy to hold the door in place while you work.
If you can’t secure the door’s weight, you can hire a door repair professional to help you with the project.
How to Install a Hinge Pin Doorstop

Even if you’ve never installed door hinges, there’s a good chance you can handle this simple project. A hinge pin doorstop creates a small, padded safety barrier between the door and the wall. They’re a great option for an exterior door that frequently gets blown open or when a careless entrant or two can’t keep the door from hitting the wall.
Remove the Pin in the Top Hinge
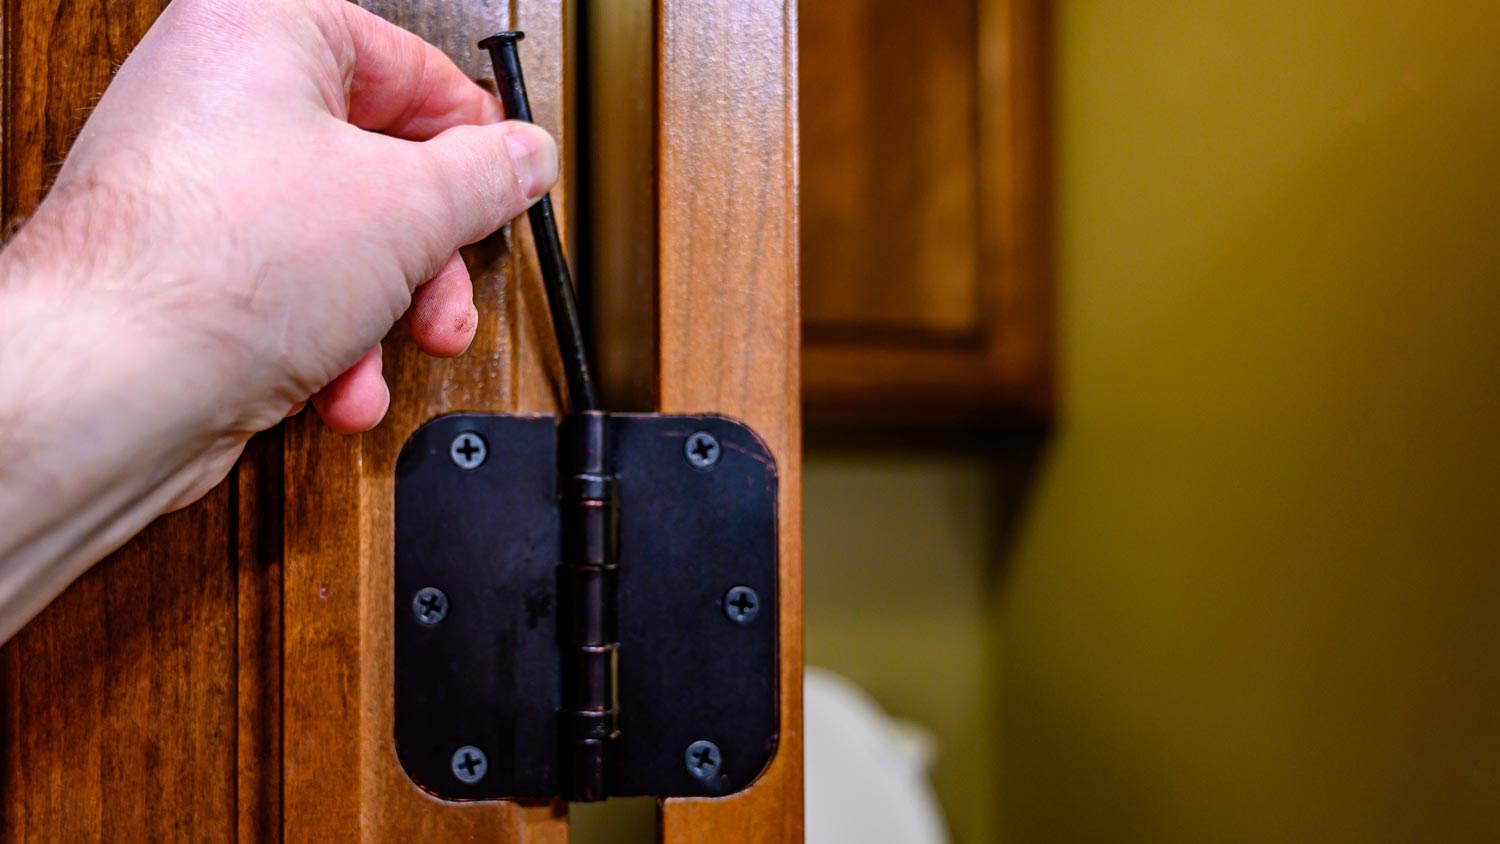
Hinge pin doorstops are installed on the door’s top hinge. Before installing the new doorstop, you’ll need to remove the old pin. Use a flathead screwdriver, nail, or pin popper to remove the old pin. Push on the bottom of the pin using your chosen tool. If the pin is stubborn, you might need a hammer to gently tap the end of the screwdriver.
Install the Hinge Pin Doorstop
A hinge pin doorstop is a hinge pin with a doorstop attached. It’s installed by sliding (or gently tapping) the new pin in place of the old pin. You might need to gently tap with a hammer or mallet to get it in place.
Adjust the Doorstop
The doorstop has a threaded screw used to narrow or widen the stop gap between the door and the wall. Give the door a slow, gentle opening and adjust the screw as needed. The pad on the doorstop will separate the wall and the door, protecting both from damage.
DIY vs. Hiring a Pro
Beginners can handle replacing the old hinge pin with a doorstop model. However, if the door or wall has previously been damaged, contact a local door repair pro. Holes can be quick DIY fixes, but if the damage is more extensive or you don’t have the know-how to take care of it, a pro can fix it quickly.
Also, consider consulting a pro if you need to replace the entire door hinge. They’ll know which door hinge size and screw size you’ll need. If there’s damage to the door jamb or frame, they can also inspect and repair the door’s surrounding structure.
Frequently Asked Questions
Most of the time, you simply line up the hinge barrel or knuckles and tap the pin back in place. That can be more easily said than done at times. If you’ve got a stubborn hinge or pin, try spraying the hinge with a silicone-based lubricating spray. Let the spray penetrate the hinge for 15 minutes before trying to tap the pin in place again. Make sure the pin is all the way through the hinge.
It does matter which way a hinge is installed because it’s possible to install a hinge backward. The hinge pin should face the direction in which the door will swing, making the pin visible. Exterior doors that swing outward need a security hinge with an Allen set screw in the center to prevent someone from removing the hinge from the outside and accessing the home or business.


