Learn how much plumbers cost in Columbus, Ohio. Discover pricing for faucet repairs, pipe work, and emergency services, plus how you can save money.
Conserve water use with improved flow


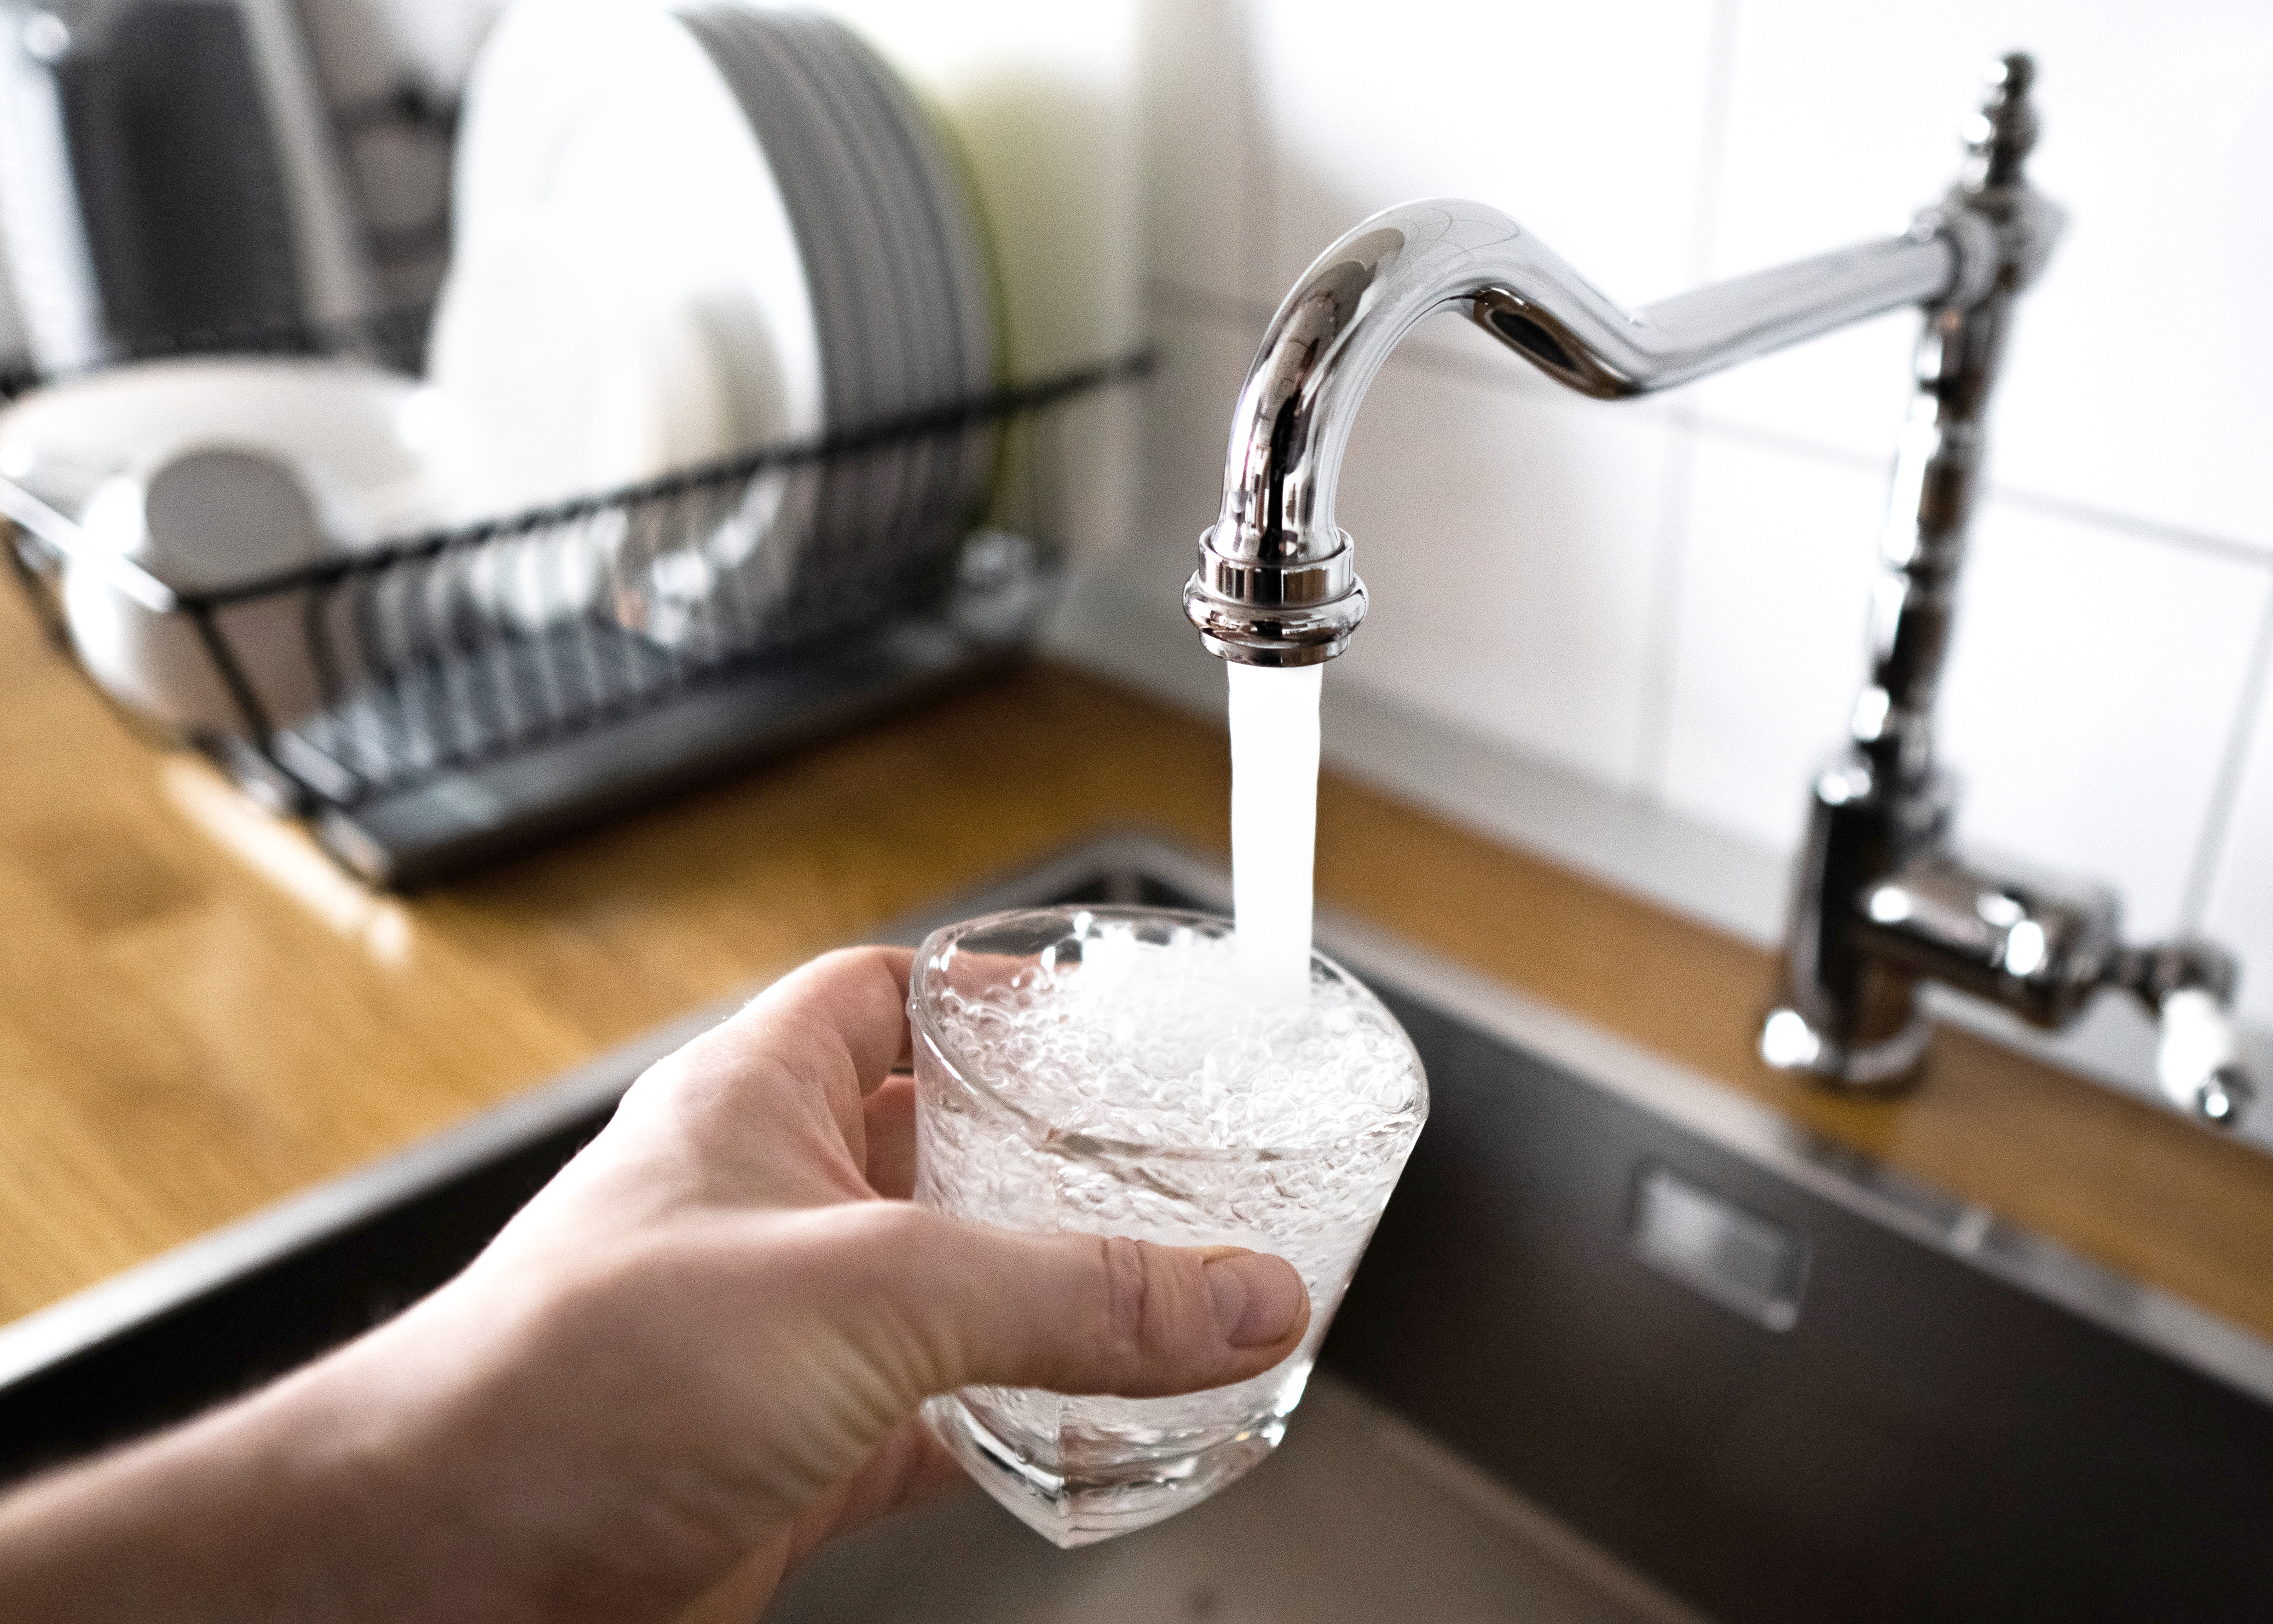
Ensuring you have the right water pressure from your outdoor spigot enhances its functionality, making it easier to do things like water your plants, clean, and much more. Learning how to increase water pressure on an outdoor spigot will help you gain a healthy flow of water for all of your outdoor projects. Let’s dig into the details of how to increase the water pressure in your outdoor spigot yourself.
Before increasing the water pressure in your outdoor spigot, investigate the cause of weak water pressure. Start by taking a look at your hose. Unscrew it and run the water out of your outdoor spigot. If you notice the water flow improving, replace your garden hose. However, if you notice poor water flow after removing the hose, you’ll want to follow these steps to first identify the issue and then improve the water pressure.
Along with your garden hose, investigate other areas around your outdoor spigot for signs of leaks. To accomplish this, turn off all indoor and outdoor faucets and any other appliance using water. From here, go to your water meter, which is likely in your home’s basement near the furnace and water heater. If it’s not there, it could be in your utility closet.
Once you find your water meter, check to see if it’s spinning. A spinning water meter indicates it’s still using water. And with all water-using appliances and faucets shut off, you have a leak somewhere in your water supply line. Follow the water pipes to see if there’s any buildup of water.

If the water meter doesn’t spin after shutting everything off, you should still inspect your water pipes. Sometimes, it isn’t leaks that weaken the spigot’s water flow, but a clogged supply line. Inspect your water pipes for signs of aging or corrosion. This often happens more with copper piping—PVC and PEX lines are less susceptible. If you find corrosion or signs of pipe damage, contact your local plumber to come out to inspect and replace the damaged pipes.
If it isn’t the hose or the piping that’s causing low water pressure, then it could be low water pressure emanating from the water main. Therefore, learning how to test water pressure at the hose bib is essential. You can buy a water pressure test gauge at your local hardware store. Make sure to buy one with ¾-inch female hose threads for proper readings.
Next, locate your outdoor hose bib—this is what you connect your garden hose or sprinkler system to. Screw the gauge onto your outdoor hose bib, ensuring it’s a tight fit. From here, turn on the water to receive a reading. Water pressure gauges read in pounds per square inch. You’ll want a reading around 45 to 55 PSI for a healthy water flow. Anything less than that indicates you’ll need to increase the water pressure. However, you also don’t want it too high, as having a PSI of 70 or more can damage piping.

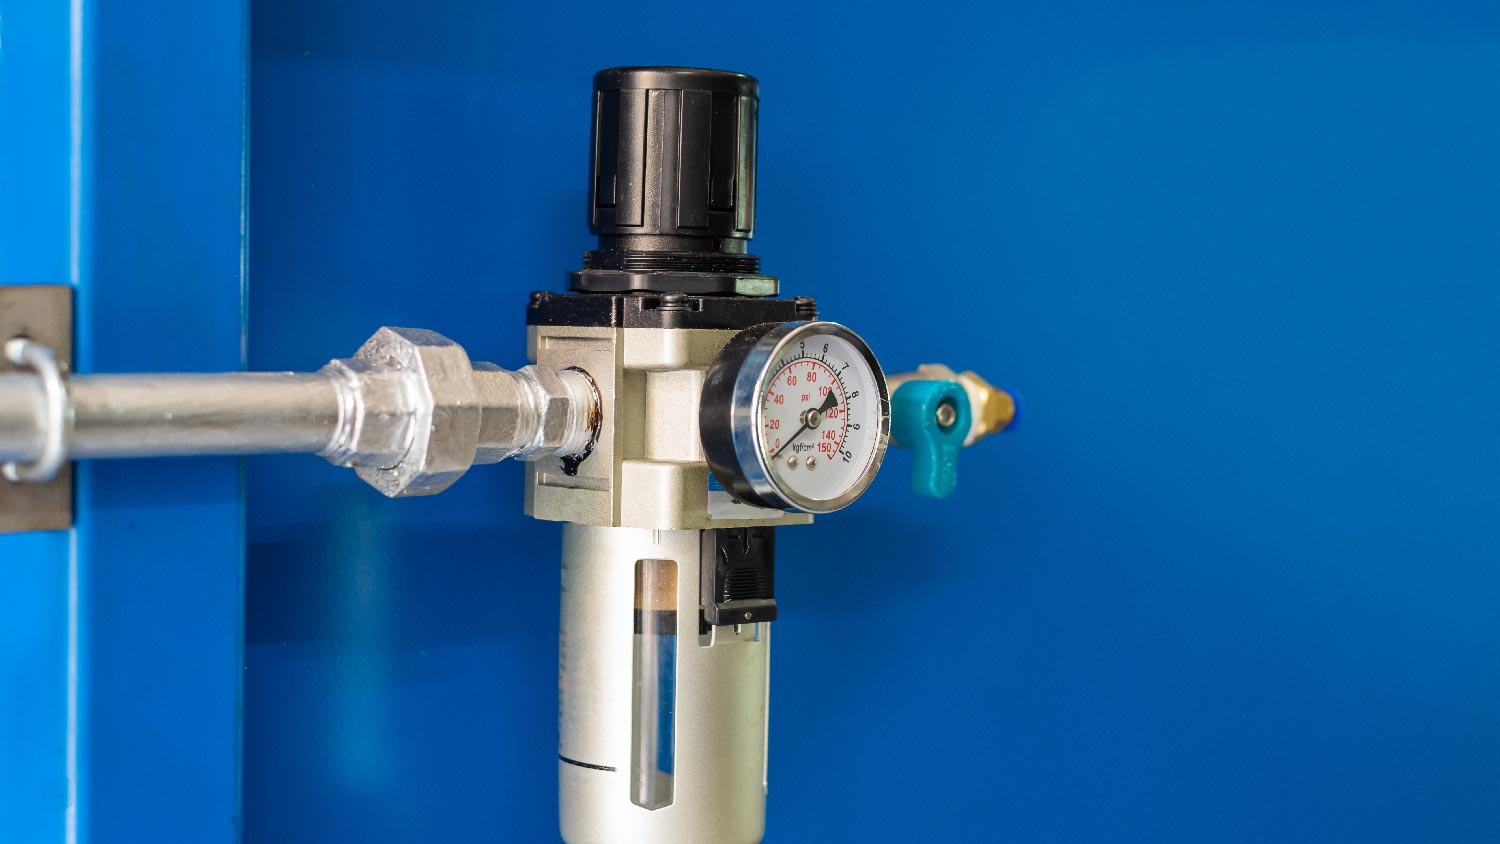
Each home contains a water pressure regulator, allowing you to adjust your water flow. Normally, these are found near your water meter. In cases where the water pressure gauge reads a lower PSI, ramp up the water pressure on the regulator. There’s a screw on the regulator that influences pressure output. Take a screwdriver to turn the screw clockwise to increase the water pressure output. If you’re struggling to find where the regulator is or have concerns about damaging your pipes, consult with a plumber before going through with this step.
After adjusting the regulator's water pressure, return to your outdoor spigot and turn the water on. If you notice a better water flow, your work is done. Next, hook your hose or sprinkler attachment to test it again. If you notice the water flowing from the hose or sprinkler head is where you need it to be, you’re good to go.
Meanwhile, if the flow still seems weak, it would be a good time to bring a plumber into the mix. They’re adept at testing different hose bib types, searching for leaks, and finding solutions to problems with your system.
Increasing your water pressure is a great project you can do yourself. It’s not too complicated, time-consuming, or expensive. Learning how to tackle a simple project like this can also prepare you to take on other DIYs in the future. Hiring a pro is certainly another option but along with the convenience comes a high cost. The average cost of hiring a plumber is between $180 and $490.
In order to make sure you are confident about your choice make sure to do your research before starting your project. This would include watching tutorials online and getting advice from anyone you may know who has experience with this type of DIY project. This way you are confident in whatever decision you choose.
Finished Basements Plus was wonderful from beginning to end! First, they came out quickly for an estimate. I had 4 estimates and theirs was by far the best. (2 of the estimates were more than $20K higher than for the exact same work). Beyond their fair pricing, the work was excellent. They...
If you want to pay the most exorbitant prices possible for your job, this is the company for you. “By the job” pricing is a rip-off, at least how these people use it. Every job is plugged into a category and prices are set by category. You might have a job that takes half an hour or one that...
Matt is a consummate professional. The work turned out to be far more difficult than expected and rather than turn the job down, Matt rose to the occasion and completed a near impossible task. I can not recommend Greene's Plumbing Service more highly. On a scale of 1-5 I would give Matt a...
I had Ace Fireplace Services install custom chimney caps for my home, and the results are stunning. They fit like a glove and have added a touch of sophistication to my chimney. I can't recommend their services enough.
Very professional and efficient with work. Answered each question I had with great knowledge and an informative response. Will be working with them again.
Window Depot did an amazing job on my deck. I wasnt sure what I wanted to do, but their composite decking was affordable and will last a long time. I am excited to have family over, and I am no longer embarrassed by my backyard. Jeff and the ground crew were polite, respectful, and caring for...
We used Unique Hardwood Floor LLC three years ago to work on the floors of a 70 year old home that needed a great deal of work. Some floors needed repairs, some were replaced and others just needed to be refinished. It was a complicated job as they needed to blend the old and the new to...
Involved an extensive bathroom remodel, including removing tub & installing walk in shower, new drywall, custome tile work to ceiling, plumbing, etc. Overall, job was done on time and on budget. Nick & his team were very professional and had high attention to detail. Quality was great. Highly...
Phil and Mickey were awesome! They worked as a team and were persistent as they problem-solved my septic system issue. They were very friendly and listened as I explained the steps I had taken prior to their arrival. I called three other plumbing services with no response. Peter's answered...
We ended up with a new hot water heater we probably didn't need; however, they had a good plumber and he found and fixed the blockage, and did a decent job putting in the hot water heater. The person they sent first, "the tech" was more of a car salesman much more interested in selling all...
From average costs to expert advice, get all the answers you need to get your job done.

Learn how much plumbers cost in Columbus, Ohio. Discover pricing for faucet repairs, pipe work, and emergency services, plus how you can save money.

Learn about main water line repair costs in Columbus and what affects pricing to be prepared before you start getting estimates.

Discover the leading factors affecting your main water line replacement cost in Columbus, including length, material selection, and installation details.

Find out the average water pressure regulator replacement cost, key price factors, and tips to save on your project. Get transparent, expert-backed cost info.

Whether you’re running a heavy water supply main or softer plastic plumbing, there’s a pipe clamp for the job. Learn the pipe clamp types and how to use them.

Discover the three types of plumbing systems in your home so you can understand how they work together to help keep your home running smoothly.