Find costs to repair a gas line and plan your budget based on the problem, from excavating for a new line to making a minor repair to an existing one.
Here’s how pros cap a gas line to a stove that’s no longer in use


This project requires a lot of experience, so we don’t recommend DIYing it. Hire a pro with the special skills and tools necessary to complete the job safely.
Whether you’re whipping up pancakes for the kids or cooking up a five-star meal for date night, the stove is the focal point of your kitchen. But if you’re going on an extended vacation or having construction work done, it’s important to cap your gas stove. Here’s how to cap a gas line to a stove in eight steps and reasons why the best option is hiring a licensed gas plumber.
There are a few instances in which you will need to cap a gas line to a stove because it won’t be in use for a while or at all.
Some of these reasons include:
Home construction projects
Demolition projects on your property
Switching from a gas stove or range to an electric model
Switching from a gas dryer to an electric model
Extended vacation
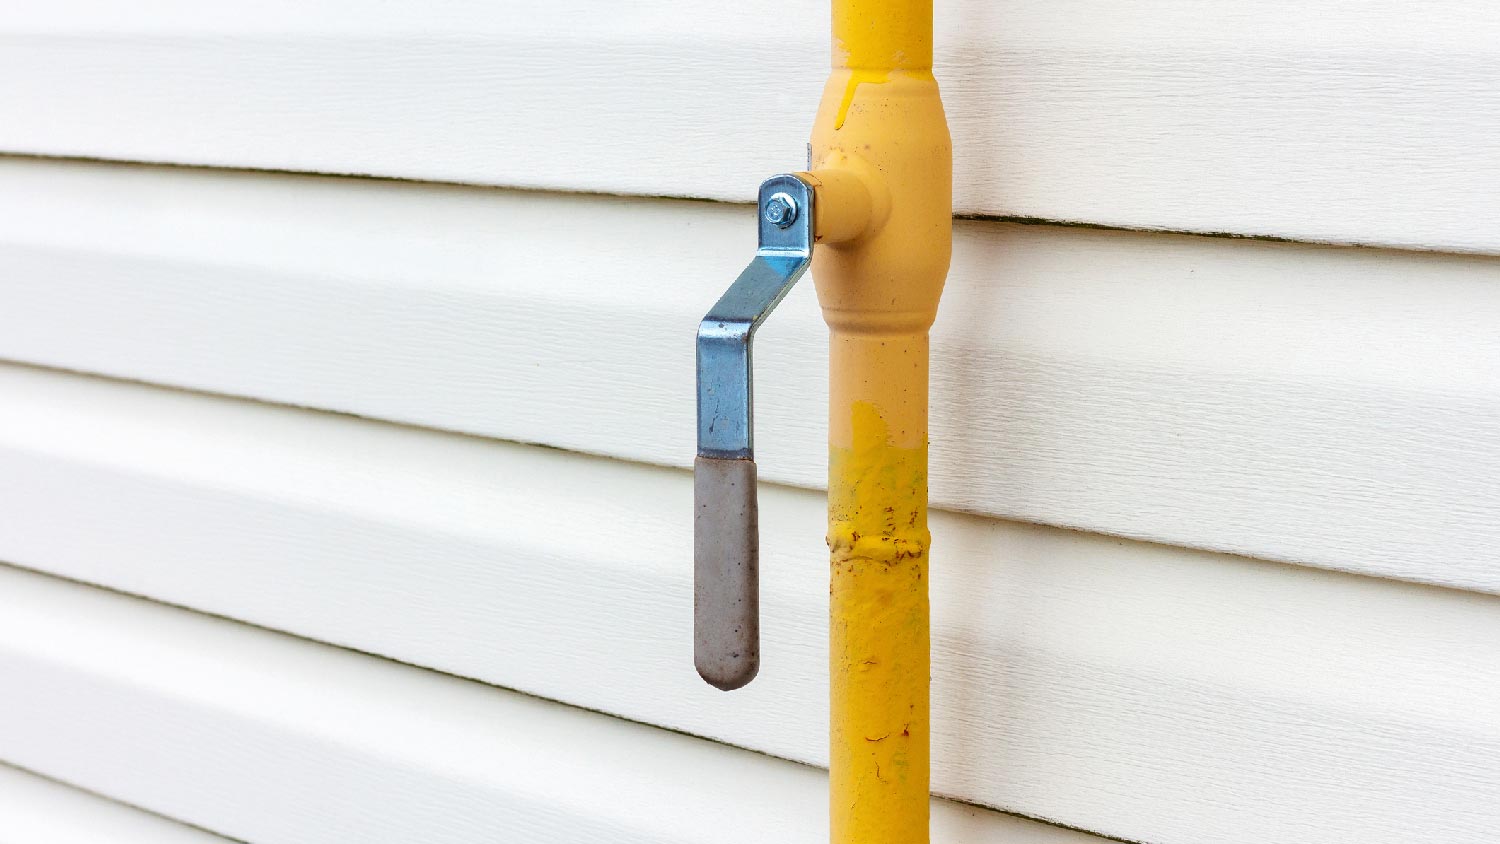
It’s better to be safe than sorry in the event of a gas leak. Locate your gas supply, either in the garage or near where it enters the house. There are two pipes: one coming from the gas supplier and one going back into your home.
The primary valve, which has a rectangular hole, controls gas entering your house via the pipeline. When closed off, it should be perpendicular to the pipeline and parallel when turned off.
Make sure the gas line's valve is in the off position. Turn the rectangular tabs on either side of the pipe with a crescent wrench to align the holes. The rectangular tabs should be perpendicular to the gas line.
Before you cap the gas line, disconnect any fittings or extra piping on the gas line to the stove. You'll use a "double-wrench" technique to loosen or remove any fittings that are holding it in place. This technique helps mitigate damage from any other threaded pieces under the valve.
To do the double-wrench method, you will:
Hold the valve with one crescent wrench and loosen the fitting with the other (If you don't have crescent wrenches, you can use a pipe wrench instead)
Place both hands on a pipe wrench and turn it counterclockwise
Loosen and remove fittings and extra piping

Steel wool can be used to clean the pipe threads. Brush away fibers that get stuck to the edges of the tube or fittings.
Using yellow Teflon tape (rated for gas), hold the tape down tight with your thumb on the first wrap on the cap thread. Then, overlap the tape with each wrapping until the tap completely covers it. Make sure you wrap clockwise around the plug tightly so it won't unravel as you thread it.
Note: You can also use Teflon pipe compound to seal the threaded gas line.
Use the double-wrench technique to tighten the gas cap. But be sure not to overtighten it, or else it could leak.
Pro tip: The pipe's material matters—if it is brass, use a brass cap; if it is black iron, use a black iron cap. Otherwise, it may not be as secure.
Now, it’s time to check your work and see if there are any gas leaks. If you pass, you’ll know what to do next time. If you don’t pass, you’ll have to start over.
To check for a gas leak, you will:
Turn on the main gas
Use your crescent wrench to twist the metal tab parallel to the line coming from the natural gas supply company
Turn the gas back on
Once the line is on, turn the valve back to it. If you don't turn the line on, there will be no way to test for leaks
Put a 50-50 mixture of dish soap and water into a spray bottle and shake it
Spray the mixture onto the gas cap—the cap is successful if you don't see any bubbles
If you see bubbles or hear a hissing sound (gas escaping), repeat the steps until there's no leak.
If you've turned off your gas supply, be sure to relight any pilot lights, such as those on your water heater. Now, your old gas line is capped, and you can use your other appliances.
If you aren’t a seasoned DIYer or simply aren’t comfortable capping a gas line to a stove, hire a natural gas plumber in your area to handle this task safely for you.
Capping a gas line depends on your home improvement plans. You should temporarily cap your gas line if you’re disconnecting an appliance during a renovation or remodel. If you’re moving a gas appliance or switching from gas to electric, permanently cap your gas line.
For example, a spark of inspiration that drives you to change the placement of your stove requires capping your gas line. You could have a pro move the gas line, but it might be easier to add a new one. Replacing gas appliances with electric appliances also calls for completely sealing off the current line.
Capping a gas line isn’t a DIY project that needs a weekend of work or even a day’s worth. The job only requires a few minutes and a few dollars to do it yourself. Your budget will be around $10 for Teflon tape. However, if this time- and budget-friendly project seems perfect for all homeowners, it’s not.
Incorrectly screwing the cap on a gas line can cause a gas leak. Unless you have the experience and credentials to handle gas projects, leave the work to professionals. In some areas, only licensed pros can legally cap a gas line.
The cost to repair a gas leak—around $200—is more than it would cost to have a professional cap the line for you. A gas leak is considered a dangerous plumbing problem, and on average, you’ll pay around $125 to hire a gas plumber. But emergency plumbing costs can be higher, around $170 per hour.
It may come as a surprise, but plumbers are oftentimes the best professionals to hire for gas-related jobs. In fact, most states require plumbers to maintain certifications and insurance in order to take on projects related to gas, including installing and repairing gas lines for appliances, like ovens, stoves, and dryers.
From average costs to expert advice, get all the answers you need to get your job done.

Find costs to repair a gas line and plan your budget based on the problem, from excavating for a new line to making a minor repair to an existing one.

Whether it's time for pipe replacement or to hook up the range of your dreams, gas line installation cost is an important line in your budget. Let's take a look.

Installing a gas line is a job for a licensed plumbing professional. Let’s take a look at who installs gas lines and how much you can expect to pay.

A rotten egg smell in your house can come from several sources, including gas lines, drainpipes, and drywall. Keep reading to learn the causes and solutions.

Curious how deep gas lines are buried? We’ve unearthed the answer and the dirt on how far down those lines might be lying in wait.

Moving or installing gas piping involves careful planning and execution. Review these gas pipe questions to ensure you’re ready for a conversation with a pro.