How to Whitewash Wood the Modern Way
This is not your great-grandmother’s whitewash


- Power sander
- Angled paintbrush
- Large mixing bucket
- Vacuum
- Cotton cloth (something that won’t shed fibers)
- White latex paint
- Water
- Stir stick
- Water-based polyurethane or polycrylic sealer
Did you know that whitewashing wood—the thing Tom Sawyer was tasked to do in the 1800s—is becoming popular again? That’s because whitewashing gives the wood a splash of creamy color while allowing its underlying characteristics to shine through. It’s especially perfect if you want a vintage look for your shiplap walls and summer lake houses. Interested? Here’s how to whitewash wood in the modern world.
What Is Whitewash?
Modern whitewash is essentially watered-down white paint used to give bare wood a semi-transparent, chalky white appearance that allows the wood grain to show through. It is typically made with watered-down white latex paint, though it can be made with white oil-based paint thinned out with turpentine.
Traditional whitewash, also called limewash, is made from hydrated builder's lime mixed with salt and water. It’s often used to whitewash brick. You can still whitewash wood with this method today—and it’s certainly cheaper if you have a big area to cover—but it can be a little harder to find builder’s lime.
Sand Off Any Existing Finish
 Photo: koldunova / Adobe Stock
Unless you have a freshly built piece of furniture or otherwise bare piece of wood, it’s key to remove any existing paint or stain from the surface you plan to whitewash. That’s because whitewashing works best on raw wood—remember, you’re trying to expose the wood grain with this technique.
To make quick work of this job, use a power sander to remove the existing finish. Vacuum up the debris when you’re done, then run a tack cloth over the wood surface to remove any stubborn dust particles.
Mix the Whitewash
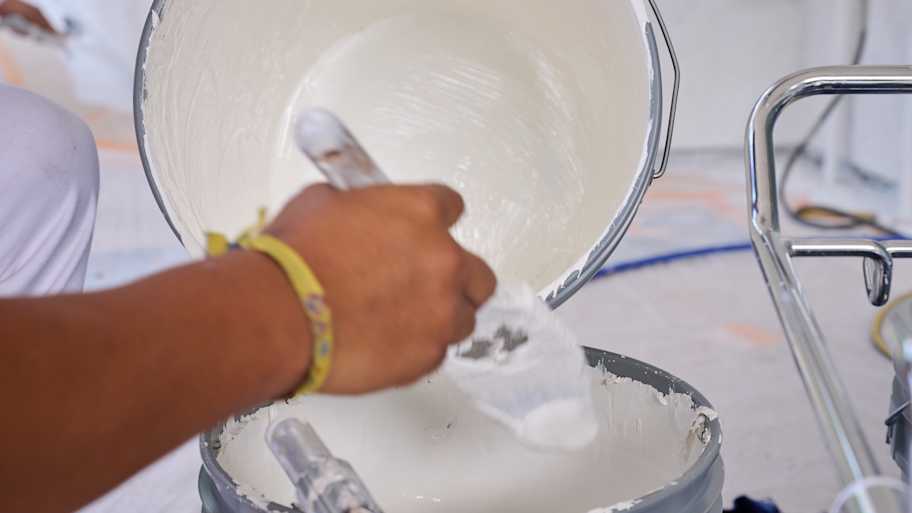
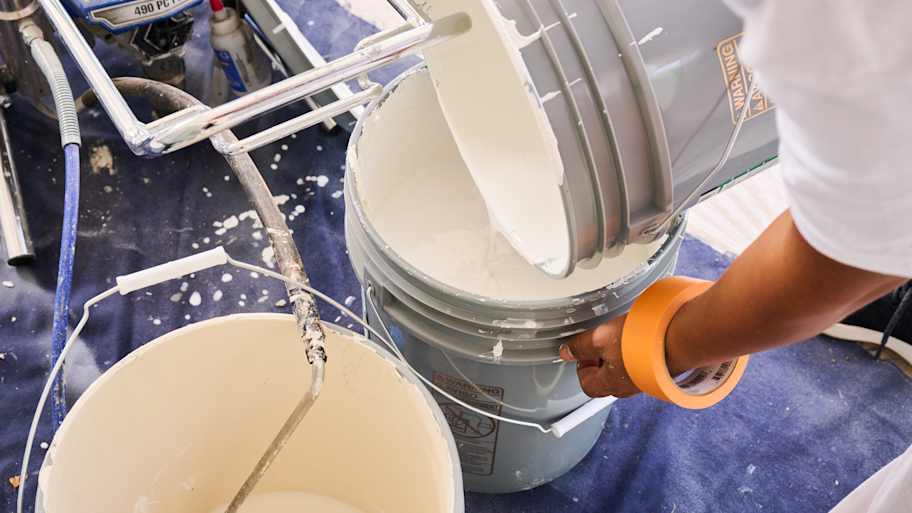
Mix your paint and water together in your bucket using a 1:1 ratio. Test the mixture on a scrap piece of wood or on an inconspicuous area on your wood surface to see if you like the look. Add more water for a more transparent finish or more paint for a more opaque finish.
Apply the Whitewash
 Photo: Puhimec / Adobe Stock
Following the direction of the wood grain, paint your whitewash on the wood with your paintbrush. Use long strokes.
Because you diluted the paint, the finish will dry quickly, so it’s important to work in small sections.
If the finish is still too opaque for you, use a cloth to wipe away some of the whitewash while it’s still wet. Removing enough of the whitewash finish results in a weathered-wood look that’s often associated with old barn wood.
Sand Any Thick Spots and Apply Another Coat If Necessary
 Photo: XtravaganT / Adobe Stock
Once the paint dries (typically takes a few hours), lightly sand any areas that look too opaque. Depending on how much you diluted the paint, you probably won’t need a second or third coat, but you should lightly sand between coats if you choose to add more.
Seal the Whitewash With a Clear Top Coat
Protect your whitewash with a clear polyurethane or polycrylic sealer. This should also help prevent your whitewash from yellowing over the years.
Using a clean brush, apply the clear coat in long, smooth strokes following the direction of the wood grain.
Whitewash vs. Pickled Wood
You may have heard the term “pickling wood” used synonymously with whitewashing wood. After all, both techniques refer to applying a semi-transparent white finish to wood that allows the wood to show through. Yet pickling is actually done with a wood stain vs. watered-down paint or a limestone wash.
How to Pickle Wood
To create a pickled wood finish, follow these basic steps:
Sand your wood surface with 120-grit sandpaper. Vacuum up sawdust and use a tack cloth.
If you’re working with a softwood like pine, apply a water-based pre-stain. This helps prevent your pickling stain from looking blotchy. For harder woods, feel free to skip this step.
Brush Minwax Whitewash Pickling Wood Stain or another water-based pickling stain onto the wood.
While the stain is still wet, wipe the surface with a clean cotton towel or piece of cloth. Wipe with the grain. This exposes the wood grain and removes the excess stain. The more pressure you use, the more wood you’ll expose.
Allow the stain to fully dry and finish with a water-based polycrylic topcoat to protect the wood and prevent yellowing.
Whitewashing Ideas to Try
Love the look of whitewash, but not sure how to incorporate it into your home? Consider these ideas:
Whitewash wood paneling, whether a shiplap ceiling or wood wall paneling, to add texture and warmth to your home.
Whitewash your kitchen cabinets for a modern farmhouse look that’s a little more affordable than the typical cost to paint kitchen cabinets.
Whitewash a coffee table, end table, nightstand, headboard, or other pieces of wood furniture for a vintage look.
Whitewash hardwood floors for a modern Scandinavian look. Just remember to use a pickling stain, as paint can sit on top of the wood and start to peel with heavy foot traffic.

