Rewiring a house in Chicago is a major project, so you’ll need to hire a professional electrician to get an accurate estimate and complete the work successfully.
Ding-dong! It's time to upgrade your doorstep.


Hiring a pro to install a doorbell costs $300 on average, but it ensures a safe and efficient job.
Hiring an electrician near you ensures the wiring is up to local building codes.
Even low-voltage doorbell wires can be deadly because their transformer links to your home's high-voltage system.
Pro installation guarantees the doorbell will work properly.
A pro can help you find the right doorbell to suit your style and budget.
Doorbells might not get quite as much use as they did before the days of smartphones, but they're still a necessary household item. Whether you're anticipating guests or deliveries, having a doorbell will prove beneficial to ensure you don't miss a visitor, and installing one is a useful skill that's doable for the weekend DIYer. Learn how to wire a doorbell and tackle this project with confidence.

Electricians will typically install a wired doorbell during the construction of a new home as they run wires through unfinished walls. If your home already has wiring for a doorbell, you have most of the hard work completed already, making this project much simpler.
If your home isn't wired for a doorbell, an electrician should complete this task. There are different types of electricians, so make sure you reach out to one with enough experience in residential wiring to get your project done right.
However, if you feel confident in your electrical skills, here’s how you can upgrade a wired doorbell.
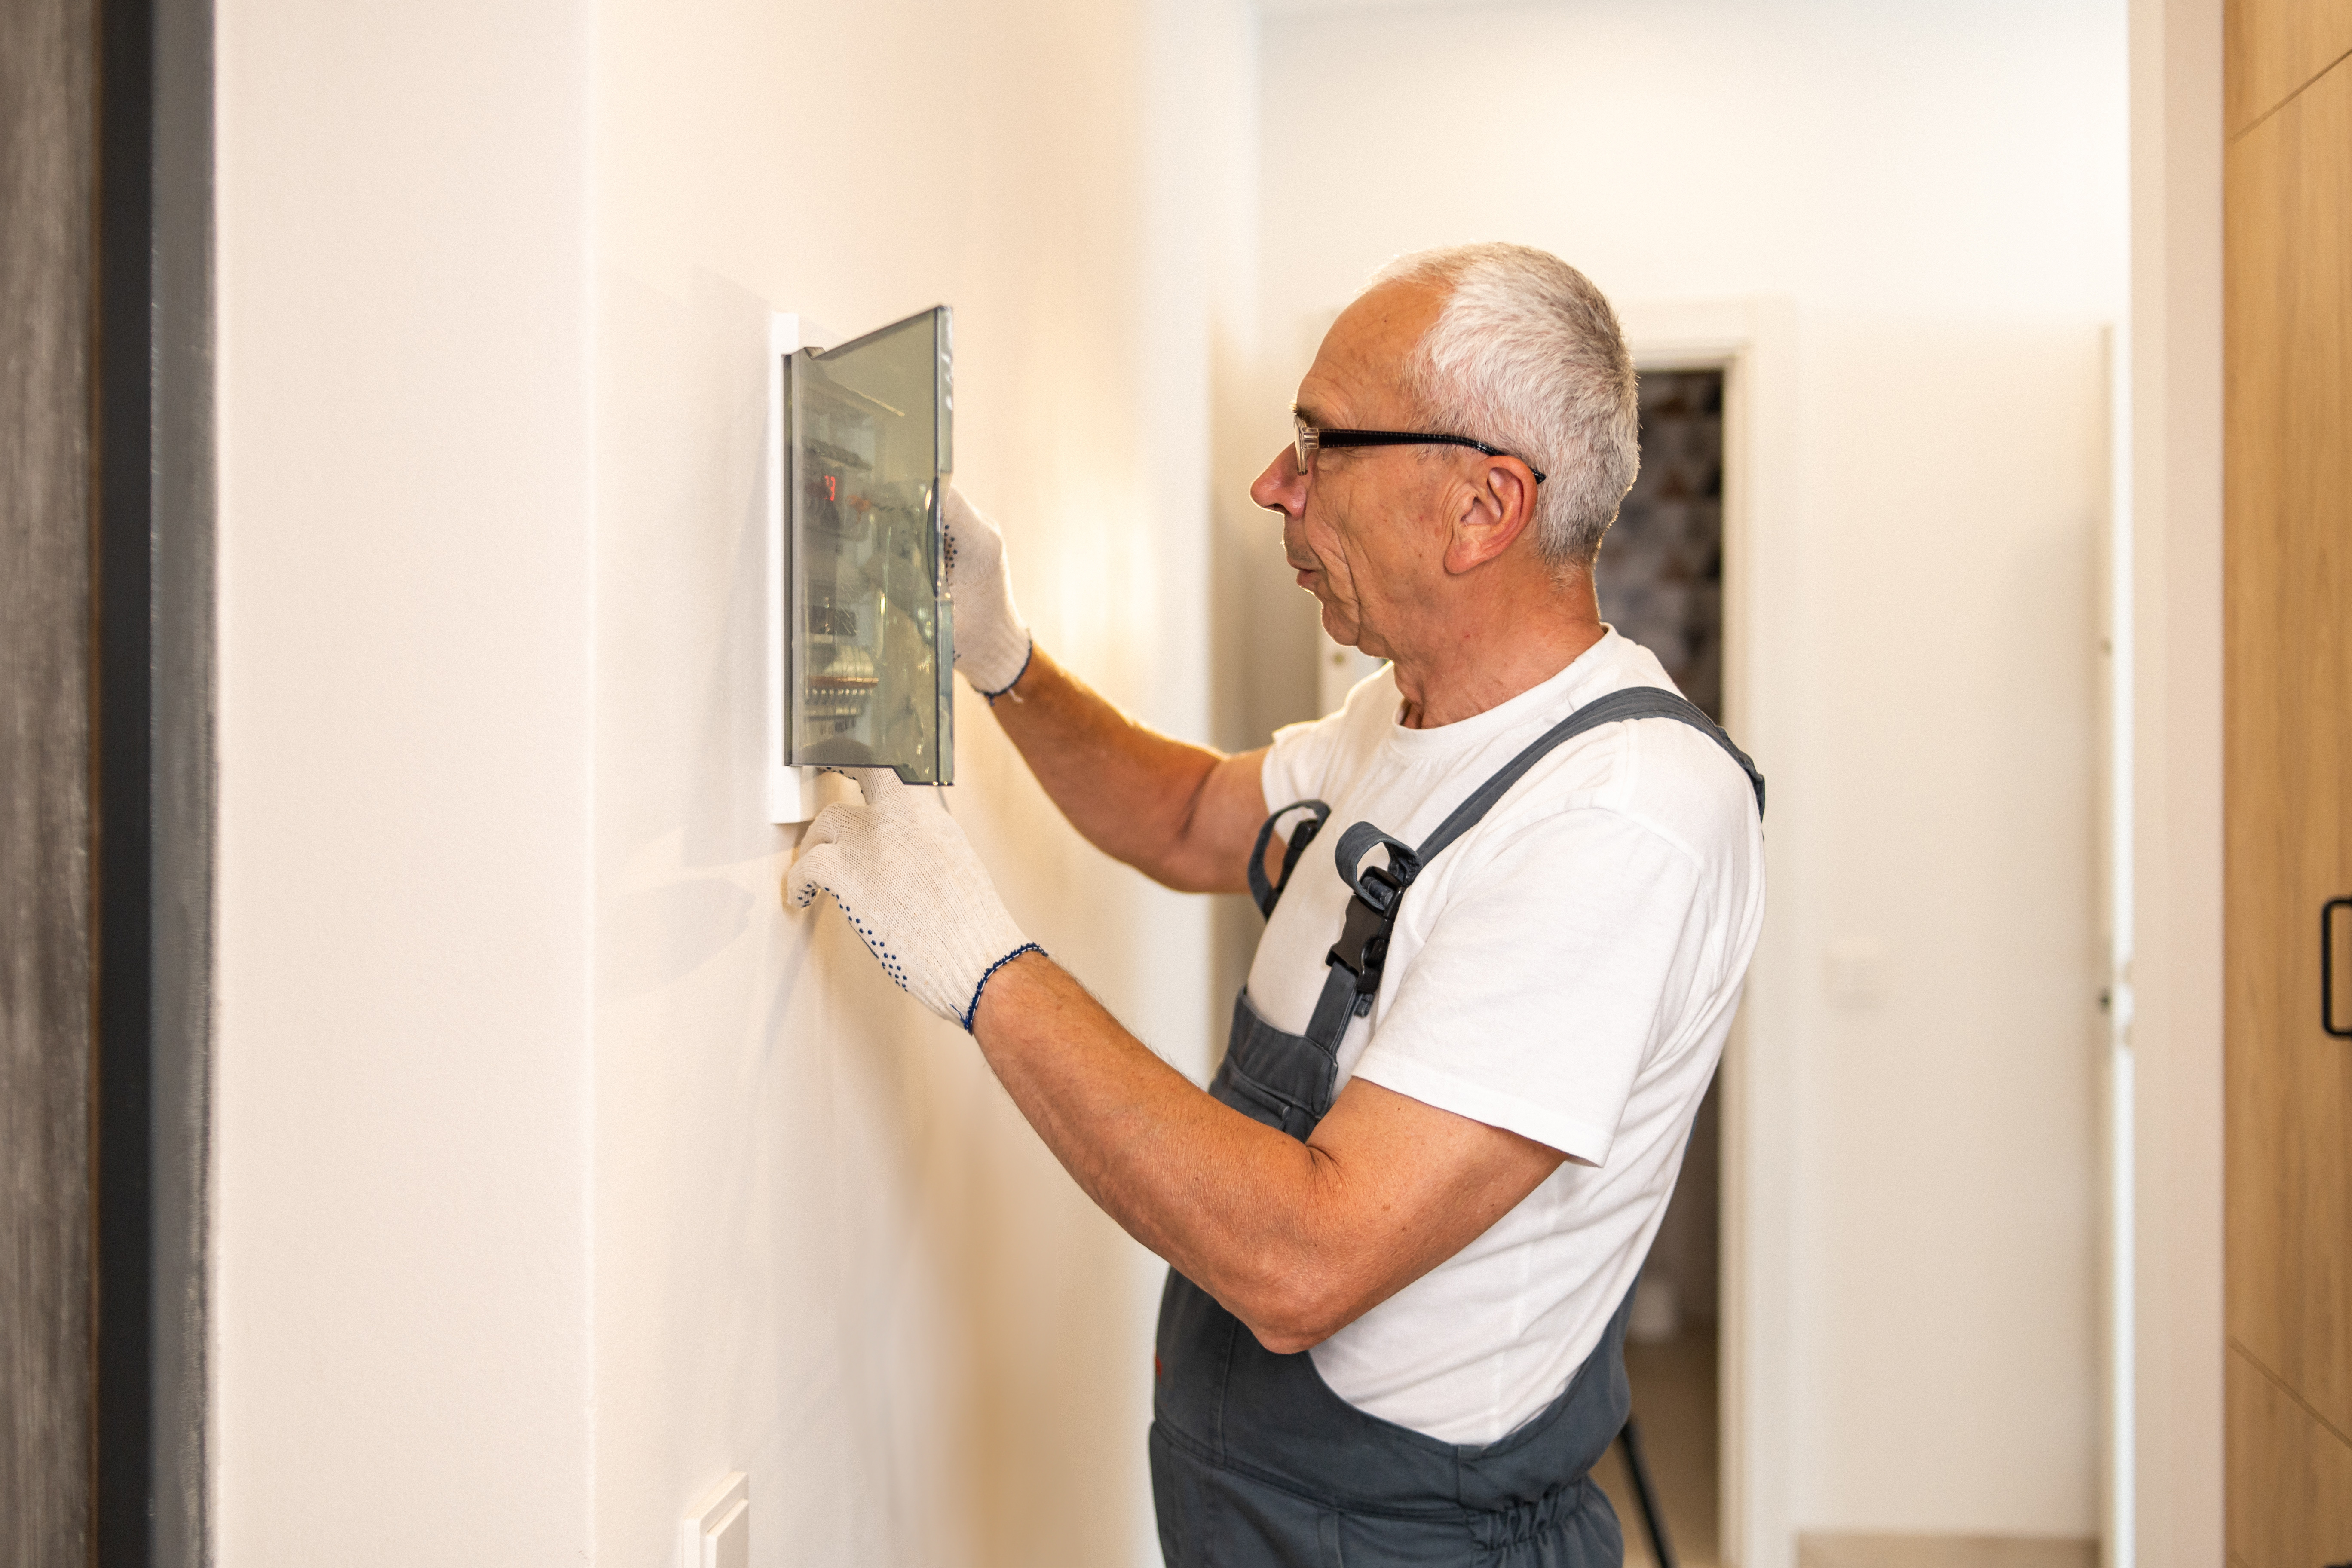
Before you dive in and learn how to wire a doorbell, you'll need to shut off power to the doorbell at the circuit breaker. You can shut off the breaker specifically to the doorbell if it's labeled, or you can shut the main power off completely. This is an essential step to ensure your safety; you should never work on anything electrical while the power is on. Doing so could lead to an incredibly painful or even deadly shock.
If you don’t know how to do this, hire a local electrician or contractor.
Once you’ve turned the power off, you’ll want to confirm that there is existing wiring for a doorbell. If you have an older home, someone may have removed the doorbell's external components without getting rid of the wiring behind the exterior wall.
Check closets, behind doors, and under stairwells for an old doorbell transformer. Finding one is typically a good indication that you have doorbell wiring in your home. You can also have an electrician come and inspect your home to see if you have old wiring still intact.
If you have the wiring, you can install a wired doorbell. If you don't, you’ll have to install a wireless doorbell or get in touch with a pro to set up the wiring for you.
After you find your transformer, use a multimeter to ensure no electricity is running to it.
Doorbell wiring runs on either 8, 10, 16, or 24 volts, and you’ll need this information before wiring your transformer. While 24 volts is the most common, the voltage can vary depending on the kit you purchase, so check your kit’s package to see the required voltage for the bell and make sure your transformer matches up. If you’re using an all-in-one kit with a new transformer, you don’t have to worry about this step.
Unscrew the old transformer box to remove it. Disconnect the cables carefully, and keep an eye on all wires to ensure none retracts into the wall. Next, follow the manufacturer’s directions on your kit to install your new transformer. Typically, you’ll attach colored wires by twisting them together and putting a wire cap on top of them. For doorbells, the color-coded wires usually indicate the following:
White wire: neutral
Hot/live wire: black
Ground wire: green
Once your wires are all connected, you can then screw the transformer box into place.
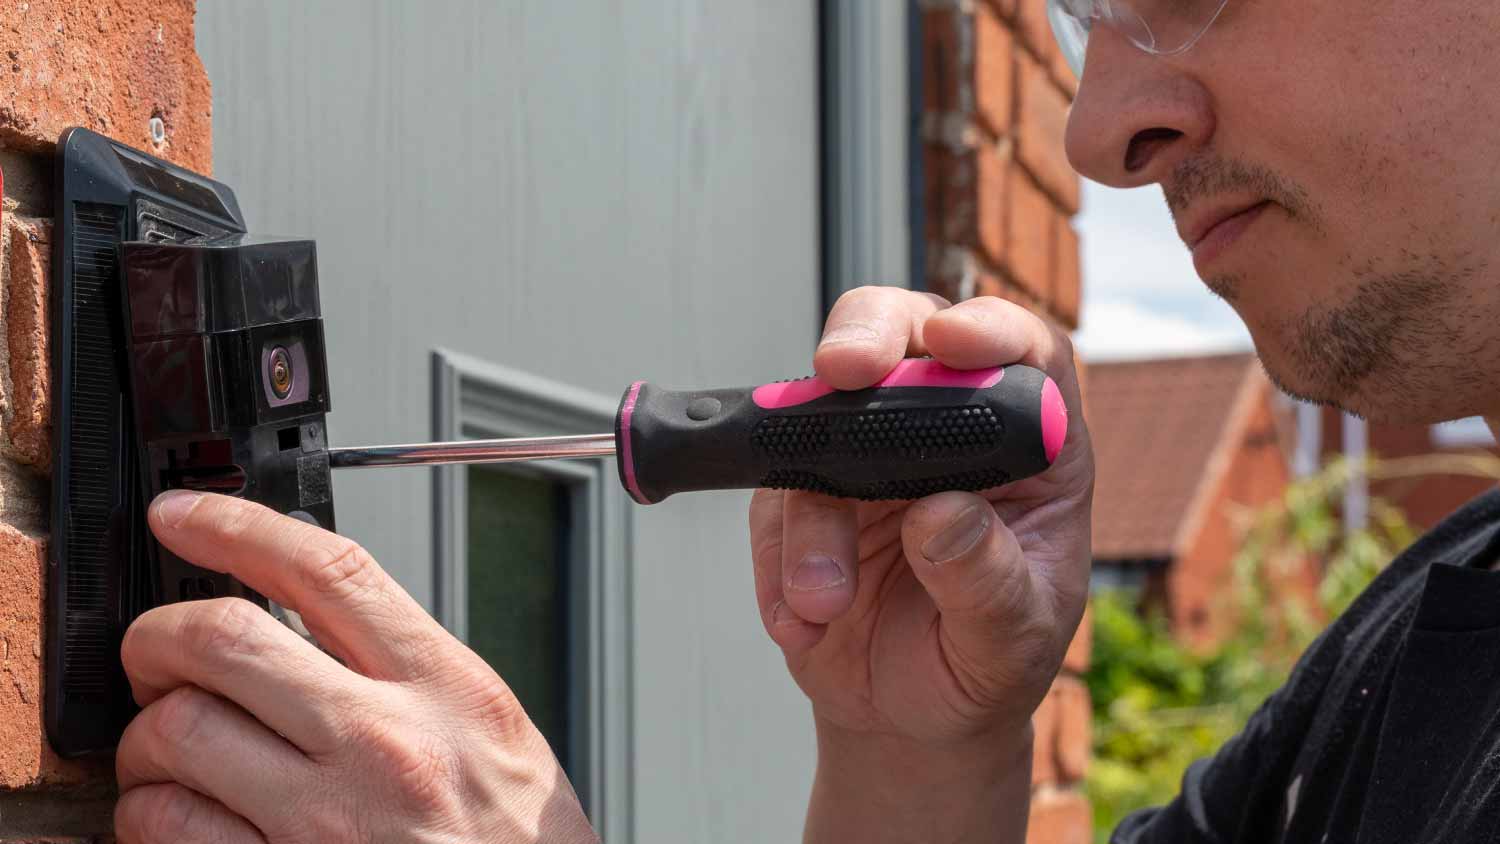
If you’re replacing a doorbell, you’ll need to remove all the doorbell components. Remove the old doorbell with a screwdriver and unwire the push button. Similar to the transformer, the wires will be black and white and will likely look the same.
Untwist the colored wires to disconnect the old bell. If you’re installing a new doorbell or placing it in a new location, you’ll need to use a power drill and a drill bit.
Attach the color-coded wires to the new doorbell by twisting the same-colored wires together and connecting them with wire caps. Then, use a screwdriver to install the doorbell to the wall.
Next, you can replace or install the chime box in your home. These are typically located in areas out of view, such as closets, and you can keep them in their original location or move them somewhere else based on your preference. Keep them close to rooms you frequent so that you never miss a ring.
Use a screwdriver to remove the old chime box from the wall mount. Unwire the old one and install the new one. Instructions for installation will be included with the doorbell kit.
Now it's time to check how the new doorbell works. Turn the power back on from your circuit breaker. Using a multimeter, check the voltage running from the transformer. It should emit the recommended number of volts for your doorbell, but it's okay if it's just a couple of volts over or under.
Then, you can test your doorbell to see if it's working properly. If the doorbell isn't working, shut the power off again and then make sure the wires are properly connected. If you're still experiencing issues and are left scratching your head, call an electrician or contractor to take a look at the wiring.

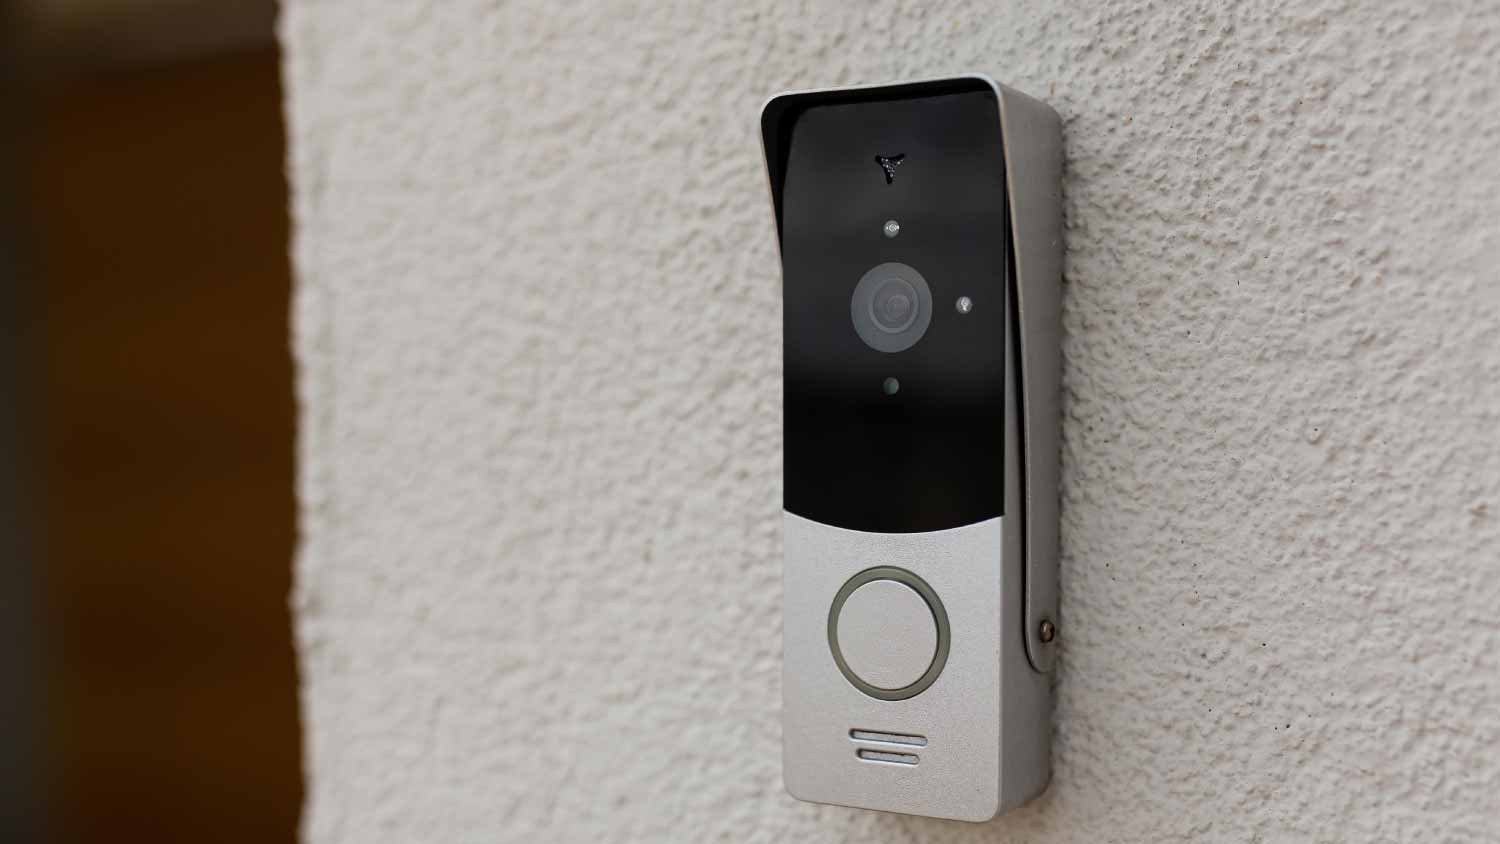
Smart doorbells propelled us all into a new age of smart home security and technology. Wireless and smart doorbells are installed in similar fashions. Choosing a smart doorbell will increase the cost by up to $600 but may be a good choice to keep your home safer. Some steps may vary depending on the brand; the specific kit you choose will feature unique installation instructions.
Turn off the power to your doorbell at the breaker box. Starting with the old doorbell, remove it and untwist the wires. Cover the wires with electrical tape and tuck them neatly back into the wall.
You can also choose to remove your old transformer, though it's not necessary. To remove it, ensure the power is off and open the transformer. Disconnect the wires and cover them with electrical tape. Replace the cover plate on the transformer.
Unlike wired doorbells, wireless and smart doorbells attach to mounting plates rather than the wall. The mounting plate will be included in the kit. Install the mounting plate to the wall with a drill. Most people choose to install it on the side of the door where the knob is. Next, use a screwdriver and the screws included in the kit to attach the doorbell to the mounting plate.
If you’re installing a wired smart doorbell, the directions are similar to installing a traditional wired doorbell. Refer to the instructions included with the kit for specific steps on matching wires.
If you have a wireless doorbell, you can plug your chime box into any electrical outlet in your home.
For smart doorbell installation, you’ll need to connect it to your Wi-Fi router. This process will vary depending on the manufacturer. In most cases, you can do this by downloading an app to your phone and setting up the connection there.
You can test the doorbell to ensure proper installation. With wireless and smart doorbells, there is often little error in installation, so you should be ready to go in no time.
Wiring a doorbell can come with safety concerns due to its electrical nature. If you’re not already fairly skilled in this area, you should play it safe and call an electrician. While this will increase the cost due to labor, which ranges from $50 to $100 per hour, it's worth it to avoid risk. Overall, the doorbell installation costs about $250 to $400.
If you want to keep costs low by DIYing doorbell installation, consider installing a wireless or smart doorbell instead. Little electrical skill is involved, and wireless doorbells offer increased safety features that may be worth it for your home.
From average costs to expert advice, get all the answers you need to get your job done.

Rewiring a house in Chicago is a major project, so you’ll need to hire a professional electrician to get an accurate estimate and complete the work successfully.

How much does it cost to add an electrical outlet in Chicago? Explore installation costs, permit requirements, and factors influencing prices in Chicago.

Chicago homes, especially older homes that haven’t been updated for a long time, can benefit from a new electrical box installed by a professional electrician.

Having dependable electricity is more than just a convenience—it’s a necessity. Here’s when to hire an electrician to keep your home up and running, safely.

A dead outlet is more than an annoyance. It can be a fire hazard, too. Here’s how to deal with a dead outlet to keep your home safe and prevent fire.

Wondering who to hire for electrical work on home additions? Compare electricians and electrical contractors to see how pros get the job done.