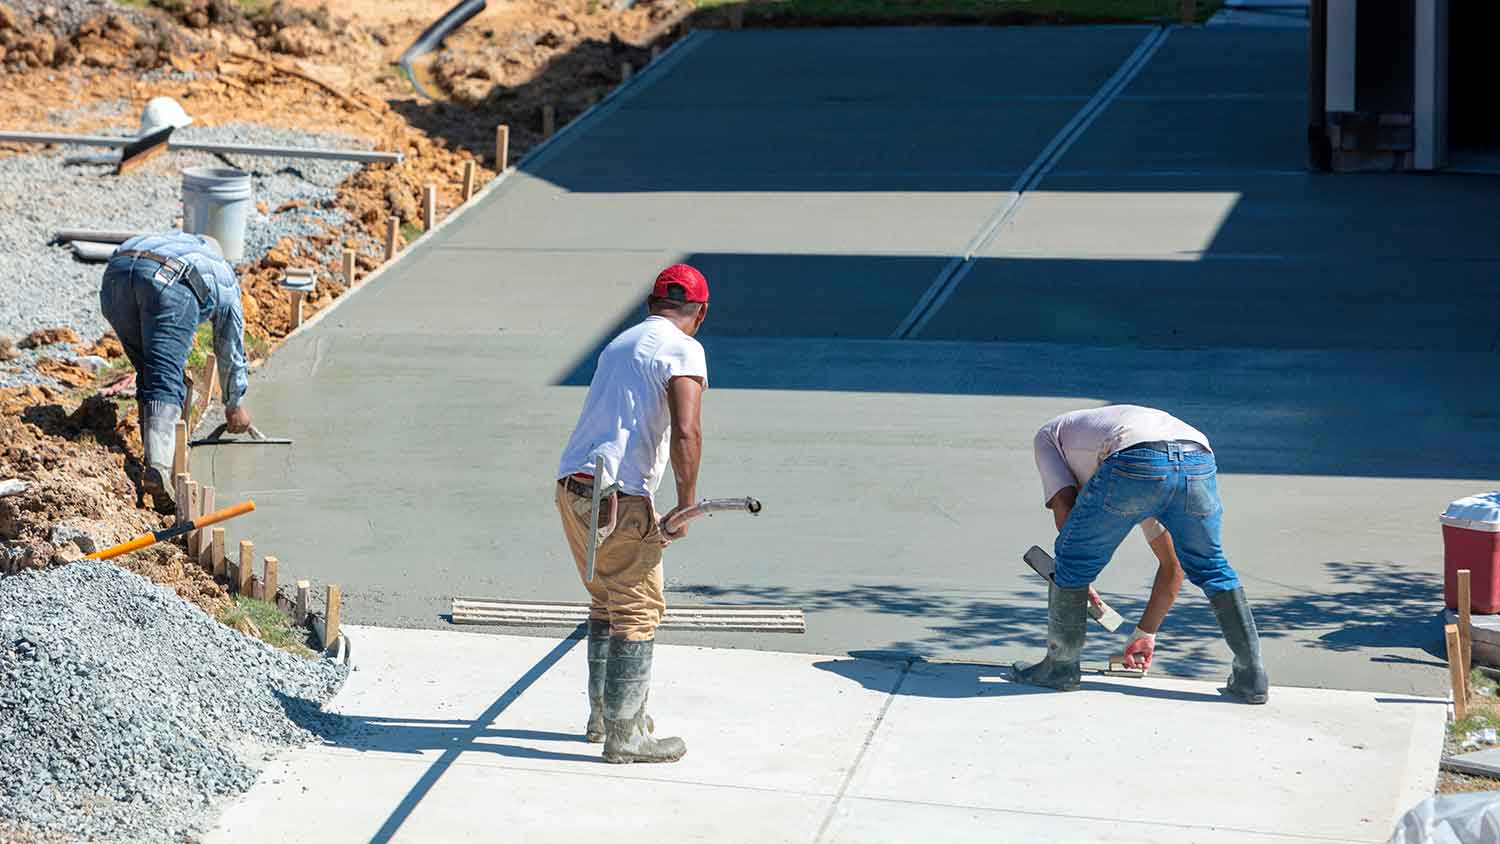
Discover the average concrete pumping cost, including key price factors and tips to help you budget for your next concrete project.
Prepare your driveway for the harsh winter conditions with these simple steps


Winterizing your driveway will refresh its appearance while protecting it from damage due to freeze-thaw cycles and deicing agents. It's also a pretty simple driveway maintenance project that most handy homeowners can take on themselves. This guide walks you through how to winterize your driveway from start to finish.
The best time to winterize a driveway is in the fall, before the first freeze of the year since freeze-thaw cycles can damage your driveway. Before you begin, make sure you have all of your tools and supplies at the ready. You'll also want to ensure you know your driveway's material, since winterizing concrete requires different materials than winterizing asphalt.

Cleaning your driveway will make the rest of the winterizing steps easier, and it will help you identify any damage that you might want to address before the cold weather hits. Use a push broom or a leaf blower to remove leaves and other debris from the driveway's surface.
If you notice any stubborn stains, you can apply a concrete or asphalt degreaser, depending on your driveway material, then use a stiff-bristled brush to scrub the stain away. Finally, give the driveway a good rinse with clean water.
Once your driveway is sparkling clean, take some time to assess it for damage. Both asphalt and concrete driveways can crack, so look for any hairline fractures or larger cracks. Asphalt might also appear as though it's crumbling away in certain areas, or you might find small holes or pockmarks. Make note of these as well so you can repair them in the next step.

Freeze-thaw cycles can make minor damage much worse as your driveway material expands and contracts, so it's best to repair any damage before the first freeze. Most homeowners can fix minor asphalt and concrete damage themselves in less than an hour, but if you'd rather save time or you don't feel comfortable repairing it yourself, you can call a driveway repair company to help.
To repair concrete cracks, you'll likely need:
Premixed concrete crack filler
Putty knife
Wire brush
Broom
Vacuum
Caulking gun
Fixing asphalt typically requires the same tools and supplies, but instead of concrete crack filler, you'll need a filler designed for asphalt.
Regardless of the material, apply the filler and let it cure according to the manufacturer's instructions before proceeding to the next step. Most fillers will cure within a few days to a week.

Applying a driveway sealant will refresh the appearance of your driveway while helping to protect it from damage due to deicing agents and freeze-thaw cycles. You don't need to seal the driveway every year, but it's a good idea to do it every two to three years to prevent damage.
Concrete and asphalt require different sealants, so make sure to choose the right sealant for your driveway material. Then follow the manufacturer's instructions or hire a driveway sealing company to handle it for you.

When a heavy snowfall hits, it can blur the line between your driveway and the rest of your yard, making it difficult to see where to plow or shovel, so consider installing driveway markers to better identify your driveway's boundaries during the winter.
You can purchase driveway markers from most hardware stores. They're usually fiberglass rods with reflective tape, but you can also look for more decorative options. Installation typically only involves driving the marker into the ground next to your driveway using a hammer or a mallet.
Chemical deicers comprise different types of salt, which can damage concrete and asphalt, so consider alternatives if possible. Instead, you can use sand or coffee grounds, or you can invest in heated driveway mats to keep snow and ice at bay.
In most cases, winterizing a driveway is a fairly straightforward task that most handy homeowners can take on themselves, and you can save a lot of money by doing so. If you come across any damage during this process though, you should make those repairs or call a pro before winterizing. It's best to repair driveway damage before the cold season hits, and repairing a concrete driveway costs an average of $1,700, while repairing asphalt driveways costs $1,500, on average. Most of those costs are attributed to the labor, which you can skip altogether if you winterize the driveway yourself.
From average costs to expert advice, get all the answers you need to get your job done.

Discover the average concrete pumping cost, including key price factors and tips to help you budget for your next concrete project.

Discover how much concrete walls cost based on factors like their size, material, location, design, and local labor rates.

If your sidewalk is in need of some TLC, this is your comprehensive look at sidewalk replacement cost, so you know what to expect.

Dealing with cracked or crumbling concrete on your property? Learn who to call to repair concrete in this guide and the benefits of using a professional.

Hairline cracks in your driveway, walkway, slab, or garage floor are common, but not ideal. Learn what to do about new concrete cracking.

Outdoor walkways can elevate your yard and make it more functional. Learn about standard walkway sizes and dimensions so you can plan your walkway project.