
•
Discover the cost to build an outdoor kitchen, including average prices, cost factors, and tips to help you plan your project and maximize your investment.
Preserve the space and enjoy it again next summer with these tips

 - Derek Rose.png?impolicy=thumbnail)
Winterizing an outdoor kitchen takes around six hours
Guarding against the cold helps outdoor kitchen longevity
Split up your winterizing tasks by hiring a pro for the bigger lifts
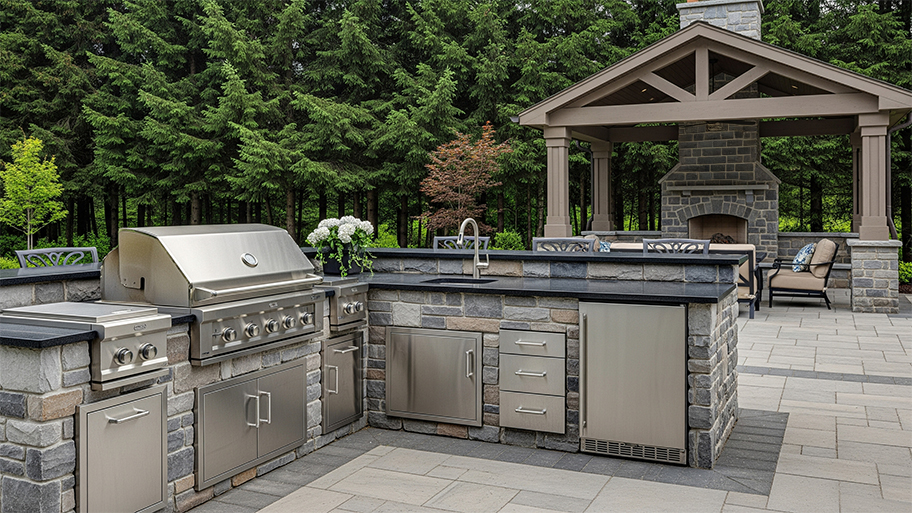
Every year there comes a time when the last burger has been grilled, the last campfire extinguished, and we move into the colder months of the year. While some people are ready to throw on a cozy sweater and sip a warm drink, homeowners with an outdoor kitchen have one last task ahead of them: winterizing.
Most homeowners are able to winterize an outdoor kitchen by themselves, but the job is important enough that it could be worth contacting an expert if assistance is needed. Since the tasks vary, a local handyperson is your best bet; however, a cleaning service might be helpful too. For those tackling it on their own, this how-to guide details everything you need to know, including a checklist of every step along the way.
Winterizing an outdoor kitchen is essential for maintaining the space, not to mention safeguarding the investment you put into building it. The average outdoor kitchen cost is around $15,500 and that figure will only increase if the area is battered by the elements and needs repairs.
Freezing temperatures can cause pipes to burst. Rain, sleet, and snow can tarnish stainless steel and ruin certain appliances. Even forgetting to clean something properly, like a grill or sink, can have negative consequences, especially if left untreated until summer comes around again. It only takes a few hours to winterize an outdoor kitchen, but the payoff is years of barbecues, yard games, and time spent outdoors.
| Item | Average Cost to Replace |
|---|---|
| Gas grill | $1,200 – $7,000 |
| Refrigerator | $400 – $3,500 |
| Dishwasher | $400 – $1,500 |
| Sink | $200 – $600 |
| Wine cooler | $400 – $2,000 |
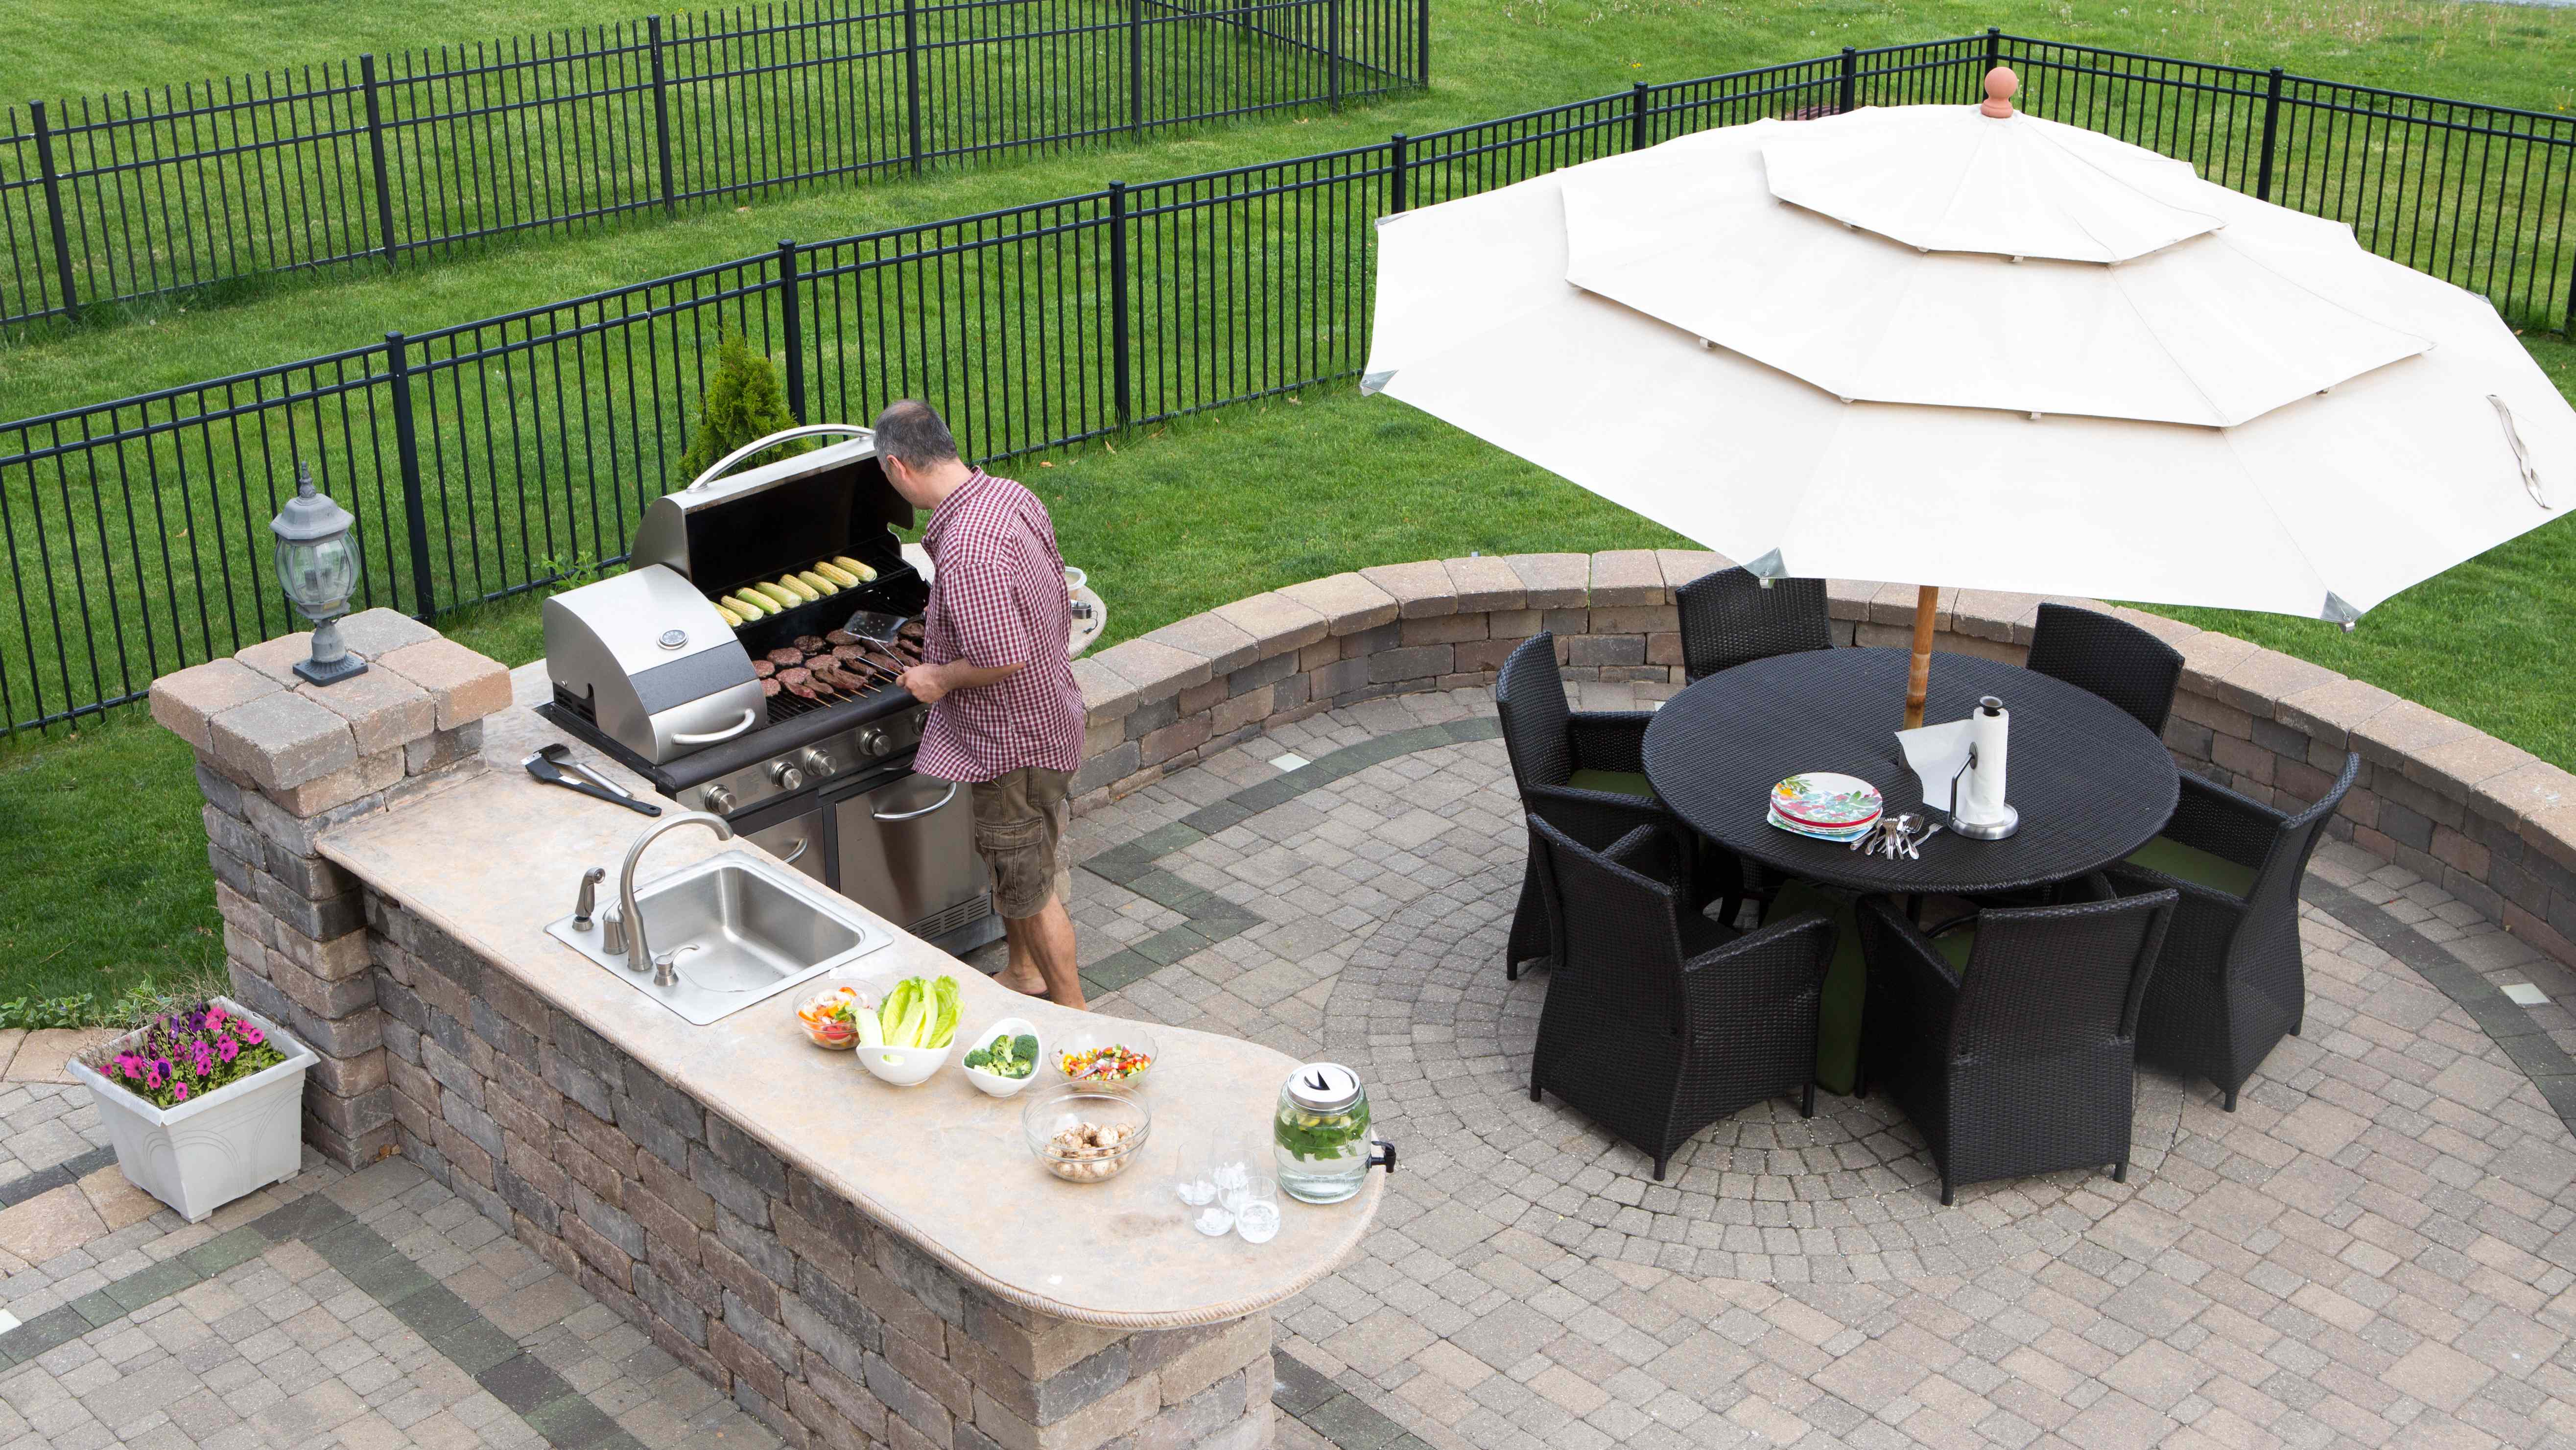
Whether you have an open-air or covered outdoor kitchen, the key areas that need to be winterized are the same. We broke it down into six quick and easy steps below.
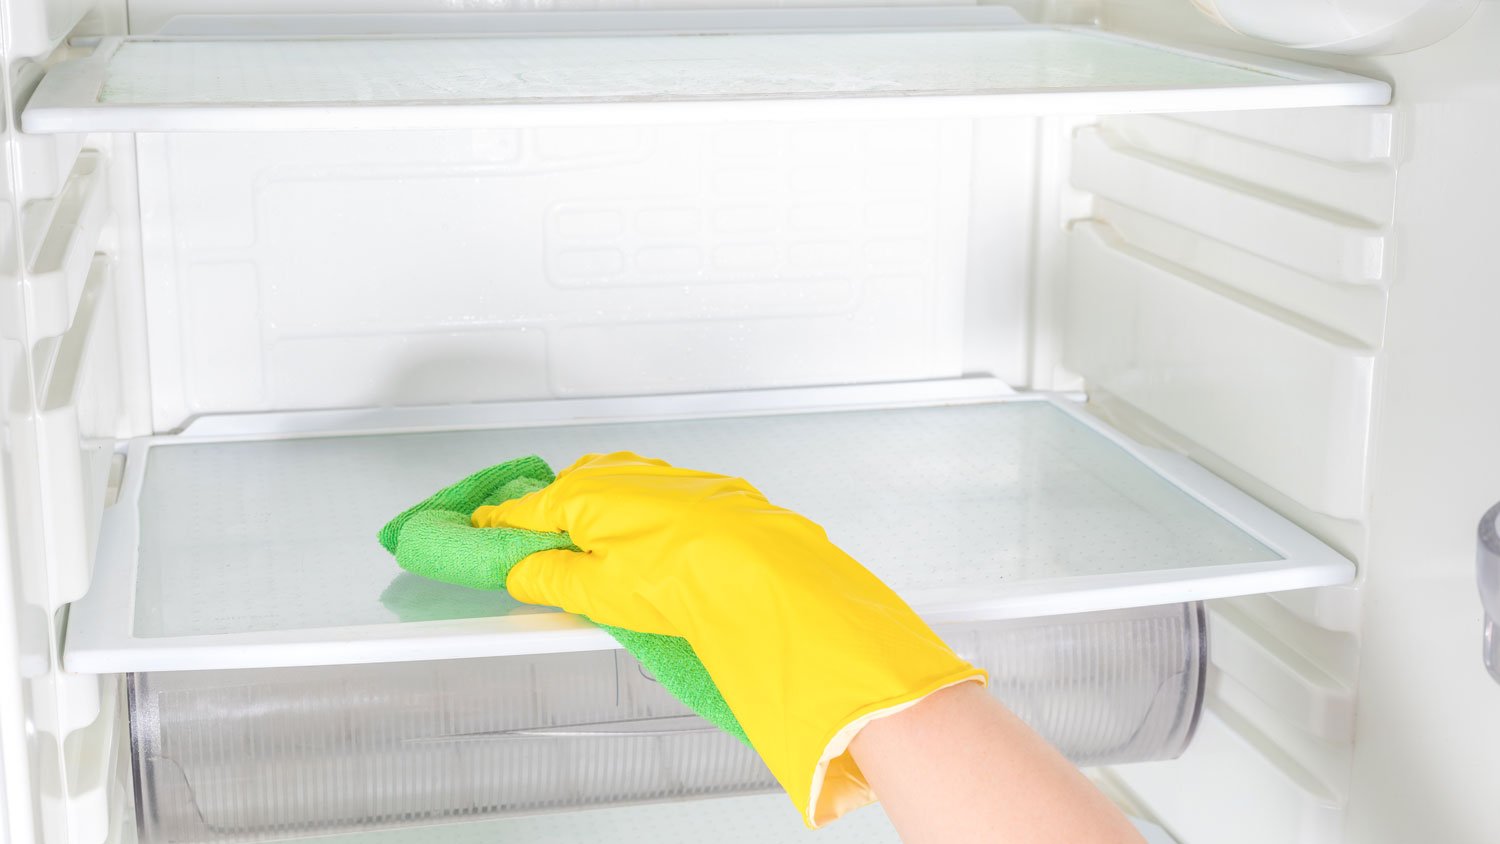
We recommend unplugging the refrigerator first because it could take a few hours for the freezer to defrost. In the meantime, you can knock out other steps on the list.
Take out any food or drinks from the fridge and store them in your house, then unplug the fridge. Clean the inside of the fridge with soap and water and do the same to the freezer once it has thawed. Outdoor refrigerators typically have small freezers that only take a couple hours to defrost, but don’t be surprised if it requires more time than that. From there, use a towel (any kind will do) to dry all parts of the refrigerator.
Most outdoor refrigerators can stay outside during the winter under the right circumstances, particularly if docked underneath a countertop. We recommend spraying stainless steel finish on the fridge to guard against the elements or purchasing a waterproof cover. If you go with the latter, make sure the cover is placed correctly over the fridge; otherwise moisture can get trapped inside and you’d end up doing more harm than good.
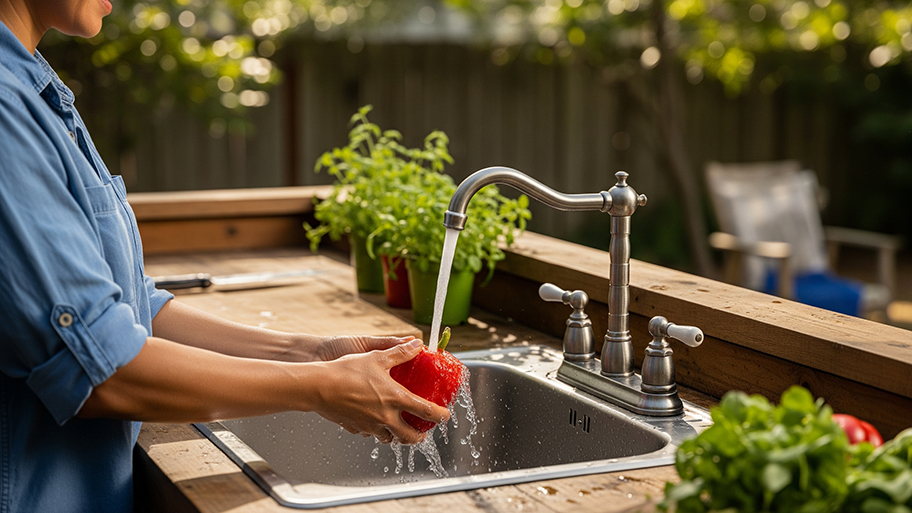
The next step is straightforward but imperative: shut off the water supply to your outdoor kitchen. To do this, find the outdoor water valve, which is usually located in a basement, crawl space, or recessed concrete box along the house’s perimeter, right by the water meter.
Once the valve has been shut off and there’s no water running to the outdoor sink or dishwasher, it’s time to drain the pipes. This may feel daunting to homeowners who have never done it before, but like most steps in the winterizing process, it’s surprisingly easy to do on your own. Let’s start with the sink:
Turn on the faucet and let it drip empty.
Undo the drain tap underneath the sink and let any remaining water pour into a bucket. For extra assurance, remove the faucet head and soak up residual water with a towel.
Pour antifreeze down the drain. One cup should do.
Wrap the pipes in some type of insulation.
Cover the sink and you’re good to go.
Note that if your outdoor water supply comes from a garden hose, an air compressor can be placed at one end of the hose to purge water more thoroughly from the sink, though this is not mandatory.
If your outdoor kitchen has a dishwasher, the winterizing process is similar:
Shut off the water supply to the dishwasher.
Disconnect the drain hose and let it empty into a bucket.
Add antifreeze to the detergent dispenser and run a cycle.
Find the outdoor electrical outlet and turn off power to the dishwasher.
Spray stainless steel finish on the dishwasher’s surface and cover.
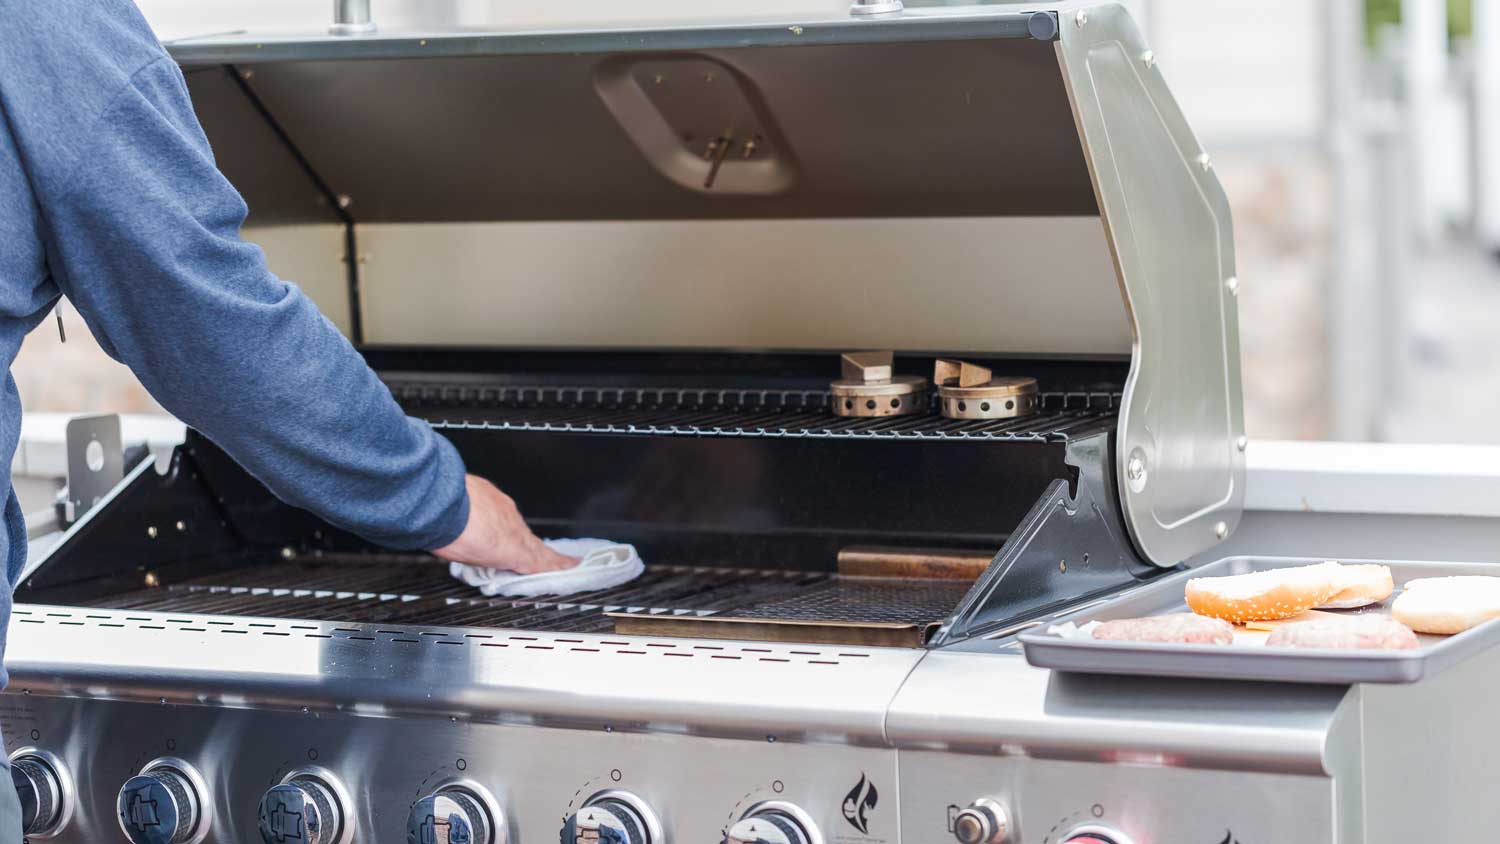
It doesn’t take much to get your grill ready for winter. Start by turning off the gas supply. If using propane, it’s generally safe to keep the tank connected to the grill if the valve is closed, but you can also disconnect the tank and store it somewhere else outside. From there, thoroughly clean the grill inside and out. A specialized cleaning or degreasing agent will help here. Once the grill is clean and dry, secure a cover over it. For outdoor kitchens with a grill island, you will need a specialty cover, unless one was included at the time of purchase. They cost between $100 to $400 on average.
Clean outdoor kitchen cabinets with soap and water, then dry. Afterward, spray them with stainless steel finish. If your cabinets are connected to the grill island, which is common in most outdoor kitchens, you likely have a specialized cover for them. If not, we recommend purchasing one to avoid rust.
Remove any debris from your fire pit, like wood, coals, and even ash. Then use soap and water to clean the inside of the fire pit. Steel wool might come in handy for tough, burnt-on residue. To finish up, place a shield on top of the fire pit or, if it’s portable, store it in the shed or garage.
We saved the easiest step in the winterizing process for last. Depending on the type of outdoor furniture you have, you can either wrap the pieces in water-resistant covers or store them somewhere inside. Many kinds of patio chairs can stay outside during the winter, and if they have cushions, those can be taken inside.
From average costs to expert advice, get all the answers you need to get your job done.
Discover the cost to build an outdoor kitchen, including average prices, cost factors, and tips to help you plan your project and maximize your investment.

Discover the cost to build an outdoor pizza oven, including average prices, key cost factors, and tips to help you budget your backyard pizza oven project.

Find out the cost to replace an outdoor spigot. Get a detailed breakdown of prices, labor, and tips to save on your next outdoor faucet replacement.
An outdoor kitchen can add significant value to your home. Learn about standard outdoor kitchen dimensions and how to choose the right size.

If you dream of dining and cooking al fresco, find out how to DIY an outdoor kitchen to reduce the typically high costs of a home addition like this.
Learn how to install an outdoor sink and make your outdoors even more of an extension of your indoors–follow these step-by-step instructions to DIY.