How to Winterize a Water Softener in 11 Steps
Make sure your unit doesn’t feel under the weather

- Wrench or pliers
- Screwdriver
- Bucket
- Cloths
- Towels
- Water softener salt
- Resin and brine tank covers
When winter comes to town, you probably already know to insulate your pipes or keep a faucet dripping overnight. These chores are ingrained in us after hearing stories of freezing temperatures that caused a neighbor’s pipes to burst. But don’t forget that your water softener needs some attention in the colder months, too, or you could face a frustrating flood and expensive plumbing repairs. Here’s how to winterize a water softener before the freezing temperatures hit.
Prepping to Winterize a Water Softener
First, you’ll need to determine whether you plan to keep using your water softener over the winter, in which case you’ll need ways to keep it warm. Otherwise, you should disconnect it for the season to avoid the risk of a frozen appliance and burst pipes. We’ll walk you through how to winterize a water softener for the season, but if you want to keep using your unit, you’ll want to keep it warm with an insulative water softener wrap that you can buy in a home improvement store or online.
You can also keep the unit warm by using a space heater for particularly cold spells or keeping your central heating running at least on low, even if you won’t be home. Because space heaters can be a fire hazard when not monitored, make sure to keep a close eye on the heater if you use this method, and place it far away from any other objects.

How to Winterize a Water Softener
Maybe your water softener stays in an unheated garage or other area that is prone to freezing temps, or perhaps you’re snowbirding for the winter and plan to turn your heat off at home for the season. Either way, you’ll want to make sure your water softener is sufficiently winterized to prevent a frozen unit and the risk of burst plumbing. Here’s how to winterize a water softener if you don’t plan on using it in the colder months.
Turn Off the Water Supply
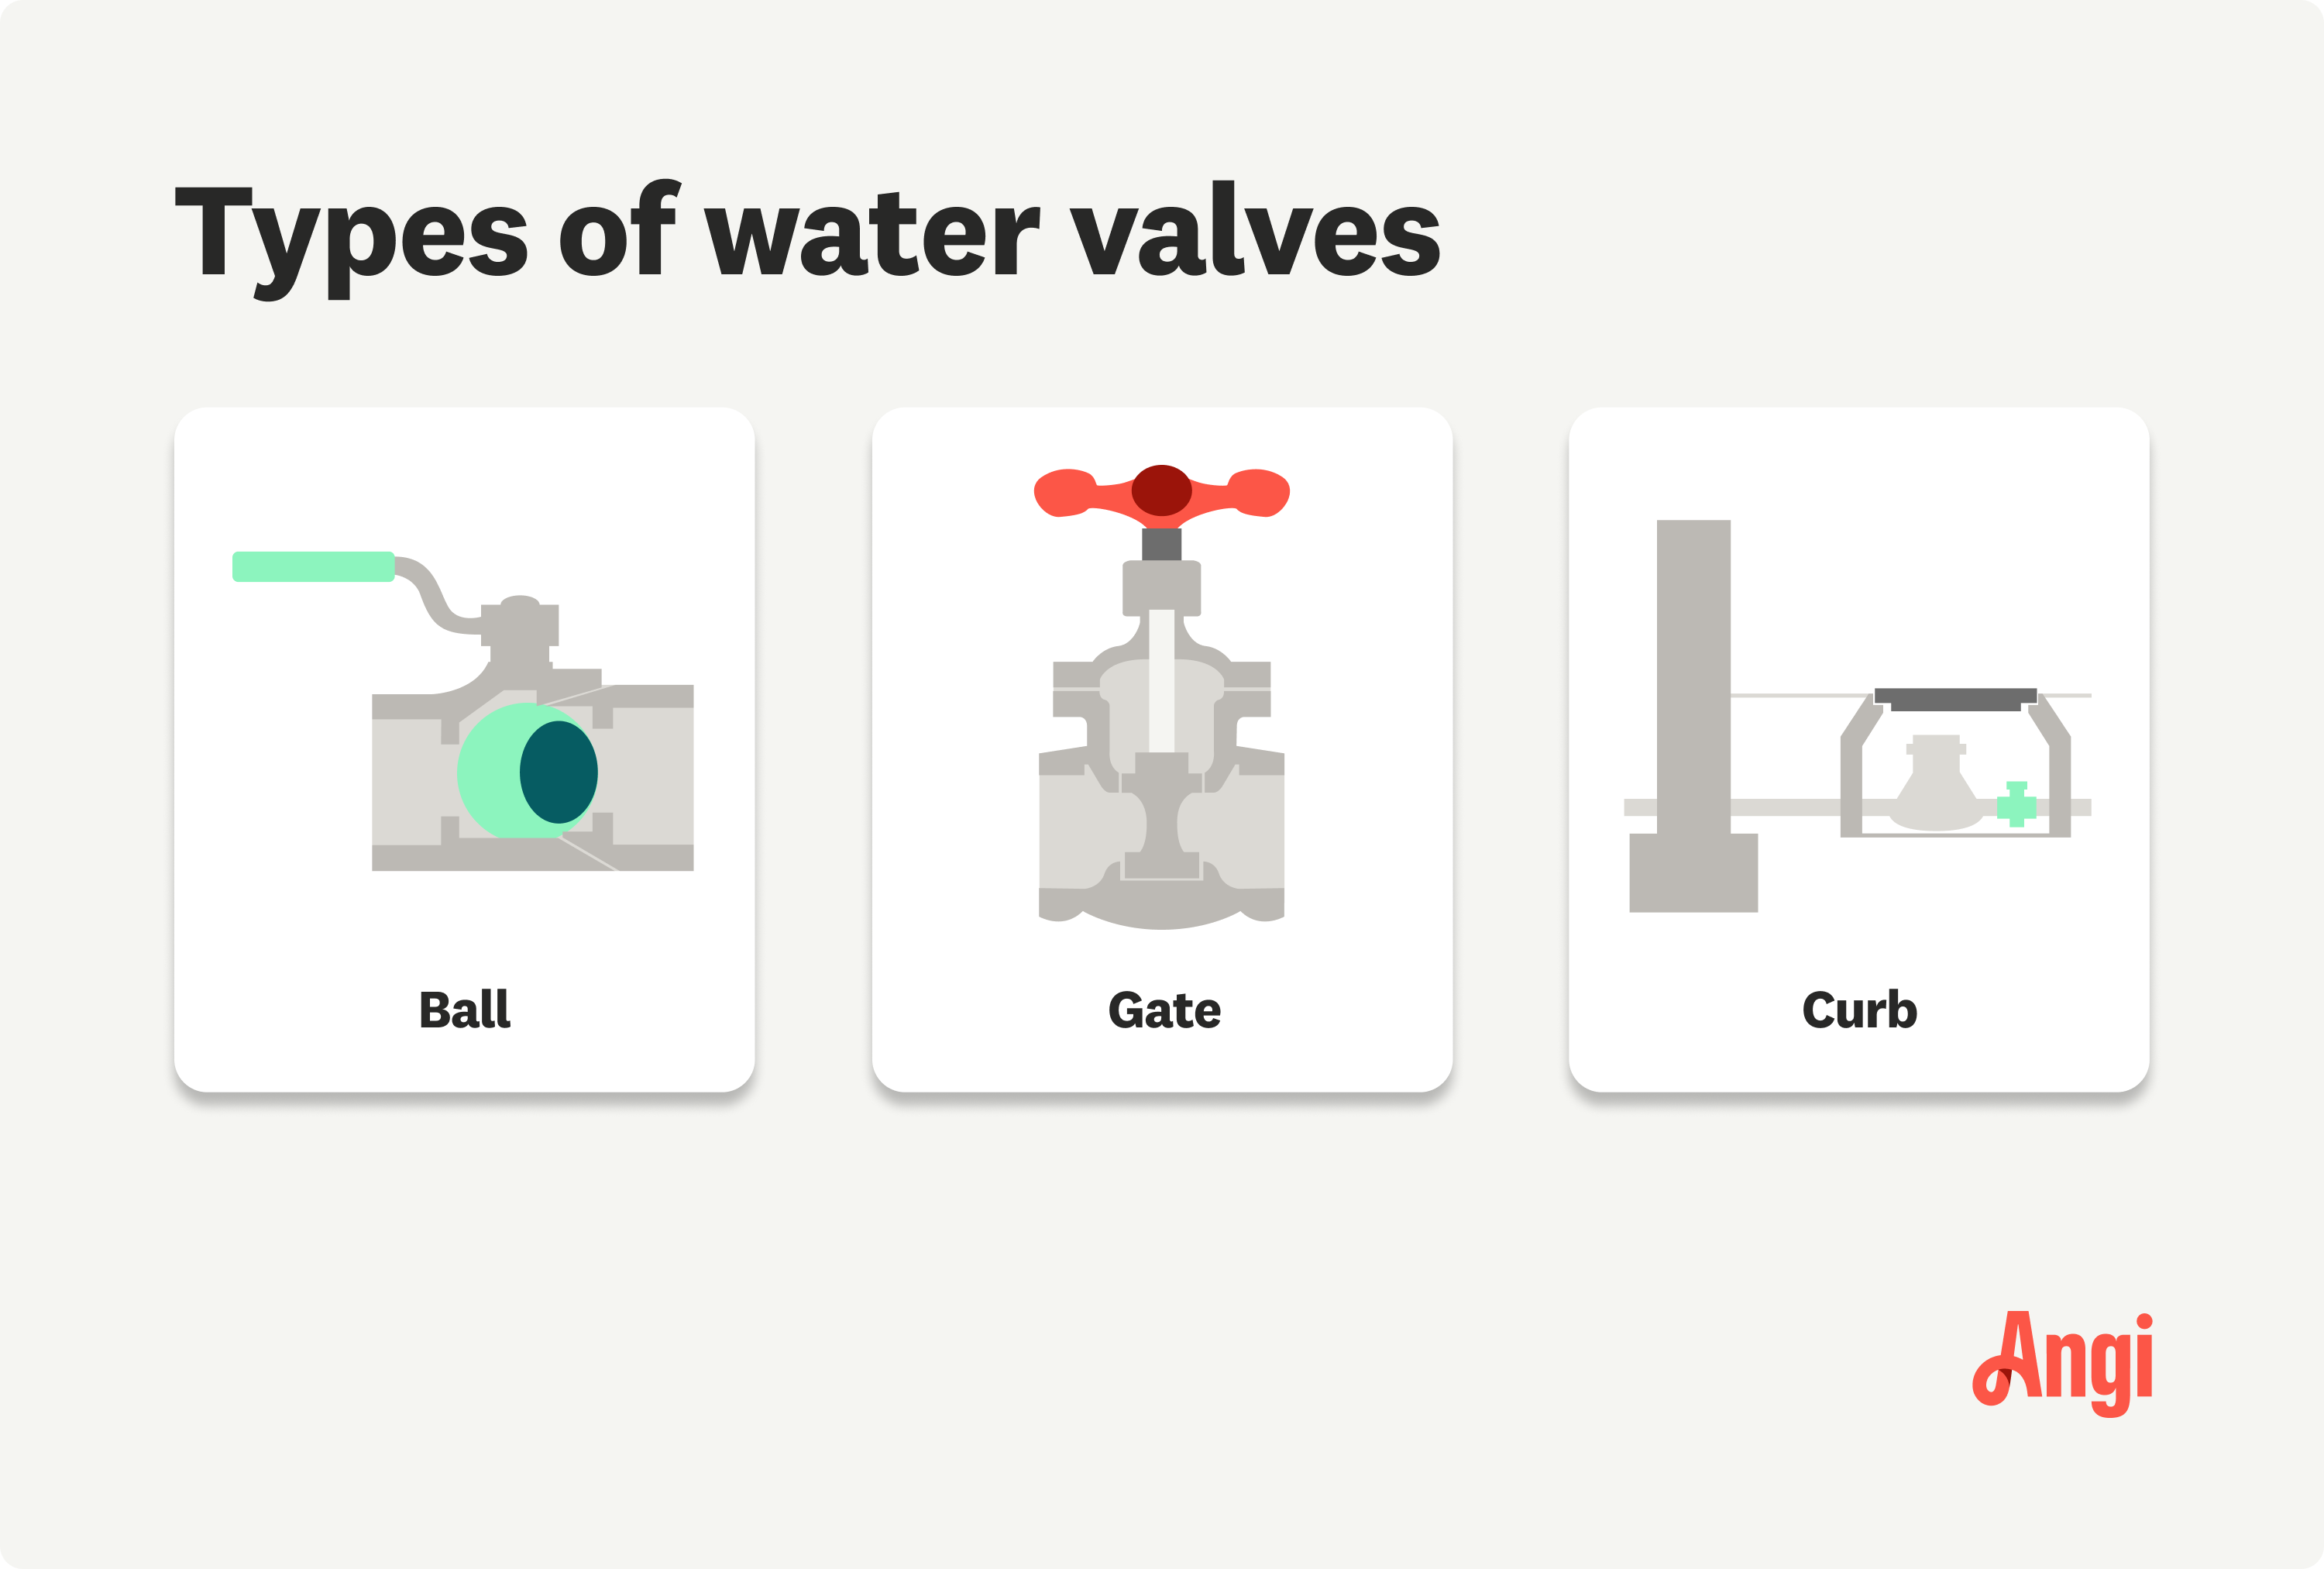
Before you start disassembling and draining the water softener, you’ll need to shut off the water supply to the unit to avoid a watery mess. To do this, you’ll locate the main water shut-off valve, which is near your home’s water heater or in a basement, crawl space, or utility area.
For a ball valve, turn the handle to the right to shut off the water. For a gate valve, twist the handle clockwise until it stops moving to fully shut the valve and turn off your water.
Set the Unit to Bypass
You should see a valve handle at the top of your water softener with options to set it to “bypass” or “service.” This valve allows you to direct water away from the water softener while still supplying water to the home, which can be useful when making water softener repairs or when winterizing the unit. Twist the valve handle into the “bypass” position.
Unplug the Water Softener
Now, you can unplug your water softener. The water softener will have a power cord connected to the nearest outlet. Unplug the unit and drape the cord somewhere it won’t get wet while you drain the water softener.
Remove and Store the Control Valve
The control valve is one of the most important parts of a water softener, and it controls how much water comes into and out of the unit for softening. Use your hands or, if the connections are tight, a wrench or pliers to remove the small clips and take the control valve off of the water softener.
Open the caps for each port on the valve and dry them out with a towel. Store the valve somewhere warm (where temperatures won’t drop below 32 degrees Fahrenheit) to prevent any remaining moisture from freezing and damaging this important part.
Detach the Water Softener
A water softener stands upright and connects to your home’s plumbing through a series of pipes. If your water softener is also attached to a wall, unscrew any strap supports to free the water softener before you drain it.
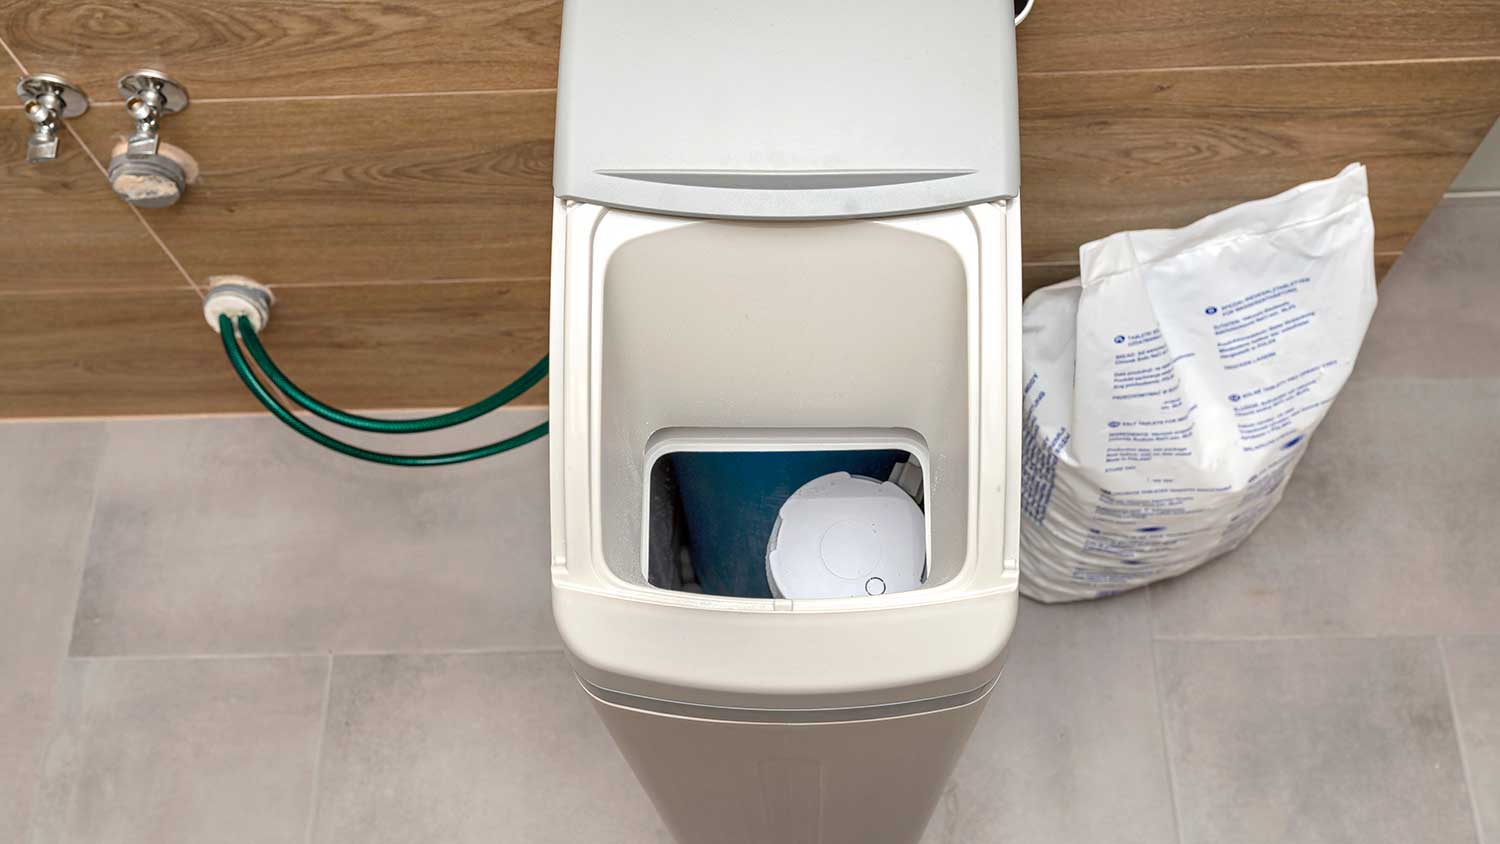
Drain the Resin Tank

Before you start draining, grab a bucket and towel to contain spillage. There should be a drain on the bottom of your resin tank. Open the drain and allow all the water to drain out into the bucket. You may need to dump the bucket a few times because the resin tank can hold a lot of water.
Add Salt to the Fill Tube
There is a fill tube that connects the brine tank to the resin tank, and it may still have some water inside. Add a small amount of water softener salt, five to 10 pellets, inside the tube to help prevent freezing.
Drain the Brine Tank
Use a bucket or water pump to scoop or pump water out of the brine tank. Once it’s light enough to lift, you can dump the brine tank out over a floor drain or outside, if permitted. The brine float assembly may also have water still in it, so pull out the assembly and drain it over your bucket or floor drain.
Cover the Tanks
Use air-tight resin and brine tank covers or caps to seal both tanks. This helps keep dust, dirt, and other debris as well as pests out of your water softener while it’s out of commission for the winter months.
Fill the Inlet and Outlet
There are inlet and outlet connections on your tanks where water from your home’s plumbing comes into and out of the water softener. When the water softener is disconnected for the winter, the inlet and outlet could provide openings for critters to get inside your water softener. Stuff cloths into the inlet and outlet to keep out any pests.
Place the Unit on Its Side
Place a wood plank that’s about 2 inches thick near the floor drain, if you have one. If not, lay down an extra towel on the floor over the wood plank. Carefully rest the water softener on its side, leaning on the block, with the inlet and outlet valves over the drain or facing downward toward the towel. The block helps elevate the unit so that the inlet and outlet aren’t touching the floor since this could break these openings.
DIY vs. Hiring a Pro
For this job, you’ll only need a few tools and supplies that you likely already have on hand. You may not need to spend more than $25 to $50 to get your water softener ready for winter.
However, it makes more sense to have a pro winterize your water softener if you’re having someone winterize your plumbing system anyway. Winterizing a home costs $1 to $11 per linear foot of pipes, or you’ll spend about $45 to $200 per hour for the cost to hire a plumber.
There are a lot of parts to a water softener, and many of these are delicate (it’s easy to accidentally damage or break something). Plus, the process can get confusing. If you’re not confident in your skills to winterize a water softener, hire a local water softener installation company to get the job done quickly and correctly. This can save you the headache of dealing with plumbing problems or needing to replace a broken water softener when spring rolls around.
Frequently Asked Questions
If a water softener freezes, it can cause the pipes that connect to the water softener to crack or become disconnected. When the water softener and pipes unfreeze, this can cause a leak or even flooding, and you’ll need to pay to replace the pipes and possibly the water softener.
You should completely winterize your water softener ahead of the winter months rather than just setting your home’s water supply to bypass the water softener. The water softener may have remaining water in the system even after you bypass, and that water could freeze. Instead, be sure to winterize the system either by insulating it if you plan to use it in the winter or by shutting it off, draining it, and capping it if you don’t plan to use it.


Get our Angi-powered app


