How to Whitewash Brick in 7 Simple Steps
Lighten and brighten your space with this painting project

- Angled paintbrush
- Cotton cloths
- Scrub brush
- Spray bottle
- Rubber gloves
- Dish soap
- Salt
- Caulk
- White latex paint
- Painter's tape
Brick walls and fireplaces add enviable warmth and depth to your living spaces. Still, you may want to shake up the look of your space or change its curb appeal after staring at the earthy reds and browns for so long.
Luckily, you can give your living spaces a quick, easy, and budget-friendly makeover by whitewashing your brick surfaces. Learning how to whitewash brick is almost as simple as learning how to paint brick. What’s more, the project will only take a few hours, offering you maximum impact in no time. Ready to get started? Refer to this step-by-step guide to lighten and brighten your brown or red brick for long-lasting style and charm.

Inspect the Surface
 Photo: Kostiantyn / Adobe Stock
Before you paint, take a few minutes to carefully inspect and prep your brick surface. If your brick walls or fireplace have been there for a while, you’ll likely notice some wear and tear that you’ll need to repair before you start painting. If you don’t have any significant cracks or damage in your brick or you want to keep them there for their added character, you can move to the next step.
Check for damage: Keep an eye out for any significant cracks in your brick and mortar or the grout between the bricks. Small dents or chips aren’t anything to worry about, but if you notice large gaps in the mortar, it’s best to seal them to prevent further damage.
Make repairs as needed: Use a small amount of acrylic caulk to fill in the gaps in your mortar or repair any brick wall cracks. Then, allow the caulk to cure for about 24 hours. For larger cracks or damage, you may need to work with a professional to replace the brick first.
Remove Any Existing Paint
 Photo: Yevgeniy / Adobe Stock
If a previous owner painted your brick house or fireplace, or you painted them yourself and had a change of heart, you’ll need to get rid of any existing paint before you can move on. You can jump to step three if your brick is free of old paint.
You don’t want to make the mistake of skipping this step and not removing old paint; otherwise, your whitewash will end up cracking. This means it won’t stick to the brick as intended and will leave you with a less-than-desirable finish.
You can use a gel-based paint stripper to remove any stubborn paint. But before you get started, be sure to follow worker safety for stripping paint. Cover the surrounding area with protective sheeting, ventilate the space if you’re painting indoors, and put on personal protective equipment (PPE)--like a face mask, eye protection, long sleeves, and gloves.
Then, apply the gel stripper with a brush and let it sit on the brick for as long as the manufacturer suggests. Some paint strippers need more time than others to work their magic. Once the gel stripper has been sitting long enough, use a heavy-duty scraper tool to remove the goopy old paint.
Clean the Brick
 Photo: Ingo Bartussek / Adobe Stock
Whether you’re giving your fireplace a facelift or brightening an entire wall, it’s always a good idea to clean the brick surface first. Otherwise, grease and grime could wreak havoc on your painting project.
Dust first with a dry mop or duster: Use a dry mop or duster to capture any loose dust, dirt, or pet hair that’s hanging around. For the best results, wipe the walls and floors around your brick, too, to prevent any stragglers from flying into your wet paint later.
Apply a liquid cleaning solution: Next, mix one part dish soap and one part salt into a thick but spreadable paste. Use a rag to spread the cleaning solution over your brick surfaces, then work the paste into the crevices of the bricks with your brush. Let it sit for about 10 minutes before rinsing the cleaning solution off with a damp cloth.
For tough stains, you may want to add boric acid to the water. Some brick surfaces may be dirtier than others, especially exterior walls or fireplaces. If your brick still shows signs of dirt, grease, soot, or grime, add one tablespoon of boric acid to a gallon of warm water.
Remember to wear gloves, a face mask, and protective eyewear if you work with boric acid. Otherwise, the boric acid could irritate your skin or eyes. Use your scrub brush to work the solution into the bricks, and rinse the bricks thoroughly once you’re finished.
Prepare the Area
 Photo: davidf / Getty Images
You don’t need a lot of experience to whitewash brick, but you will need a lot of clean-up time if you don’t prepare the area first.
Tape off the area: Use painter’s tape to tape off the walls around your brick surfaces. If you’re painting a fireplace, tape kraft paper around your mantelpiece to avoid unwanted paint splatters. It’s also a good idea to cover your fireplace doors or grates to avoid getting paint inside your fireplace.
Cover your floors: Using kraft paper or drop cloths, cover your floors carefully to protect them from splatters, drips, or spills. If you’re whitewashing an exterior wall, place drop cloths around any landscaping that you don’t want to get paint on.
Mix the Whitewash
 Photo: EyeWolf / Getty Images
Mixing your own whitewash instead of buying a pre-made formula has a few benefits. First, it’s inexpensive and easy to do. Secondly, you can control the ratio of paint to water.
We generally recommend starting with a 50/50 mix of white latex paint and water. Adding more water will give you a more transparent finish, and adding less water will give you a more opaque finish that's closer to standard white paint.
In a separate can or bucket, add your paint and water and mix thoroughly. Do a test swatch on a small section of brick and adjust your ratio according to how much you like the look of the current mixture.
Apply the Whitewash
 Photo: Anastassiya / Adobe Stock
Once you’ve achieved the perfect mix of paint and water, it’s time to start painting. Keep in mind that you’ll usually get better results by working in small sections (think 2 square feet or less). In doing so, you’ll be able to manage the amount of paint you apply and dab off, resulting in a more even finish.
To get started, lightly mist the brick with a spray bottle, then use your paintbrush to apply the whitewash to the face of the bricks, the edges, and the mortar. After painting a small area, gently dab some of the paint away with a clean rag, just as you would with different types of faux painting methods.
How much you dab depends on how much you want the brick to show. If you want a whiter, brighter paint job, leave more whitewash on the surface. Otherwise, use your rag to wipe away a large amount of the paint mixture and leave just a thin layer of whitewash over your bricks and mortar.
Once you’ve covered the entire surface, allow the whitewash to dry overnight before replacing any furniture or decor. At this point, you’re essentially done. If you want to, you can also apply a second or third layer of whitewash for a more opaque finish, but remember to let each layer completely dry first.
Clean Up
 Photo: Miljan Živković / Adobe Stock
As long as you’ve prepped your area carefully, cleaning up after a whitewashing project is relatively easy. After the whitewash dries, clear the kraft paper and painter’s tape from your walls, floors, and wherever else you put them. Fold your drop cloths and put them away, too.
Remove as much wet paint from your brush as you can, then wash the brush with warm water and dish soap. Use your fingers to rub the soap into the bristles, then rinse and shake the brush to remove any leftover paint, soap, or water. Finally, dry your brush with a clean rag and store it.
Pros vs. Cons of Whitewashing Brick
Whitewashing brick is a fast and affordable way to change the appearance of natural brick, but it’s not for everyone. Let’s take a look at the advantages and disadvantages of whitewashing brick before you make a permanent change to your home.
Pros
If you’re looking to be swayed by the decision to whitewash your bricks, look no further. We’ve rounded up some of the best reasons for whitewashing brick, and here are the results:
It’s cheaper to whitewash brick than to paint it.
It works for interior and exterior brick.
It can smooth out the appearance of rougher surfaces.
The drying time is fast because of how thin the paint is.
It lasts for up to 20 years.
It’s low maintenance.
Cons
Deciding on the appearance of your home is a big choice. That’s why it’s important to consider both sides of the coin when it comes to whitewashing brick. Here are a few reasons you may not want to whitewash your brick:
It’s permanent.
You must remove existing paint before you can use whitewash.
Since the paint is so thin, getting even coverage can be tricky.
You might have to apply several layers of paint to get the coverage you want.
The color palette is limited to primarily white and light pastels.
The smoother finish may not be to your aesthetic liking.
It can take longer to DIY if you want a more solid color.
The texture of the bricks remains rougher than painted brick.
DIY vs. Hiring a Pro
Whitewashing brick is only slightly more complicated than a regular painting job because it requires a few extra steps. Overall, though, it’s a really simple DIY with a big payoff. Not only does it make your brick look amazing, but it can also up your curb appeal and return on investment (ROI) in the long run.
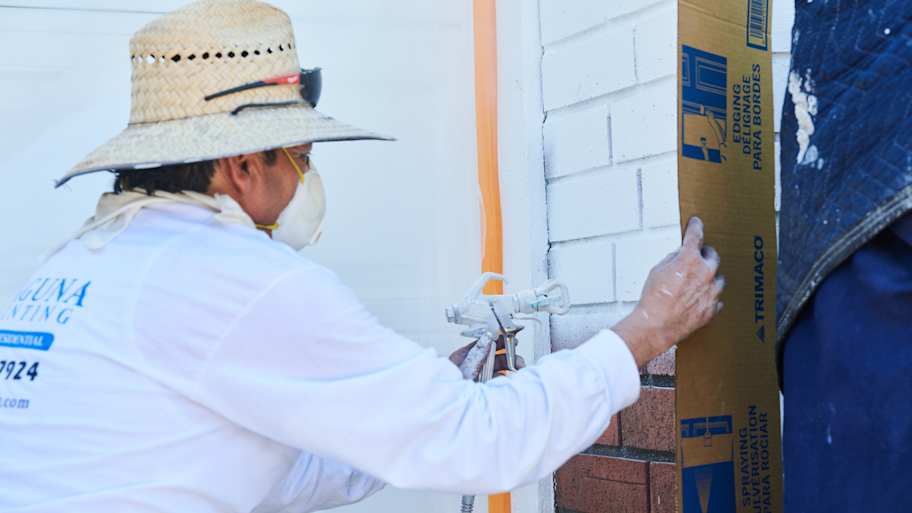
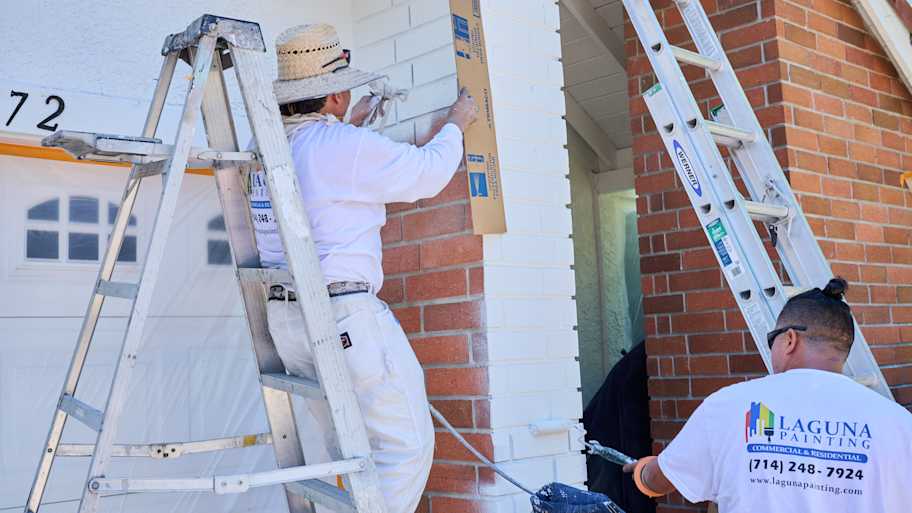
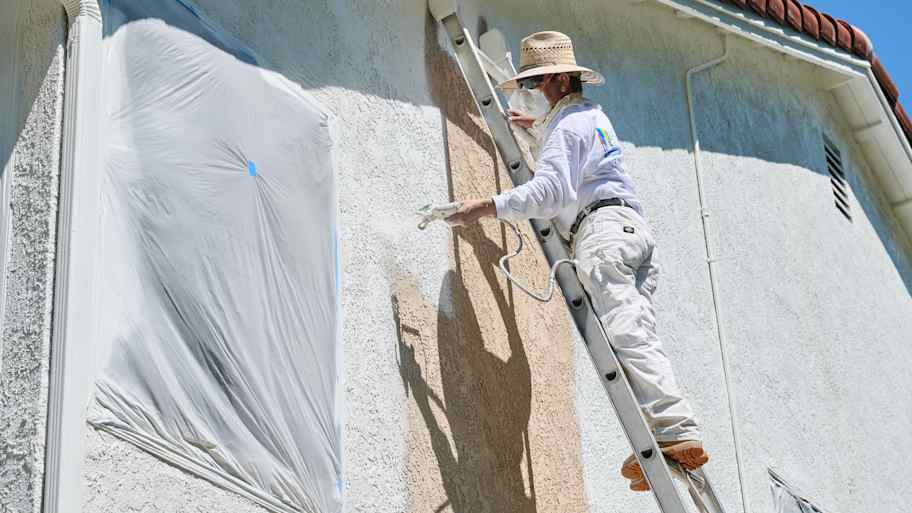
If you have all the tools already, there’s no question that this is a worthwhile DIY project. However, the cost of the tools can definitely add up if you need to buy them. If you don’t plan on doing other painting DIYs any time soon, and don’t have the need for the tools beyond one project, it might be a better use of your money to hire a local exterior painter if you don’t know how to paint your home’s exterior, or an interior painter for interior walls and fireplaces.
An exterior painter costs anywhere from $25 to $100 per hour, depending on their experience level and licensing. You’ll also pay more for a larger project, but you’ll save yourself a ton of time and labor.
Frequently Asked Questions
When it comes to painting your bricks, you’ve got a few options. Traditionally, lime wash (a mix of aged, burned, and crushed lime and water) was used to whitewash brick or stone. You can also find premixed brick whitewash paint that cuts out a few steps and lets you get started faster. However, for the best results, we recommend using a DIY whitewash (white acrylic paint mixed with water).
Whitewashing isn’t permanent, but it can last for a long, long time. When you apply it correctly or have a seasoned pro whitewash your brick, whitewashing can last for 20 to 30 years or longer. Whitewash is very durable and typically requires little maintenance, making it a great project for most DIYers.
You don’t always have to seal your whitewashed brick. That being said, sealing the paint will protect it from scratches and damage, which means less maintenance time in the future. The final choice is up to you. You can seal whitewash with a low-sheen sealant designed for brick, concrete, and tile. Use a wide, soft brush to apply the sealant, then let it dry overnight before replacing your furniture and decor.
Limewash and whitewash often appear together in a quick search when looking for ways to paint brick—so, what’s the difference? Limewash paint is one of the most natural and environmentally friendly ways to paint brick. It’s made from limestone and water, giving it an off-white appearance that looks similar to whitewash. However, limewash is semi-permanent, whereas whitewash is a more permanent, watered-down version of existing paint.
Both brick paint options are economical and light in color, but if you want to change the appearance of your home’s brick in the future, then limewash might be a better option.


Get our Angi-powered app


