Digging a trench is usually the first step in a larger home project. Our trenching cost calculator breaks down the factors that affect the price tag of this job.
Can you dig it?


Excavation may seem simple, but a professional can complete your trenching project quickly, safely, and with reduced risk of damage.
Renting an excavator costs up to $60 per hour, while suction excavators cost $150 to $220 per hour.
Experienced excavator companies are familiar with heavy equipment use and operation.
Local excavation companies already understand your region’s soil conditions and utility risks, and they can determine whether gas or electric trenchers are better for the job.
Hiring a pro minimizes the risk of personal injury, property damage, or striking underground utilities such as electrical or gas lines or water pipes.
Digging a hole takes a good shovel and a strong back. Digging a trench, however, will require much more. If you’re adding utilities to your property or installing drainage, you’ll need to learn how to use a trencher safely and effectively (or know when to call a pro instead).
A trencher is a heavy machine that has the power to dig long, narrow trenches in preparation for excavation or construction projects. The most powerful trenchers can cut through tree roots and even pavement. If that sounds like a better alternative to manual work with a shovel, you’d be right, but it’s the size and scope of the project that will determine the use of the tool.
When digging more than 1 foot below the ground or digging for the length it takes to run wiring, pipes, or any other underground system, you’ll need to learn how to use a trencher or call a pro to dig a trench for you.
Expect to pay between $5 and $12 per linear foot for a trenching project. For more advanced projects, such as digging past tough soil or obstructions, expect that range to be $13 to $24 per linear foot.
Keep in mind, though, that an excavation pro near you will likely give you a quote for 100 linear feet, so you’ll be looking at cost estimates of anywhere between $500 and $2,400 for a trenching project. Your ultimate costs for a trenching project will depend on size, conduit materials, equipment, labor, permit fees, prep, foundation, and finishing.
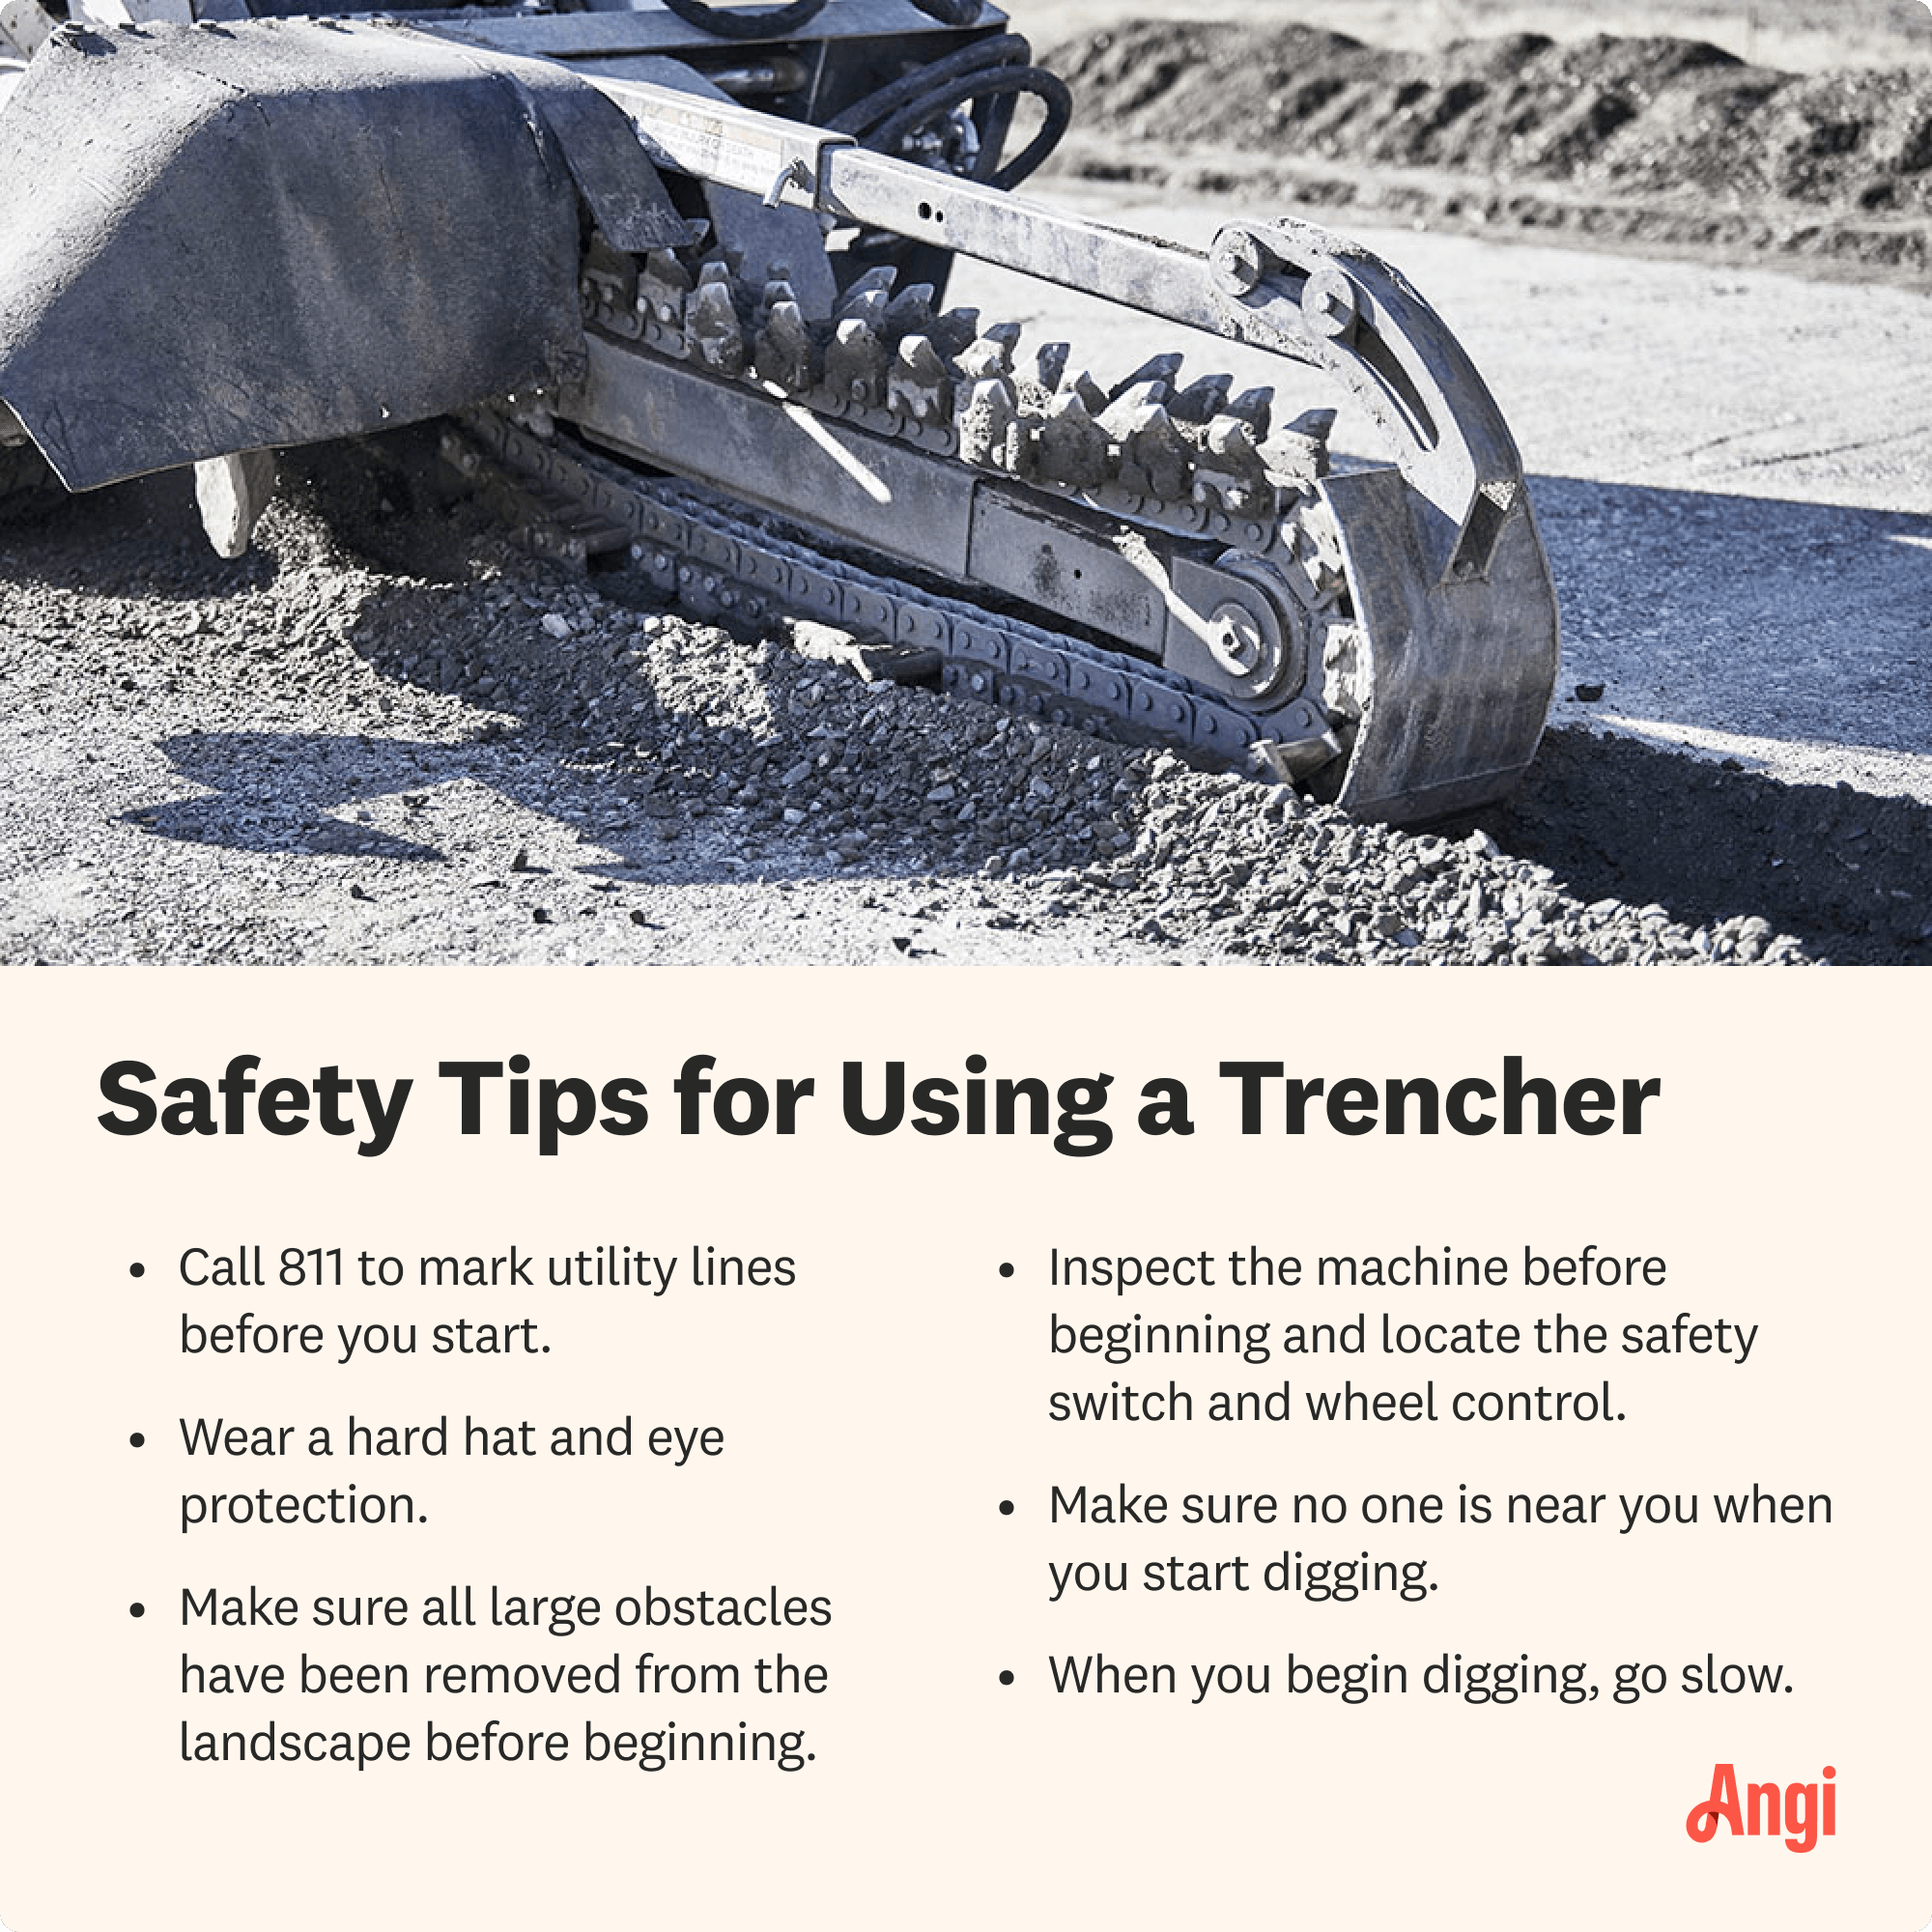
Your first and most important trenching task is to call 811. That’s the national “call before you dig” phone number. You’ll need to make sure your digging won’t hit or otherwise disturb any power lines. A representative from the utility company or town agency will visit your property to mark off where the power lines, sewer lines, and other critical systems are buried so that you don’t damage or disrupt them during your digging project.

Not everyone should try to operate a trencher, but if you’re confident in your skills using heavy machinery, you may be willing to give it a try. Learn how to use a trencher by following the steps below.
It’s always a good idea to practice using a trencher under the supervision of someone who already knows how to operate this heavy machine. Here’s a brief overview of the main parts of a trencher.
Steering: This might be a handle or a more complicated series of levers and controls.
Depth control: This is the lever that allows you to raise or lower the trencher boom to the proper depth needed for your trench.
Chain/wheel control: This important control turns the trenching motion on or off. Always be aware of where this is located.
Speed control: This controls how fast or slow the machine will move.
Gear shift: Start the machine in neutral, then shift to forward or reverse accordingly.
Safety: This is a switch or lever that you have to disengage before starting the machine. Like the chain or wheel control, this is a part that will ensure the trencher is digging only when you want it to dig.
This is different from any marked utility lines or obstacles. You’ll want to use spray paint, flags, some rope, or anything else that will be a clear guide for you to follow when digging the trench in a straight line.
Remove anything that might be blocking the path of the trencher. You don’t want rocks, fallen branches, or other yard debris getting jammed in a mechanism because it will risk damaging the machine and potentially result in personal injury, which could be severe.
Be sure to check the manual for how to start your particular model. A walk-behind trencher often has a key and uses a pull-to-start mechanism, much like a lawnmower. If you have trouble just trying to find the “start” mechanism, you should step away from the trencher and call a pro.
It’s just the turn of a dial or lever that allows you to adjust the depth setting on the trencher. Test the depth and make the necessary adjustments before you fully commit to digging.
Slow and steady wins the race here. Start walking or moving slowly along the line you’ve marked at first until you get a feel for the speed and controls of the trencher. The goal is to have a clean trench behind you as you go, so take your time. Remember, the machine is doing all the work, and you’re mainly there to guide it.
Turn off the trencher after you’ve finished the work, and make sure the safety switch is engaged. Clean the trencher of dirt—a must if you’re returning a rental—before putting it back in storage. Examine the chain and other key components for signs of wear.
Using any heavy-duty machinery requires careful attention and diligent practice or, in the case of trenching, some proper training.
The 5-4-3-2-1 trenching rule is a handy way to remember safety when digging trenches. Here’s how it works:
5: There must be some protection system in place for any trenches dug 5 feet or deeper.
4: For anything deeper than 4 feet, there must be an inspection by an experienced professional.
3: For trenches dug 3 feet or deeper, proper access and an exit for safety is required.
2: Even trenches at 2 feet deep require that workers complete trenching safety training.
1: Lastly, although 1-foot trenches seem comparatively small to other projects, they still require a hazard assessment.
The 5-4-3-2-1 trenching rule is a good benchmark for safety. You have to actually practice the rules to stay safe, not just remember them.

Although a talented DIYer can learn to use virtually any machine with proper training and practice, digging trenches is better left to an excavation pro near you.
Trenching costs anywhere between $5 and $24 per linear foot, with a firmer price depending on the hardness or softness of the soil and the length and depth of the trench, among other factors.
You can certainly save money by renting a trencher and doing the work yourself, but it might take you many more hours, if not days, to complete a project. By hiring a pro to do the work, you have the benefit of an experienced contractor doing the work more quickly and easily—not to mention with more precision—than you would.
From average costs to expert advice, get all the answers you need to get your job done.

Digging a trench is usually the first step in a larger home project. Our trenching cost calculator breaks down the factors that affect the price tag of this job.

The cost to re-level your mobile home depends on your home’s location, size, and whether it needs extra support. Read more about the cost of leveling your mobile home.

How much does it cost to demolish a house? Average prices for demolition vary based on home size, materials, and location. A partial demolition can make a project more affordable than a full house demolition. Keep reading for more.

Trenching means digging a depression in the earth that’s longer than it is wide. Here’s what you need to know about trenching—including doing it safely.

Trenching involves digging long, deep channels, but edging creates shallow, neat borders. Learn more about each method and when to use them.

Can you excavate in the winter? Sometimes, but it’s complicated. Find out the pros, cons, and steps for planning a winter excavation project.