Get clear answers on how much radon remediation costs, including average prices, key cost factors, and tips to save money on your home’s radon mitigation.
Just because you can’t see or smell this gas doesn’t mean it’s hard to find


Because radon gas is odorless and invisible, it’s best to pay for an official radon test costing around $150 since a pro will deliver more reliable results than a DIY kit.
A radon detection pro knows how to place and operate testing equipment so that weather, ventilation, or other conditions don’t compromise the reading.
If elevated radon levels are detected, a pro can analyze the results and guide you on the next steps.
You’re likely well aware of the risks of carbon monoxide, but radon—another colorless, odorless gas—is also a hazard to your health. A radioactive gas that forms naturally in soil and rocks, it can covertly enter your home through subterranean areas like basements and crawl spaces. But what are the signs that it’s infiltrated your house? Learn how to test for radon to keep your home’s air safe to breathe.
Before we can talk about why you should be testing for this chemical, it’s important to know a bit about it first. So, what is radon? This radioactive gas naturally occurs as rocks and soil break down. And because it’s literally made by the earth, it’s present just about everywhere outside. The difference is that exterior levels tend to stay low because they’re consistently ventilated.
By contrast, radon is much more likely to build up to dangerous quantities in an enclosed space, which is why it’s a good idea to periodically test for it in your home so it never gets to that point. If allowed to accumulate, it can pose a serious cancer risk to you and others in your abode.
Exposure to radon over a long period of time can cause serious health problems, including lung cancer. Lowering radon in your home requires professional knowledge and skills only available by hiring a radon mitigation pro.
Radon test costs vary significantly depending on whether you opt for a DIY method or hire a radon testing company near you. Home test kits range from just $10 to $30 on average, whereas you’ll pay between $150 and $710 for a professional inspection.

Using your senses to determine if radon is in your house isn’t going to cut it since you can’t see or smell this gas. Instead, you’ll need to look inward and evaluate how you’ve been feeling physically.
For example, high amounts of radon can lead to symptoms like respiratory problems, a raspy voice, or consistent chest pains. These can also be caused by other issues—like black mold—so cross-check your home to make sure there’s nothing else that could be at play. Either way, don’t wait to test for radon. The longer it’s allowed to build up, the worse your health will get, so, in this case, it’s OK to have multiple inspections going on simultaneously.
"The most important need for radon testing comes if anyone is living below grade in a house. Basement bedrooms or any space in the basement that will be occupied for periods of time need to be tested in areas where radon is present. That means, most of the United States. Radon is not evenly distributed and so one house might test at 1.5pCi/L and the house next door might test at 6pCi/L and need a radon mitigation system."
— Jonathan Culp, Design Principal for Land Agency, Denver, Colorado
Testing for radon is not the moment to try out a new DIY technique. Stick to the classic systems, like using a federally approved detection kit or seeking out a professional inspection, to ensure your home is out of danger.
There are two kinds of radon testing kits: short and long-term. Short-term kits will measure radon levels and deliver an analysis in as little as two to 90 days, but the results are not as accurate as a long-term test. Those are more reliable because they determine the average level of radon in a home over the course of a year—so you can know whether a mitigation system is necessary or not.
How do you use them? First, you need to acquire a kit, which you should do by contacting your state radon office which can be found on the Environmental Protection Agency’s (EPA) website. They’ll supply you with a list of trusted testing options, and tell you where and how to find them.
Both types of kits work in more or less the same way and will be accompanied by an instruction manual that guides you through the process. Here are the steps you’ll need to take:
Place the testing device three feet off the ground in the center of the lowest part of your home—and at least three feet away from all doors and windows.
Use one kit for every 2000 square feet.
Don’t install tests in severe weather, as doing so can compromise results.
Leave it for as long as the instructions dictate—as little as two days and up to a year depending on the type of test.
Keep away from fans, vents, or any sources of heat—fire, furnaces, or stoves.
Once the results have been collected, send them to a lab for evaluation.
If a temporary test kit isn’t enough to put your mind at ease, consider installing a more permanent solution like an automatic or smart radon detector. These setups will keep you informed on the radon levels in your home at all times—and, in some cases, will deliver their prognosis directly to your phone.
Although DIY test kits are a solid budget option for radon testing, proper installation is the key to getting the best read. If you doubt your abilities in this department, or simply would rather not be in close proximity to radon, leave this task to a pro instead. They’ll take care of all the ins and outs, from installation to final analysis, and guide you on what to do next if it turns out you do have elevated radon levels.
If you’re still waiting on your test results but suspect high levels of radon in your home, here are some steps you can take to minimize the amount.
It’s never a bad idea to let some fresh air into your abode, particularly when dealing with radon. This shouldn’t be your only solution, but cracking a door or window several times throughout the day will temporarily get rid of radon accumulation and keep your air relatively safe and clean while you seek out more comprehensive fixes.
Radon and soil go hand in hand, so any part of your foundation that’s not sealed off from the outside world could be funneling the gas into your home. Take care to close cracks or gaps when you notice them, and finish spaces that are closer to the ground, like basements or garages.
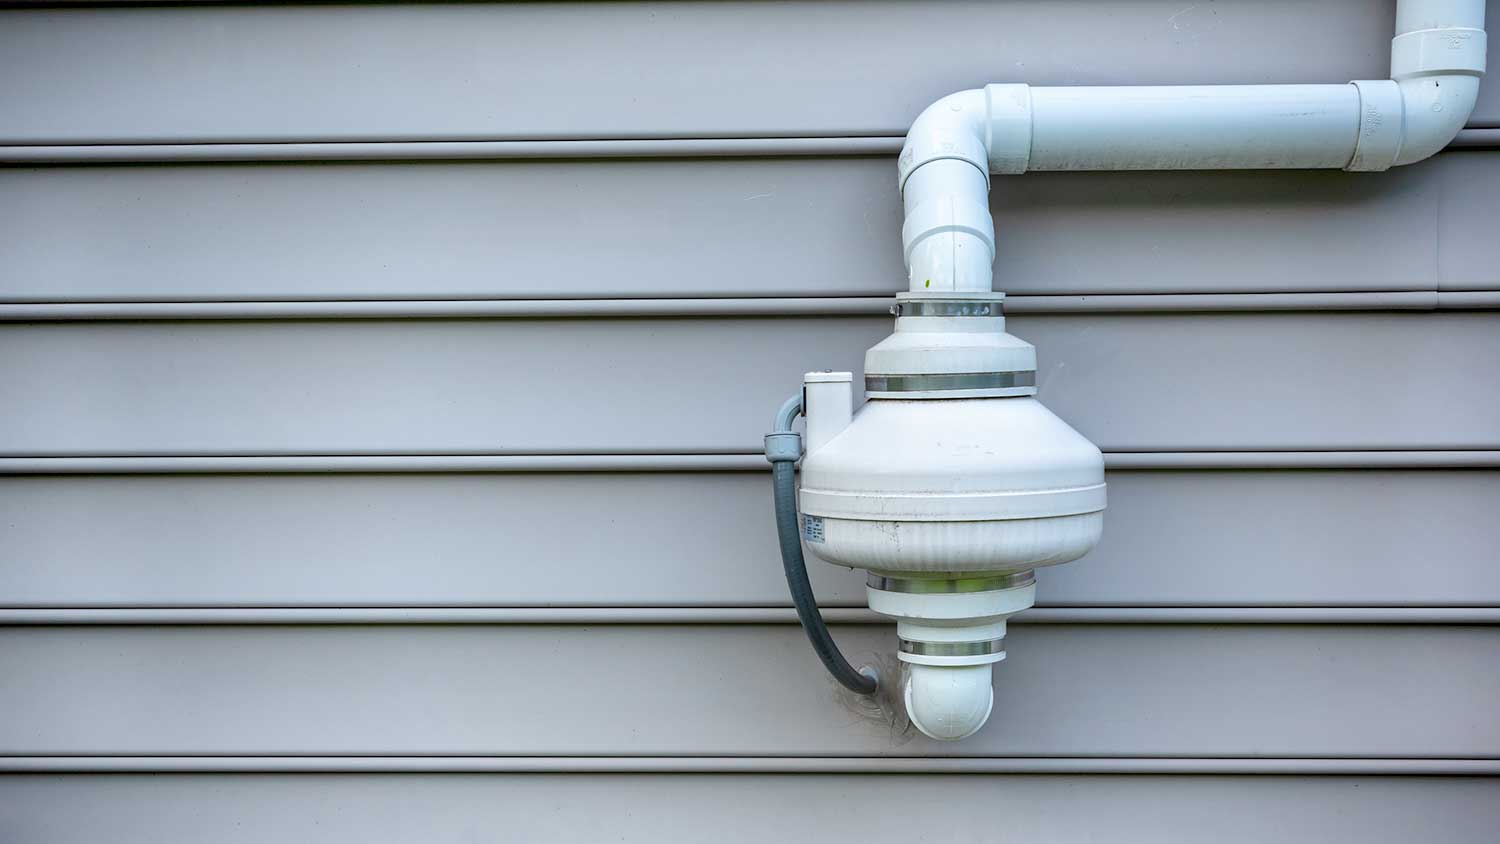
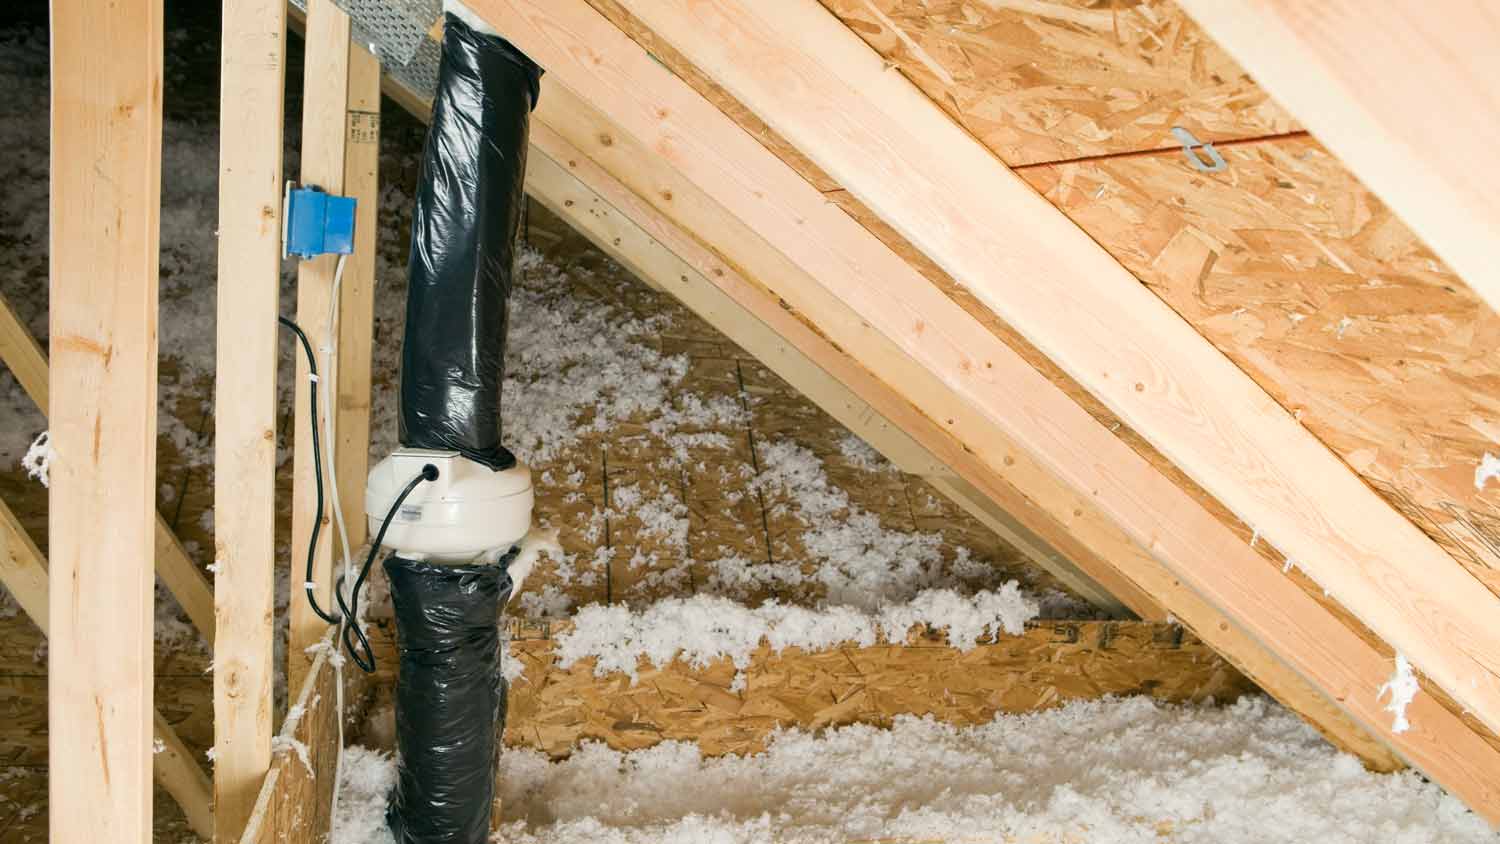
Installing a radon mitigation system is the most reliable way to keep the gas out of your home for good. These networks draw radon out from the ground under your home through a pit and funnel it up and out of your roof via a PVC pipe and radon fan. They’ll also keep you alerted to when the fan is or isn’t working, so you know right away if you need to call in a pro for repairs or not.
Although DIY testing kits are a good option in the short term, only a pro will be able to provide reliable results—and tips for how to proceed. Yes, you’ll pay more to hire an expert, but your health is worth the higher price tag.
From average costs to expert advice, get all the answers you need to get your job done.

Get clear answers on how much radon remediation costs, including average prices, key cost factors, and tips to save money on your home’s radon mitigation.

Find out what impacts radon testing costs, including average prices for DIY kits and professional services, so you can protect your home and budget confidently.

Discover the average indoor air quality testing cost, what impacts pricing, and how to budget for healthier air in your home.

How long does a radon mitigation system last? A properly installed and maintained system can last 20 years or more, but various issues can reduce the life span.

Radon is a gas that you can't see or smell and is harmful to your health. If your home has radon, you need to know who installs radon mitigation systems.

Find out the average cost of radon fan replacement, key price factors, and ways to save. Get expert tips to budget for your radon mitigation system.