
Replacing your electrical panel enhances system reliability and supports modern energy needs. Learn average electrical box replacement costs in New York City.
This project isn't for the casual DIY homeowner


Splicing wires is a home project that requires a great deal of electrical skill to complete safely. If you are confident in your electrical skills and need to know how to splice electrical wire to put in a new light fixture, move an outlet, or extend an electrical wire, the task can be completed rather quickly. If you don't have much practice with electrical home projects, it's best to hire an electrician to handle it for you. If done incorrectly, the cost to remedy any electrical issues could be expensive, so the cost to hire vastly outweighs the risk.
Before you start splicing, you want to confirm that the two wires joining have similar cables. The cables must feature the same width and have the same number of individual conductors. As you go through each step, you will need to inspect the wires for any signs of electrical damage. Look for any cuts, chew marks, burned insulation, or nicked wiring.
If you aren't sure what the signs of damage are for wires, do not continue to ensure the safety of you and your home. Instead, enlist the help of a seasoned electrician to give yourself peace of mind that everyone is completed correctly.

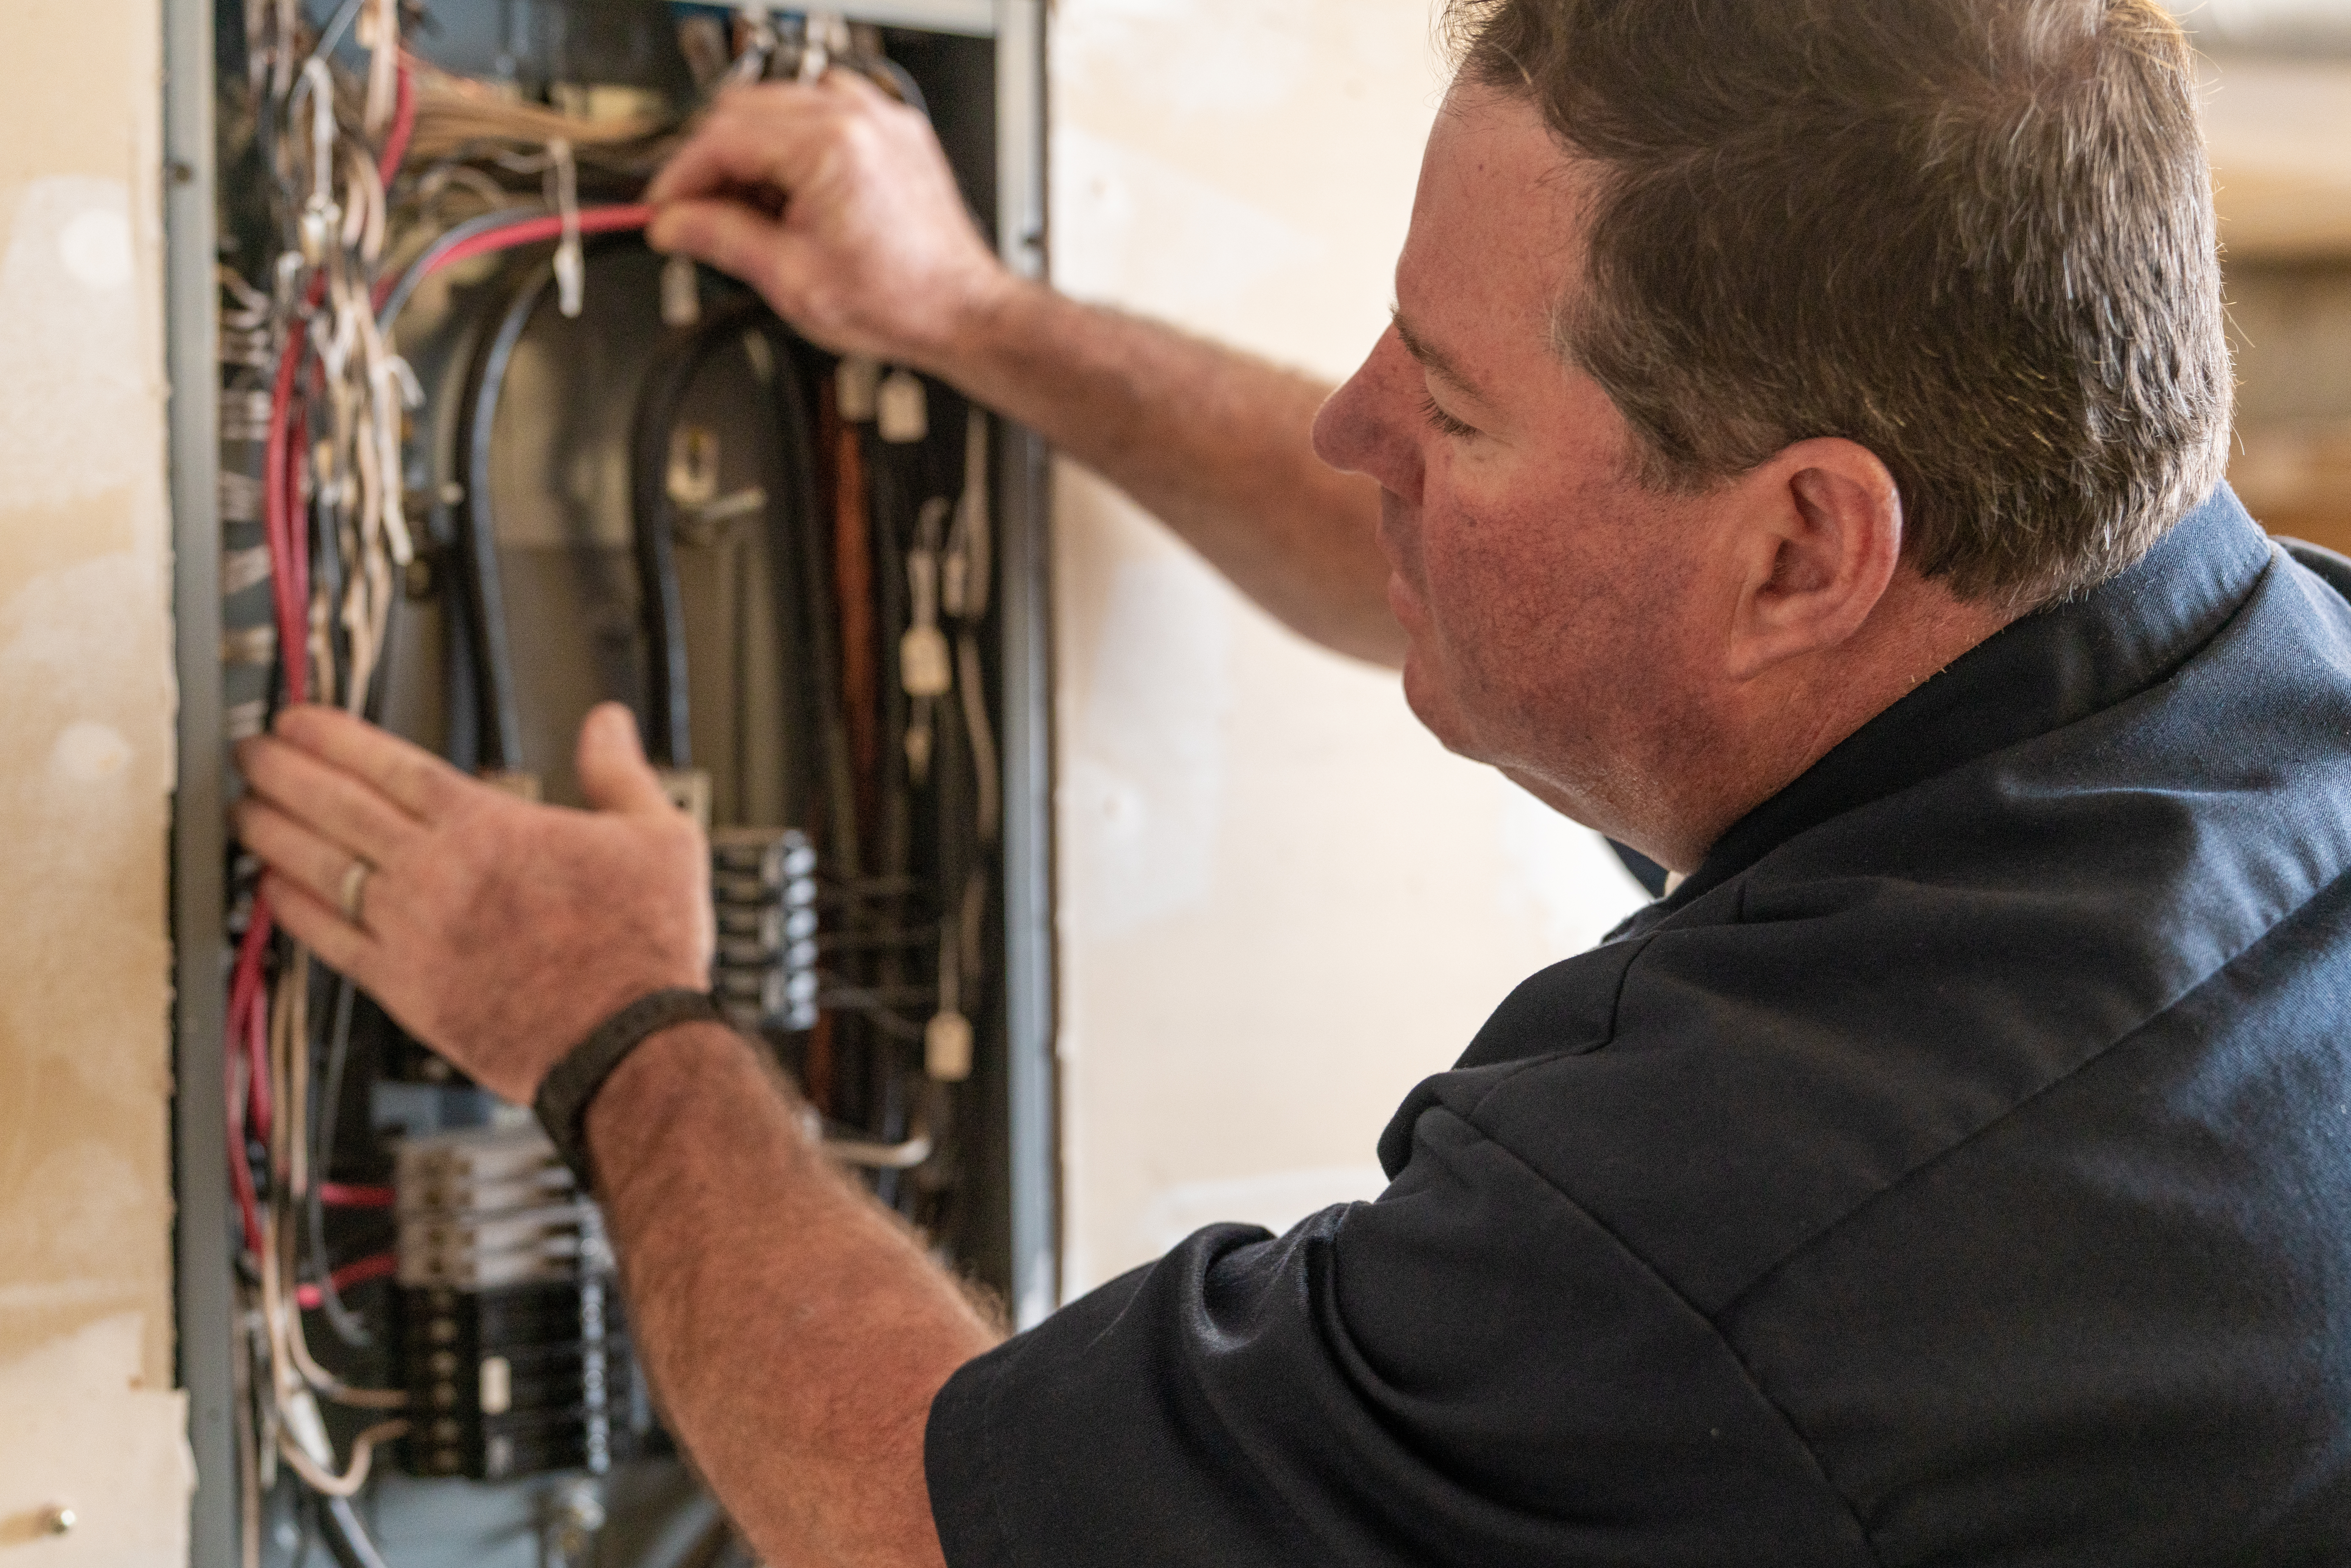
The most crucial first step to splicing wires is ensuring the power to the circuit is shut off. You can choose to shut off power to that specific location from the breaker box. In most cases, your home breaker box is located in the basement or garage on an interior wall. Sometimes, it will be located near an electrical meter.
Typically gray in color, you will open the breaker box and find a panel of switches. The switches are labeled based on the room location in your house. To shut off the power, flip the switch to the off position. You also have the option of completely turning off the power in the household.
If your breaker box isn't labeled clearly, the latter is the better option to ensure your safety. In this case, you may need a headlamp or flashlight to help you see the wires during this DIY project.
The individual wires inside the cable must be exposed so the outer sheathing needs to be removed. You want to remove about 5 inches using a cable ripper. Avoid using a utility knife as you risk cutting wires on the inside, causing damage and possible safety issues. This step can be tedious and does require knowledge of electrical wiring. If you're at all hesitant about doing this step, go with your gut and hire an electrician.
To use, insert the cable into the hole of the cable ripper until it is roughly 6 inches from the end of the cable. Pressing lightly on the sides of the cable ripper, move the tool around the cable to slice through the sheathing. Trim away the severed portions of the cable using a wire stripper.

Except for the ground wire (which is bare copper), all wires feature color-coated plastic insulation. For this project, the electrical wire colors will be black and white. Remove 1/2 inch of the insulation using a wire stripper. This will need to be done for each wire, and each may feature different gauges. The wire stripper has various slots to match the wire gauge so you will find the slot that matches the wires in your cable.
Similar to removing the outer sheathing from the cable, removing the insulation from the wires can prove dangerous. If you have an unsteady hand or are unsure about following through with these steps, it's best to leave this to a professional.
If you are splicing the wires to be held inside a junction box, you need to set that up before splicing. Made from either metal or plastic, a junction box is mounted to the frame of a home and houses spliced cables or wires. The box protects the connection to reduce accidental contact and damage from environmental conditions.
You will start by attaching two cable clamps to the junction box, ensuring you use the correct size required for the wire. Insert one cable into each of the clamps, ensuring that the cable is in a flat position on the clamp.

Start splicing the ground wire first by holding onto each of the wires and lining them up end to end. Ensure they are even and twist the wires together three times using lineman's pliers. Tightly place a wire connector onto the end to secure it. Use UL-approved connectors as these are properly tested to ensure electrical compliance and safety.
Next, you'll splice the white wires by holding each wire and lining them up so they are even. Twist three times with lineman's pliers and place a wire connector tightly over it. Repeat this step with the black wires next.
Always ensure that you are splicing the wires in order of ground, white, and black. The ground wire is done first for safety purposes. If you were to be undoing the splicing, you would undo it in the reverse order, going from black to white to ground. As a reminder, the skill required for this task is extremely technical and would be best performed by a licensed electrician.
If you are using a junction box, you will need to attach the cover plate following this step.
We know you love a good challenge and feel the satisfaction from a good DIY project, but we strongly advise against attempting to complete this project yourself. The risk of injury and things going wrong is just too great. The greatest risk is a fire in the home, which is caused by the splice overheating. If a fire is caused by open splices, insurance may likely deny your claim.
Other common risks that can occur while splicing includes electrocution, electrical burns, or an electrical shock. We strongly recommend leaving this project to a professional local electrician and putting your DIY energy toward something with less voltage.
From average costs to expert advice, get all the answers you need to get your job done.
Replacing your electrical panel enhances system reliability and supports modern energy needs. Learn average electrical box replacement costs in New York City.

Rewiring a house in New York City can fix out-of-date wiring and provide electrical systems with modern capabilities, but owners must plan for the electrician's costs appropriately.

How much does it cost to add an electrical outlet in New York City? Explore typical price ranges, permitting needs, and what drives cost in NYC homes.

If your plugs are sliding out halfway after you insert them into the outlet, this is a fire hazard. Learn how to fix loose outlets in your home.

Learn how to find wires in your walls so you can avoid danger the next time you need to drill holes in a wall for a DIY project.

When installing a new 200-amp service panel, the right wire size is critical to ensuring sufficient amperage.