
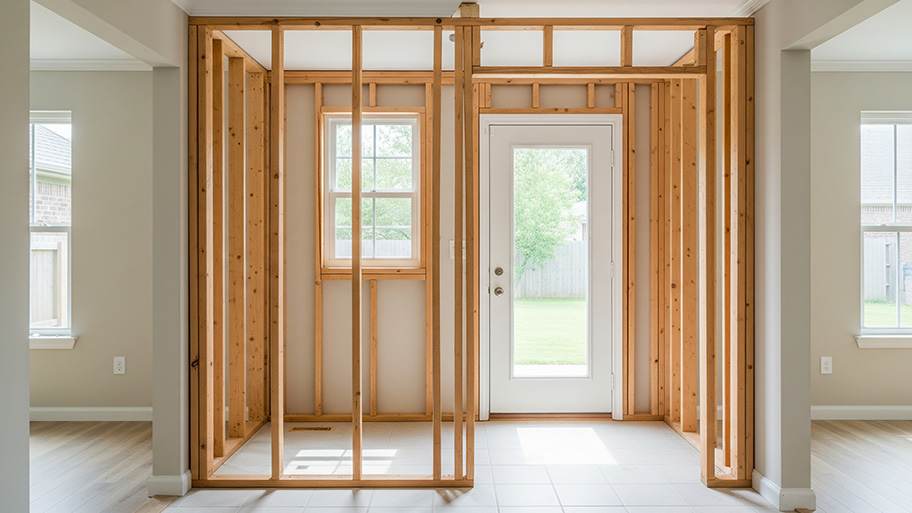
Sometimes, all your home needs is a new wall to make a room or provide an updated function to an existing space. Learn how much it costs to install a new wall.
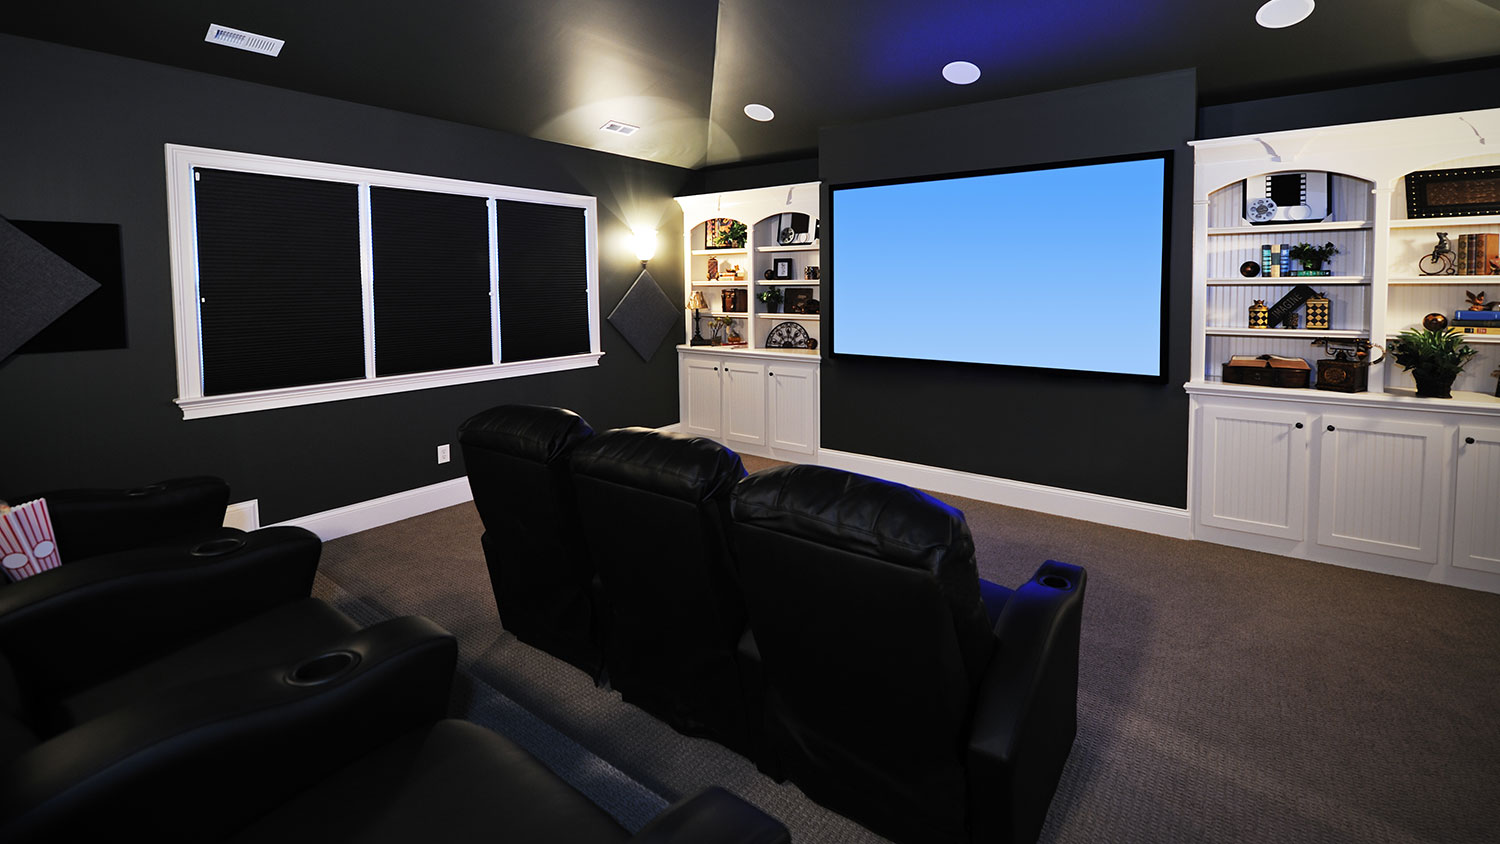
Hush the hustle and turn down the noise pollution in your home

Soundproofing a wall starts with identifying your noise source, whether it's traffic from a busy street or neighbors in shared walls.
Expect to pay $1 to $10 per square foot for wall soundproofing, with average costs around $1,860 for an entire room.
You can reduce noise through existing walls by adding acoustic panels, hanging tapestries, or moving furniture like bookshelves against the wall.
Hiring a local soundproofing professional provides reliable help with insulation installation, resilient channel placement, and drywall work that keeps your project on track.
There’s more than one way to dull the roar when you’re looking at how to soundproof a wall. Some techniques require removing the existing drywall, while others are less invasive, though they may reduce the overall square footage. The method that’s best for you will depend on your budget, the source of the noise, and how much work you’re willing to do.
You might need soundproofing for any number of reasons, from drowning out traffic to lessening the noise from loud neighbors. Thankfully, you don’t always need to soundproof an entire room to get the quiet you want, and oftentimes, the noise isn’t an issue in other areas of the home.
Instead, the wall may be the largest square footage exposed to the source of the noise, such as a wall between apartments or a wall facing a busy street. Targeting a single wall can save you money and still let peace and calm stay in the home.
Soundproofing a wall may not cost as much as you think. Consider that it costs around $1,860 to soundproof an entire room. And walls typically run between $1 and $10 per square foot, so you can give yourself a rough estimate.
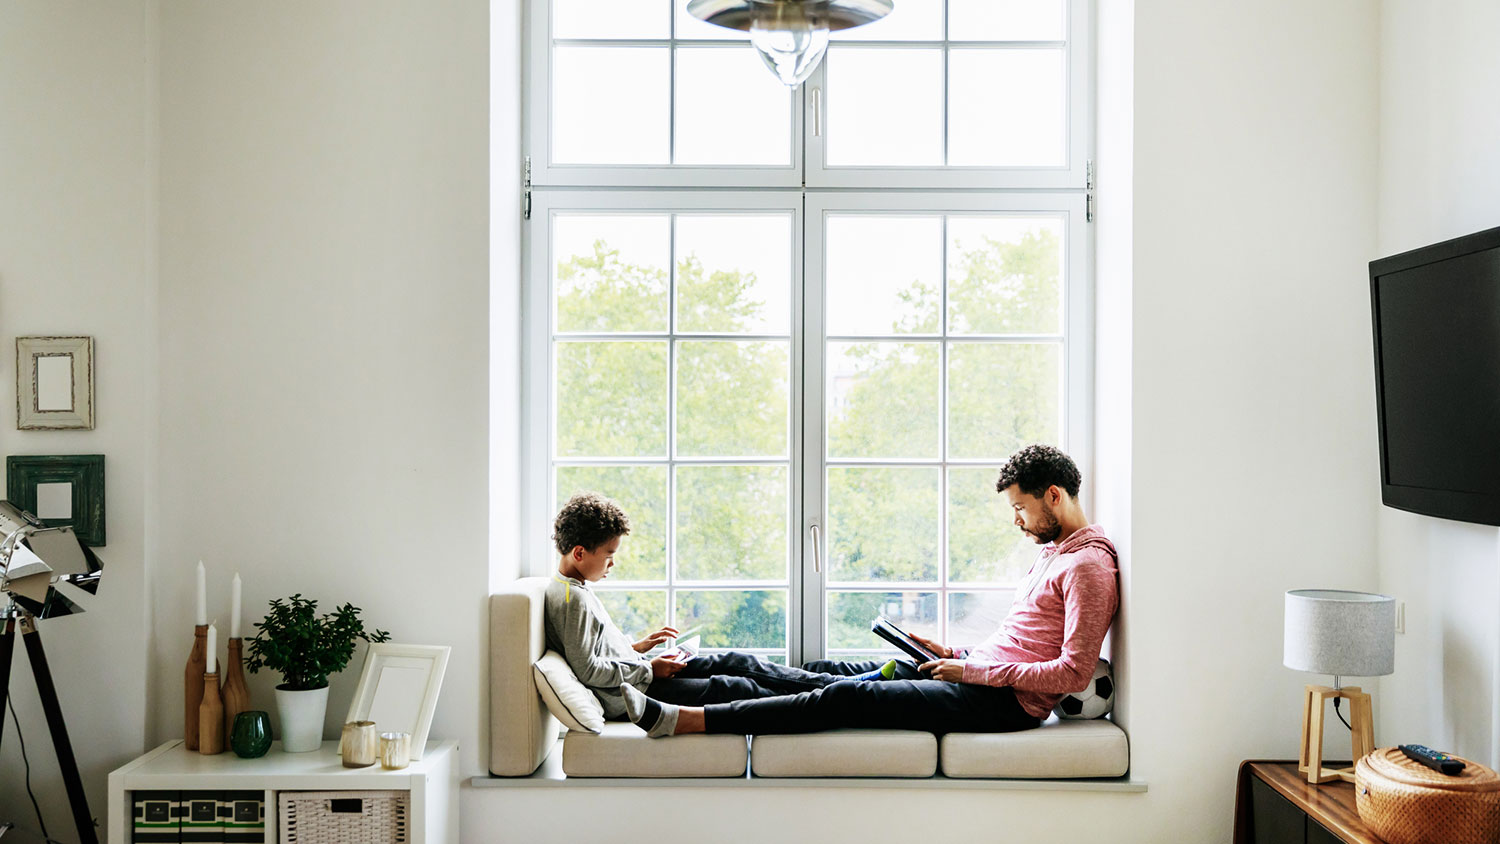
Before you start, locate the source of the noise. A shared wall between apartments or condos often lets in plenty of daily noise, like practicing an instrument or children playing. An exterior wall could let in noise pollution from traffic or people on the street. Once you’ve located the source of the noise, you’ll know which wall to target with soundproofing and how in-depth you want to go to bring down the volume.
There’s more than one way to reduce unwanted noise. Whether your neighbor’s band practices until the wee hours or a busy street keeps invading your personal space, you’ll find a way to decrease the decibels and bask in tranquility.
This is the most labor-intensive soundproofing method, but it’s also one of the most thorough and effective.
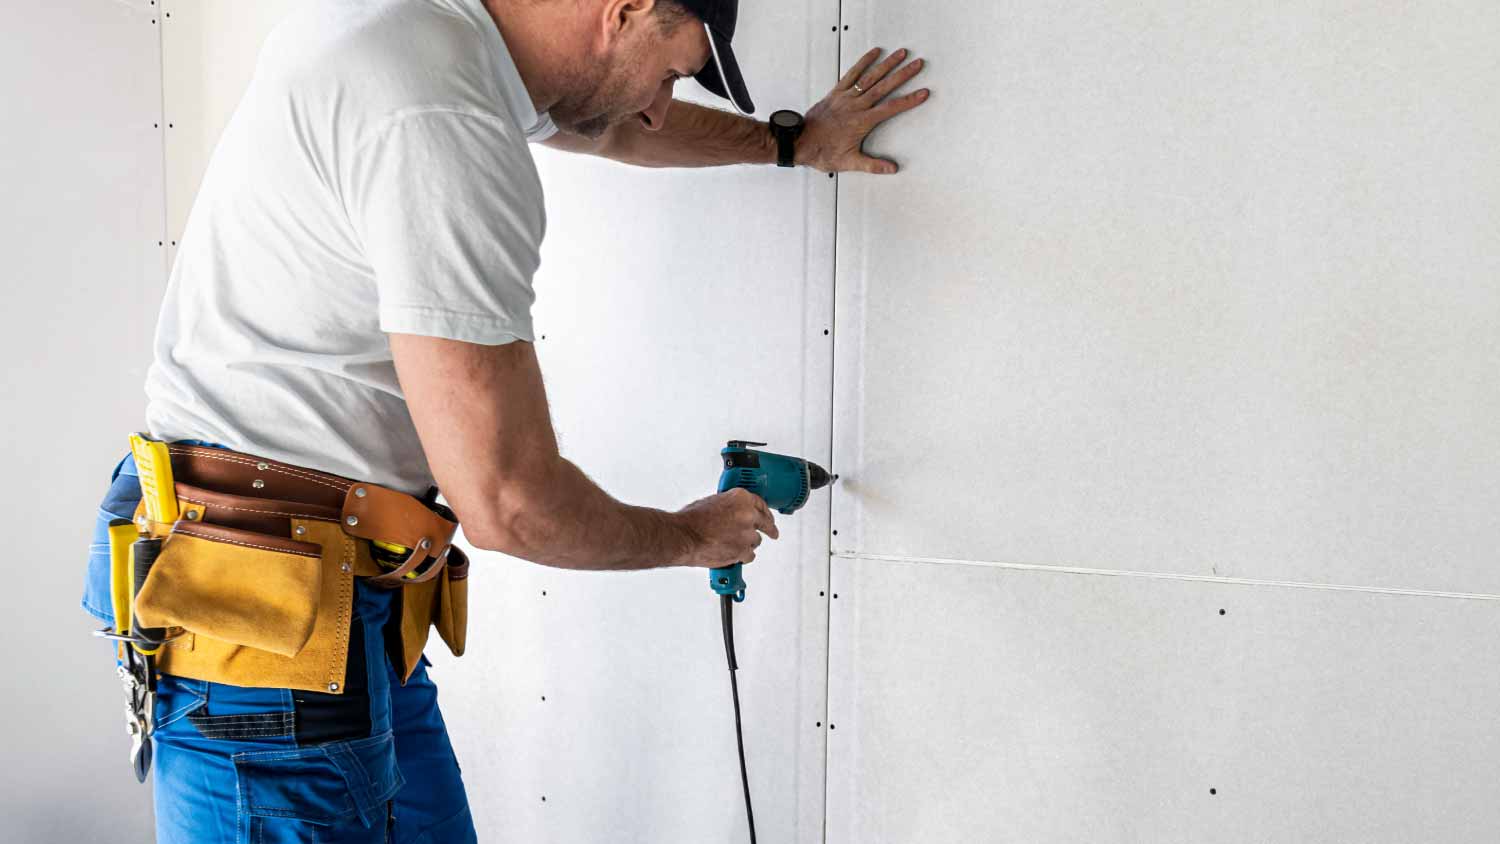
1. Remove existing drywall and baseboards. Turn off the electricity so there’s no current running to any switches or outlets on the wall. Then, remove the baseboards and drywall to access the wall’s interior.
2. Apply silicone acoustical sealant. Apply acoustical sealant or silicone sealant around electrical boxes. Seal any other holes or openings in the studs, drywall, or framing.
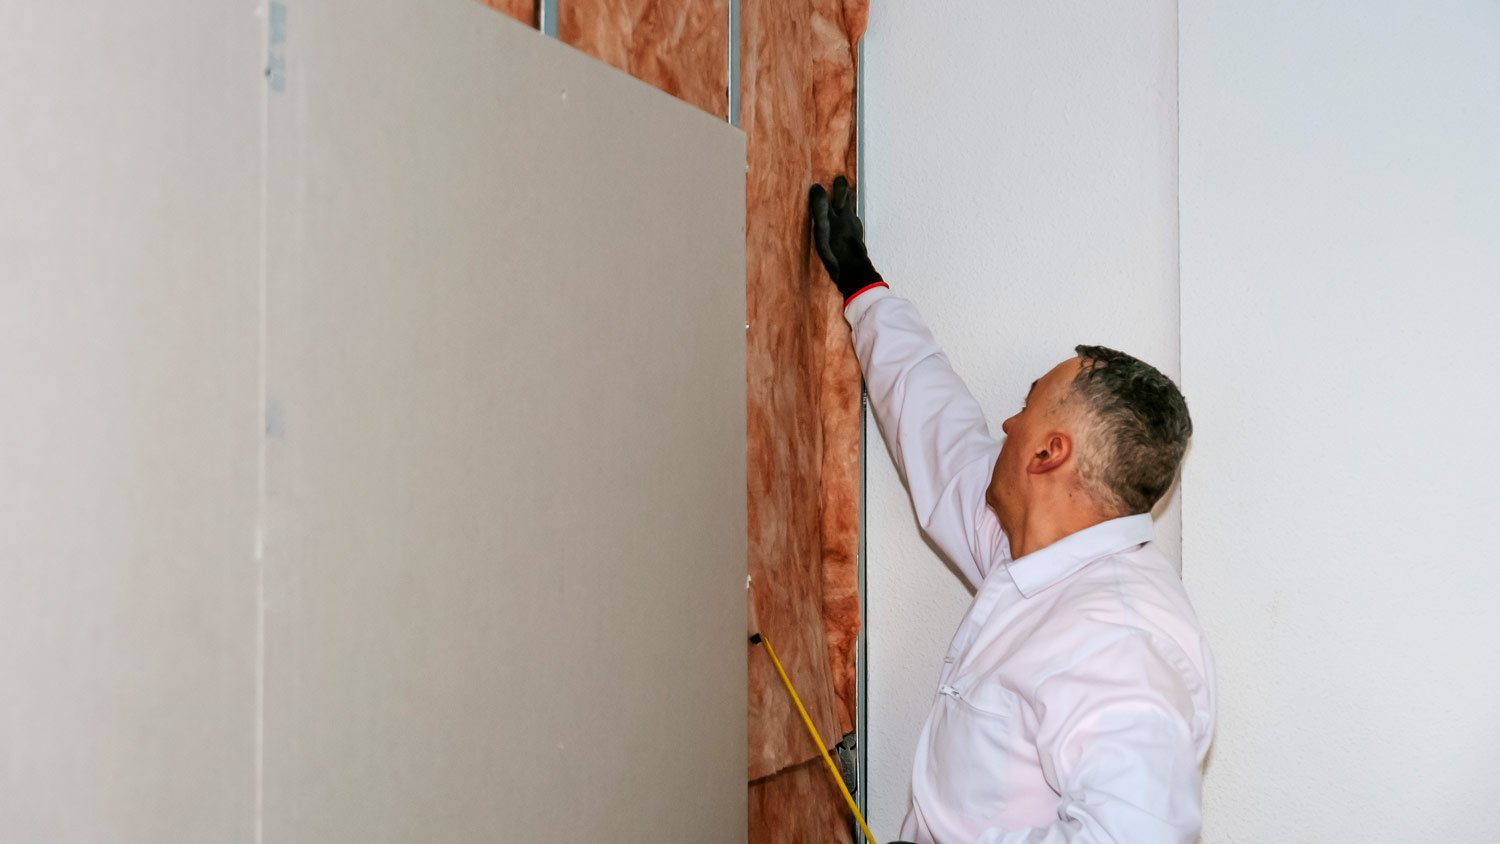
3. Install extra insulation. Extra insulation absorbs and slows sound waves. Any type of extra insulation will work, but the most common types of soundproofing materials for walls include cotton batting, fiberglass insulation, and mineral wool. Install the extra insulation between the studs. Insulation comes in rolls, particles for blowing in, and boards. Some are specially designed as soundproofing.
4. Install resilient channel. Resilient channel, also called RC or RC-1, is primarily used to reduce low bass and vibrational noise. It soundproofs drywall by allowing the drywall to vibrate independently of the studs so the sound waves don’t transfer. Attach resilient channel to the studs using screws. Make sure the drywall flange is facing up, and space channels no more than 24 inches apart. Overlap the ends and cut the channels using metal shears.
5. Install drywall to the resilient channel’s flange. Measure the wall to determine how many sheets of drywall you need, and cut them to fit the space. Use drywall screws to attach the drywall to the resilient channel (not the studs). Drive the screws in every 16 inches, starting from the center and working your way out.
6. Fill the gap. Use the acoustical sealant to seal the gap between the drywall and the floor. Use joint compound at any joints.
7. Prime, paint, and reinstall. Prime and paint the wall. Once the paint has dried, reinstall the baseboards.
This method involves framing and adding another layer of drywall over the existing wall. It’s less invasive, though it will reduce the room’s square footage.
1. Install the bottom plate. Measure, cut, and install the bottom plate of the wall frame to which you’ll attach the vertical studs.
2. Install the vertical studs. Use the studs in the existing wall as a template for the location of the new wall’s vertical studs. Attach the vertical studs and the top plate, and secure the wall frame to the floor and ceiling.
3. Install insulation (optional). The new wall will provide a decent amount of soundproofing, but you can also add cotton batting, fiberglass insulation, or soundproof insulation before attaching the drywall.
4. Install resilient channel (optional). Again, the addition of a new wall will provide soundproofing, but if you’re dealing with loud vibrations or you need the room to be exceptionally soundproof, install a resilient channel to further absorb sound waves.
5. Install drywall. Install drywall by either attaching it directly to the new studs or the resilient channel.
6. Apply sealant to the bottom of the wall. Apply acoustical sealant (or silicone) at the bottom of the new wall.
7. Paint the wall and install baseboards. Paint the new wall. Even better, install wallpaper to add more soundproofing. And finally, install baseboards.
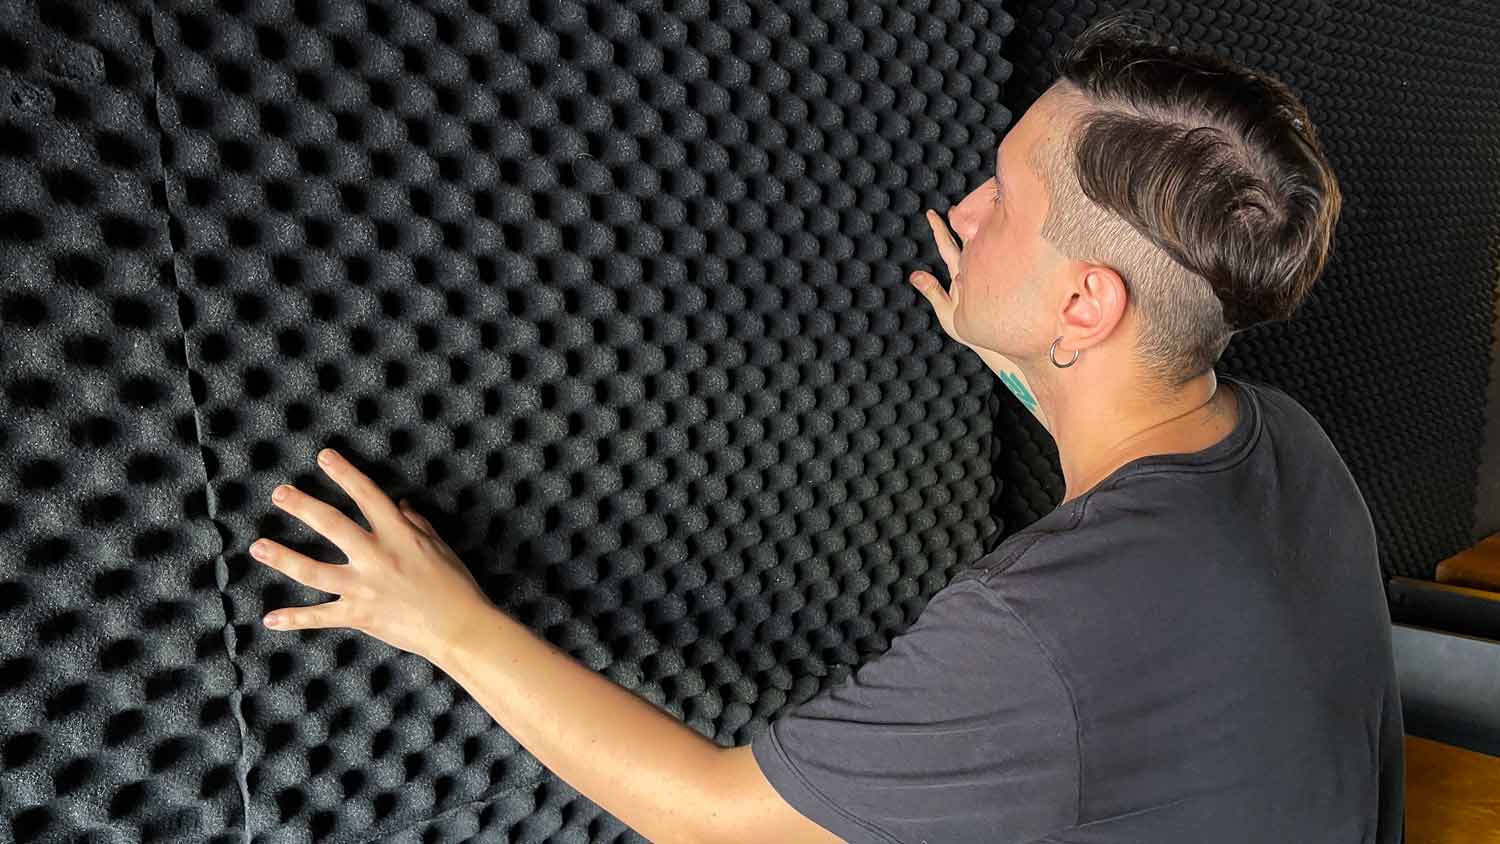
If you’re not ready to tear down or build a new wall, you can soundproof the wall's exterior with acoustic panels. Acoustic panels are made in many shapes, sizes, and materials. Some are even peel-and-stick for fast, easy installation.
Depending on the panel's size and material, attach it to the wall using adhesive or impaling clips (metal plates with prongs that hold foam panels). Keep in mind that adhesive and clips may damage your wall should you choose to remove the panels later. If the soundproofing is temporary, you may want to use decor as a soundproofing method to avoid wall damage.
Any object or material that absorbs sound waves can dampen noise, including decor and furniture. You can further cut down on noise by:
Sealing holes in an existing wall or corner with acoustical sealant
Hanging tapestries on the wall
Adding wallpaper to the wall
Moving furniture like bookshelves, sofas, or wardrobes against the wall
Soundproofing a wall can be as simple as rearranging furniture or buying a few additional decor pieces. Most people can DIY installing acoustic paneling without any trouble. However, if you plan to build out the wall or add insulation by removing the existing drywall, it’s best to contact a local soundproofing contractor.
If you want to DIY the job, it can cost anywhere from $100 to $500 if you keep things simple. Otherwise, renovating a wall can get expensive depending on the size of the wall and the type of material you choose. Hiring a pro will add to the cost of labor, but you’re still looking at less than $1,000 for peace and quiet.
Cancelled appointment two hours after they were supposed to come for drywall work.
I would recommend this company to anyone! He showed up on time, was friendly, completed a very difficult repair on our dryer vent cover, was responsive, and pricing was extremely fair and competitive. I would have him back to do any of our repairs or cleanings without hesitation!
I cant stop admiring my newly painted walls. Custom Paint Jobs LLC made my house feel brand new.
Excellent experience with hiring Tether House to Mount our 77’ Samsung TV in our bedroom. Fast, friendly, and knowledgeable. Highly recommend.
Excellent customer service and knowledge. I was recommend to him from my neighbour. My front door and window came in great and were installed beautifully perfectly, I m very satisfied with their excellent work, so decided to order one more big bow window for my living room. I cant wait for...
Manuel Calvillo is the best option in the area for roofing and you won't be disappointed.
Would hire again. Wall looks great. Happy with job.
 Central Paving
Involved an extensive bathroom remodel, including removing tub & installing walk in shower, new drywall, custome tile work to ceiling, plumbing, etc. Overall, job was done on time and on budget. Nick & his team were very professional and had high attention to detail. Quality was great. Highly...
 Stamos Flooring and Remodeling LLC
We have had a great experience with Rising Height for the past five years on a number of miscellaneous renovation projects. They laid flooring for us and had a very good sub do the finish. Installed drywall for a vaulted ceiling, finished an attic/loft with new subfloor, framing and drywall,...
 Rising Height Unlimited
Mr. Lopez was super nice and professional. He repaired our drywall just as he described during the estimate phase. Our dining room wall looks great again! Thanks Mr. Lopez!
From average costs to expert advice, get all the answers you need to get your job done.
Sometimes, all your home needs is a new wall to make a room or provide an updated function to an existing space. Learn how much it costs to install a new wall.
Whether you’re trying to keep noise in or out, soundproofing materials are the way to go. Use this guide to see how much it costs to soundproof a room.
Soundproof windows cost between $300 and $1,500, but the exact price will depend on the method and materials used. Explore this guide to learn more.
Soundproofing drywall differs from conventional drywall and can help control the noise coming into or out of your home, creating a more comfortable environment.
Since your house will already be torn apart for a remodel, it’s a great time to add soundproofing to walls or other areas to improve noise reduction.
Life gets noisy, so learning about different types of soundproofing material can help you make the best decision for your home.