

If your energy bills have increased or your home isn’t as comfortable as it used to be, use this duct sealing cost guide to see how much a solution will total.
Keep your home cozy while reducing your energy bills

Most homes lose 20% to 30% of the air running through their ductwork through leaks, holes, and bad connections. That means you’re wasting money each month on your energy bills, especially in winter. Keep your home more comfortable and reduce your energy costs by learning how to seal leaky ductwork yourself.
Most ductwork is surrounded by fiberglass and located in dusty, dirty areas. Before working on your ducts, protect yourself with long sleeves, pants, gloves, safety glasses, and a dust mask.

Before starting your project, identify problem areas in your ductwork. Inspect for holes, damage, disconnections, and poor sealing. Pay special attention to areas with excessive dust around the vents, as this can indicate a leak.
Duct sealing products will not adhere properly to dust and dirt. To prep ducts for repairs, remove the insulation, then use a rag dipped in a mild cleaning solution to clean the area around the leaks. Scrub a few inches past the gap in every direction.
Mastic is a thick substance that dries to create a strong but flexible seal over holes, seams, and joints. Use a paintbrush or putty knife to apply a thick layer of mastic over small leaks, ensuring the coverage extends a few inches over the leak in all directions to create a strong seal.
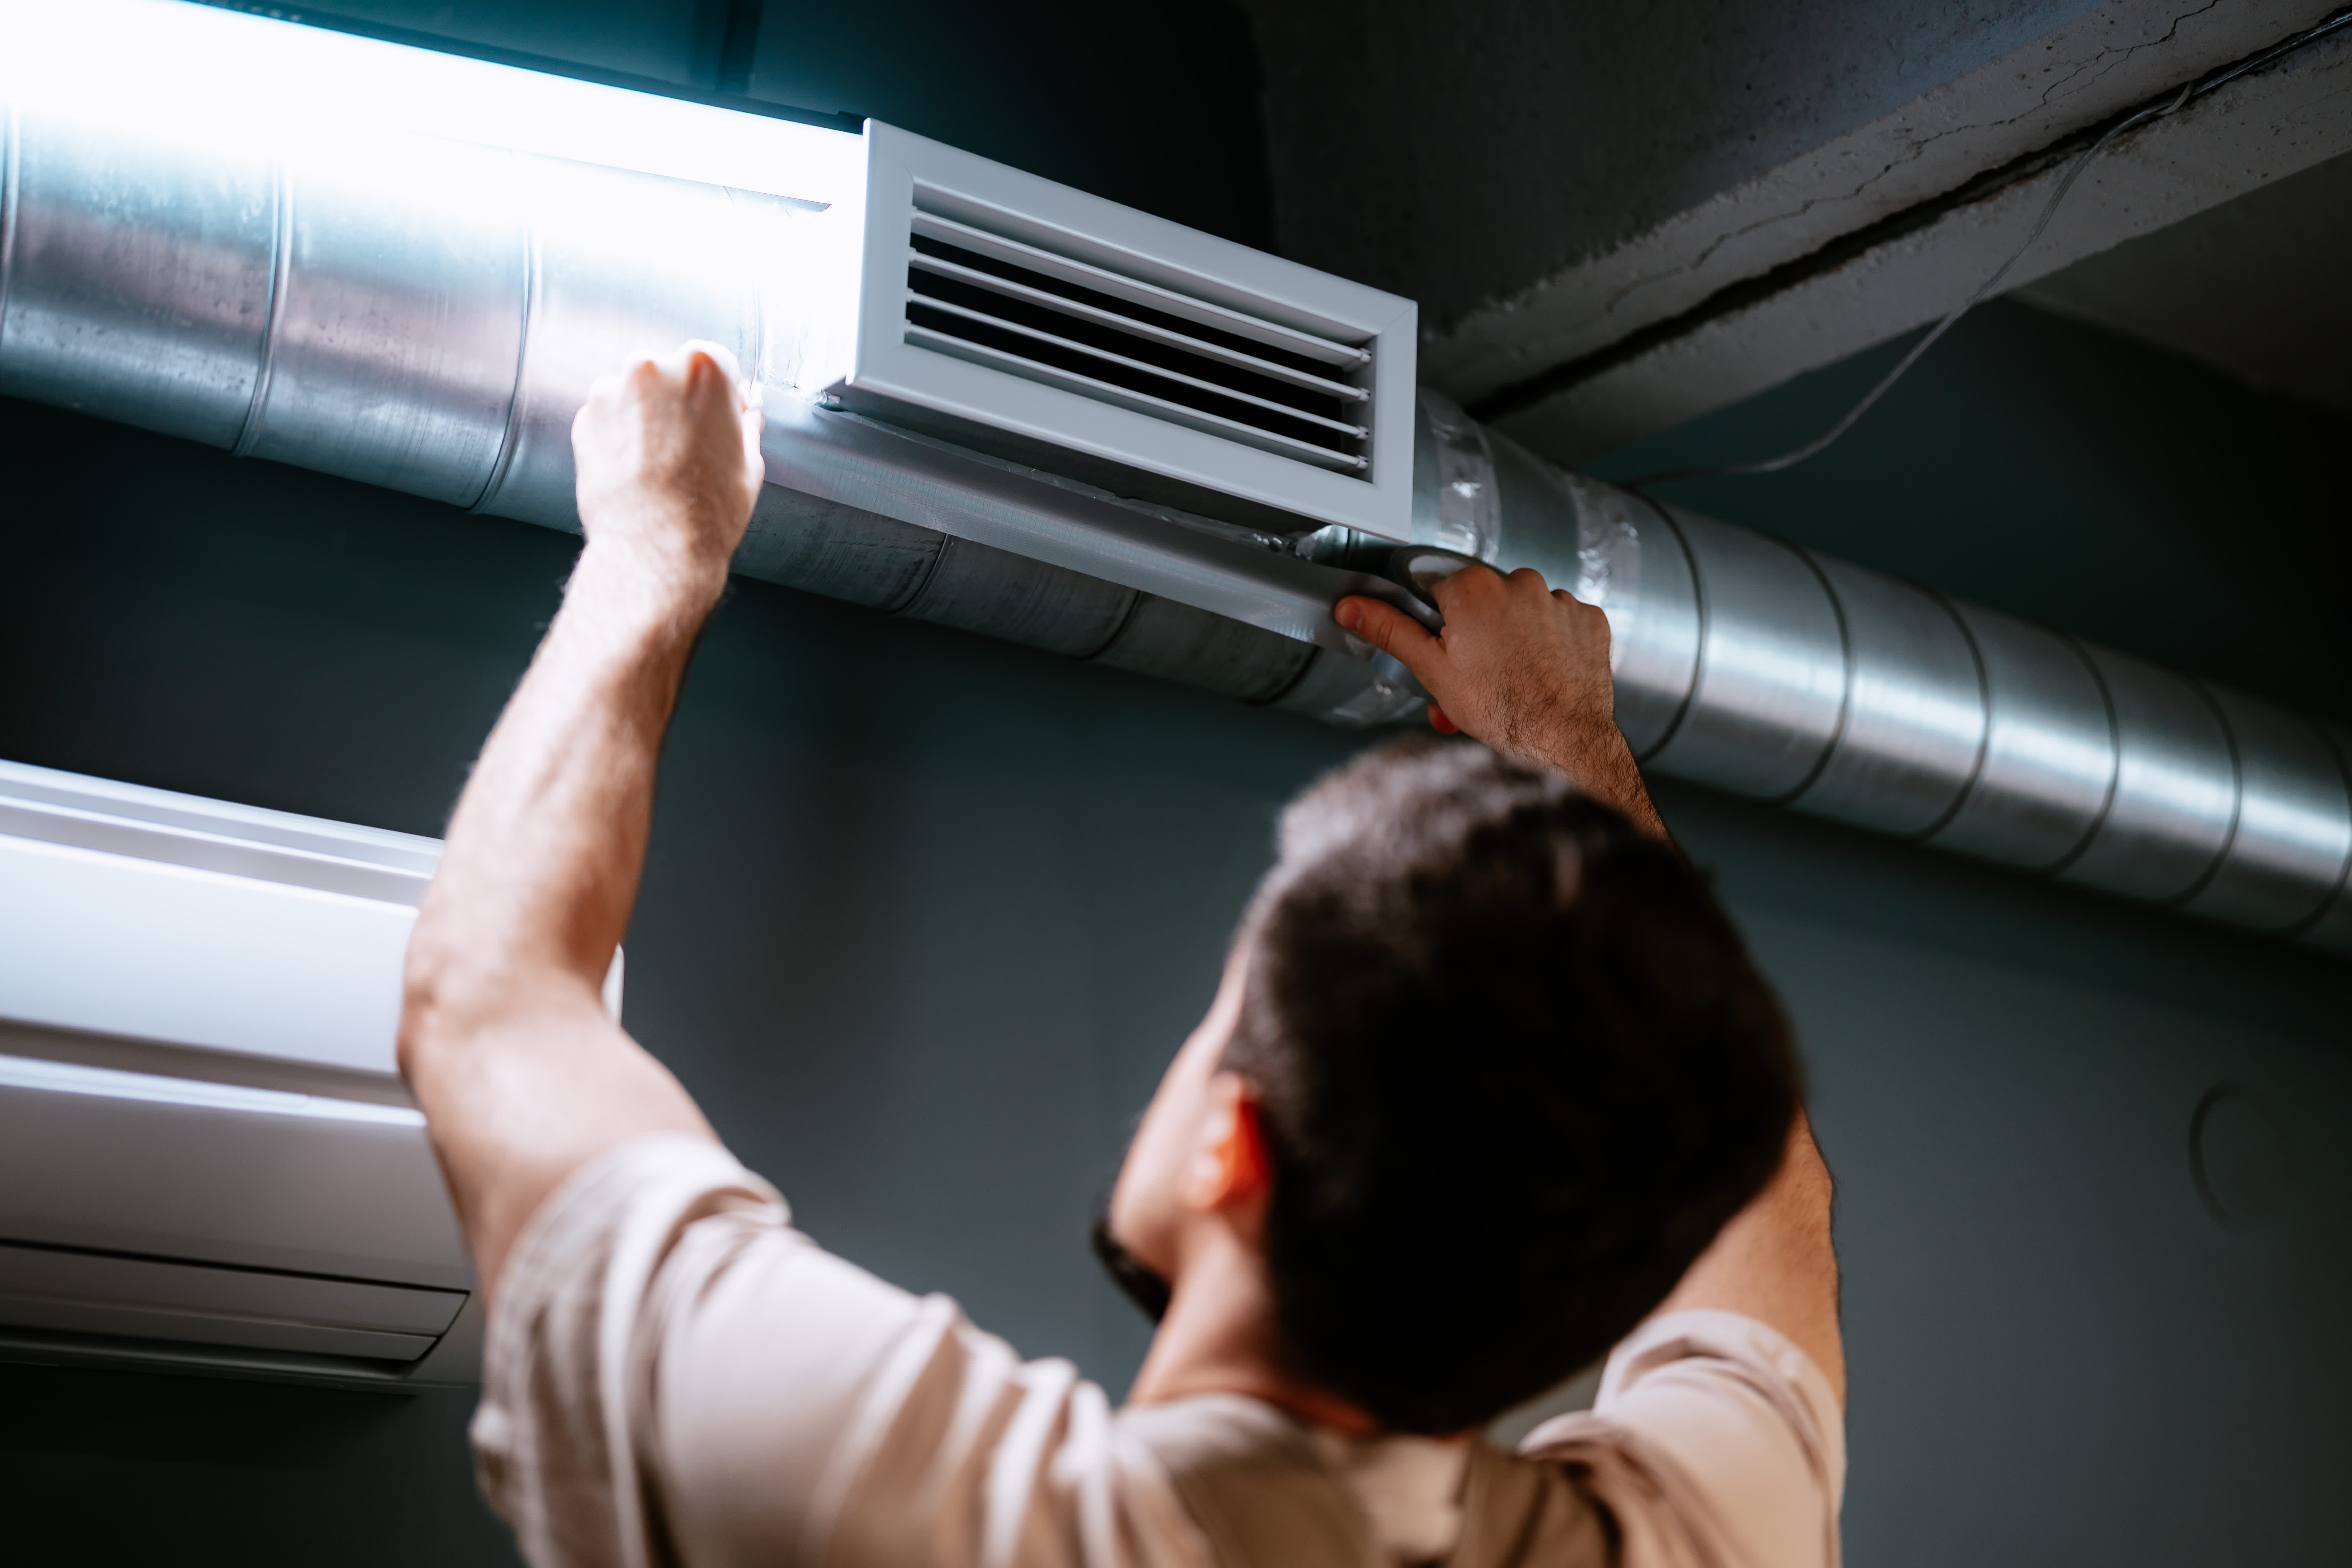
Use foil tape along longitudinal seams or areas where the ducts connect. Cut a piece of tape large enough to cover the entire seam. Extend it past the edges of seams or overlap the tape on joints. Push the tape onto the duct, working to ensure there are no wrinkles. Firmly smooth the tape out to remove bubbles and ensure maximum adhesion.
Avoid using your heating or cooling system for 24 to 48 hours to allow the mastic to cure. Once the mastic has dried completely, run your HVAC to test it. Use a smoke pencil or incense at nearby vents to check if your seals worked properly. If the smoke escapes, apply more mastic or tape, allow it to dry, then test again.

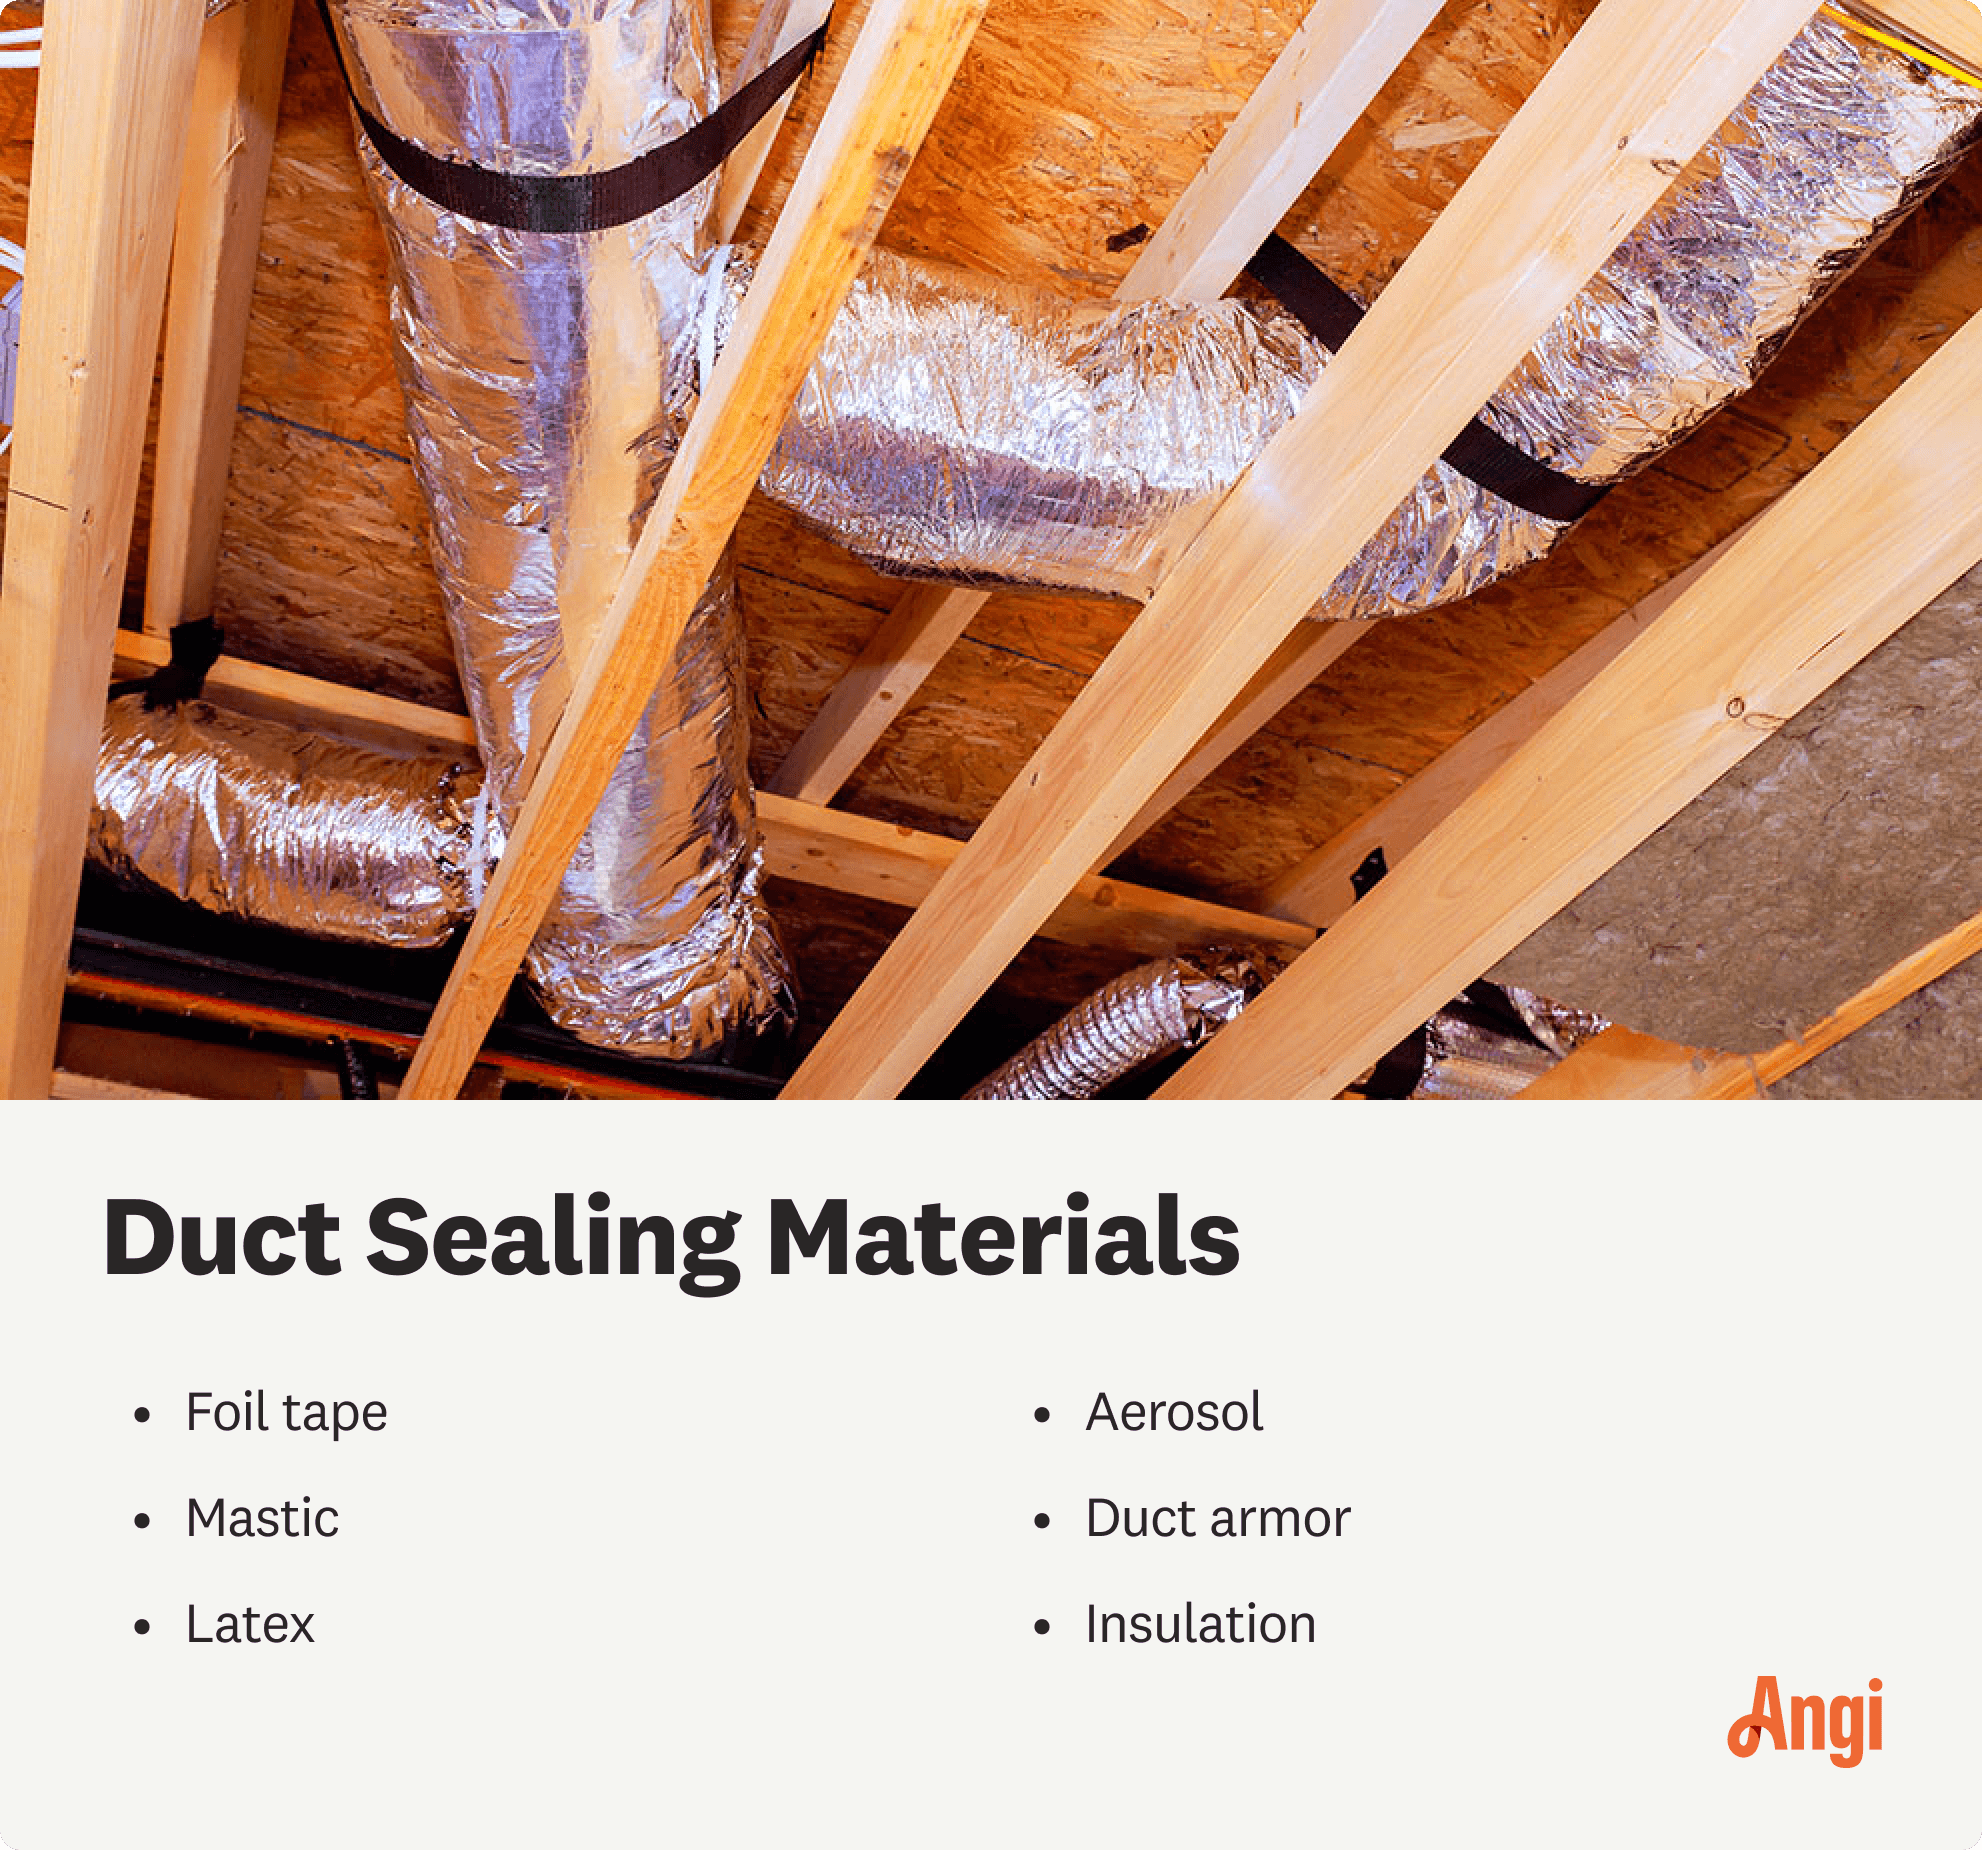
Measure your ducts and cut fiberglass insulation to wrap around them. Secure the insulation with small pieces of foil tape before applying a long strip along the seam.
Sealing ducts is pretty straightforward, even if it can be time-consuming. However, to do the job properly, avoid common pitfalls.
Never use duct tape. Despite its name, duct tape is not suitable for use on ducts as it deteriorates quickly and does not hold up over time. Only use foil tape designed for HVAC systems.
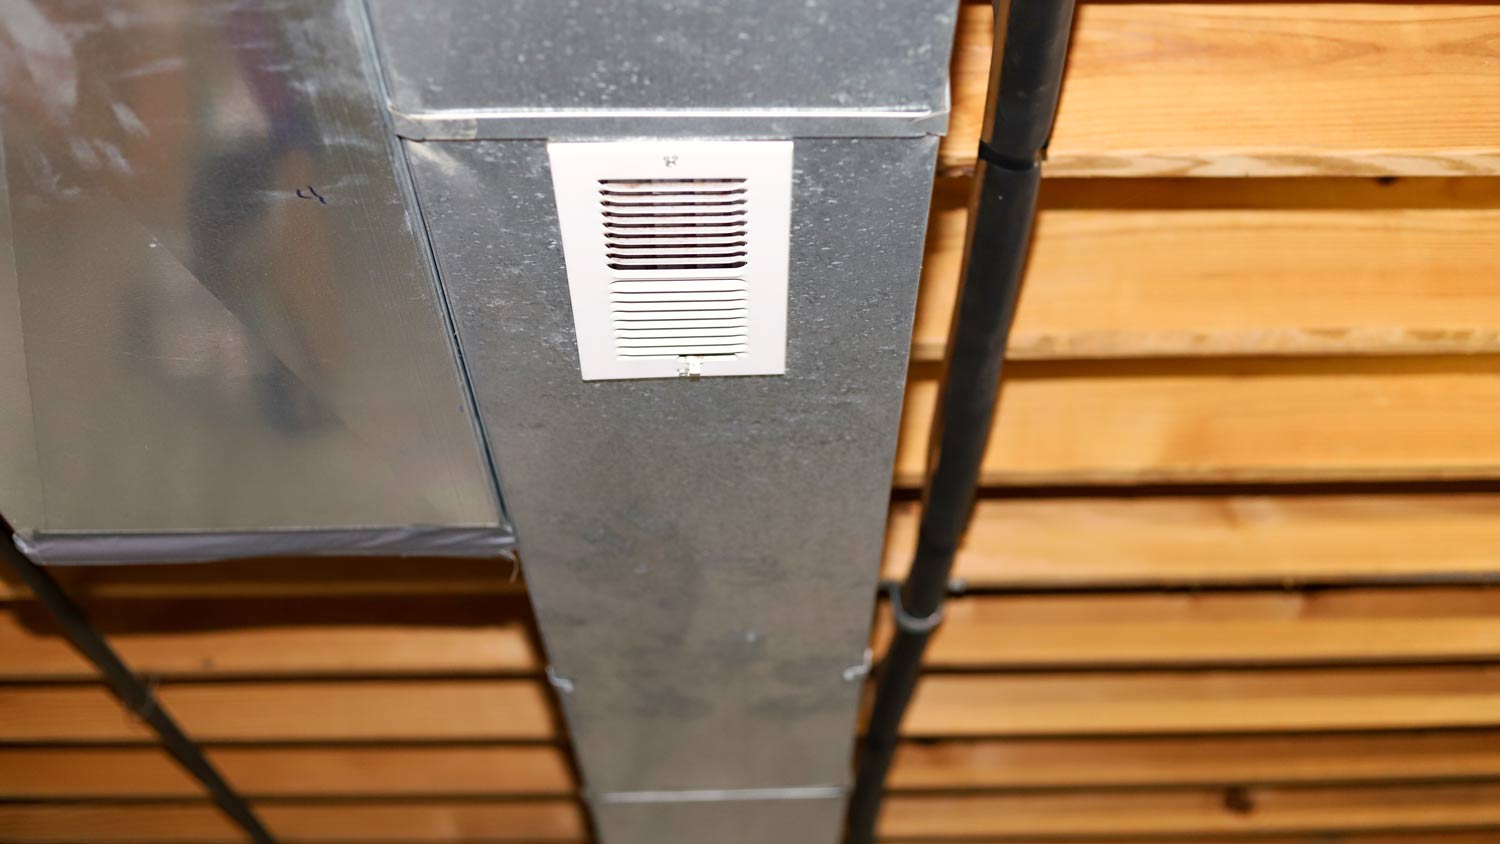
Don’t forget to check connections. The joints where ducts meet vents and other ducts are the most common areas for leaks.
Clean the ducts first. Nothing sticks well to dust. To ensure your seals stick around, always clean the surface before use.
Don’t seal ducts with major damage. When your ducts have holes over ½ inch or have been severely crushed, replace the section or hire a pro to do the repairs.
While you may be able to seal exposed ducts yourself, the majority of ductwork in most homes is difficult to access, which means hiring a pro.
An HVAC contractor or duct installer near you can inspect your whole system using pressure testers, leakage testers, and infrared cameras to identify leaks invisible to the naked eye. They can repair crushed or damaged ducts, seal and insulate the ductwork, then check the airflow to ensure their efforts were successful.
Professional duct repairs cost an average of $2,250, depending on the method and the size of your HVAC system. While you may be tempted to save money with a DIY, professional services are drastically more effective and will save you more money in the long run.
Great company! Price was competitive, technician showed up on time and completed the job (exterior electric Radon fan replacement) quickly. Would hire them again.
As usual with ECO, tech Jordan was outstanding, very professional, very knowledgeable, and very thorough with repairs made to tankless water heaters. Very highly recommend ECO!!!
 Eco Plumbers, Electricians, and HVAC Technicians
Raven and crew does absolutely fantastic job. They are very professional if any concerns were to occur with any of her work she always took responsibility and finished out with a great job. I have worked with her business for a year and have always been satisfied. Very trusted business and...
I would recommend this company to anyone! He showed up on time, was friendly, completed a very difficult repair on our dryer vent cover, was responsive, and pricing was extremely fair and competitive. I would have him back to do any of our repairs or cleanings without hesitation!
Ace Fireplace Services' chimney sweep service is truly exceptional. They used advanced technology to ensure a thorough cleaning process, and my chimney has never looked better. I highly recommend their services.
 Ace Fireplace Services
The technician was very professional and friendly. He answered all my questions and was very thorough. He left the fireplace area very clean . He inspected from the roof and advised me as to other work that might need to be done. There was no pressure there. I was very satisfied with the...
 Supreme brick & chimney
Excellent experience with hiring Tether House to Mount our 77’ Samsung TV in our bedroom. Fast, friendly, and knowledgeable. Highly recommend.
On time, clean and finished fast. Windows seem sturdy and the finish is good. Caulking was done with no smudges. Would recommend.
Great job...edging and pre clean up went well with a great job with seal coat. Friendly, efficient and professional.
 All Star Paving and Sealing
Good workers and they do a good job.
From average costs to expert advice, get all the answers you need to get your job done.
If your energy bills have increased or your home isn’t as comfortable as it used to be, use this duct sealing cost guide to see how much a solution will total.

Exposed ductwork can be a smart choice even beyond aesthetics. Fortunately, exposed ductwork costs are relatively low, and easy access keeps repair costs to a minimum.

Your leaky ductwork may be hiking up your energy bills. We explore the cost of checking air ducts for leaks, which may be worth it for your home.
What causes condensation on ductwork in crawl spaces? A few things may be to blame. Learn more about the causes and what you can do.

Ductwork losing energy? Here are six duct sealing methods that will help you get some big savings on your monthly energy bills.
Ductwork affects your home’s airflow, comfort, and energy costs, so it’s important to hire the right pro to install it. This guide covers what factors to consider before signing a contract.