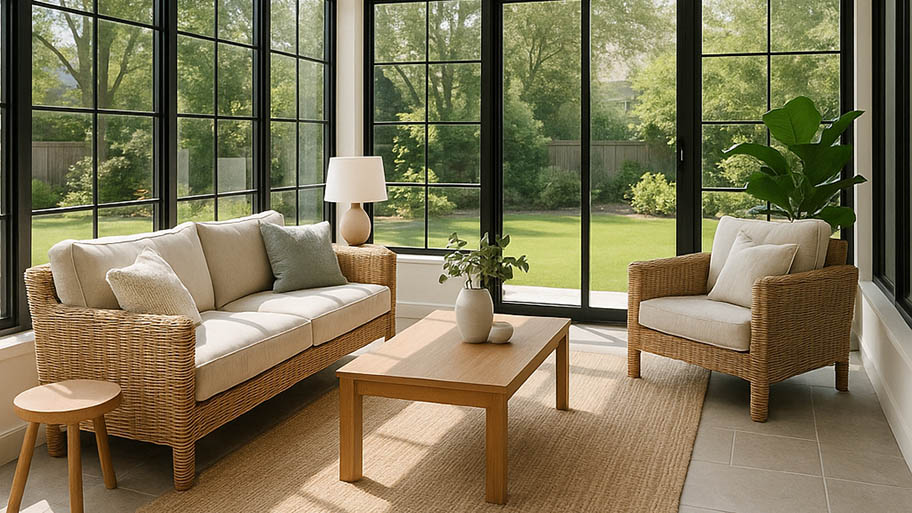
Considering adding a screened porch to your home? Discover the average cost of a screened-in porch, depending on its size, location, and more.
Nothing can bug you on your new screened porch


Costly rentals or equipment—you might want to leave this one to a pro.
Long summer evenings on the porch are far better if you don't have to surround yourself in citronella candles or bathe in bug spray before heading outside. Whether you're working on an existing deck frame or need to add new nailing boards before starting, you have a range of options when adding a screen to a porch.
Take the weekend to learn how to screen in a porch and kick off your summer without the mosquitoes.
Begin by deciding whether your porch needs new nailing boards and panel frames—aka the wooden frame that supports the base strips and secures your screen mesh.
While it's possible to connect the strips directly to an open deck, building a wooden grid will keep your mesh taut, make it easier to replace broken mesh, and protect the existing structure of your porch.
We recommend calling a patio professional or sunroom contractor near you if you need to build from scratch. Not sure which one is right for you? Learn about the differences between a sunroom versus screened porch. These experts can assist with measuring, cutting, and attaching the wood as well as researching whether you need a local permit for the construction. If you’re adding a sunroom to your home, they may also be able to share a few of their best porch or sunroom ideas to help liven up your new space.
Lucky for us, modern hardware makes it much easier to screen in a porch without breaking out the staple gun. Specialty screen base strips now come with precut grooves to hold the screen mesh and spline, a long rubber or vinyl strip that holds the screen in place. You can even add corresponding base caps right on top of the strips after you've attached the screen, giving your porch a clean look.
Begin by measuring the frame of your porch, including the inner panel frames. Multiply the width by the height to get the area, and order 10% more screen mesh than necessary to leave room for error during the process.
You also have your pick of screen materials, and though the cost of screen mesh will vary, each has its own perks. Fiberglass and aluminum are the most common types of screens for porches.
If you have an old screen on your porch, pop on your work gloves and remove the staples with pliers. Be careful not to damage the wooden beams holding the current mesh. Depending on your porch's design, you may need to remove old wooden battens that cover the mesh before starting.

Measure and cut the base strips in your kit to fit the length and height of your porch frame. Strips typically come with pre-cut screw holes every 8 inches or so. Line up your strips with the wooden frames along the base, sides, and ceiling to ensure they fit before securing them. It's normal for the strips to butt up against each other at the corners.
Secure the base strips with 1-inch screws—wood or sheetrock screws will do—with your screw gun. Use your level to ensure the base strips are even for the best results.

Like wrapping a present, it’s better to have too much mesh when laying out your screen than not enough. Beginning with the bottom of the frame, lay out your screen mesh so it overlaps several inches on either side.

Here's where your spline and spline roller come into play. A spline is a long strip that secures the screen in the track.
Your spline roller has two ends—one that’s convex and another that’s concave —for this process. The convex roller is the one with the outward-facing groove, which you’ll use to press the screen into the track. Flip it over and use the concave side to press the spline into the track over the screen. Use the convex roller to push the screen into the track, adding the spline right behind it with the concave side.
Move on the sides, installing it upwards up from the base. Be sure to pull the screen taut as you go. It may be helpful to have an extra set of hands for this. Finish off with the top track, pressing both the screen and the spline into the track.

Trim the edges of your screen right to the edge of the base strips with scissors or a utility knife.
If you’re concerned about your dog or cat scratching or damaging your porch, use a pet-resistant screen to reinforce the bottom portion of your porch (or higher if you have a large dog or a cat that loves to climb).

Place your base cap over the strips and tap it into place with a rubber mallet. The base cap provides a streamlined look and makes it easy to pull them off if you need to repair or replace the screen down the line.
If your base cap strips are too long, use your scissors or utility knife to trim them to fit your porch dimensions.
By following the steps above, you can finish your screened porch project in a day or so. But there are also other ways to make your porch even more appealing. Once you’ve mastered the basics, use these tips to take your porch to the next level.
Keep your screened-in porch in good condition by cleaning it regularly, washing all the surfaces annually, and resealing the wood as necessary.
If you don’t already have one, you can install a new screen door to pair with your new screened-in porch. It’s a great way to bring fresh air into your home, without inviting any pests in.
Need screened-in porch ideas to make your porch feel nicer? Consider adding an outdoor decorative rug, greenery, or skylights.
The project does not have a one-size-fits-all price tag, but most homeowners can expect their costs to rescreen a porch to average $4,000. Depending on your location, the size of your space, and the chosen materials, the price can fall between $900 and $7,000.
Labor tends to be one of the most significant expenses. To rescreen an average-sized porch, you can expect to pay roughly $2,000 for labor alone, with materials and incidentals making up the rest.
Now that you know how to screen in a porch, you can decide whether it’s a DIY project you want to tackle on your own. On the one hand, adding a screen to a porch with an existing frame usually takes a weekend afternoon. However, as we mentioned above, building the frame from scratch and turning an open porch into an enclosed space is a bit more complex.
The cost of a screened-in porch also varies quite a bit. Kits that include the screen mesh will cost around $2,000, but you'll save at least $400 on labor if you do it yourself. This number will be much higher if you need to build a complex frame or add steps, a door, or a roof.
After installation, you can save a bit of money each year by learning how to clean porch screens without hiring a pro.
From average costs to expert advice, get all the answers you need to get your job done.

Considering adding a screened porch to your home? Discover the average cost of a screened-in porch, depending on its size, location, and more.

How much does it cost to rescreen your porch or sunroom? Learn about screen materials, average labor costs, and other costs for rescreening your porch.

When you're ready to kick back and enjoy nature without the bugs, a sunroom is your best option. Learn how much a sunroom addition costs to set your budget.

Are mosquitoes and bugs ruining your outdoor experience? Learn how to build a screened-in porch from start to finish for pure backyard enjoyment.

A screened-in porch lets you enjoy the outdoors while being protected from bugs and direct sun. Learn the pros and cons of a screened-in porch.

When it comes to a screened-in porch versus a 3-season room, there are some key differences. Learn about the costs and uses of each type of sunroom.