How to Resurface Concrete in 7 Steps for a Professional Look
Save on the cost of replacing concrete slabs by resurfacing them instead


- 5-gallon bucket (optional)
- Wheelbarrow (optional)
- Portable concrete mixer (optional)
- Shovel
- Trowel
- Concrete resurfacer
- Concrete crack sealant (optional)
Concrete is a highly durable building material that can withstand extreme weather and constant exposure to sunlight, but sometimes, a fresh start can elevate your home’s curb appeal. Luckily, you can resurface your patio, driveway, walkway, or sidewalk instead of going for a full replacement, which is more expensive and invasive and often isn’t DIY-friendly. In this guide, we’ll explain how to resurface concrete for an easy solution to get your property looking like new again.
Prepping to Resurface Concrete
Before you begin the process, you should assess the existing slab to see if you need any major repairs. Look along the edges of the concrete for cracks or unlevel areas. Sections of sinking concrete can indicate problems beyond aesthetic imperfections. You might need to hire a professional who repairs concrete to level the concrete before you start resurfacing.
Similarly, if you notice pooling on your old concrete during inclement weather, you might need concrete leveling or a drainage solution to ensure you don’t have ongoing issues. Contact a concrete company near you if you suspect you have these problems.

Clean Your Concrete Surface
 Photo: matspersson0 / E+ / Getty Images
Your first business order should be to clean your old concrete thoroughly with a power washer. Removing dirt, weeds, moss, and other debris from the slab will help create a good surface for the new concrete to stick to.
If you don’t own a power washer, you might be able to rent one from your local home improvement store. You can also scrub the concrete clean using water and a stiff-bristle scrub brush, but this is much more labor-intensive and time-consuming.
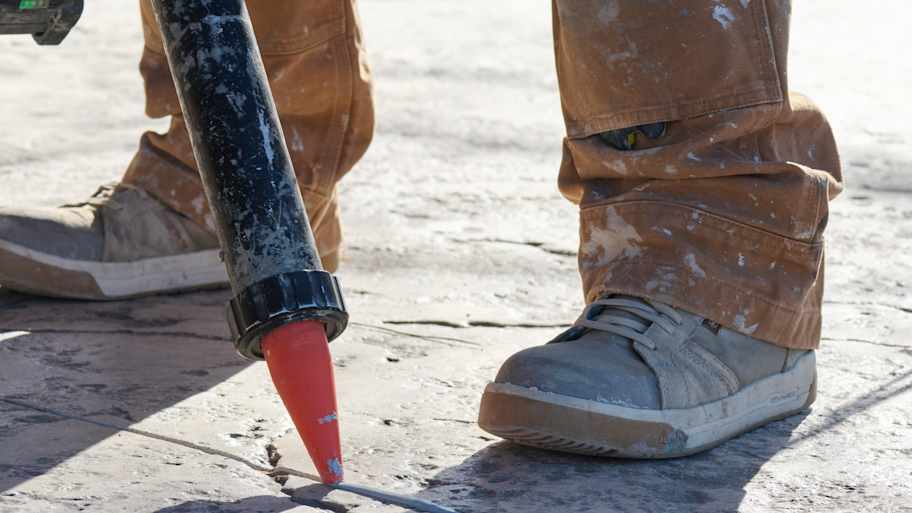
Seal Any Cracks
 Photo: surasak / Adobe Stock
Next, you’ll want to seal any cracks in the old concrete to prevent water damage and ensure you get a perfectly smooth surface when you pour the new concrete. You can use a trowel or a putty knife to apply your concrete crack sealant over surface cracks. Follow the manufacturer’s directions for mixing (if required), application, and curing.
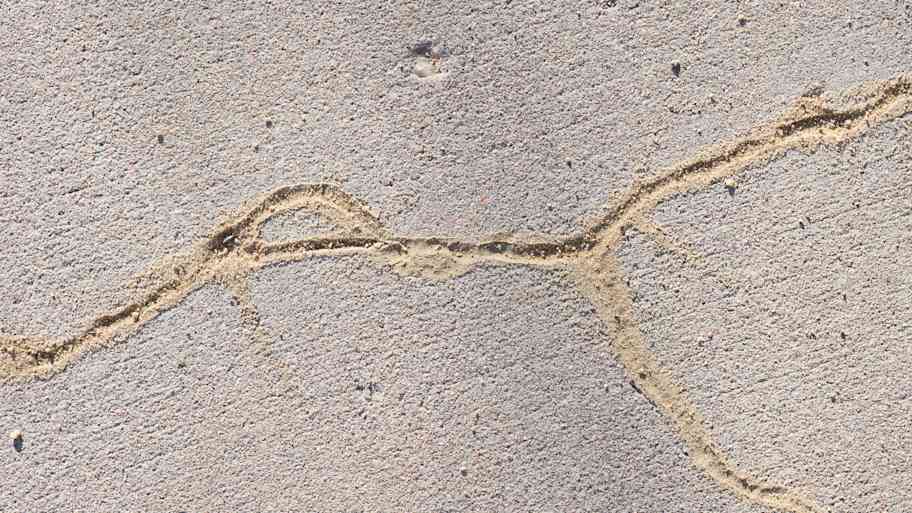
If you’re dealing with a more challenging type of concrete crack larger than 1/8-inch across, or the concrete on either side is unlevel, call in a professional for help. These signs of uneven settlement require more extensive repairs, like mudjacking.
Mix Your Resurfacing Compound
 Photo: pisittar / iStock / Getty Images Plus / Getty Images
Next, mix your concrete resurfacing compound. It’s crucial to get the mix right to avoid concrete segregation and weakening of the final product, so make sure to follow the manufacturer’s directions. You can mix the compound in a 5-gallon bucket for small projects or a wheelbarrow for medium-sized projects. For larger projects, like resurfacing a concrete driveway, patio, or long walkway, you should consider investing in or renting a concrete mixer.
Apply the Resurfacing Compound
 Photo: lovelyday12/ iStock / Getty Images Plus / Getty Images
Once you’ve achieved the necessary consistency, pour the resurfacing compound over the old concrete. You can gently wet the concrete beforehand, which can be particularly helpful if you’re working in direct sunlight or on a hot day, but avoid puddles or excessive water build-up. Use your concrete floats and trowels to distribute the concrete over the surface and smooth it out.
Add Texture
 Photo: rtyree1 / E+ / Getty Images
Many homeowners will add some texture to the concrete to prevent slipping and make the surface more visually appealing, but if you want a perfectly smooth surface, you can skip this step.
After you pour your concrete, you’ll notice water coming to the surface. This is called “bleed water.” Once this water evaporates, you can add texture to the surface of the concrete. For a simple broom finish, sweep a deck broom across the surface in one direction. You can also create custom textures using your trowel.
Round Over the Edges
Once the bleed water evaporates and before the concrete cures fully, it’s a good time to round over the edges of your new concrete surface. You can use a flat trowel for squared edges, but if you want to soften the look of the concrete, use a concrete edging tool to round the corners slightly.
Let the Concrete Cure
 Photo: Jack / Adobe Stock
Finally, let the concrete cure for about 48 hours before exposing it to foot traffic. If you’re resurfacing a concrete driveway, wait seven days before pulling a vehicle onto the surface.
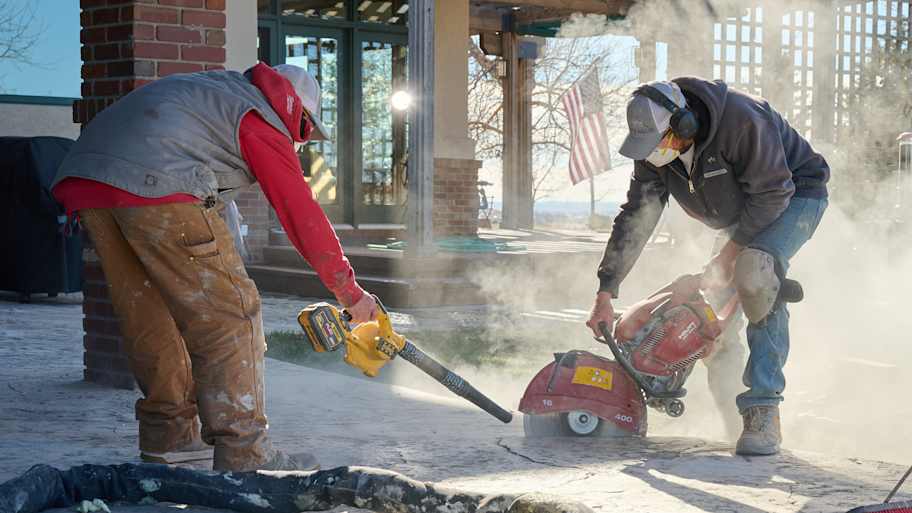
DIY vs. Hiring a Pro
Resurfacing concrete is a relatively straightforward DIY project, and you could save up to $2,000 by doing the work yourself instead of hiring a professional.
However, if you don’t know how to work with concrete or you’re resurfacing with stamped, colored, or stained concrete, it’s a good idea to call in an expert. Hiring a concrete resurfacing contractor is also a good idea if you’re dealing with pooling water, ongoing cracking on your existing concrete, or working with a large patio or driveway. They can also fix damaged concrete porches, stoops, and other on-site fixtures, which might not be easily DIYable.
A professional will have the skills and tools to elevate the appearance of your concrete using stamps, rollers, concrete colors, stains, and other concrete finishes. They also have large-scale concrete mixing tools to mix resurfacing compounds that can cover larger areas in a single pour for a more uniform appearance.
Frequently Asked Questions
Concrete resurfacing is the process of applying a new, thin layer of concrete over an existing concrete slab to give it a fresh appearance. The new layer is often between 1/4-inch and 1-inch thick, so it involves much less material than you’d need to pour a new slab, which is often 4 inches thick. Resurfacing also gives you the opportunity to add color or texture to your slab without totally replacing it.
Concrete resurfacing should last for around ten years, but the life span can range from eight years up to around 15 or more, depending on the quality and thickness of the concrete, as well as the climate and weather in your area. Exposure to constant and intense sunlight can speed up fading, rain and snow can promote cracking, and severe, ongoing temperature fluctuations can weaken the concrete and demand replacement more often. You can prolong the life of resurfaced concrete by resealing it annually and patching small cracks as they appear.
Concrete resurfacing costs between $1,000 and $5,000 in most cases, with an average of around $2,000. Your price will vary based on square footage, so you could get a more accurate estimate using a price per square foot, which falls between $3 and $20, depending on the complexity of your project.


Get our Angi-powered app


