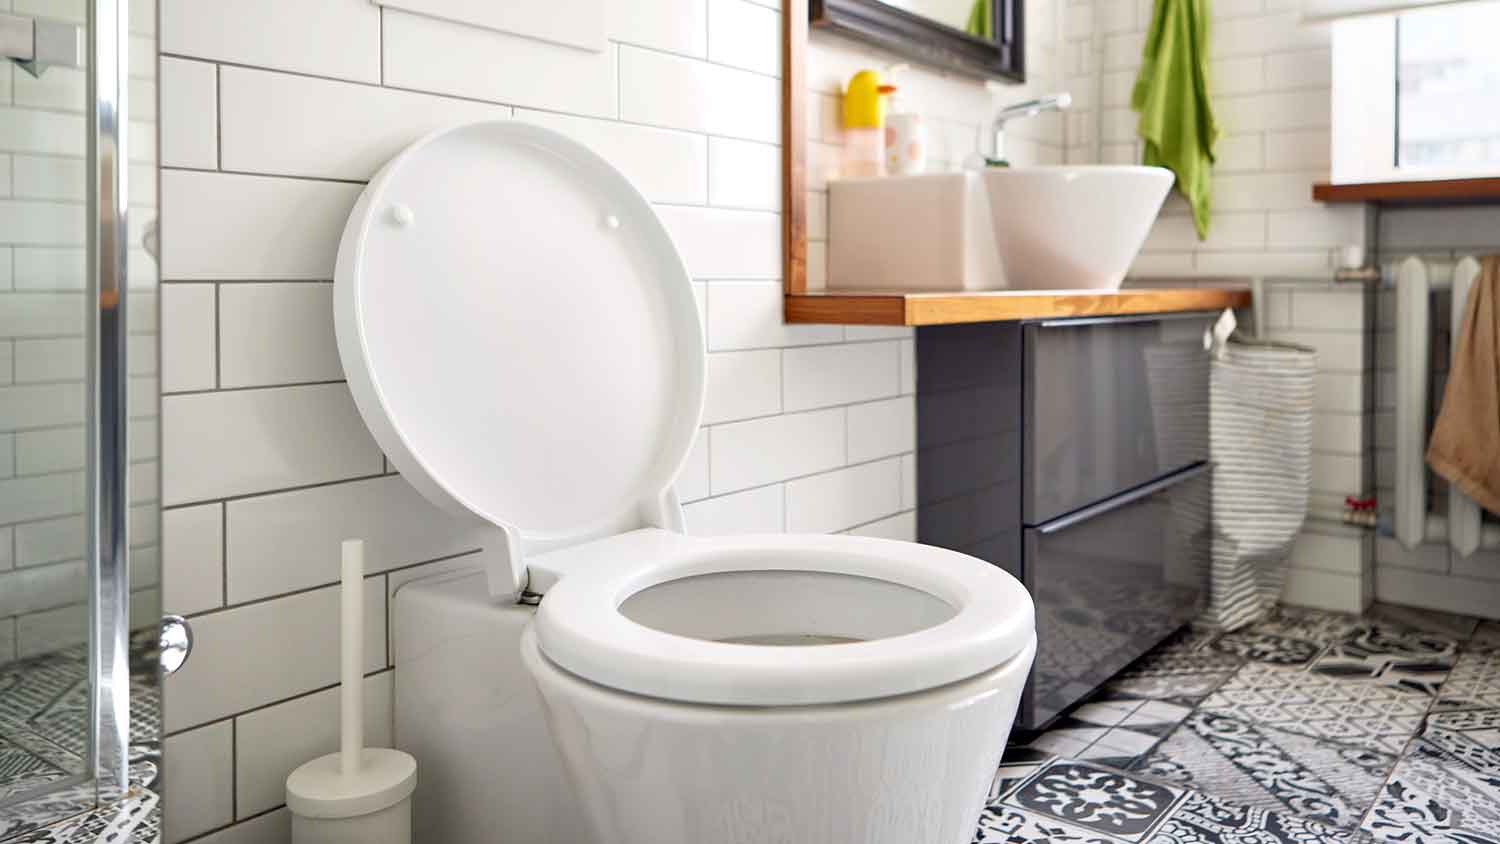
How to Replace a Toilet Wax Ring
Keep leaks away by replacing your toilet wax ring today


- Large sponge
- Putty knife
- Wet/dry vacuum
- Flathead screwdriver
- Old towels or rugs
- New toilet wax ring
- Paper towels
- Two flange bolts (two washers/two nuts)
Is there water leaking from the base of your toilet? If so, your wax ring is probably worn out. When it works properly, the wax ring creates a watertight seal between the toilet base and the drain pipe. Unfortunately, wax can fail over time, leading to water leaking onto the floor. The good news is that popping on a replacement wax ring will fix the problem. A replacement wax ring averages between $2 and $10, making this a relatively inexpensive DIY project.
Drain Your Toilet Bowl
Once your materials are assembled, the first step is to drain the toilet. Start by turning off the toilet's water supply. The shutoff valve should be behind the toilet, and you only need to give it a turn. Next, flush the toilet to drain excess water from the tank and bowl.
Use a wet/dry vacuum to soak up lingering water from the bowl. If you don’t have a wet/dry vacuum, a plunger can also work for this step. Then, use a large sponge to remove any leftover moisture from the tank and bowl so you have a dry working area.
Disconnect the Water Supply Line
In order to remove the toilet from the floor, you’ll need to temporarily disconnect the water supply line. Your toilet's water supply line sits at the tank's underside. With some toilet models, you’ll be able to unscrew the line by hand, and with others, you may need to use an adjustable wrench. If neither option works, break out the pliers.
This next step is important for "mess control." If you have a flexible line, carefully drain any remaining water into a bucket. If you don’t have a flexible line, ensure that your bucket is in position to catch any water that comes out when you disconnect the line. Putting towels down is also a lifesaver to avoid damaging your bathroom floor.
Prepare the Base for Removal
If you’ve reached this point in the wax ring replacement process, prepare for things to get serious. Remember, it's not too late to call a plumber if you feel uncomfortable with the idea of lifting the toilet from the floor.
For the brave homeowners who decide to keep going, locate the flange bolts on either side of the toilet. As the name suggests, these bolts keep your toilet bolted to the floor. First, remove the caps covering the bolts, if there are any. Next, use your wrench to unscrew the nuts from the bolts. Finally, take off the washer and plastic disc from the base of the bolts. Now you’re ready to wiggle the toilet free.
Pull the Toilet off the Floor
 Photo: Pixel-Shot / Adobe Stock
Removing the washer and plastic disc was the last step before hoisting the toilet from its spot. Now, get ready to lift! Keep in mind that your toilet probably weighs about 100 pounds. Bend at your knees for the best leverage point. Focus on lifting the toilet away from its two flange bolts without using your back. Once it’s off the ground, place the toilet down slowly onto a towel or a blanket.
Inspect the Flange
Now, you should be staring directly at the flange. The broken wax ring is wrapped around the circular flange. Broken or not, it will be sealed pretty tight around the flange, so the next step is to scrape the remnants of the old wax ring with a putty knife. Smooth out any debris to create a clean, dry surface.
The flange should be bolted into the floor. Take a minute to remove the bolts so you can inspect the flange. If it’s cracked or broken, then the flange shouldn't be covered again. Call a plumber to replace a toilet flange, which costs between $145 and $165, to avoid a future bathroom catastrophe. If you’re comfortable with DIYing it, you can replace a toilet flange yourself.
Replace the Flange Bolts
It's time to use those shiny, new flange bolts you picked up at the hardware store. They should fit perfectly into the existing slots, but that doesn't mean that whoever installed your toilet did it perfectly. To make sure everything is in the correct spot, confirm that each bolt is the same distance away from the drain's center. They should also be equidistant from the wall behind the toilet.
Put in the New Wax Ring
At this point, all that’s left to do is affix your new wax ring to the bottom of the toilet drain. You can also attach it to the top of your flange. When in doubt, default to the manufacturer’s directions that came with your new wax ring. If you don’t see any leaks, consider using caulk to seal the toilet to the flooring, leaving a small 1-inch opening in the far back of the bowl. That way, you can check this area to find future leaks.
Finally, take a deep breath before lifting the toilet again to align its base holes with your two flange bolts. Your new wax ring should "smoosh" comfortably between the two objects.
The Sit Test
You deserve a rest! Time to take a seat. The actual purpose of this "sit test" is to confirm that your toilet is flush against the floor. Wiggle around in the seat to make sure you don't feel any wobbling.
If the toilet passes the sit test, replace the plastic disc and metal washer before screwing the nuts into the flange bolts.
Give It a Good Flush
The last step is to reconnect your water supply line at the bottom of the tank. You want a tight, secure fit, but not so tight to the point of causing pressure that will damage the line. Once the water supply is back on, give the toilet a few good flushes. As long as you don't see any moisture coming from the bottom of the toilet, you’re good to go.
DIY vs. Hiring a Professional to Replace Your Toilet Wax Ring
This is an easy DIY project for people who feel comfortable working with plumbing. However, anything from a damaged flange to a wobbly toilet can cause DIYers to get in over their heads. If that’s the case, take it as a cue to hire a professional plumbing company.
You might also want to contact your homeowners insurance company to see how to make a water damage insurance claim if you checked for mold and found your toilet wax ring isn’t the only issue. Mold damage can be costly to repair, and your insurance company may be willing to cover some of the expenses for water damage remediation.
Frequently Asked Questions
Wax rings tend to have the same lifespan as the toilet—around 20 to 30 years. However, the ring can become damaged over time faster than a toilet. The wax can dry, flake, or crumble if your toilet loosened or wasn’t secured correctly upon installation. If your toilet wobbles, you should have it looked at to prevent the wax ring from loosening and leaking.
The average cost to replace a toilet seal ring is around $50 to $200 if you hire a pro to do the job. If you do it yourself, you’ll only need to pay for the supplies. Wax rings alone cost anywhere from $5 to $25 at hardware stores and can save you a lot of money compared to having a professional installation. At the same time, a licensed plumber knows how to properly install your new wax ring to prevent premature issues down the line.


- Gas Plumbers
- Plumbing Repairs
- Sump Pump Installation
- Wood & Pellet Stove Repair
- Shower Repair
- Wood Stove Services
- Emergency Plumbers
- Fire Sprinkler Contractors
- Perc Test Companies
- Toilet Repair & Installation
- Boiler Repair
- Sewer Line Repair
- Faucet Repair
- Main Drain Camera Companies
- Foundation Drain Installation
- French Drains
- Bathtub Replacement
- Subcontractors
- Storm Drain Contractors
- Affordable Plumbing
- Plumbing & Heating Companies
- Bathroom Repair Services
- Sink Installation
- Commercial Plumber
- Barndominium Builders
- Water Line Repair
- Faucet Installation
- Water Line Installation
- Leak Detection
Get our Angi-powered app


