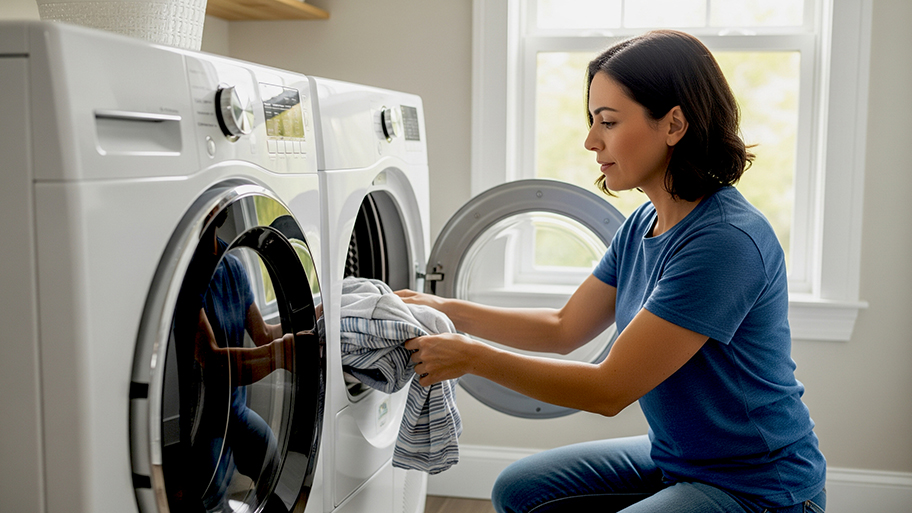
Replacing a dryer belt costs more than just the part unless you can DIY it. The labor cost can easily surpass 90% of the product cost, so if you are handy with tools, try it yourself first.
Healthier, fresher water is only a few simple steps away


Learning how to change your fridge water filter regularly keeps the supply of fresh, clean water to your water dispenser running and the ice cube maker flowing. If you have a water and ice dispenser in your fridge, it likely has a water filter inside to clear out contaminants like lead, chlorine, calcium, VOCs, and pathogens. Let’s review how to change your refrigerator water filter to keep your home’s supply of fresh water flowing.
You may be tempted to let the fridge water filter go unchanged for a few months after the indicator light first comes on, but the water filter is crucial to keeping your water clear of contaminants, including harmful bacteria. Not only is it important to your health, but the filter keeps out debris and contaminants that can clog the water line to the fridge. The longer the old filter stays in the fridge, the more wear and tear the trapped debris can put on your fridge. You could be stuck paying a local fridge repair pro for new parts or even a new fridge sooner than expected without regular filter changes.
Before you can learn how to change a fridge water filter, you need to know what type of filter you have and where to find it.
First, you need to find your water filter. This is located at the bottom of the fridge, in the front grille, or inside the fridge on one side toward the top. You may see a release button or a small panel concealing the filter. If you can’t find the filter in these areas, it could be on the water line. Consult your fridge’s manual or search for your fridge’s make and model online to access a digital manual.
Once you’ve located where the water filter is in your fridge, you can easily identify the fridge water filter type by checking the existing filter. On the outside of the filter, it should have a part number that you can search online. If you’re still having trouble finding the filter type, consult the paper or digital user manual.
Different types of fridges can come with different filters, from ones that twist or pop into place to ones located in hard-to-reach spaces, like the bottom of the fridge or the refrigerator water line. No matter what type of fridge water filter you have, here’s how to find and change the fridge filter.
Twist-on refrigerator water filters are a snap to replace. There’s no need to turn off the water to make the swap. Manufacturers install an auto shut-off that engages when you remove the filter.
Locate the filter by looking inside the fridge compartment for a plastic filter cover. It may be in the door, a drawer, or on an interior side, ceiling, or back fridge wall.
Open the filter cover panel by pressing or pulling the locking tab on one of its ends.
Place a cloth or towel below the filter area to catch drips.
Twist the filter counterclockwise with your hand until it stops turning.
Remove the filter by pulling it straight back and away from the mounting point.
Line up the tabs on the new filter with the slots on the mounting point and firmly push into place.
Twist the filter clockwise with your hand until it doesn’t turn anymore.
Replace the filter cover panel by lining up the locking tabs and pressing it until it locks into place.
Press the reset filter button or touch screen icon to reset the alarm if applicable.
Let the water dispenser run for up to five minutes to remove air and flush the system.

Push-in refrigerator water filter replacement is quick and easy, as well. You can leave the water on in the house, as the fridge supply will turn off automatically when you remove the old filter.
Locate the filter by looking inside the fridge compartment for a plastic filter cover. You may find it in the door or on an interior side, ceiling, or back fridge wall.
Open the filter cover by pressing the locking tab and swing the panel open or remove it, depending on your model.
Place a cloth or towel below the filter area to catch drips.
Depending on the refrigerator model, press the button by the filter or push the filter toward the mount until it clicks or releases.
Remove the filter by pulling it straight out of the mounting hole.
The new filter will have a removable cap on top. Remove it and place it on the old filter to contain leftover water.
Remove the seal if the new filter has a foil or paper covering.
Line the filter up with the mount opening and depress the filter until it clicks into place.
Press the reset filter button or touch screen icon.
Run the water dispenser for several minutes to clear the air and flush the system and filter.
Some manufacturers place the water filter at the bottom of the fridge and make it accessible from the appliance’s exterior. Check out how to change this type of water filter.
Locate the filter cap below the fridge’s lowest door.
Place a towel or cloth on the floor below the filter to catch drips.
Twist the filter cap or knob counterclockwise until you can feel that it’s free of its mount.
Remove the filter by pulling it straight out towards you.
Remove the cap or knob from the old filter by sliding or clicking it off.
Install the cap or knob onto the new filter.
Insert the filter until you feel it reaches the mounting.
Twist the filter and cap clockwise while applying gentle inward pressure until it stops turning.
Press the reset filter button or touch screen icon.
Run the dispenser water for several minutes to remove air pockets and flush the new filter.
The inline water filter is no longer standard among refrigerator filters, but many older refrigerator models still have one. Replacing the filter is more involved than other styles but still doable.
Turn off the water supply to the fridge or the house.
Unplug the refrigerator and pull it away from the wall.
Locate the filter and place a towel or cloth on the floor to catch drips.
Use pliers to open the water-line connectors on each end of the filter. Depending on the style, you may have to pinch or twist them open.
Remove the water lines and the filter housing.
Attach the new filter and housing to the water lines by reversing the removal step. Follow the directional arrow if your filter has one. The arrow should point to the side that goes to the appliance.
Turn the water back on and plug in the fridge.
Run the dispenser for a minute or two and check the new filter and connections for leaks.
Push the appliance back to its original spot.
You should plan on swapping out your fridge water filter for a new one every six months or so, especially if your household uses the dispenser or ice maker daily. Small families or intermittent users may not have to swap the filter for up to one year.
However, organics can build up in the filter after a year, regardless of how often you use the dispenser. The buildup can cause improper filtration and render the filter useless or even harmful, so it’s worth it to keep a regular replacement schedule.
If you have particularly hard or soft water, you should consider replacing it twice a year. You can sometimes tell if you have hard water if you find high amounts of calcium in your pool during routine testing or in your drinking water or well water during one-off water tests. You can also consider installing a water softener. These are expensive, but a water softener works to improve drinking water quality, and it reduces filter replacement timelines, and helps avoid plumbing damage.

Most of the time, once the new filter is in place, you can leave it alone and enjoy fresh, clean drinking water and ice cubes. However, you may occasionally sense an off taste or slight discoloration after a couple of months of use.
In that case, you can clean your fridge’s filter by removing it, turning it over to a wastebasket, and tapping debris from it. Then soak it in a mix of water and dish soap, vinegar, or a filter-cleaning solution. Soak the filter for 30 minutes or so before rinsing it thoroughly and reinstalling. Remember that you’ll still want to replace it at its regular intervals, but cleaning can help keep it functioning properly in between replacements. You can also clean the water dispenser occasionally to lend the filter a hand in keeping the water clear and tasty.
On the other hand, some carbon refrigerator water filters come with directions to soak the filter before installation to activate the filter material. In that case, follow the manufacturer’s instructions for your filter before swapping it with the old one.
Don’t sweat it: DIY water filter replacement is a simple task in most situations. The cost of a new refrigerator water filter is between $25 and $60, and you’ll save yourself an average of around $75 in labor by doing the work yourself.
If something goes seriously wrong while replacing a filter, you need to hire a local plumber for assistance. This should only be an issue if you’re dealing with an in-line filter or a distilled water filter. It’s also possible that your old filter becomes stuck enough that it’s difficult to remove. In that case, a professional should be able to help get the job done.
From average costs to expert advice, get all the answers you need to get your job done.

Replacing a dryer belt costs more than just the part unless you can DIY it. The labor cost can easily surpass 90% of the product cost, so if you are handy with tools, try it yourself first.

Broken glass stove tops are not only unsightly; they can also be dangerous. Use this guide to learn how much glass stove top replacements cost based on factors like size and type.

Garbage disposals last five to 10 years, and replacement is preferred over repairs. Here’s everything you need to know about replacing your garbage disposal.

Gas stoves are the center of many meals, and when they break down, homeowners are left scrambling. Find out who you can call to fix your gas stove.

If your fridge is not cold but the freezer is, you can use these troubleshooting tips to find and address the issue, possibly without paying for repairs.

If you’re interested in alternative heating options, you need to see our pellet stove pros and cons. Get the right heater for your home.