How to Replace Your Oven Heating Element in Less Than 30 Minutes
Turn up the heat on your DIY skills with this simple swap


- Screwdriver (usually Philips)
- Pliers
- Gloves
- Multimeter
- Oven thermometer
- Replacement heating element
The coil at the bottom of your oven is called the heating element. It uses electric resistance to heat up. You will need to replace the heating element in your oven if heat no longer radiates from it, there is no electrical current, or your food is cooked unevenly.
While the terms oven, range, and stove, are often used interchangeably, they are different. Range and oven refer to units with both an enclosed cavity and an open-air cooking surface. Stove refers solely to an enclosed cavity (wall ovens) and stovetop, or cooktop, refers solely to an open-air cooking surface.

These units don’t break often but when they do, replacing it is a simpler DIY task and can save you hundreds of dollars in labor costs should you choose to do it yourself.

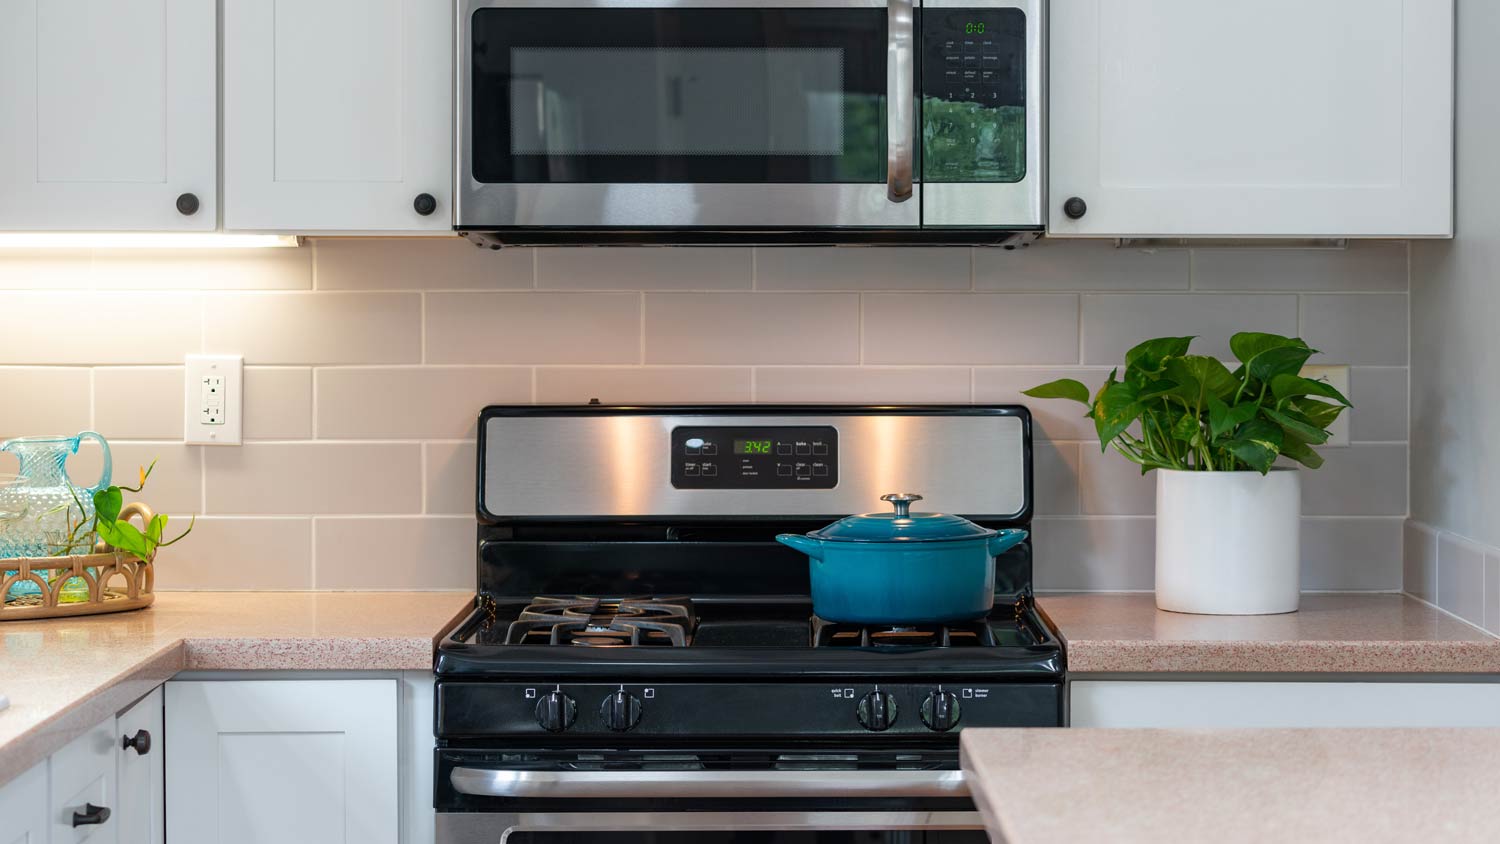
Disconnect All Power
 Photo: by sonmez / iStock / Getty Images Plus / Getty Images
Trust us, the low cost of this DIY is the only shock you’ll want to experience while replacing your oven’s heating element. There may or may not be a switch on your oven to turn off the power. Flipping it to the off position is a good idea. If you can locate a plug, unplug the appliance as well. Just to be extra careful, locate the circuit breaker in your house and switch off power to the entire room where the oven is located.
At this stage, use a multimeter to confirm that the power is off. You can do this by touching the probe against the exposed wires.
Prep the Oven
 Photo: k0wkin / iStock / Getty Images Plus / Getty Images
Although it isn’t completely necessary, it’s a good idea to put on some general-purpose work gloves at this stage. Sometimes the oven has tiny shards of metal that you wouldn’t want lodged in your skin. Another optional step is to remove the oven door. If you can replace a heating element in an oven without doing so, you don’t need to add this extra step. Remove all oven racks at this stage. Once removed, clean the oven if it’s dirty. If the element or the oven itself is damaged, consider potential oven repair costs.
Remove the Heating Element
 Photo: QunicaStudio / iStock / Getty Images Plus / Getty Images
Locate where the heating element is attached. Usually, it is in the main body of the oven, at the back or side and is often a matchbox-sized attachment with two screws. Use the screwdriver and remove the screws, pull out the mounting bracket once they’re removed. Disconnect each spade wire connector with pliers, then simply pull the heating element out of the oven.
Replace the Heating Element
You’re over halfway done! All you need to do is reverse the steps. First thing, slide the new heating element into the oven and reattach the wire connectors onto each probe. You may need pliers to clamp down the spade, ensuring it’s a tight fit. Once you know they are secure, reattach the mounting plate by placing it back into the oven and insert the mounting screws. Make sure everything is tightly secured.
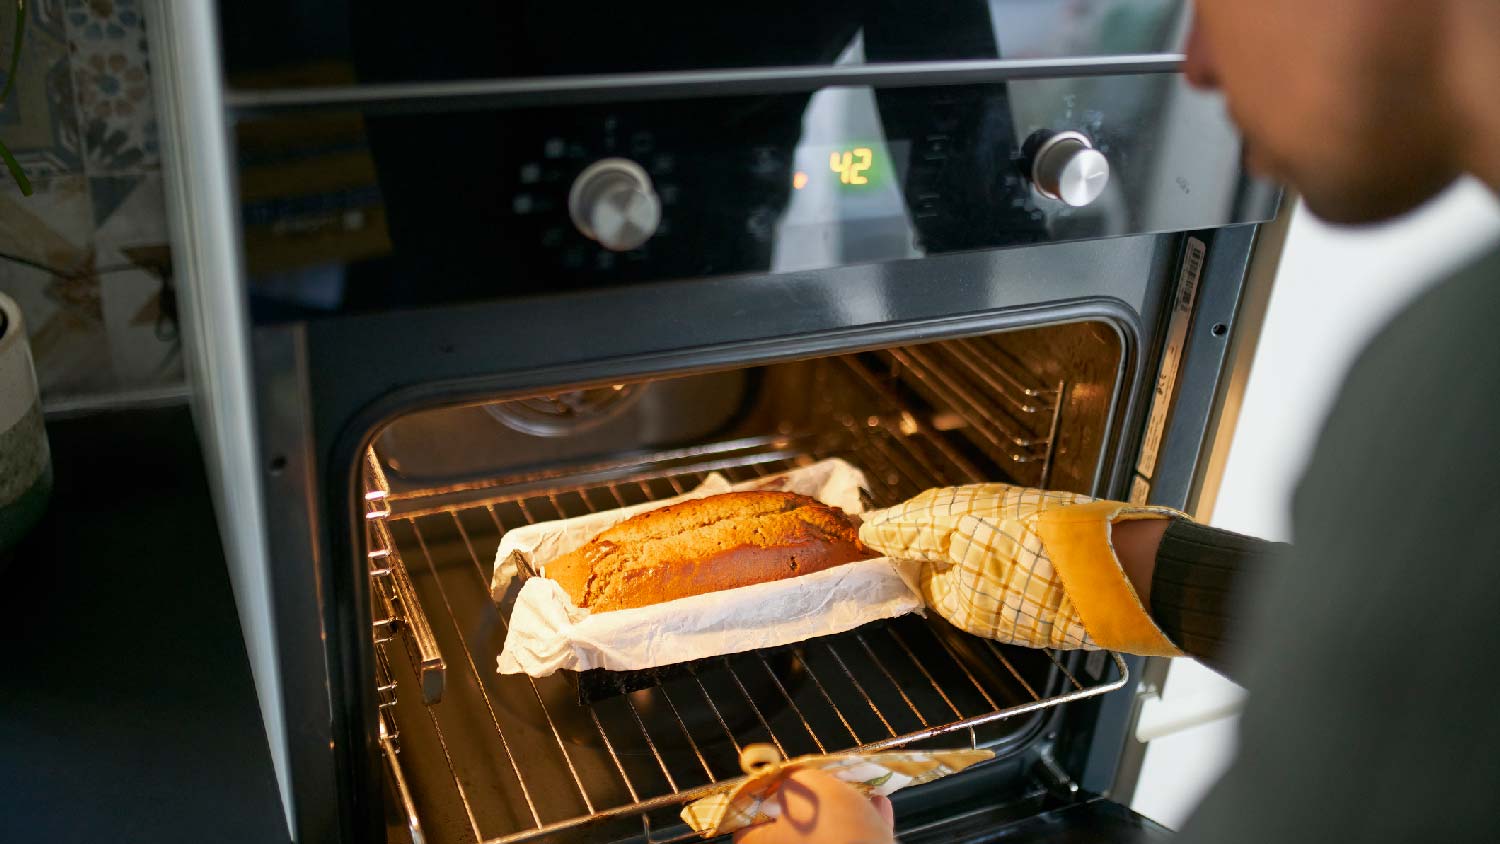
Test the Oven
 Photo: brizmaker / iStock / Getty Images Plus / Getty Images
Now that everything is in place, you’ll need to turn the power back on. Start by plugging the oven back into the wall—even though there isn’t power—and then flipping the power back on the circuit breaker. Once you’ve confirmed power is on in the room, turn the oven on. The new heating element should glow orange. You’ll want to calibrate your oven by using an oven thermometer to ensure the oven setting of 350 degrees Fahrenheit matches the thermometer.
DIY vs. Hiring a Pro
If you can turn a screwdriver and locate the power unit for your kitchen, there really isn’t a need to hire a professional. Even while working carefully and methodically, this simple DIY fix shouldn’t take much more than 30 minutes.
However, you may not be able to complete the task because of an injury, such as a broken wrist or bad hip, which can prevent you from accessing or removing the heating element. Another reason you may choose to use a pro is if you don’t consider yourself much of a DIY’er. In this case, you’ll need to hire a local electric appliance installation professional to replace the heating element in an oven. Professionals may charge between $50 to $150 per hour. Due to the job’s simplicity, you should also expect a service fee of around $50 to $100.
Frequently Asked Questions
You’ll notice your heating element is bad if your oven isn’t heating. Another common sign is if food is cooked unevenly. The element itself could look damaged, like if there were cracks or blisters on the element’s surface. If there is no damage, check the continuity by using a multimeter.
Oven elements, despite being relatively inexpensive, can last between five and 10 years. Obviously this depends heavily on their usage and if they are kept clean and undamaged. Avoiding spills and cleaning your oven regularly can help extend its life.
While you should clean your oven, the heating element itself shouldn’t need cleaning unless you spill something on it. Avoid putting chemicals directly on the element as they can aerate into dangerous fumes once heated. It’s important to keep the oven itself clean, as this prevents the element from collecting particles or food matter while in use.
Yes, a dirty oven can affect its temperature accuracy and distribution. Food debris, spills, and built-up grease on the oven walls and racks can disrupt the heat flow, causing uneven heating and potential temperature fluctuations. This can result in undercooked or overcooked dishes. Over time, a dirty oven can malfunction or even cease working. Pick up any large pieces that may have fallen off a tray (like French fries), prevent anything burning on the element, and run cleaning cycles on a regular basis.
Many manufacturers recommend that you clean your oven at least every three months. Usually, this is done by running the oven cleaning cycle. You should stay home while it runs because the oven will heat up to an extreme temperature. If your oven is particularly dirty you may want to vent the room as the cleaning cycle can create a lot of smoke. You can use store-bought oven cleaners but these tend to be very harsh. Try making a paste of baking soda and water or clean with white vinegar before moving on to a more powerful option.


- Appliance Repair Companies
- Washing Machine Repair
- Dryer Repair
- Refrigerator Repair
- Dishwasher Repair
- Oven Repair
- Wood & Pellet Stove Repair
- Freezer Repair Services
- Wood Stove Services
- Gas Stove Repair
- Emergency Appliance Repair Companies
- Ice Maker Repair
- Gas Appliance Repair
- GE Appliance Repair
- GE Refrigerator Repair
- GE Dryer Repair
- GE Dishwasher Repair
- GE Washing Machine Repair
- Samsung Appliance Repair
- Samsung Refrigerator Repair
- Samsung Dryer Repair
- Samsung Washer Repair
- Samsung Dishwasher Repair
- Samsung Oven Repair
- Whirlpool Repair
- Whirlpool Refrigerator Repair
- Whirlpool Washer Repair
- Whirlpool Dryer Repair
- Whirlpool Oven Repair
- Maytag Appliance Repair
- Maytag Refrigerator Repair
- Maytag Washer Repair
- Maytag Dryer Repair
- Maytag Dishwasher Repair
- Kitchenaid Appliance Repair
- Kitchenaid Oven Repair
- Kitchenaid Refrigerator Repair
- Kenmore Appliance Repair
- Kenmore Dishwasher Repair
- Kenmore Washer Repair
- Kenmore Dryer Repair
- LG Refrigerator Repair
- Bosch Appliance Repair
- Kenmore Refrigerator Repair
- LG Appliance Repair Services
- GE Microwave Repair
- Electrolux Appliance Repair
- Electrolux Washer Repair
- Kitchenaid Dishwasher Repair Services
- Wood Stove Inspection
- Dishwasher Installation
- Trash Compactor Repair
Get our Angi-powered app


