Got temperature issues in your shower? You may need a new shower cartridge. This guide will help you understand shower cartridge replacement costs.
If your toilet won’t stop running, it’s likely time to replace the fill valve

Toilet fill valve replacement cost ranges from $50 for DIY parts to $240 for professional service, making early replacement a budget-friendly fix.
Your toilet's fill valve opens and closes with every flush, wearing out over time and causing that constant running water sound you hear.
You can identify a faulty fill valve by adding food coloring to your tank and checking if the dyed water stays put after an hour.
Hiring a local toilet professional provides reliable help diagnosing fill valve issues and completing repairs quickly, so your toilet runs quietly again.
Your toilet’s fill valve is responsible for the flow of fresh water into your toilet tank. It opens and closes with every flush, inevitably wearing out over time, so most homeowners will have to replace a toilet fill valve here and there. Luckily, it’s a pretty simple fix and you can do it with basic tools and an inexpensive replacement part. Here’s a quick step-by-step for replacing a toilet fill valve.
If you’re hearing running water in your toilet, you should first ensure that the fill valve is the culprit. Replacing the fill valve isn’t the only method for fixing a running toilet: If you’re hearing constant running water, you may need to look up how to replace a toilet flush valve instead. Or, if you’re hearing a ghost flushing noise, you may need to clean or find out how to replace the toilet flapper.
To determine whether the fill valve or the flush valve is at fault, place a few drops of food coloring into your toilet tank and wait about an hour. If the dyed water doesn’t move into the bowl, it’s most likely the fill valve that’s causing the running water sound.
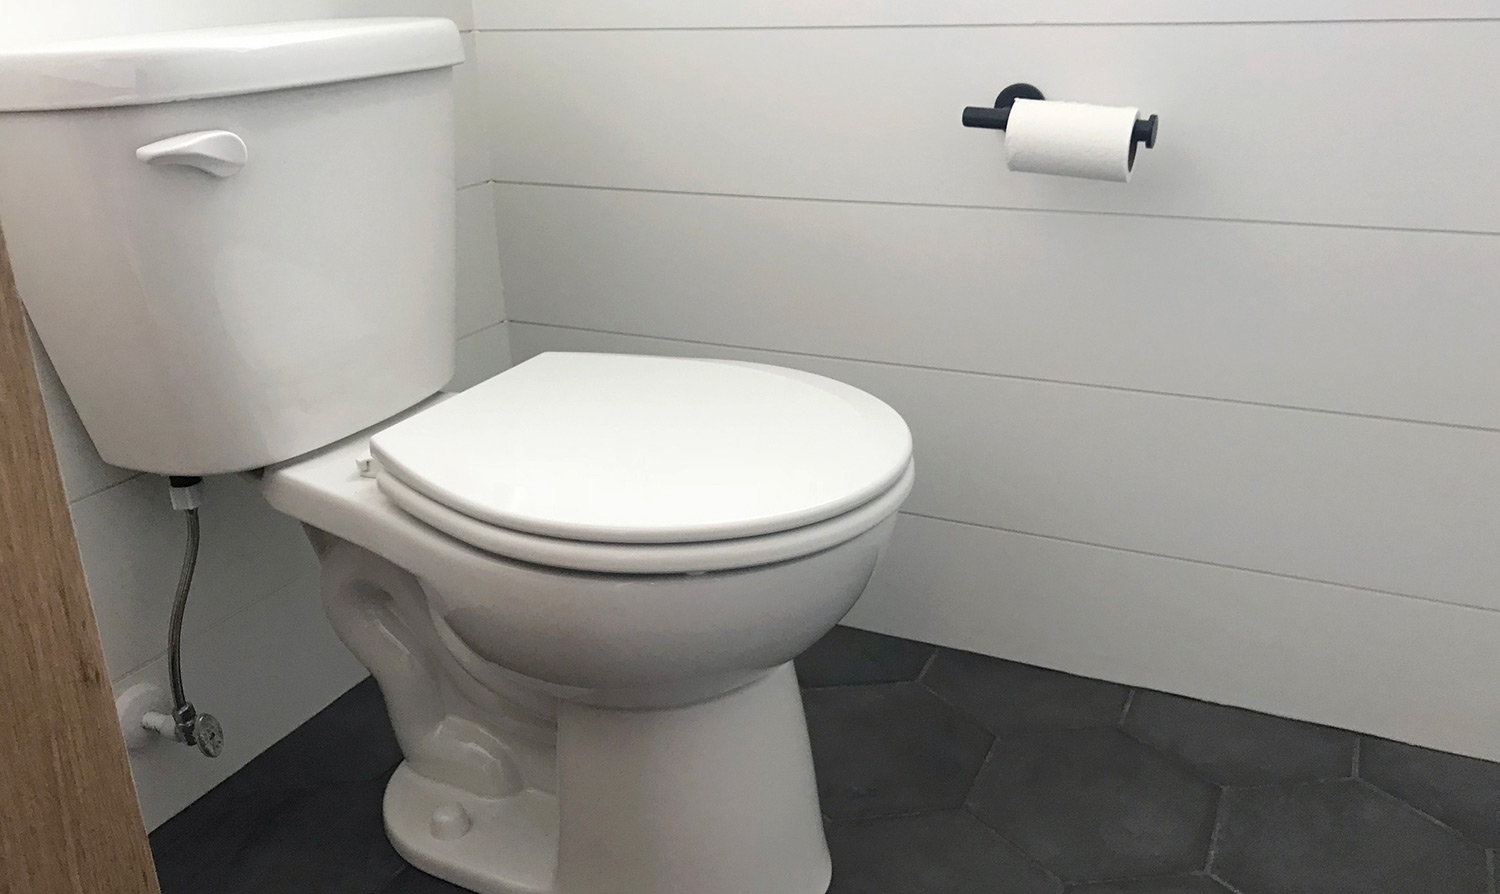
Always shut off the water supply before performing work on your toilet. There should be a water valve just below the toilet tank, between where the pipe comes out of the wall and where it connects to the toilet tank. Typically, you’ll turn the valve clockwise until it stops moving to shut it off.
After you’ve shut the water off, remove the tank lid and hold the flusher down to drain as much water as possible. Then, use a turkey baster to suck up the remaining water. You can also use a sponge or some towels to do this. Or, if you have a wet-dry vacuum, it will make quick work of the task.

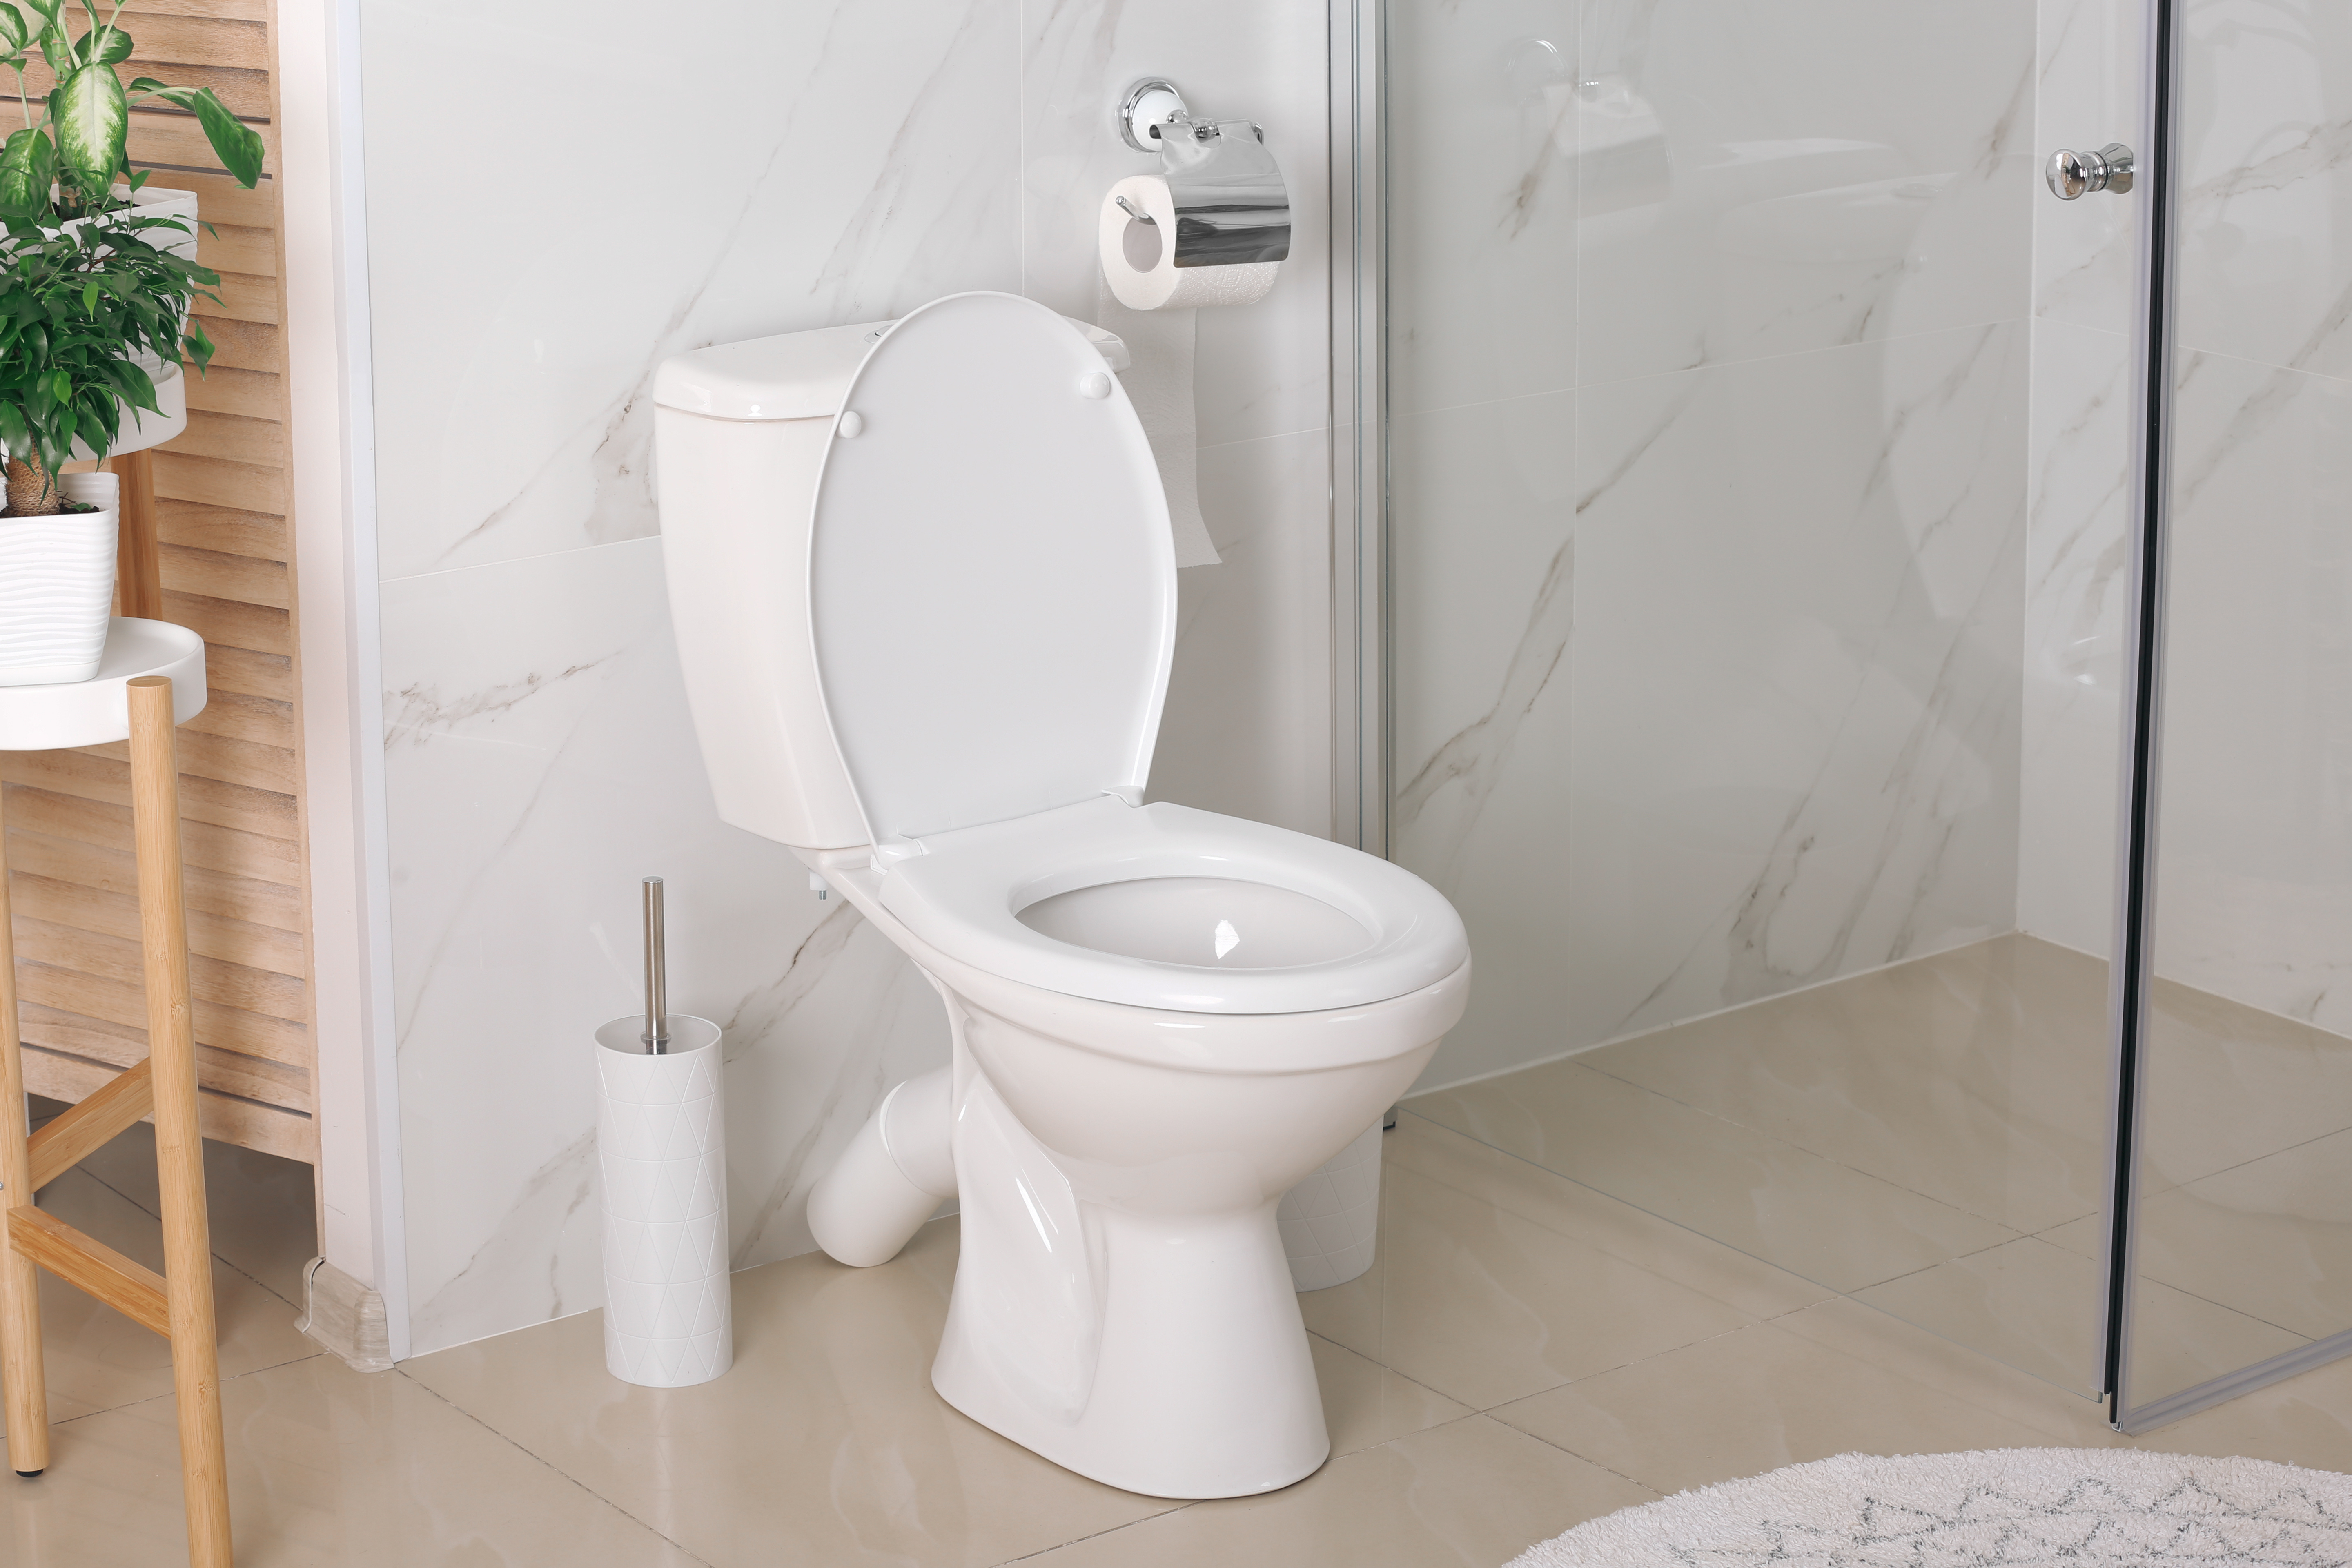
Your toilet’s fill valve is typically off to one side and has a tube attached that connects to the overflow pipe. In older toilets, the float connects to the top of the fill valve. For newer models, it is the plastic column that includes the float.
Locate the nut that attaches the fill valve to the water supply line on the outside bottom of the tank. Loosen it by using a wrench or channel lock pliers and turning it counterclockwise. To prevent rotating, you may need to use a second set of pliers to grab the bottom of the fill valve from inside the tank.
Your new fill valve should include a rubber washer to prevent leaks from the base of the fill valve. Slide this onto the bottom flange of the fill valve’s tailpiece (the skinny end).
If necessary, adjust the height of your new fill valve so that it’s taller than the overflow tube but still short enough to allow the tank lid to close. See your manufacturer’s instructions for doing this, as different models have different methods.
Insert the new fill valve into place with the rubber washer at the bottom. Then, using your fingers, carefully tighten the fill valve nut connecting the supply line at the outside bottom of the tank. Do not use pliers and be careful not to overtighten, as this can crack the toilet tank or the valve.

Once everything is in place, turn your water supply back on and allow the tank to refill. Then, give it a test flush to ensure everything’s in working order.
If you’re not up for the DIY, or if you’re not sure the fill valve is at fault, you can always turn to an expert for help. Toilet repairs cost $240 on average, but fixing a fill valve can cost as little as $50. A local plumber will be happy to go over costs with you and can quickly get to the bottom of your toilet’s constant running.
Toilet fill valves come in several different varieties depending on the age and model of your toilet. If your toilet has an older type of fill valve, you may want to use this opportunity to replace it with a more modern and efficient valve.
In most cases, the best course of action is to replace the fill valve entirely. However, some models may be repairable, so review your manufacturer’s guidelines to be sure.
Positive experience. As previously stated, the replacement/repair could not be completed (no fault of the plumbing tech) b/c misinformation was rec?d by property management maintenance. Thanks to the plumbing tech for your efforts. Appreciate you!
 The Waterworks
If you want to pay the most exorbitant prices possible for your job, this is the company for you. “By the job” pricing is a rip-off, at least how these people use it. Every job is plugged into a category and prices are set by category. You might have a job that takes half an hour or one that...
 Benjamin Franklin Plumbing
Cole has been handling plumbing and general contracting for our four properties over the past three years, and he’s always done a great job. Most recently, he installed a sink and countertop in our retail store where none existed before, and it turned out exactly how we needed. He’s...
 ANB Renovations LLC
Matt is a consummate professional. The work turned out to be far more difficult than expected and rather than turn the job down, Matt rose to the occasion and completed a near impossible task. I can not recommend Greene's Plumbing Service more highly. On a scale of 1-5 I would give Matt a...
Involved an extensive bathroom remodel, including removing tub & installing walk in shower, new drywall, custome tile work to ceiling, plumbing, etc. Overall, job was done on time and on budget. Nick & his team were very professional and had high attention to detail. Quality was great. Highly...
 Stamos Flooring and Remodeling LLC
Awesome company. Had a jacuzzi tub taken out and replaced with huge walk in shower with partial glass enclosure. Onyx to the ceiling with a decorative border, moved plumbing and installed hand held shower, new ceiling, flooring, and paint. Replaced window with glass block. Everything was done...
 Columbus Bath Design
The initial quoted price from a walk-through seemed high, but we discussed that the quote represented worst case scenario (re-wiring to two floors) and we were excited about the opportunity to have the work done in a timely manner with closing for fire safety reasons, etc. When the job was...
Initially, I called the Service People to have a leaking garbage disposal replaced. I had purchased a special deal through Angie's List: $79 for $200-worth of plumbing services. <br /> When I went to schedule the work, the earliest date I could get through Angie's List was after the upcoming...
This company did a very good job on the brick wall and it looks just amazing. The staff was always professional and was practically OCD on how the bricks were stacked and how they were laid. Although it took longer than expected, I am willing to sacrifice time over perfection anyday. The...
 My Handy Mate LLC Improvement & Remodeling
<p>I am so glad we called Rotor-Rooter. I was hesitant to call them because we usually prefer to give business to local providers. But when we had sewage back up in our basement on a Saturday evening, I had a hard time getting a hold of someone, not to mention the high weekend/evening rate...
From average costs to expert advice, get all the answers you need to get your job done.
Got temperature issues in your shower? You may need a new shower cartridge. This guide will help you understand shower cartridge replacement costs.

Wondering how much shower valve replacement costs? The answer depends on type, labor, and materials—but foresight and research can save you some money.
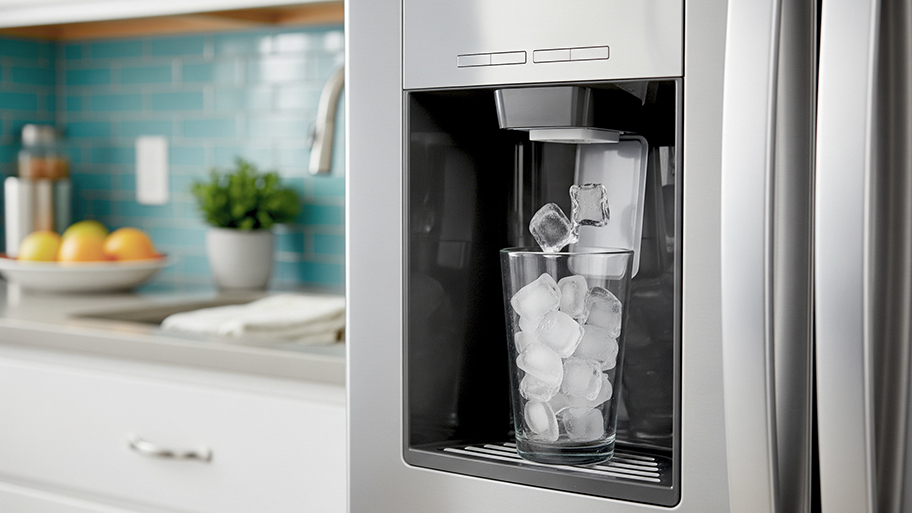
Discover the average ice maker repair cost, key price factors, and tips to save. Learn how to budget for your ice maker repair and when to repair or replace.
If your toilet isn't flushing properly or is overflowing, don’t panic. This guide explains how to adjust the water level in your toilet bowl.
Read these 9 tips for inspiration on how to reduce your toilet’s water usage
When your shower value has stopped working, sprung a leak, or the temperature seems to have gone rogue, a shower valve replacement may be the answer.