How to Change a Fuse In a Fuse Box: Step-by-Step Guide
No lights, no problem


- Rubber gloves
- Replacement fuse
- Flashlight
- Multimeter
- Fuse puller
If your home was built in the mid-1960s or earlier, it’s possible that it still has a fuse box to distribute electrical current throughout the house. In that case, you’ll need to learn how to change a fuse in a fuse box.
Builders began using circuit breaker switches instead of fuse boxes during that time, meaning you’ll need to learn how to change a fuse in a fuse box. The fuse box consists of several replaceable fuses that fail by design when something in the electrical system goes awry. Typically, replacing a fuse is all that’s necessary to get the circuit back up and running. Here’s everything you need to know to get your lights back on in a pinch.
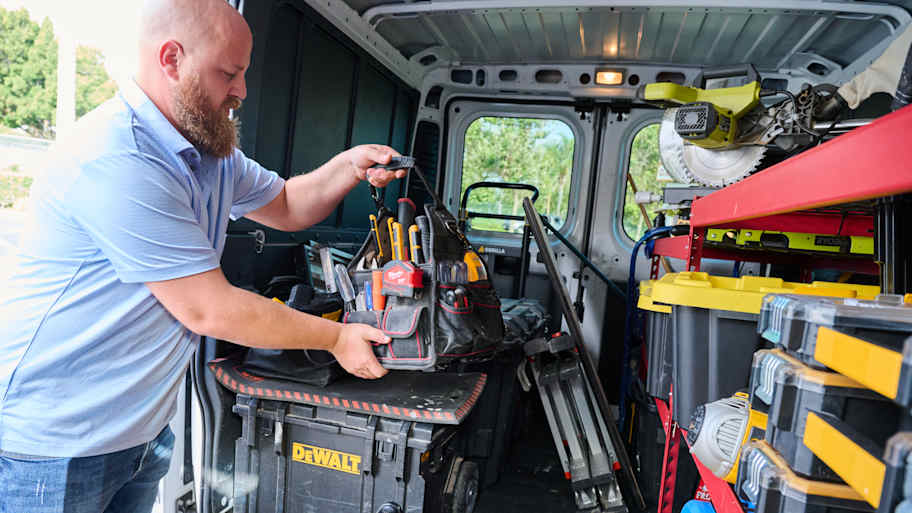
Homeowners should steer clear of DIY electrical repairs or installations, as the risk of injury is shockingly high! Instead, hire a local electrician who has the expertise to complete electrical jobs safely.

How to Change a Fuse in Your Fuse Box

Replacing a fuse in your fuse box is a straightforward process. If you’re blowing the same fuse often, several fuses, or the main fuse occasionally, consider having an electrician evaluate your need to upgrade your electrical panel system to a circuit breaker switch panel. You may also consider upgrading your system to 200-amp service.
Locate the Fuse Box
Your fuse box is hiding somewhere in your home. Look for a metal box or wooden panel with round plugs with glass circles in the center. You may find the fuse box in the basement, garage, attic, or behind a small metal door on an interior wall. Fuse panels that don’t have a box around them might be in the basement, garage, or attic.
Turn Off Any Appliances and Lights Attached to the Fuse
Check the area where the electrical isn’t working to see what works and what doesn’t. Identify as many outlets and lights that don’t function as you can, and unplug any items plugged into the outlets or turn them off.
Turn the Power Off
The type of fuse panel or box you have will determine how to shut off the main electrical power to the system. Look for a large switch, and flip it from the on position to off if you find one. If you find a metal handle connected to a square or rectangle box instead of a switch, grasp the handle, firmly pull the box straight out, and set it aside. The main power to the panel is now disconnected.
Establish Which Fuse Has Blown
If you’re lucky, the fuse you’re looking for may have a label identifying the circuit it protects. If not, follow these steps:
If there’s no label, identify the blown fuse by looking at the center glass of each one. Look for cloudiness, scorch marks, or a missing or broken metal piece inside.
When you locate the offending one, grasp it with your rubber-gloved hand and twist it counterclockwise to remove it from the panel.
If you have a multimeter, check the fuse for continuity by placing one probe on the tip of the fuse and one probe on its metal screw threads.
The fuse needs replacement if there’s no continuity signal or if the ohm reading is infinite or reads “OL.”
If all of the power is out in your home, your oven, laundry appliances, or furnace, and you can’t identify one of the fuses as being blown, your main fuse or a 240V fuse may be the culprit.
Use a plastic fuse puller tool to remove the cartridge fuse from the fuse block you set aside earlier.
Another option is to locate another handle connected to a fuse block labeled as one of the above items and remove that fuse in the same way.
Use your multimeter to check for continuity or ohms by placing the leads on the opposing fuse ends.
If no continuity exists, the fuse has blown.
Change the Fuse That Has Blown
To replace the fuse that’s not working, purchase or find its exact replacement. Each fuse is identifiable by type and capacity.
If the fuse you need to replace is one of the round twist-out models, replace it by twisting the new one clockwise into the empty spot. Ensure you have the correct type by looking to see if it’s an S-type or T-type and match the number listed on its exterior, which reflects its amp rating.
Identify and replace cartridge-type fuses by looking for the amp rating number, matching the fuse's physical size. Simply push it into place within the fuse block. Then return the block to the fuse panel by firmly sliding it into place until it can go no further.
Fuse Types
Below are the three most common types found in fuse boxes.
Cartridge fuses: These cylindrically shaped fuses have metal caps at both ends and a longer glass middle. You usually see these in 240-volt household circuits, and they often use 60-amp main fuses and 30 or 40-amp circuit fuses. They fit into a fuse block inserted into the box and are removable by pulling a handle.
Edison-base fuses: Also called Type-T, these screw-in fuses have a light bulb-style base. You find these in household circuits that can handle 125 volts maximum. The maximum rating for these fuses is 30-amps.
Type-S: Also known as tamper-proof or rejection-base fuses, these two-part varieties have a screw-in fuse that attaches to an adapter that connects to an Edison base. The threading is unique for each fuse amperage, making it impossible to attach a fuse with an incorrect amperage capacity.
Fuse Size
You must replace any fuses with a like-for-like amperage capacity. Manufacturers print the ampere rating on the fuses for ease of reference. Installing a larger capacity fuse can overheat and damage the circuit wiring, damage any attached appliances, and create a fire risk.
Check That the New Fuse Is Working
When the new fuse is in place, turn the main power back on by moving the switch to the on position or re-inserting the main fuse block. Check the lights or appliances in the affected areas of the house to see if they’re working.
Troubleshoot
Occasionally, a blown fuse indicates other trouble within the electrical system. If the fuse you just swapped blows immediately after turning the main power back on, your electrical system likely has a short somewhere. Troubleshooting this situation generally requires the work of an experienced electrician.
If the new fuse blows after turning on some lights and appliances, the problem could be in one of the items instead of the fuse itself. Replace the fuse again and then turn on one light and device at a time. If the fuse blows when a particular item is operating, the trouble is likely within that item.
If no one item causes the fuse to blow, you may have had too many electrical devices operating simultaneously for the circuit to handle. You’ll need to reduce the load on that circuit to avoid blowing more fuses.
Ways to Prevent a Blown Fuse
If you find that an appliance or light system is the cause of failure for a fuse, discontinue using it until you can repair the device or have an electrician diagnose the lighting problem.
On the other hand, if you’re unable to identify a failing device, the blown fuse is likely due to overloading the circuit, which is the most common reason fuses blow. To prevent a blown fuse, reduce the number of appliances on the circuit or only turn on a few lights simultaneously.
If the overloading happens when one large appliance is operating, the circuit doesn’t have enough amps to power the device. Move the appliance to a different circuit or one with a larger amp rating. Identify a larger amp-rated circuit by looking in your fuse panel for a higher number fuse.
To prevent a dangerous fire hazard, never attempt to install a higher-rated fuse than the one you remove.
DIY vs. Hiring a Pro
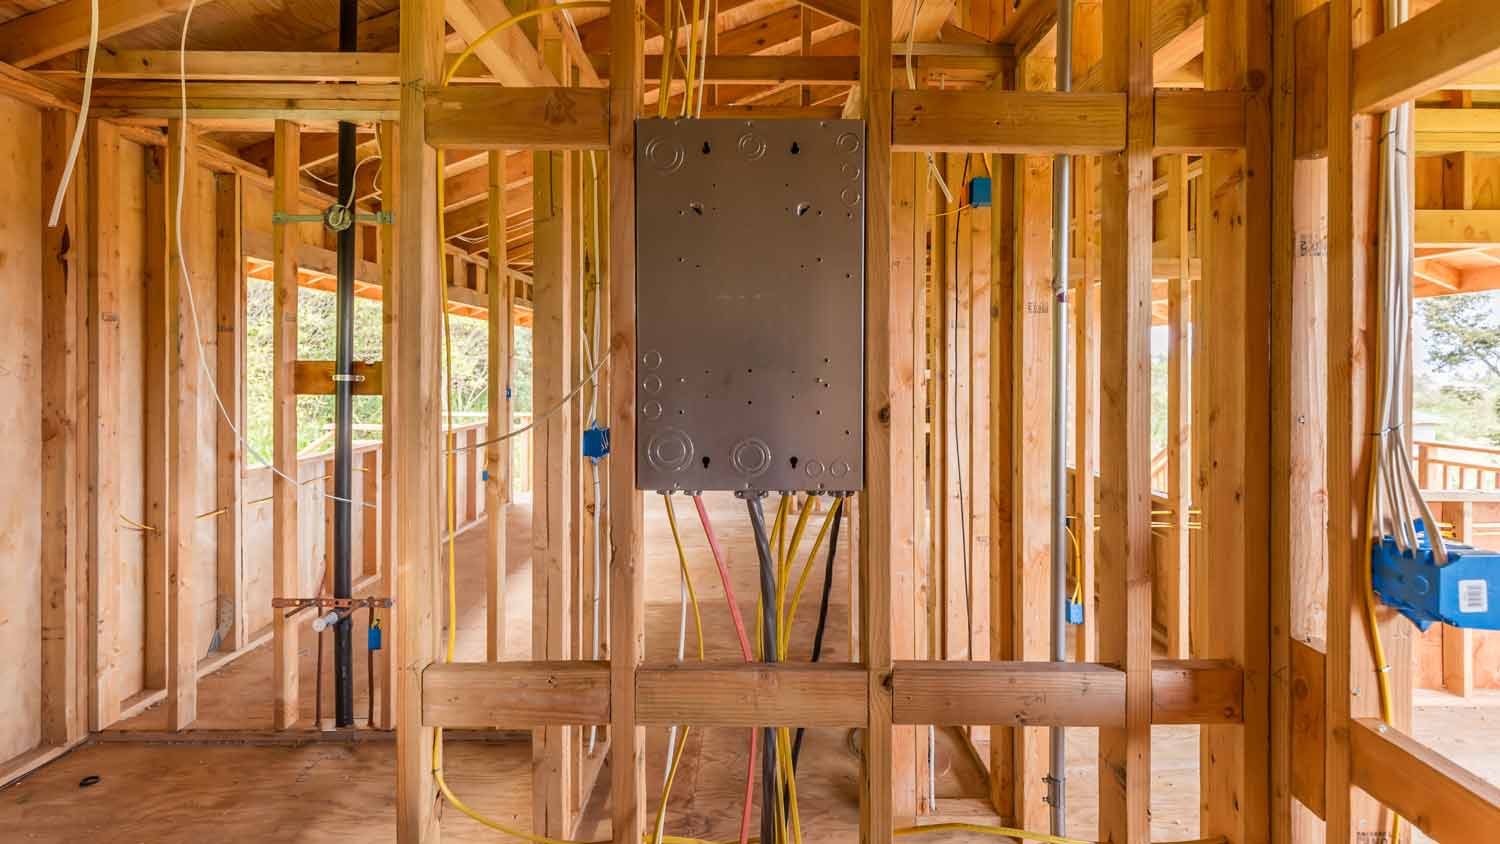
Replacing a blown fuse is a simple DIY repair that costs little to perform. However, if your home blows fuses often, it may indicate that your fuse box needs upgrading to a circuit breaker panel, perhaps with higher amperage available.
Only a local electrician should replace a fuse box with circuit breakers. The cost to replace an electrical panel ranges from $530 to $1,960.
Signs You Need to Replace a Fuse
The first indication that you’ll need to replace a fuse is loss of electrical power to the house or one of the electrical circuits. A fuse likely needs replacing if an appliance isn’t working when you try to turn it on or lights fail to work. If nothing electrical in the home works, you may have to replace the main fuse. More commonly, smaller fuses that control one of several circuits will need replacement.
If you notice a fuse with a cloudy, burned, or blackened center glass piece, that’s a sure sign that the fuse has blown. In some cases, you may find clear glass in the fuse, but you can also see that the metal piece is non-existent or visibly broken.
Frequently Asked Questions
Type S or T fuses don’t require any special removal or installation tools. However, replacing a cartridge-style fuse is easier and safer when using a fuse-puller tool. All of these tools should be available anywhere you can buy fuses.
Removing a fuse from the fuse box is relatively safe under normal circumstances. The task becomes dangerous if wires or wire terminals are exposed or in the case of a disaster such as flooding in the home where water can act as an electrical conductor.
DIY fuse replacement only costs as much as the new fuse. The cost is typically under $5 per fuse unless a particular fuse is rare or discontinued, which could cost upwards of $50 or more per fuse. Hiring an electrician to replace a fuse will cost between $50 and $100 for the service call. However, a minimum charge may apply.
Fuses have finite lifespans. A fuse can last for 20 to 30 years if it never blows from overloading or a short circuit. However, instead of replacing individual fuses, you’re likely better off hiring an electrician to replace the outdated electrical box with a circuit breaker panel.


.jpg?impolicy=leadImage)

- Home Generator Repair
- Lamp Repair
- Electric Repair
- Generator Installation
- TV Antenna Services
- Emergency Electricians
- Commercial Electricians
- Attic Fan Installation
- Attic Fan Repair
- Exhaust Fan Installation
- Electric Inspectors
- Subcontractors
- Electrical Construction
- EV Charger Installer
- Chandelier Installation
- Doorbell Installation
- Bathroom Fan Installation
- Ring Installers
- Electrical Panel Upgrade
Get our Angi-powered app


