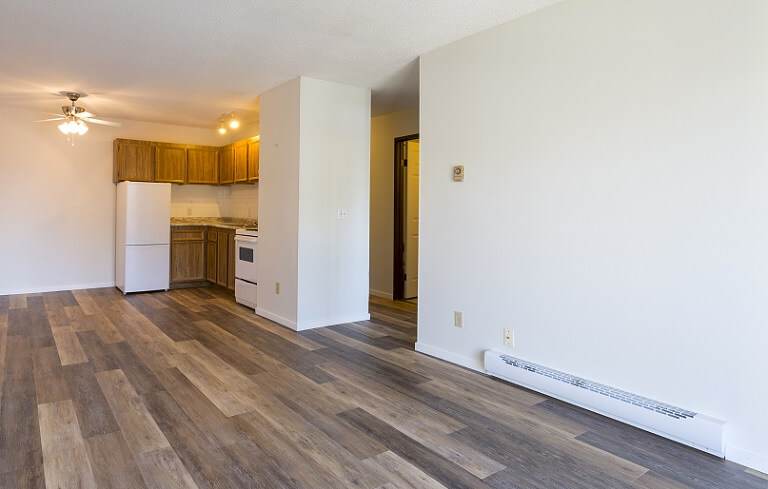
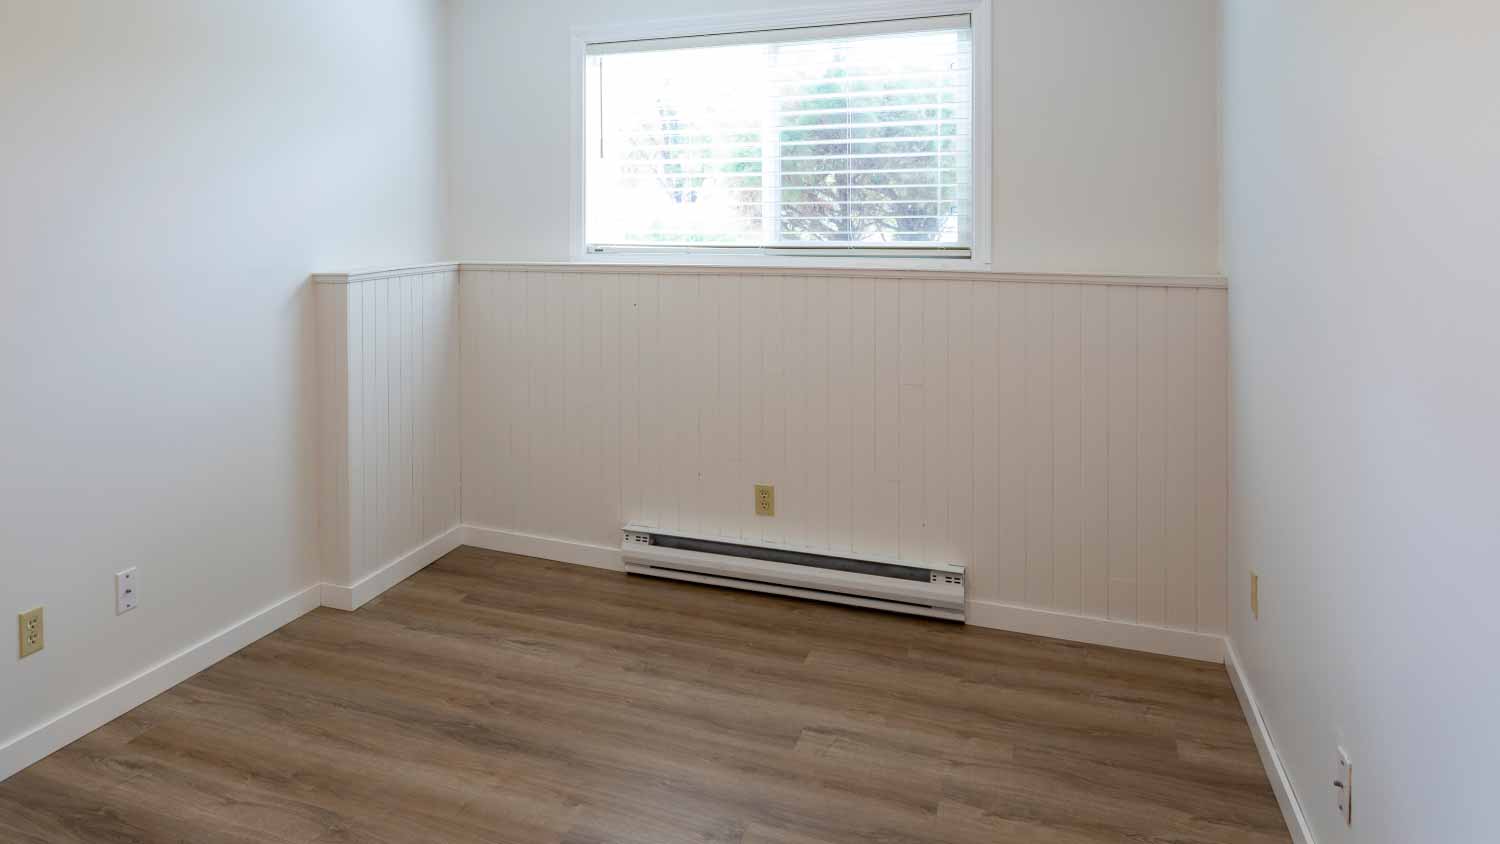
Baseboard heaters are smart, budget-friendly options. However, the exact cost of installation depends on the type of heater you choose and the size of your home.
Learn the basic steps for how to replace a baseboard heater

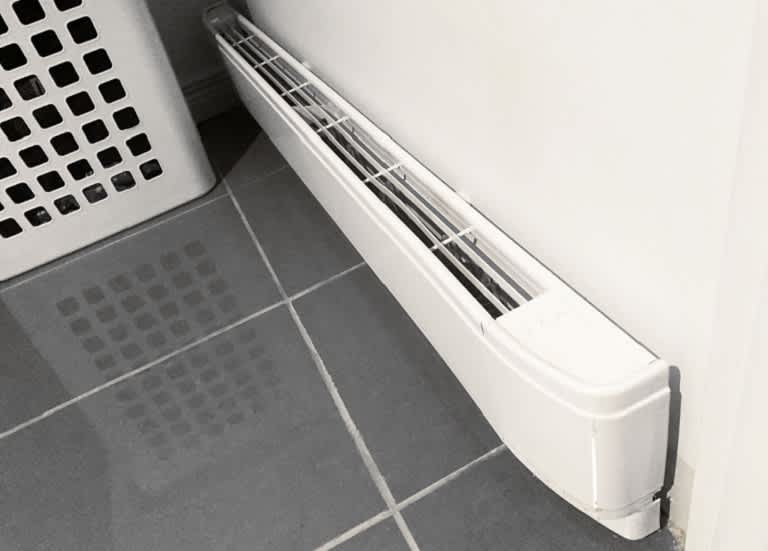
Whether you’re swapping out an outdated unit or upgrading to a more energy-efficient model, learning how to replace a baseboard heater is possible for the advanced-level DIYer. However, this project can be hazardous due to the required electrical work, so it’s best to hire a local baseboard installer. This guide will walk you through the basic removal and replacement process for baseboard heaters.

If you’re up for the DIY, carefully follow these steps to replace a baseboard heater.
Ensure your safety by switching off the circuit breaker for the baseboard heater at the main electrical panel. Tape over the breaker to prevent accidental reactivation. Use a non-contact voltage tester to confirm the power is off before moving on to the next step.
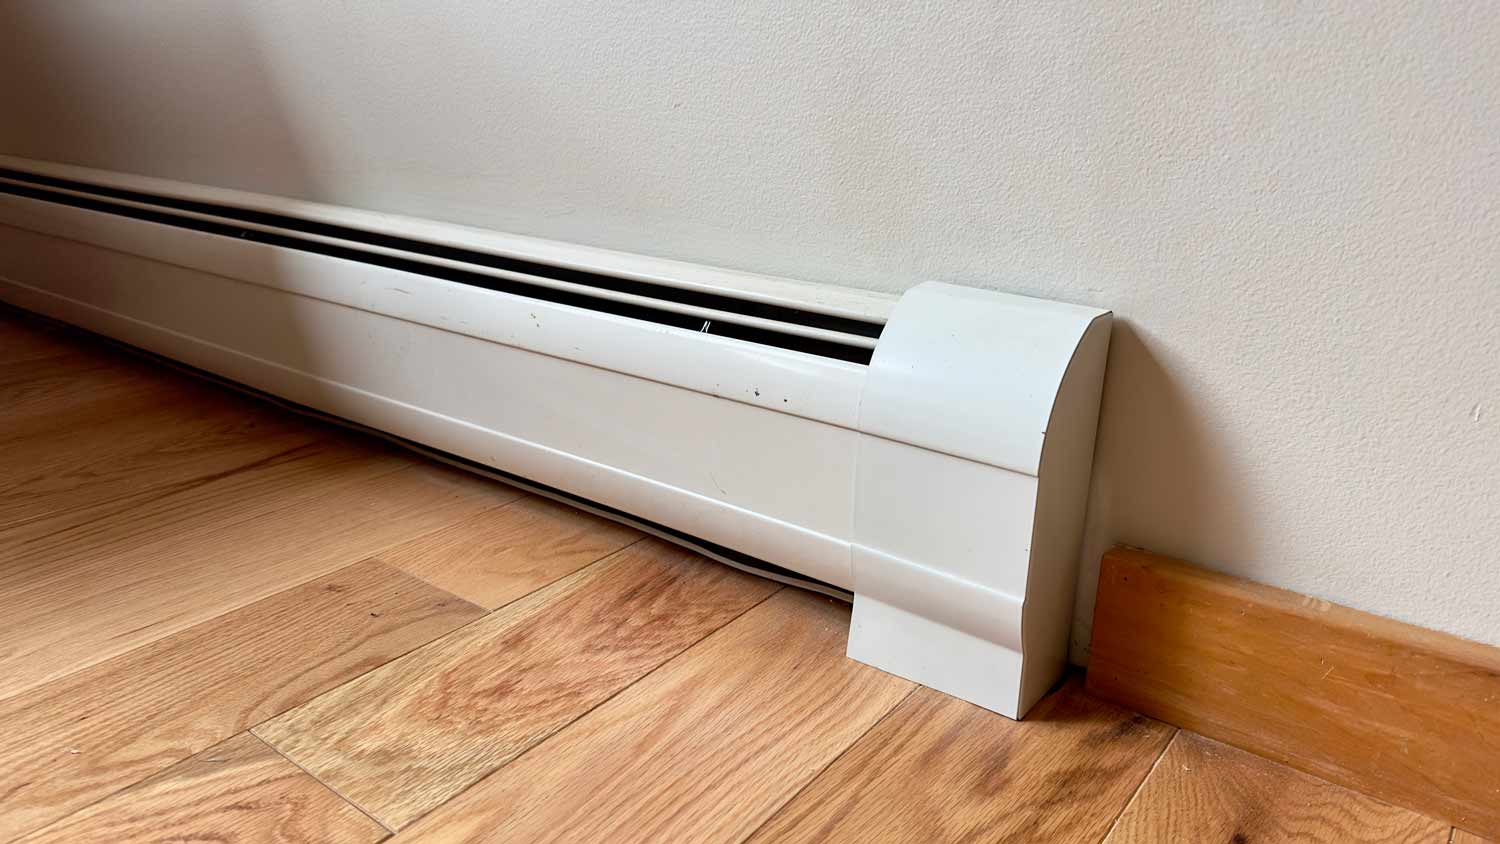
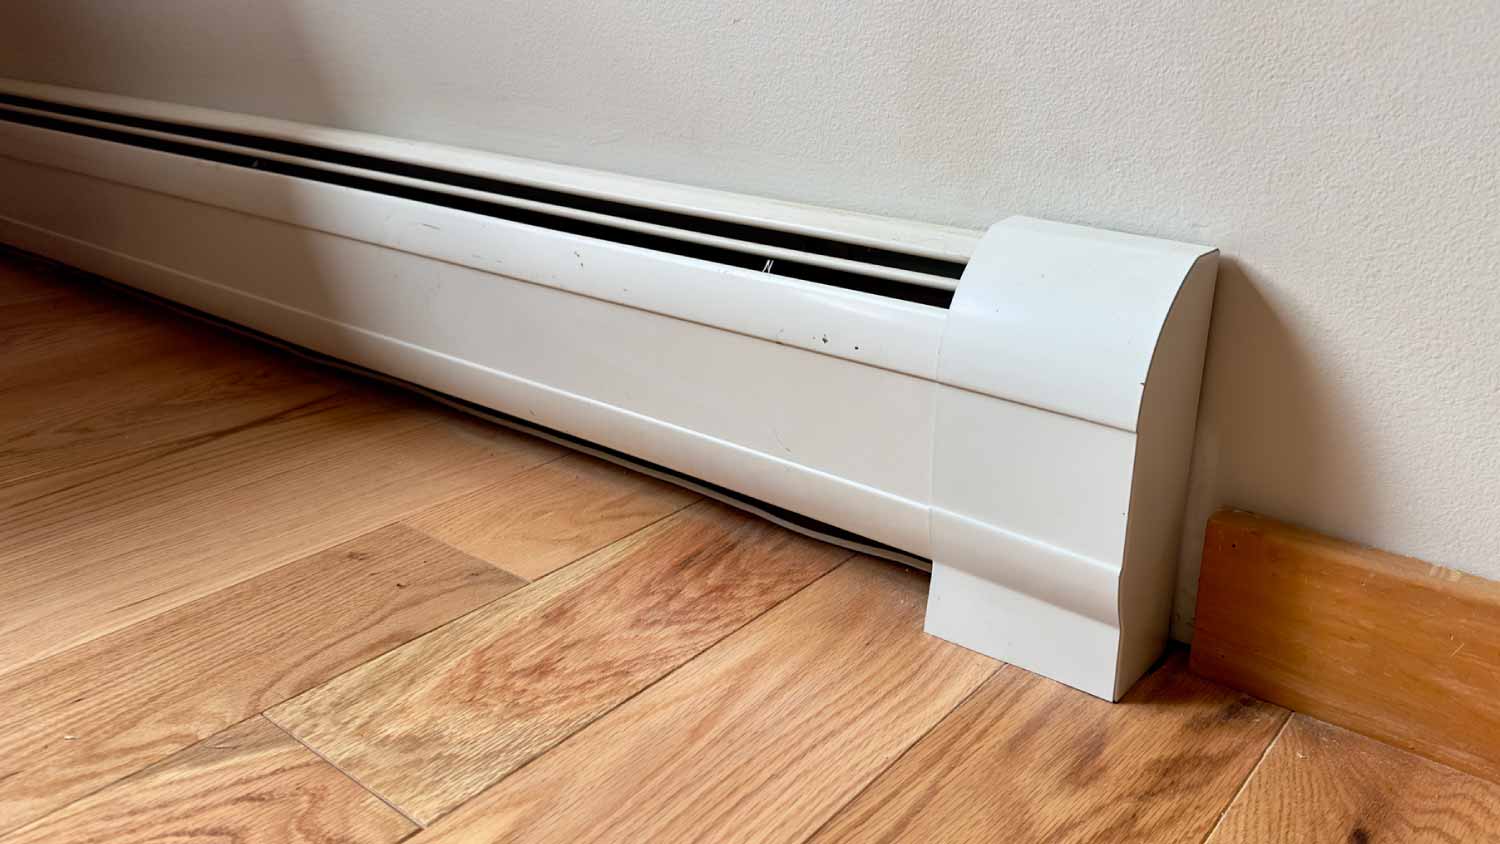
Use a screwdriver to loosen the screws securing the old heater to the wall, which are located at the sides or top of the heater. Before touching the heater, make sure it has cooled down completely.
Carefully remove the baseboard heater from the wall to expose the wiring. Locate the metal cable entering the back of the heater. Unscrew the metal plate holding the wiring in place. Disconnect the wire nuts joining the heater's wires to the home's electrical wiring, and release the ground wire from the grounding screw.
Position the new heater on the floor near where it will be installed. Find the wire box on the unit closest to the wall wires and remove the cover plate using a screwdriver. Pull the wires from inside the new unit to prepare for connection.
Following the same method as the old unit, connect the heater to the home’s wiring. Match black to black (or red) and white to white, securing the connections with wire nuts and electrical tape. Attach the ground wire to the grounding screw on the new heater and replace the metal plate.
Position the new heater on the wall and secure it using screws. Align the screws with the existing wall anchors for a snug fit.
Once everything is secure, turn the power back on at the breaker and turn on the baseboard heater to make sure it’s functioning properly.
If you’re not comfortable with learning how to replace a baseboard heater, it’s highly advisable to seek out a pro rather than attempting the DIY. The cost of installing a baseboard heater professionally is between $75 and $250 per hour for labor, plus the cost of the unit. Baseboard heater prices vary significantly, with costs ranging anywhere from $50 to $1,300. While you can save on labor by replacing a baseboard heater yourself, hiring a pro will ensure it’s installed safely and properly for maximum efficiency.
I normally do not leave reviews, but my experience with Worthington Air was extremely frustrating and disappointing. About 30 days ago, I had a consultation done for an HVAC replacement and was quoted approximately $15,079. Based on that quote, I applied for financing through their company...
Great company! Price was competitive, technician showed up on time and completed the job (exterior electric Radon fan replacement) quickly. Would hire them again.
Raven and crew does absolutely fantastic job. They are very professional if any concerns were to occur with any of her work she always took responsibility and finished out with a great job. I have worked with her business for a year and have always been satisfied. Very trusted business and...
I would recommend this company to anyone! He showed up on time, was friendly, completed a very difficult repair on our dryer vent cover, was responsive, and pricing was extremely fair and competitive. I would have him back to do any of our repairs or cleanings without hesitation!
Ace Fireplace Services' chimney sweep service is truly exceptional. They used advanced technology to ensure a thorough cleaning process, and my chimney has never looked better. I highly recommend their services.
 Ace Fireplace Services
The technician was very professional and friendly. He answered all my questions and was very thorough. He left the fireplace area very clean . He inspected from the roof and advised me as to other work that might need to be done. There was no pressure there. I was very satisfied with the...
 Supreme brick & chimney
Excellent experience with hiring Tether House to Mount our 77’ Samsung TV in our bedroom. Fast, friendly, and knowledgeable. Highly recommend.
On time, clean and finished fast. Windows seem sturdy and the finish is good. Caulking was done with no smudges. Would recommend.
Great job...edging and pre clean up went well with a great job with seal coat. Friendly, efficient and professional.
 All Star Paving and Sealing
Good workers and they do a good job.
From average costs to expert advice, get all the answers you need to get your job done.
Baseboard heaters are smart, budget-friendly options. However, the exact cost of installation depends on the type of heater you choose and the size of your home.

Discover the average baseboard heater installation cost, including price ranges, key cost factors, and tips to help you budget for your home heating project.
Baseboard heater covers can endure a lot of wear and tear, but eventually you’ll want to replace them. Here’s the best way to switch out baseboard heater covers.
Who replaces baseboard heater covers? Learn all about your hiring options for baseboard heater cover replacements with our guide.

Baseboard heaters are simple to operate. Learn how to turn on baseboard heaters, how to maintain them, and important safety tips.
Find and hire a qualified pro to repair your baseboard heater. Learn about services, costs, questions to ask, and what to expect from start to finish.