

Many scenarios can lead to bacteria and other contaminants in your well. Learn about how much it costs to shock a well so you can enjoy clean drinking water.
Tackle this project to pump water back into your home


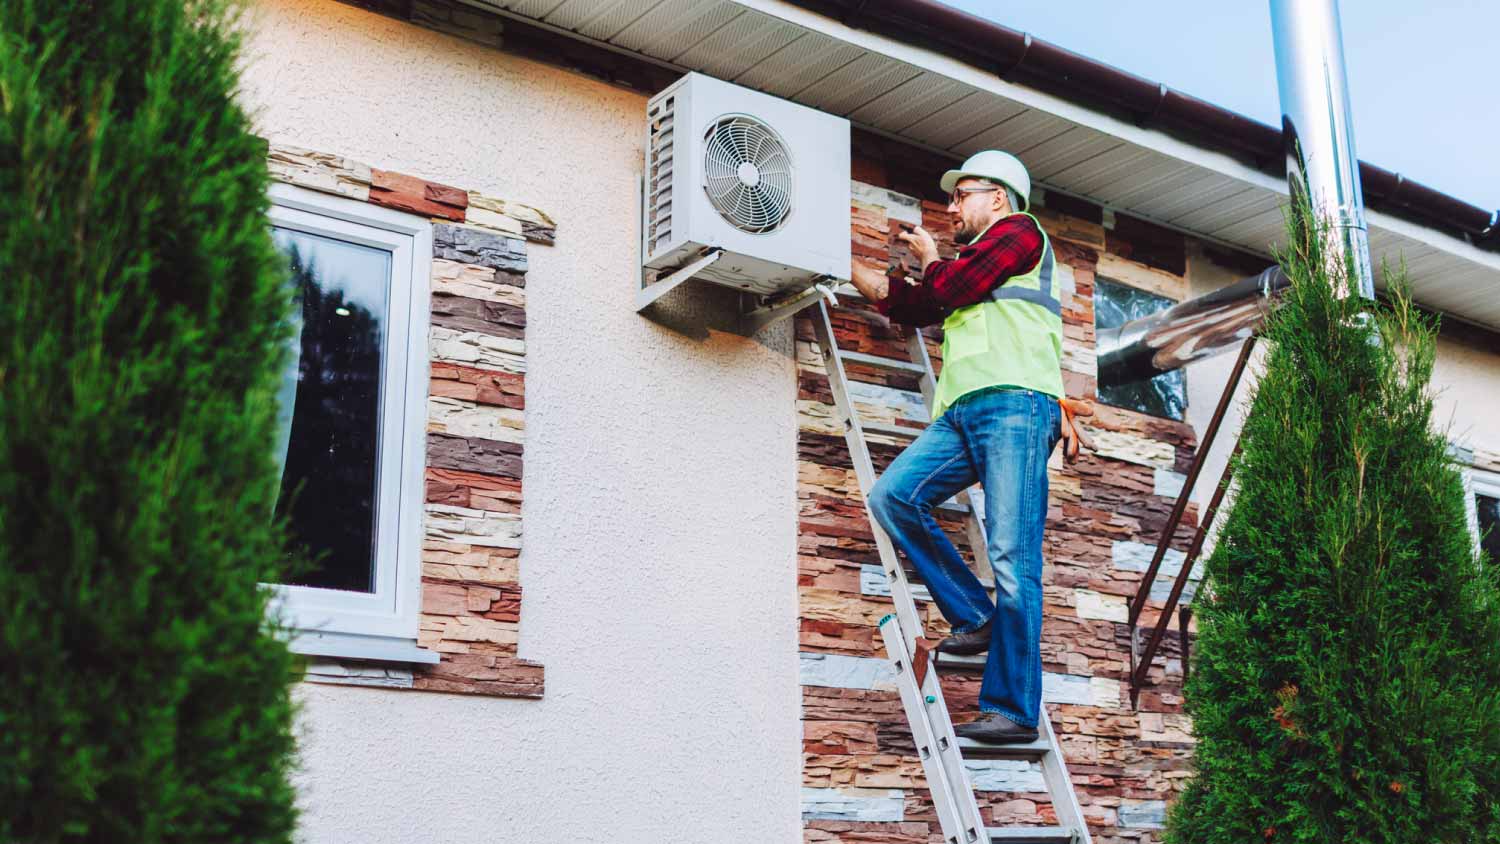
Is your well pump showing signs of wear and tear? Is it affecting your water supply? Replacing a well pump may seem daunting, but we're breaking down the process into eight steps that you can do on your own.
If you have the tools and supplies needed, you can reduce the cost of the installation of a shallow well pump by $50 per hour, plus a flat fee of $100 to $150 for a house call from a professional technician. A professional well pump replacement costs between $970 and $2,800 on average.
Before replacing your shallow water pump, there are a few things to do to prep.
Make sure that the well pump is the issue
Determine the age and condition of your existing pump. Is it beyond repair or are minor fixes possible?
Familiarize yourself with the type of well pump your system needs. Shallow wells typically use jet pumps, but verifying the specific model and horsepower is key.
Ensure you have the right tools, materials, and safety equipment
Check local regulations and permits as well as potential utility disruptions that could happen during the installation process.
Note that deep well pumps and submersible pumps may require specialized expertise. In such cases, we recommend finding a well pump contractor in your area for a seamless replacement.
Before starting, do a thorough evaluation of your current system. Assess the condition of your existing pump to determine whether it's reparable or if a replacement is necessary. Look for signs of wear, corrosion, damage, or any other malfunction. Pay close attention to unusual noises, decreased water pressure, or inconsistent water supply.
Common well pump issues that could lead to a full replacement include a lack of water flow due to leaks or pump malfunctions. Continuous pump operation may indicate a leak or pressure tank problem, as well.
Low water pressure can result from tank issues, low water levels, or improper pump sizing. Sediment in water could be due to an overpowered pump, a damaged filter, or a pump location.
By doing this initial assessment, you can make an informed decision about whether to invest in repairs or opt for a replacement based on the issues you’ve found.
Here, you’ll identify the correct type of pump for your shallow well. Shallow wells typically use jet pumps, but you’ll need to confirm this for your property. Additionally, take note of the specific model and horsepower requirements. These specs depend on factors such as the depth of your well and the volume of water you need to pump. By accurately determining the pump type and its specifications, your well water system will be more efficient and reliable.
Selecting the right replacement pump involves more than just replicating the old model. Consider factors like:
Well depth
Water demand
Your specific needs
If you’re having trouble determining the right horsepower for your well, contact a professional or use the manufacturer's recommendations to ensure an optimal match for your system.
Begin by shutting off power to the circuit breaker that controls the well pump so no electrical current runs through the system. It’s also best to turn off the water supply to the well, which prevents water from flowing into the system, causing water damage during the pump replacement.
To turn off the power supply to your well pump:
Access your electrical panel
Locate the breaker specifically labeled for the pump
If there's no clear label, look for one mentioning submersible or jet pump
Switch the breaker to the off position
To halt the water supply to your well:
Locate the main shutoff valve where the water pipe enters your home
Turn it clockwise to close it
Now it’s time to relieve the pressure within the system by opening the faucets and valves in your plumbing network. This also prevents sudden bursts of water when you disconnect the old pump.
To relieve pressure in the plumbing network, turn on one or more faucets inside the house. The idea is to create an open pathway for air to enter the plumbing system, which allows water to flow freely.
In addition to faucets, locate and open valves, such as the main shutoff valve, which is typically found where the water line enters the house. This helps all parts of the plumbing system depressurize, making it safer to work on your well pump.
Carefully detach the electrical wires, taking note of their arrangement so you can reconnect them later. Next, disconnect the plumbing connections that link the pump to the well system—take note of this layout as well so you can put them back. Try making a diagram or labeling the wires to help you remember where they go.

It's time to lift your old pump out of the well casing—carefully. If necessary, use a hoist or pulley system to lift the pump out gently to prevent damage to the well casing or any other components.
Once removed, dispose of the old pump following local regulations. Recycling or safely discarding the old equipment is not only good for the environment but also ensures that no hazardous materials or waste threaten your well or the surrounding soil.
You can check with your local authorities for specific guidelines on regulations. Many areas encourage recycling, but some pumps may contain hazardous materials that require special disposal.
Lower the replacement pump carefully, so it aligns properly within the casing. Secure the pump in place according to the manufacturer's instructions. Then, reconnect the electrical wiring by following the same configuration as the old pump. Reattach the plumbing connections, as well, and make sure they’re tightened.
Reconnect the electrical power to the pump at the circuit breaker. Then, prime the pump by adding water through the prime plug or designated port, whichever the manufacturer recommends.
Once the pump is primed, observe it for any signs of leaks, irregular noises, or performance issues. Running a series of tests helps verify that the system is functioning correctly, and guarantees your water supply is reliable.
If you observe any unusual signs or issues after priming your pump, try to address them quickly.
Turn off the power to the pump and shut off the water supply to prevent further complications.
Inspect the system to identify the source of the problem.
Depending on the issue, you may need to make repairs or contact a professional to ensure the well pump is functional.
While some homeowners may be set on a DIY approach for their well pump replacement, hiring a professional is often a wise choice for several reasons.
Well systems can be complex, and mistakes during installation can lead to costly repairs or even damage to the well itself.
Handling electrical components and working around water sources can be hazardous without the correct knowledge and safety precautions.
Meeting local regulations and permits can be complex, but professionals are well-versed in these requirements.
Ultimately, hiring a pro guarantees a safe, efficient, and trouble-free well pump replacement, saving you time and potential headaches in the long run.
From average costs to expert advice, get all the answers you need to get your job done.
Many scenarios can lead to bacteria and other contaminants in your well. Learn about how much it costs to shock a well so you can enjoy clean drinking water.

The cost of a well inspection depends on the design of your well, the location of your property, and the add-ons you select. Use this guide to plan your budget.
Find out the average heat pump repair cost, what impacts pricing, and how to save. Get transparent estimates and tips for homeowners planning repairs.

Sump pump maintenance is key to keeping your home flood-free during heavy rains. Find out how to keep your sump pump in top shape with these tips.

Don’t put up with low pressure or unsafe water—learn more about signs of well pump failure and how to deal with it proactively and efficiently in this guide.

Learn how to make your cistern water drinkable with these quick DIY steps for a seamless transformation to private, clean, potable water.