

Pool fence costs depend on the type of fencing and the size of your pool. This guide will help you figure out the true cost of pool fence installation.
On the fence? Here’s everything you need to know.


If your fence is looking a little worse for the wear, you might need to replace your fence posts. This job takes a little more elbow grease than replacing a picket, but you can still DIY it in a couple hours. Grab a shovel, and this guide will show you how to replace a fence post with ease.
All fences have a general lifespan, but it depends on whether you have a wood, vinyl, composite, or aluminum fencing material. Wood can last for around 15 years but may only last around five if it’s untreated. A vinyl fence can last 20 to 30 years, but only if it’s properly maintained. Eventually, your fence will start to break down—whether that includes cracks, fading, rot, corrosion, or decay.
A damaged fence isn’t just unsightly. It can be a safety hazard, especially if your fence is at risk of collapsing or you’ve installed the fence for security reasons. It could also compromise the effectiveness of your privacy fence. In this case, you might want to consider a total fence repair or replacement.
If you hire a pro, expect to spend $150 to $400 to replace a single post—but you should budget for the overall job. Odds are you’ll need to replace multiple posts or do other fence repairs at the same time. Most fence repairs cost somewhere between $300 and $900.
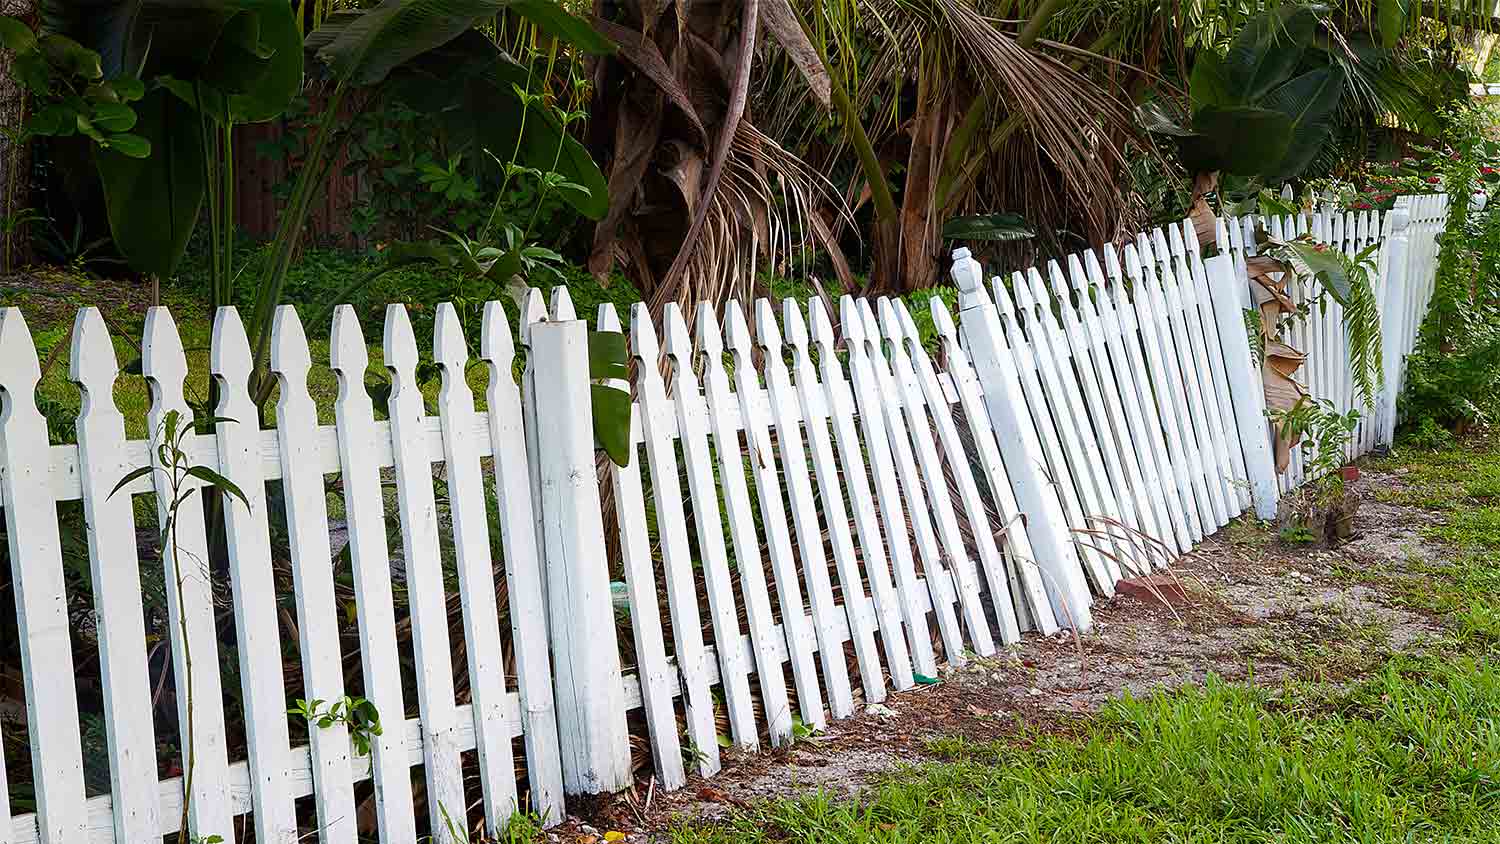
How do you know when to repair versus replace your fence? It depends on the extent of the damage. As a rule, you can try to repair acute damage (like if a particularly vicious winter storm knocked over your fence) but should opt for a replacement when there’s significant chronic damage (like rot or termite damage). It’s also important to fix the underlying cause of the damage or it will ruin your new fence post, too.
Generally, if your damage is beyond a minor crack or hole, you can’t really fix it with a patch kit. You’ll probably need a replacement. If you notice the following signs, you may want a replacement instead of a repair:
You can crumble the wood with your hand.
More than 30% of the wood is damaged or rotten.
Your fence experienced a significant insect infestation.
The vinyl has large cracks.
The fence post is warped or falling over.
Your fence post is nearing the end of its expected lifespan.
You can easily lift the post out of the ground.
Replacing a fence post requires a few careful steps—but the most difficult part is removing the concrete base. If needed, enlist a friend to help you lift the concrete or break it up into manageable pieces. Follow these steps to handle the job like a pro.
Before you can start, you’ll need to make sure you have the right tools and materials on hand. At minimum, you’ll need:
Basic tool kit
Measuring tape
Brackets
Screws and nails
Shovel
Trowel
Spirit level
Aggregate (to fill the post hole)
Concrete (to create the post footing)
Other tools could include a digging bar or sledgehammer (to help remove the footing), scrap two-by-fours (to help hold up your post when you pour the concrete), or caulk and wood preservative (to protect your work).
Take your tool kit and disconnect your fence—including any panels, rails, or wires—from the fence post. This process will vary based on the type of fence. Start by removing nails, screws, and other fasteners. If you have a wire fence, you’ll likely need to remove tension bands, too.
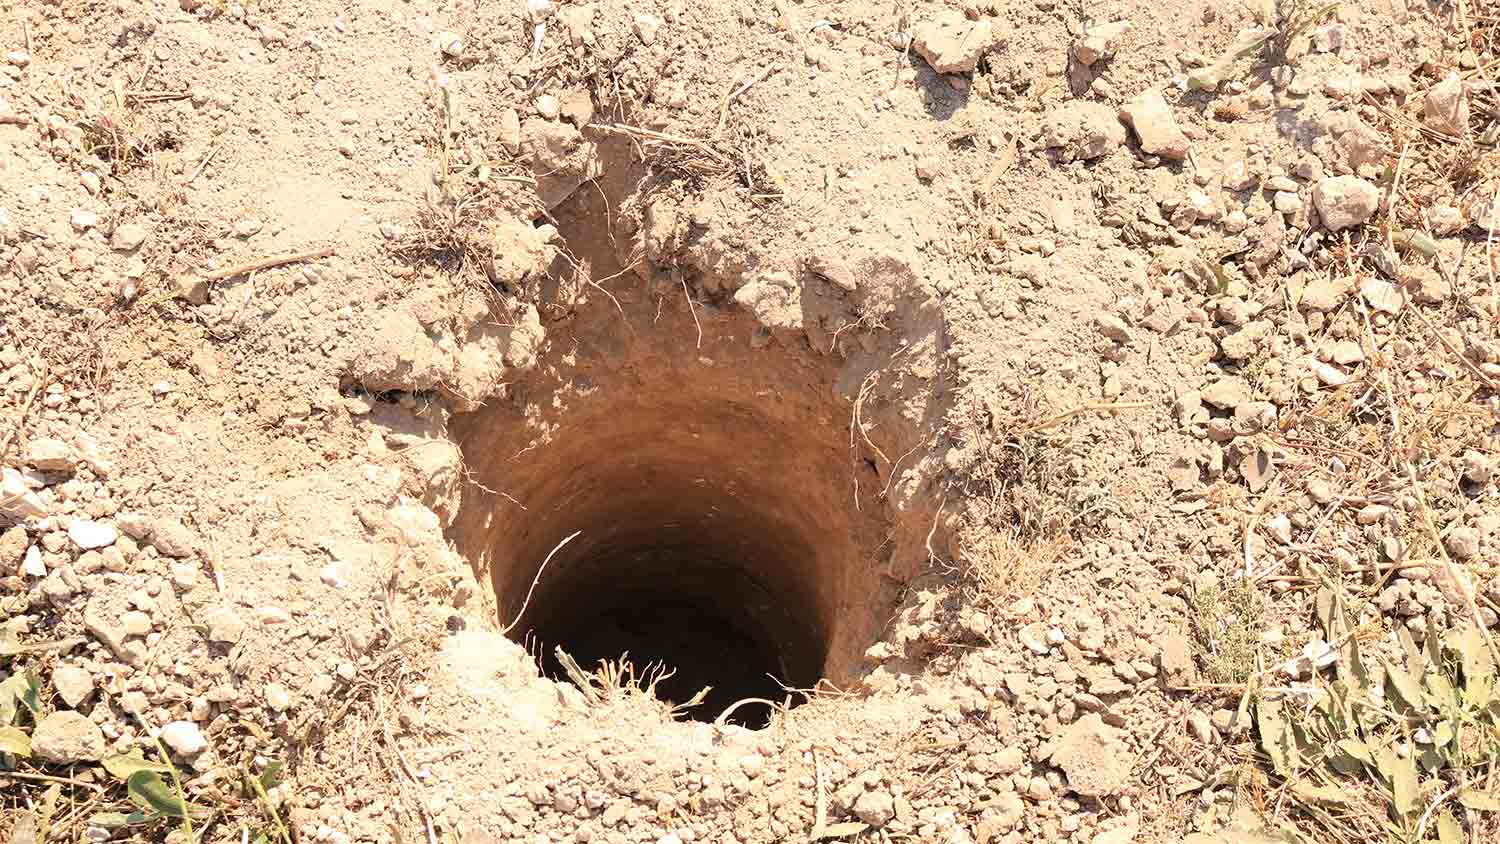
Sometimes, you’ll be able to lift your fence post out of the ground with the attached concrete footing. Unfortunately, this isn’t always the case. Most homeowners will have to dig out the footing using a shovel. Dig a hole in a semicircle around one side of the footing. Make sure it’s as deep as the concrete.
Rock your fence post back and forth to loosen the footing from the soil. This process could take a few minutes. You can use your shovel to break up tree roots, but don’t wedge it underneath the footing (it could damage your shovel). If the post is particularly stubborn, try wedging a digging bar beneath the footing and prying upwards.
Concrete is very heavy, so you might need a friend to help you remove the fence post. Some posts will lift easily out of the hole (especially if they were poorly installed). Others are more of a struggle. If your post won’t budge after using a digging bar, you might need to use a sledgehammer to break up the concrete before you can pull the post out of the ground.
Once you get rid of the post, remove any remaining material from the hole. That could include pieces of concrete or wood splinters.
If necessary, dig out your hole so it can accommodate the length of the new post. As a rule, you’ll want to bury the bottom third of the new post, so use a tape measure to figure out the exact measurements. Add an extra four inches to accommodate a layer of aggregate.

Fill the bottom of the hole with a four-inch layer of aggregate. This improves drainage and helps prevent the bottom of your post from rotting in excess moisture.
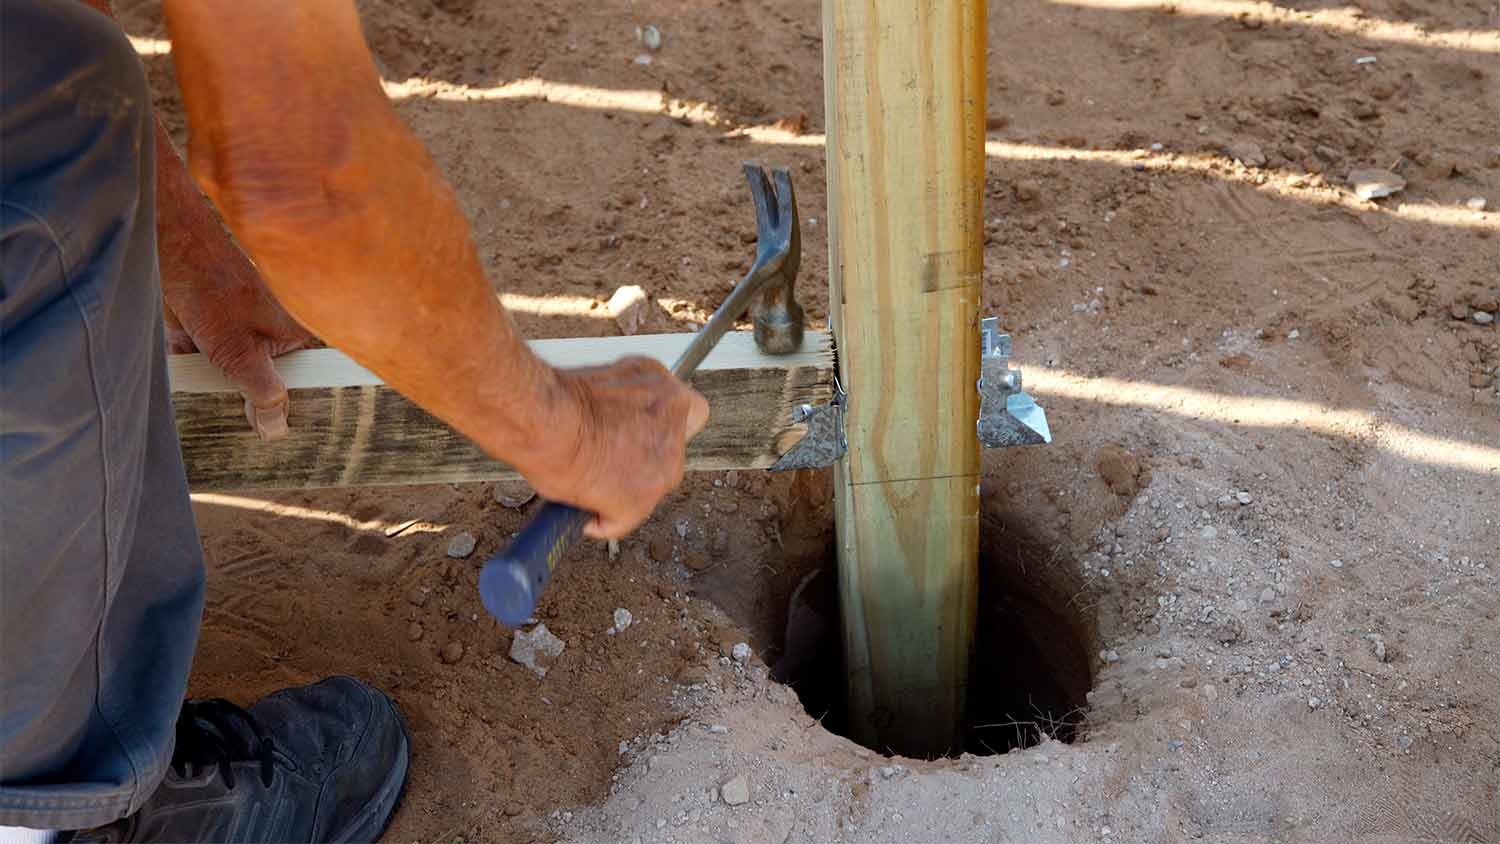
Set the post in the exact center of the hole. Precision is important for the structural integrity of your fence. Use a spirit level to ensure the pole is perfectly vertical. If you have a helper, have them hold the pole in place. If not, use a pair of two-by-fours as braces. You can nail them right into the wood.
Check again to make sure your post is plumb, then backfill the hole with concrete. Make sure the concrete extends slightly above the ground.
To speed the process along, some homeowners prefer to use a dry concrete mixture, pouring the dry mix directly to the hole before adding small amounts of water. Generally, you’ll need one gallon of water per 50 pounds of concrete, but make sure you follow the concrete’s instructions for the best results.
Excess moisture can rot wooden posts, so you’ll want to prevent pooling along the footing. To do this, use your trowel to taper the edges of the footing so they slope away from the post. This will direct rainwater away from the bottom of the post and into the ground.
Concrete will slightly shrink as it gets colder, which could create a small gap between your footing and post. In a colder climate, water could freeze in the gap and crack the concrete. To prevent this, you can seal the base of the post with caulk.
Allow your concrete to dry for at least 24 hours, then apply silicone or acrylic latex caulk along the seam where the post meets the footing.
Use your tool kit to reattach your fence to the fence post. This includes installing brackets, nailing in fence rails, reattaching wire, and screwing in prefabricated fence panels. In short, you want to reattach anything you detached before removing the old post.

Replacing a fence post is fairly straightforward, but you might hit a couple snags. Here are some tips to help you do the job like a pro.
If your post is severely damaged, you might need to remove the damaged portion before you try to remove the entire post. This is especially true for wooden posts that crumble on contact. Leave behind as much of the post as you can or you’ll need to use a digging bar to help you pry out the post and footing.
If your fence post is stuck, you might need to dig out the entire area around the footing (a full circle as opposed to a semicircle). Use your shovel to break up any tree roots and help loosen the concrete.
If you’re having trouble removing the footing, use a sledgehammer to break up the concrete into more manageable pieces.
If your fence post won’t budge, you can use a jack to help lift it. Put a high lift jack on a brick or block next to your post. Wrap one end of a chain around the post, and attach the other end of the chain to the jack. Pump the jack to pull the footing out of the ground.
Pressure-treated wood will last longer than regular wood. If that’s not an option, use a wood preservative on your post before installation. Copper naphthene is one of the most popular. Apply it to the bottom three feet of the replacement post per the manufacturer's instructions.
You may not like the look of a concrete footing, but resist the urge to cover it with dirt. It actually protects your post from excess moisture, which is especially important if you have a wooden fence.
You’ll need to properly maintain your fence to preserve the lifespan of the new post. At minimum, you’ll want to clean it every two to five years to remove dirt, moss, and mildew. You’ll also need to repaint areas of your fence where the paint is peeling or seal it with a water-repelling, UV-blocking coating. This helps prevent rot and rust.
It’s also important to make fence repairs as necessary, lest they become a larger issue. You can DIY the small stuff or, for larger fixes, call a fence repair company near you.
Most handy homeowners can replace a fence post on their own—as long as they can lift the concrete. That said, this job takes some serious elbow grease. Many homeowners choose to avoid the hassle and hire a local fence company. Keep in mind, you’ll have to pay for the cost of labor in addition to any materials your pro may use.
All in all, you might save a couple hundred dollars per post on a DIY job, but shoddy work could compromise your fence’s structural integrity and cost you more in the long run.
Tomy's team is top-notch! They replaced my old opener with a quiet, modern one. The whole process was smooth and hassle-free
Mayflower was an excellent choice for the complete renovation of my condominium. They knew exactly how to deal with the complexities of the condo building and management to make the project very smooth, easy and done right. From start to finish, everyone was incredibly helpful and their...
 Mayflower Construction Group
Reliable, trustworthy, efficient! I canâ t say enough about how pleased I am with the service this company offers. Highly recommend!
Alex and his crew are great! I contracted them to move my dad and they went above and beyond!
My experience with this company did not start off 5 stars, but it certainly ended that way. Sam reached out to me and showed me that All Complete Construction does care about their customers. He listened to my complaints, understood my frustration, and went above and beyond to make it right....
Great service, great price, very knowledgeable.
Excellent sales staff and installer. Easy to work with. I appreciated that my current system was able to be activated and used.
We purchased a home that was need of a bit of work and I had great difficulty finding good firms that charged fair prices and performed well. I first hired JMZ to clean the yard and cut the grass. I saw Jose's truck in the area and called the number on the side. In the past two years Jose and...
What a nice job. Roger the foreman was kind to me and made my life easier. Their availability is 24/7. The Customer service department provided status without having to ask for it. I would definitely recommend their service to my friends.
Superior was great in every detail. Easy to make/change an appointment, the inspector (John Connor) was prompt, friendly, and very informative. We thought some holes in a fence post was caused by termites, but John inspected it along with some other areas of the house and told us we did not...
 PestNow LLC
From average costs to expert advice, get all the answers you need to get your job done.
Pool fence costs depend on the type of fencing and the size of your pool. This guide will help you figure out the true cost of pool fence installation.
Get a clear estimate of wood fence repair costs. Learn what impacts price, compare repair types, and find tips to save on your next fence project.

Installing a redwood fence costs around $6,300, though several factors, such as size, landscaping, and permits, can impact the price.

If you’re struggling to choose the right type of fence post for your yard, keep reading for a breakdown of fence post foam vs. concrete options.

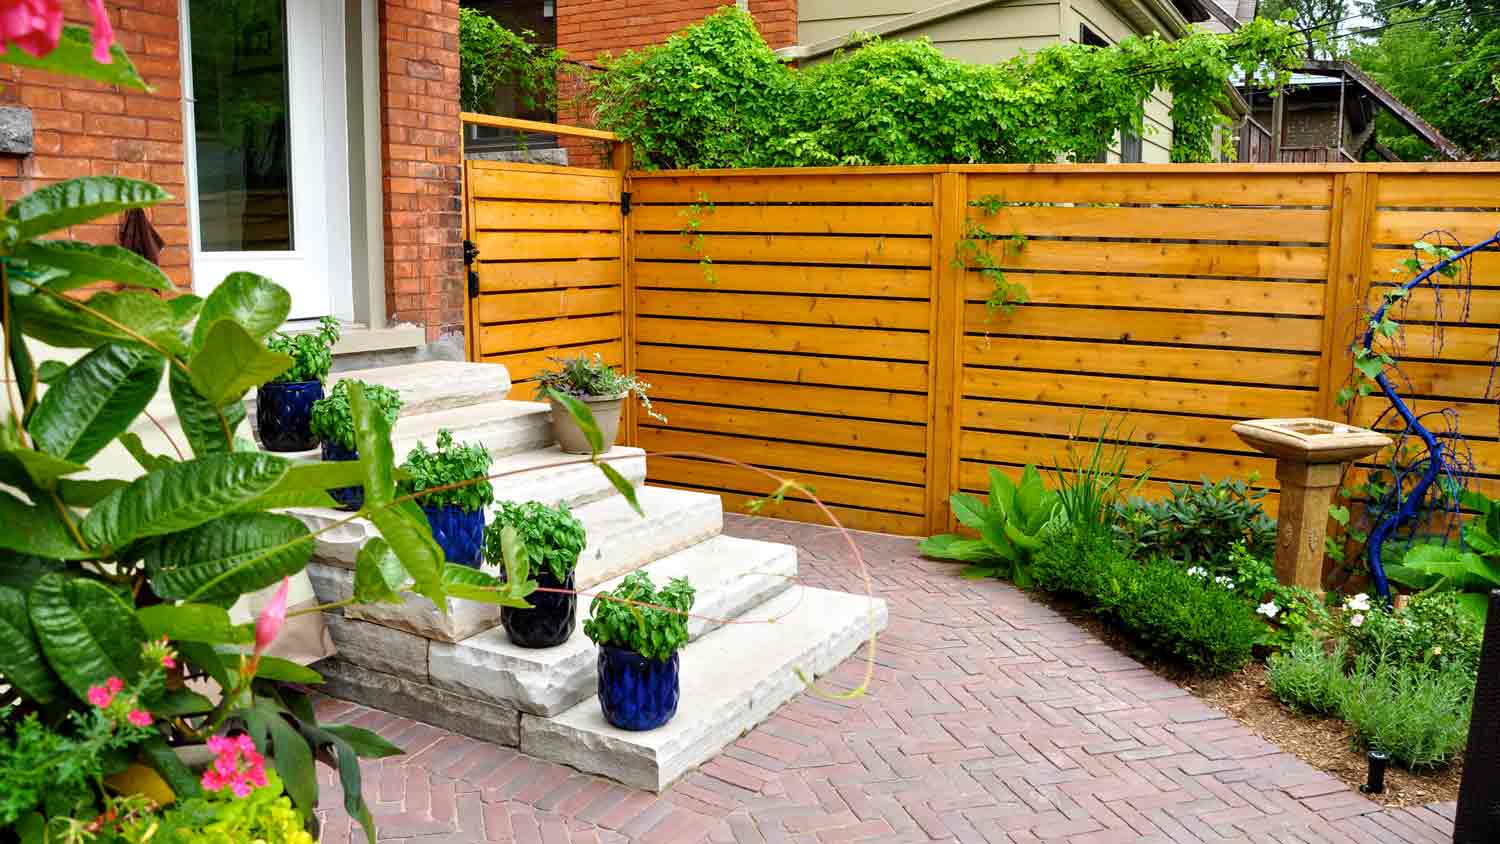
A fence is a great way to add privacy and style to your yard. Compare two common options, horizontal vs. vertical fences, to see which is right for you.

The best wood for fencing is also the most durable—and beautiful. Our guide breaks down the top picks for your wood fence project.