

If your ceiling fan stops working due to a bad motor or broken pull chain, here’s what you can expect to pay to get it fixed.
Keep cool with this easy, breezy guide


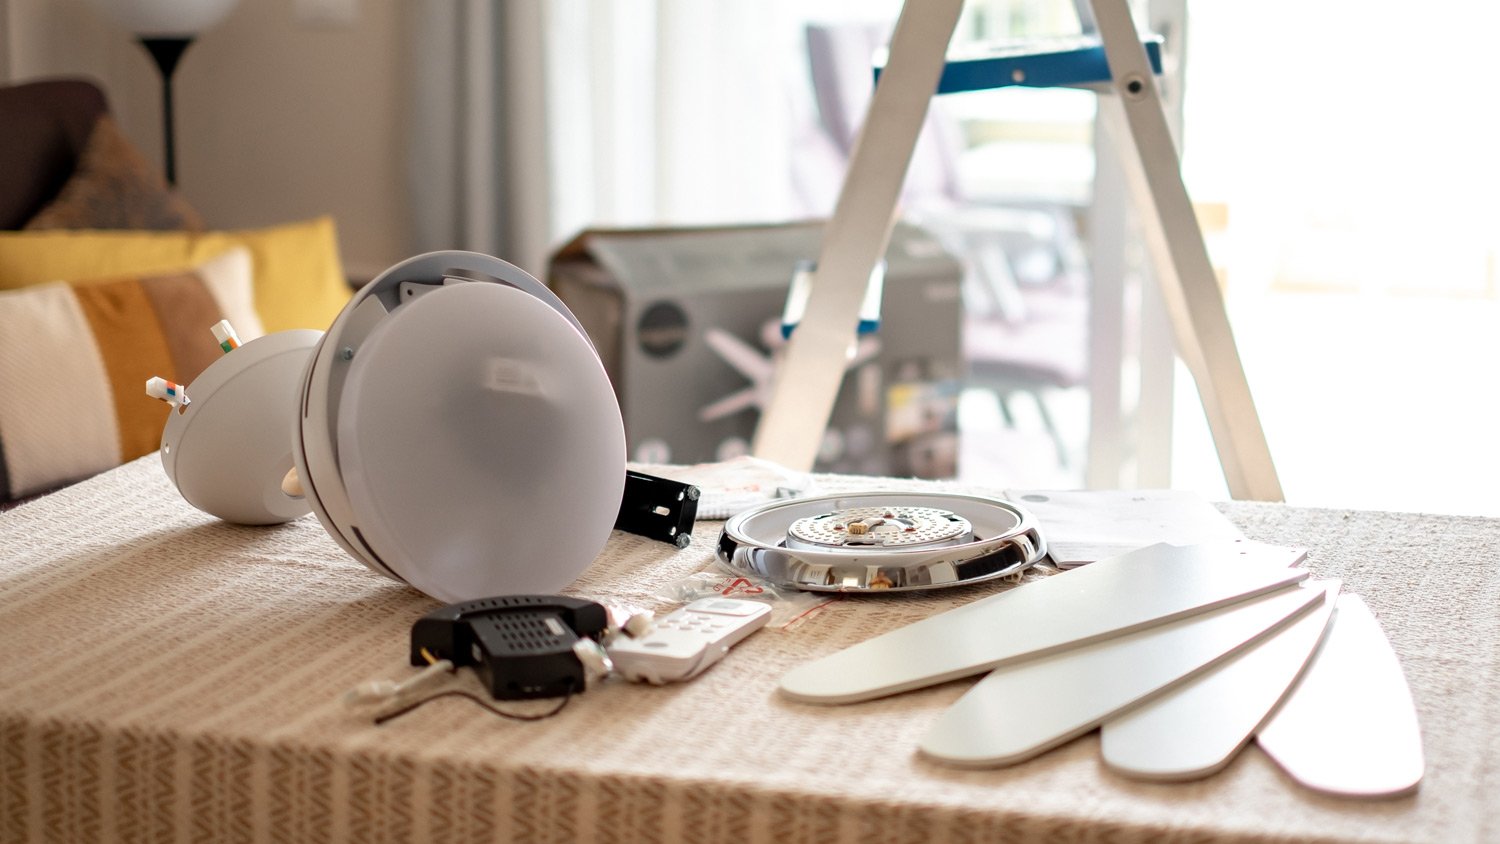
Ready to replace that worn-out ceiling fan in your home? While all the electrical components and hardware, a ceiling fan kit might look intimidating at first. But you can learn how to replace a ceiling fan yourself in just a few hours with the right guide. In this how-to, we’ll walk you through the steps to replace your ceiling fan in just a couple of hours.
Before doing anything with your ceiling fan, it’s important to shut the power off to the fixture at your fuse box. You can use a circuit tester or voltage detector to confirm the power has been cut and it’s safe to handle. Once that’s done, you can safely remove the old fixture—this should be as simple as removing a few screws and carefully lowering the fan from the ceiling.
Once the old fan is out, have a look at the current electrical box in the ceiling. Check the inside surface for a stamp indicating that it’s acceptable for use with ceiling fans. If so, you should be able to use it with the new fan as well. You might also see a weight rating, which you should compare to the weight of your new fan unit (take a look at a ceiling fan size guide if you’re in doubt) to make sure it will be supported safely. If this all looks good, you can move on to the installation.
If you have any doubts about your old electrical box’s condition, weight rating, or voltage supply, it’s best to change it out. You’ll be much happier to do it now than to pay for ceiling fan repair costs in the future.
To install an electrical box, you’ll need to fasten it either directly to a ceiling joist or to a sturdy two-by-four wooden brace suspended between two joists. Be sure to follow the directions that come with the new electrical box carefully, and don’t forget to attach it to a grounding wire.
Sometimes, the fan’s motor comes with the screws already inside of it along with some disposable shipping blocks to get rid of. Remove the blocks and the screws—be sure to keep the screws for later use in the project.
Following the manufacturer’s instructions, secure the mounting bracket or ceiling plate (different fixtures will have different attachment methods) to the installed electrical box in your ceiling. This should be a simple matter of installing a few screws. Be sure to take care with this step, or you may end up with a wobbling ceiling fan later on.
Next, thread the fan wires from your ceiling and down through the hole in the center of your mounting bracket or plate. There are two types of ceiling fan installation methods: downrod installations, which are used for high or angled ceilings, and flush installations, where you attach the fan close to the ceiling.
Depending on the method you use, the steps for attaching the fan will vary a little bit—but the details should be in the manufacturer’s instructions. Your fan kit should also have all the screws, bolts, and nuts you need to do this step.
If you’re using a downrod for your ceiling fan, you’ll need to thread the wires from the ceiling down into the canopy and its trim ring (if your kit has one). Then, you’ll feed the wire down the downrod itself through one side of the ball at the top.
If you’re doing a flush installation, simply run the wires through the motor and into the fan’s top housing, canopy, and trim ring (if your fan kit has one).
Once your wires are set up, it’s time to mount the fan unit itself. For a downrod installation, you’ll insert the downrod into the collar yoke on the fan’s motor. Your manufacturer’s instructions will detail the steps for securing the downrod to the motor.
For a flush installation, you’ll simply attach the fan’s top housing, canopy, and if using, the trim ring to the motor according to the instructions. For both downrod and flush installations, we recommend using your pliers, screwdriver, or adjustable wrench to make sure the fasteners attaching the assembly are tight and secure.
Fortunately, you don’t need to be a master electrician to learn how to wire a ceiling fan. First, you may need to cut or strip some of the wires before hooking everything up. Your manufacturer’s instructions should detail which wires to use your wire cutters or stripper on.
Some ceiling fan mounting brackets and plates have a hook for you to hang the fan on. If you’re doing a downrod installation, you’ll simply hang the downrod ball at the top from the hook in the bracket or plate. Double-check that the ball is properly aligned before moving on to the next step.
Some flush installation fan kits will instead come with a support cable to secure the fan to the ceiling brace instead of a hook. Your instructions should detail how to do this simply. If your ceiling fan assembly doesn’t have a hook, you might need to enlist the help of someone else to support the fan while you handle the next few steps.
Most ceiling fan assembly kits come with different types of wiring. Always follow instructions carefully, especially when dealing with electricals. First, use your circuit tester to make sure the power to the fixture is switched off. Then, use your wire connectors to attach the fan’s electrical components to the wires from your ceiling.
The exact specifics of connecting wires will vary depending on your wiring and switch setup. If you’re using separate switches for the fan and the light, for example, the process will be different than if you’re only setting it up to work with a pull chain. Follow the instructions for your electrical setup to make sure the wiring is done correctly.
Make sure that no bare wires or filaments (aside from the singular bare wire or green ground wire) are visible once you’re done connecting them.
Once your wires are connected, tuck the excess back into the fan’s electrical box (or the fan canopy if you’re using a thin, pancake-style electrical box). Be sure to keep the green and white wires on one side of the box, and the black wires towards the other side. If your fan kit comes with a light, place the light wires on the same side as the black ones.
Following the manufacturer’s instructions, mount the fan canopy (and canopy trim ring, if using) to your mounting bracket or ceiling plate with the provided screws and a screwdriver.
Now that the main fan unit is installed, it’s time to add the blades. Firstly, you’ll need to decide which direction you want the blades to face—provided you’re using reversible ones. Once that’s settled, mount each bracket to a blade with the visible side of the blade facing down. Start all the screws before tightening them to ensure a good fit—this will help to prevent your ceiling fan from making noise when it’s running.
With the brackets on, the next step is to attach the fan blades to the main assembly. Follow the manufacturer's instructions, and be sure to repeat the process of starting all the screws and then tightening them to ensure a flush fit throughout.
If you’re also installing a light kit to your ceiling fan, you’ll need to wire it up, much as you did with the rest of the fan. The fan should have a switch housing plate for you to remove, as well as a plug. Take both of those out, then feed your light kit’s wires up through the hole. You’ll then screw the cover back on, making sure it’s tightly sealed so it doesn’t come loose later on.
Next, just connect the wires for your light kit to the wires in your ceiling—this is much the same process as connecting wires for the fan itself, but be sure to follow the manufacturer’s instructions.
With the light kit wired, simply push the excess wires back into the light’s housing.
Following your manufacturer’s instructions, secure your light kit to the switch’s main housing with the provided hardware.
Grab your light bulbs (make sure they’re compatible with your chosen light kit) and screw them into the fixture. Some kits might need to have light shades attached before screwing in the bulbs, so double-check the instructions.
If your fixture has one, now is the time for the finishing touch: the glass bowl or globe. Screw it in (your instructions will explain this step), and attach any chains or pendants while you’re at it.
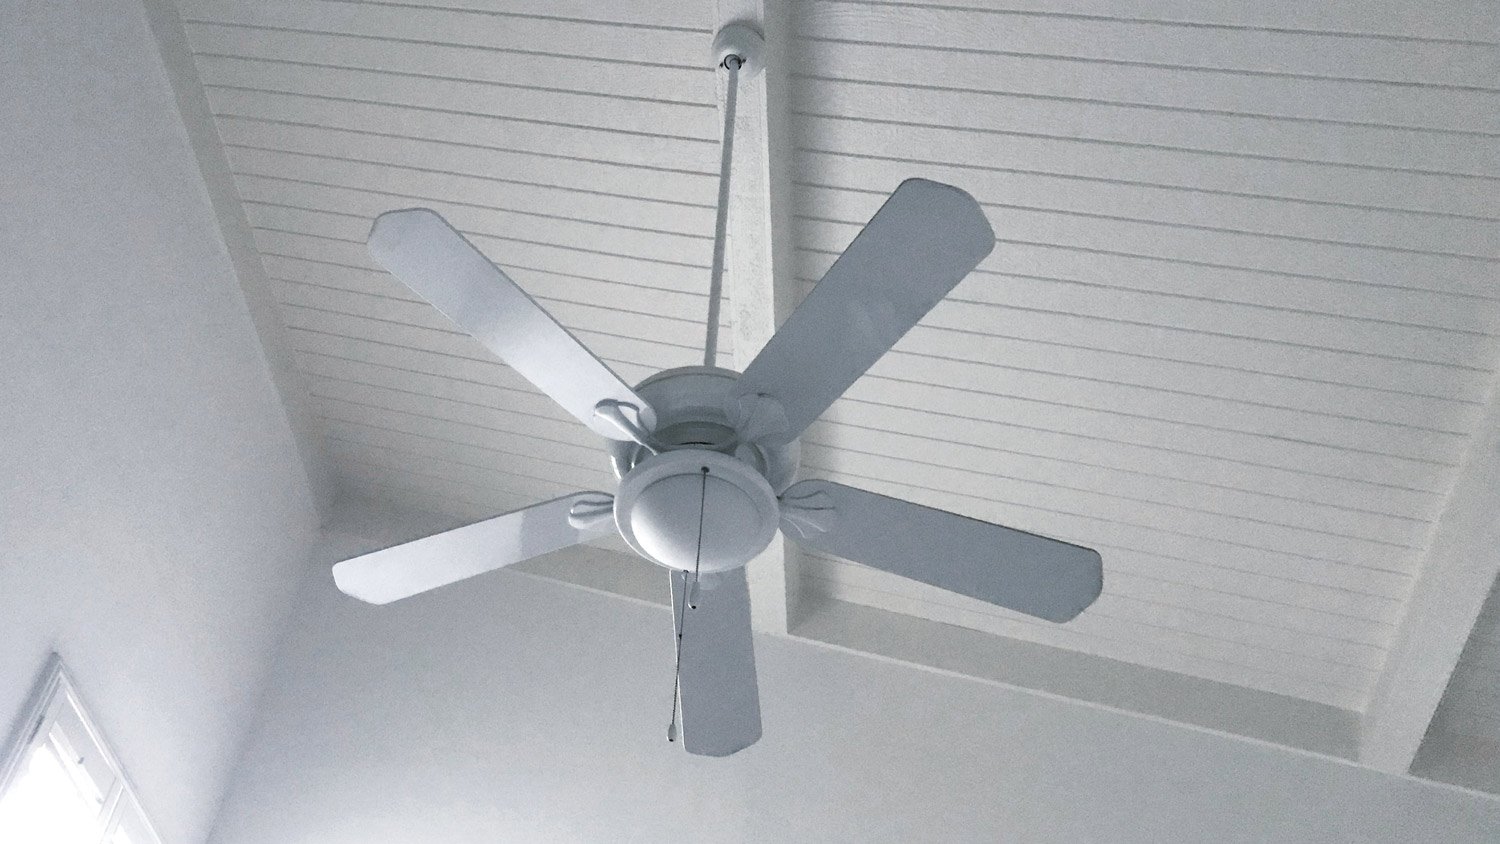
And just like that, your new ceiling fan is in and ready to go! Head back to the fusebox and switch the appropriate circuits back on to restore power to the fixture. Switch it on to check that the fan and light work as they should, and you’re all set.
If you don’t have the tools, time, or desire to install a ceiling fan, you can always go with a local electrician or a ceiling fan installation company near you. Although this a fairly straightforward job to DIY, not everyone will feel confident working with electrical systems and ceiling supports. You can expect to pay between $300 and $700 in labor and material costs if you decide to hire a pro to replace your ceiling fan.
If you choose to replace a ceiling fan yourself, you can expect to pay between $100 and $500, provided you have the tools on hand. The price mainly varies depending on the type of fan kit you go for.
From average costs to expert advice, get all the answers you need to get your job done.
If your ceiling fan stops working due to a bad motor or broken pull chain, here’s what you can expect to pay to get it fixed.

Discover the cost to install a ceiling fan, including labor, materials, and tips to save. Learn what impacts your price and how to budget for your project.

Removing a ceiling fan is an easy task that any handy DIYer can tackle. Follow the five steps in this guide to learn how to remove a ceiling fan.

A 3-blade vs. 5-blade ceiling fan varies in design and function. Learn the differences between them so you know which is best for your space.
If your ceiling fan isn’t spinning, the problem could be something as straightforward as a stuck switch or a blocked blade. In more rare cases, it might point to a deeper issue inside the fan.

Looking to cool down a room or get some more air flowing throughout the house? Learn how to install a ceiling fan without existing wiring.