
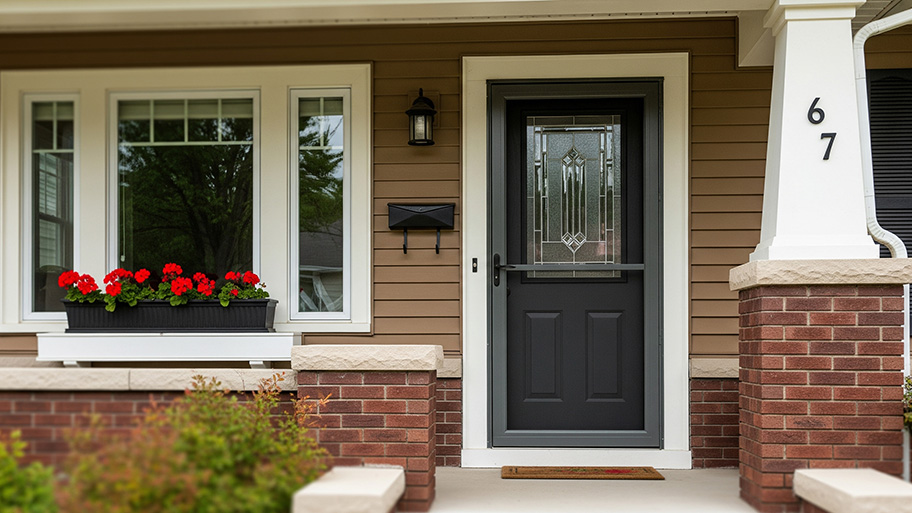
A storm door can protect your front door and let in more fresh air. Find out how much storm door installation costs for materials, labor, and more.
When jambs aren’t your jam


While hiring a pro to repair a door jamb costs around $240, call one if your door jamb needs replacing or the door frame or subfloor is damaged.
A door repair specialist will make sure the door sits square, opens smoothly, and latches correctly, often the hardest aspects of DIY door repairs.
Matching the trim, paint, and hardware to leave the repair looking seamless takes skills only a seasoned professional has.
Door jambs often require precise cutting, shimming, or rehanging the entire door, which your door repair pro can handle efficiently.
Door jambs are integral to the door frame and provide attachment points for hinges, trim, and strike plates. Moisture and wear and tear can take their toll over time, but some DIY repairs and maintenance can extend the life span of your door jamb. This guide covers how to repair a door jamb if splintering, discoloration, softening wood, or large dents grace the entryway to your home.
Door jamb damage can cause problems ranging from the door not closing properly (or at all) to letting in a draft. A warped door jamb can also cause cosmetic damage to the door. Keep in mind that door jamb issues may be symptoms of deeper structural problems with the door frame.
Damage in the door jamb can compromise the frame and possibly require total door frame replacement or subfloor repairs if there’s extensive water damage. You can save money by making minor repairs, but you might need to call a pro to handle problems involving the surrounding frame and structure.

Some signs of damage are easy to spot—like large dents or splintering at the jamb’s ends or joints—but other door problems are more subtle. Look into repairs if you see the following:
Discoloration due to water damage or rot
Soft spots (water damage)
Deep gouges or large areas of splintering
The door rubs against the jamb at the top, bottom, or both
Damage can range from nicks and dents that need attention to prevent future damage to heavy water damage that may require replacing part of the jamb. Below, you’ll find the most common types of damage and the appropriate repair method.
Small dents and gouges aren’t too much of an issue, but they let in moisture that can cause further damage over time. Repairing what seems like a cosmetic issue can prevent further damage. You’ll need a few tools and a two-part wood filler to complete this project.
Two-part fillers offer more strength than putty or other types of wood fillers. Once you mix the two parts, the filler begins to set, so read through all the manufacturer’s instructions before starting. Then, mix the two parts according to the directions.
Using a putty knife, apply enough wood filler to each dent or gouge to fill it. An egg or golf ball-sized portion is enough, but you may need more if the gouge or dent is deep and long. Use the putty knife to smooth out the filler. It will look messy at this stage.
Give the filler about five minutes to set (or whatever time the manufacturer recommends). Then, use a utility knife to remove any excess filler and smooth out hardened edges before the finishing steps.
Let the filler finish setting for about 30 to 60 minutes (this may differ depending on the instructions for your product).
Use fine-grit sandpaper to smooth the surface of the filler until it’s flush with the rest of the door jamb. Run your fingers over it and keep sanding until it feels smooth.
Prime and paint over the filler to blend in with the door jamb.
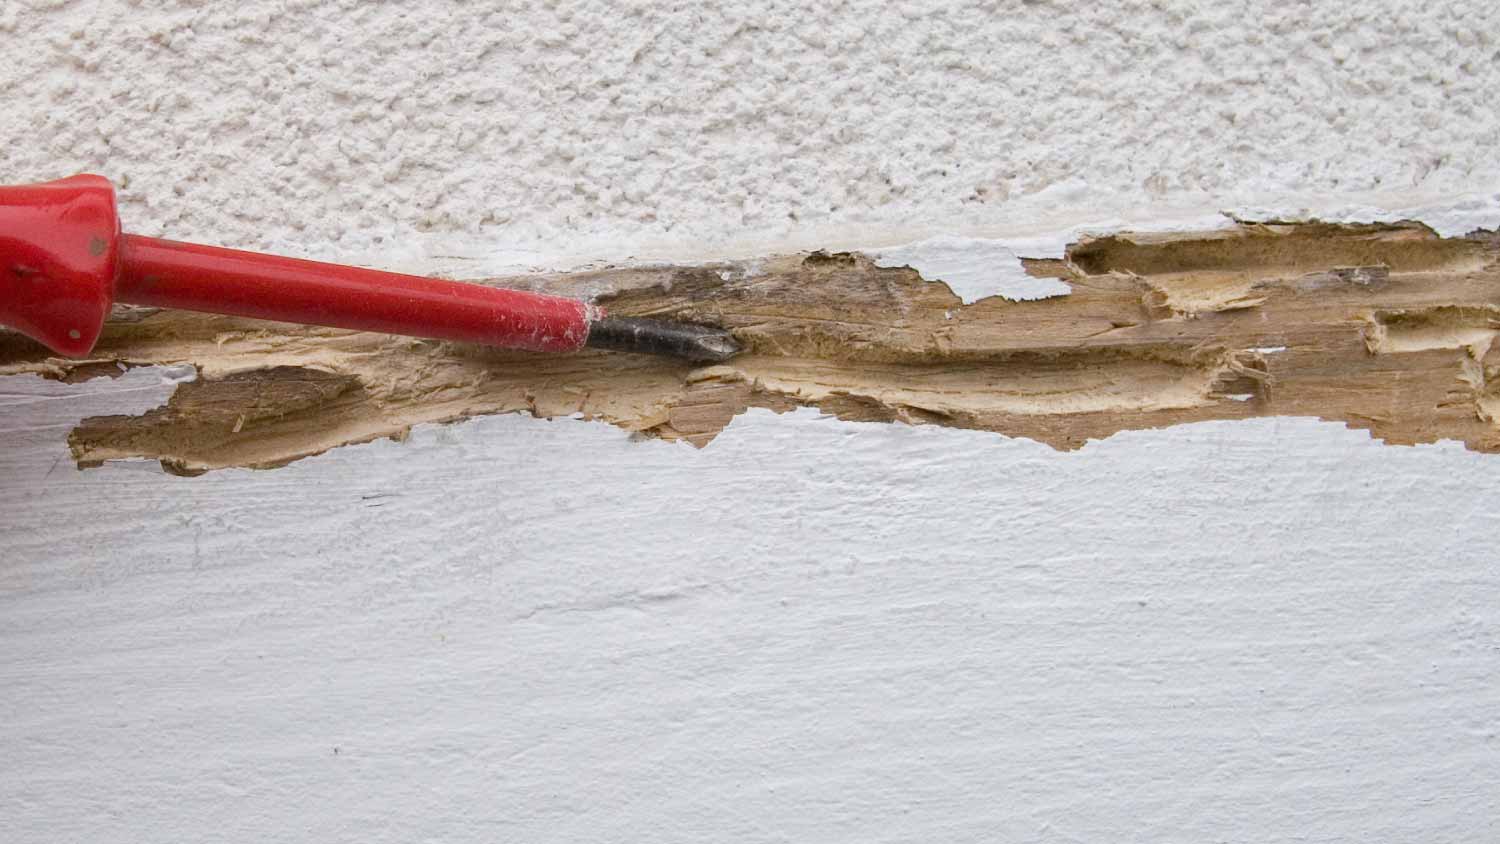
When water damage leads to soft, rotting, or discolored wood, it can become home to mold, mildew, or fungus. This damage is more common at the bottom of the jamb, where it’s most likely to come into contact with water.
The first step is to remove the rotted wood with a scraper or chisel. Depending on the amount of rotted wood, one might work better than the other. Use your chosen tool to remove the rotted, discolored, or soft wood.
Remove all of the affected areas, as any damage left behind can allow the rot to spread. Inspect the door to make sure the rot hasn’t spread to it.
If the remaining hole is large enough, fill it with excess material like wood scraps or wire mesh to strengthen the area and save on wood filler. Use a couple of screws, staples, or nails to secure the added scraps or mesh in place.
Mix a two-part epoxy wood filler, a stronger alternative to putty and single-part wood fillers. It sets quickly, so don’t mix until you’re ready to apply it. Use a putty knife to apply the mixture and fill the damaged area.
Let the wood filler set and dry according to the manufacturer’s directions. This takes about eight to 12 hours, but some products may set and dry faster.
Use fine-grit sandpaper to smooth the surface of the repaired area until it’s flush with the rest of the door jamb.
Prime and paint the door jamb to match the surrounding area.
Heavy warping can make it impossible to close the door or cause scraping damage to the door’s edges. In that case, you might have to remove and replace part or all of the door jamb.
However, if you have this much damage, there’s likely structural damage to the door frame and possibly the subfloor. Make sure you’ve gotten to the heart of the problem before taking on this intermediate to advanced-skill project.
Use a screwdriver to remove hardware like hinges or a strike plate. Put the hardware in a plastic bag to keep the pieces together.
Use a chisel and hammer to gently tap and remove molding on the side of the door with the damaged jamb. Start at the bottom and work your way toward the top.
Use a pry bar to carefully remove the door jamb. Work slowly and methodically from the bottom to the top to avoid damage to the door frame. Remove any shims holding the jamb in place with a screwdriver or pry bar.
Measure the door frame’s height, width, and depth, and cut the new jamb to meet those dimensions using a hand or miter saw.
If you’re replacing the hinge and latch jambs, label them “hinge” and “latch.” In some cases, they will be different lengths. Labeling will ensure you put them on the correct side and install the right hardware on the jamb.
Dry fit the new jambs to see if they fit by clamping them in place and checking the spacing. You want the jambs to be flush with the door. Adjust the jambs and reclamp if needed.
Use a pencil to mark where the hardware will be installed on the jamb, including the hinge, lock-plates, and latch height.
You can use nails or screws to secure the jamb, but screws offer adjustability. Attach the hinge jamb first. Use a level and shims to adjust the jamb until it’s perfectly vertical.
Use a set square to align the jamb. You might need to loosen or tighten screws to get it square. Once set, you can nail it in place. Follow the above process for the opposite side of the door if you’re replacing both sides.
This step can be challenging, so asking a friend to hold the door in place while you check measurements and hinge placement will make it easier. Before attaching the hinges to the door jamb, check that they line up with the door. Use the provided hardware to attach them to the jamb, and check that the hinge pins fit into the hinges.
You may need to apply a few gentle taps with a mallet to get the pins in. Swing the door open and shut to check the hinge alignment.
Measure the latch location on the door and use that measurement to find and mark the corresponding location on the door jamb. Drill a hole for the door latch at the mark. If the hardware includes a dead bolt, cut a hole for the dead bolt, too. Check that the holes align with the hardware.
Use the drilled holes to find the location of the strike plate. Mark the locations of the strike plate screws on the door jamb. Drill pilot holes, then reattach the strike plate.
Regular door maintenance is the best way to prevent damage to your door jamb. Here are a few tips to keep the jamb and surrounding area in good condition.
Make sure the door is installed properly
Check the fit of the door
Check if the door rubs on the door jamb
Prime and reseal the door jamb regularly if the paint wears away
Make sure water doesn’t pool at the base of the door
Repair nicks and dents right away
Keep in mind that damage beyond dents and gouges could indicate a bigger problem. Discoloration can indicate a water leak around the door. If that’s the case, there’s a good chance there’s damage you can’t see, possibly in the subfloor or door frame.
A beginning DIYer can handle small damage, like dents and gouges, with a two-part filler and putty knife. However, you might need to call a pro if your door jamb needs replacing or the door frame or subfloor is damaged. When it comes to water damage, time is of the essence, and you’ll want to get a pro to handle the job before problems like mold and fungus spread.
Installing doors can be tricky. Any misalignments or mistakes during installation can damage the door jamb. If you’re not experienced in door installation or repair, a local door repair company can diagnose the issue and fix the door jamb and surrounding damage.
From average costs to expert advice, get all the answers you need to get your job done.
A storm door can protect your front door and let in more fresh air. Find out how much storm door installation costs for materials, labor, and more.

Planing a sticking door is a small repair that can make a big difference. Learn how much it costs to plane a door and what factors affect the cost.

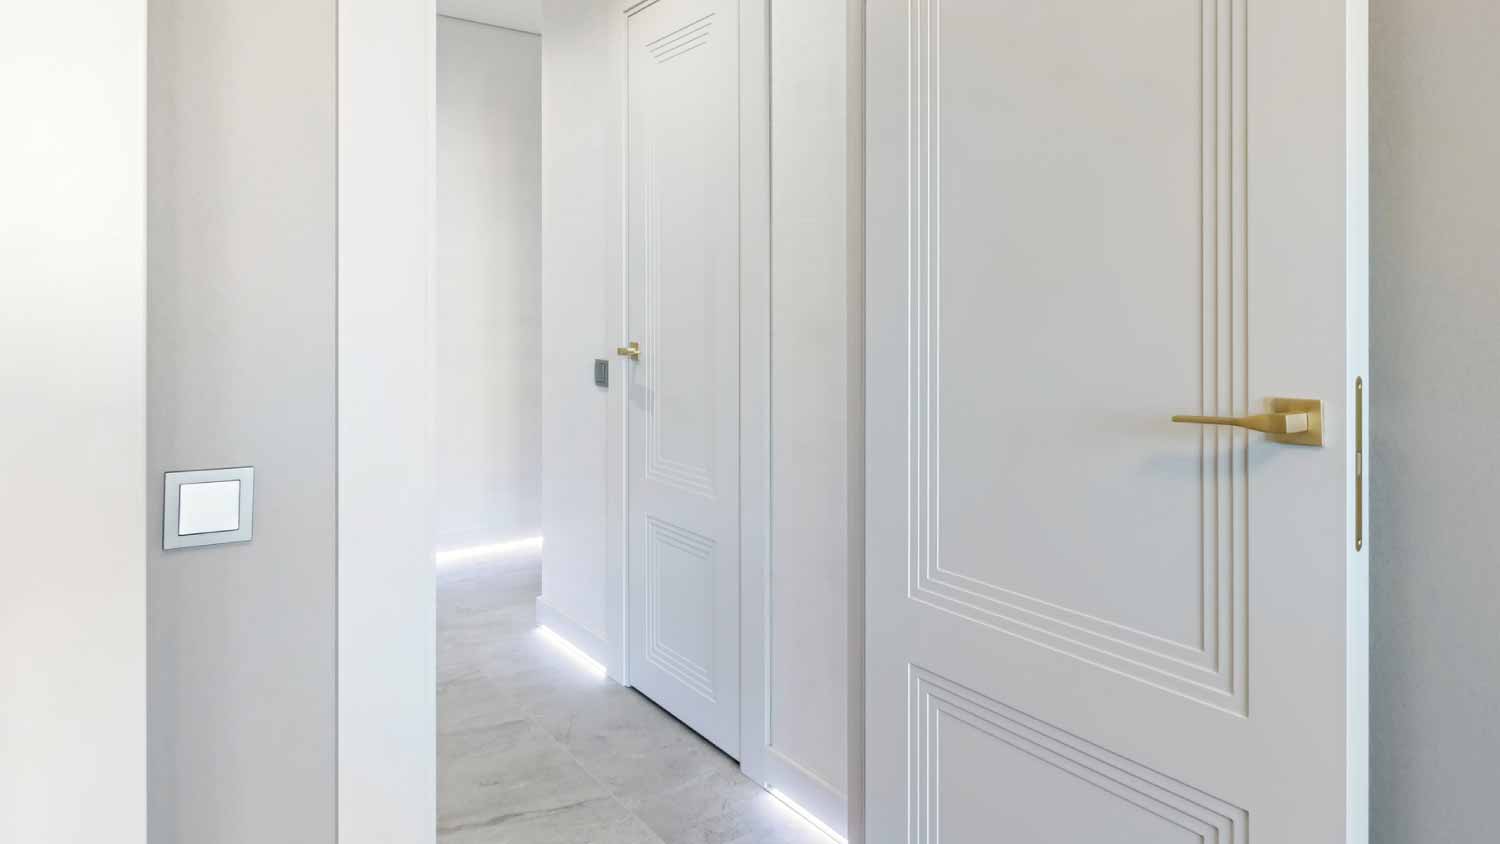
Are you looking to upgrade an old door in your home? Use this interior door installation cost guide to estimate the project's total cost and learn how to save.

If you've ever asked yourself what a pocket door is, we’ve got you covered. From their inner workings to types, here’s what you need to know about this feature.

A door that won’t close is a frustrating issue, especially when you just want some privacy. Learn how to fix a door that won’t close with these simple tips.
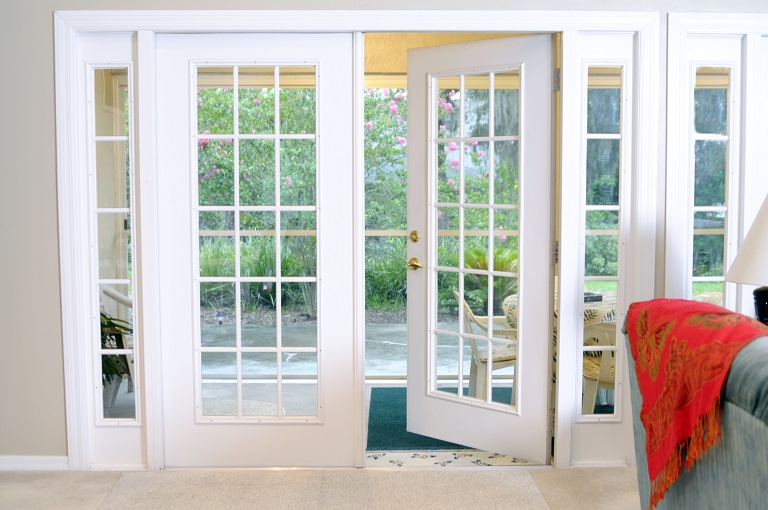
Discover the window-to-door conversion cost. Learn about average prices, cost factors, and tips to save on your window-to-door conversion project.