
•
Get a detailed breakdown of chain link fence repair costs, including average prices, cost factors, and tips to help homeowners budget for repairs.
Roll up your sleeves for this DIY perimeter fix

Cyclone fence repairs address bent rails from storms, holes from pets or weather, and loose mesh wire that sags as your fence ages over time.
Typical costs range from $300 to $800 for professional chain link fence repairs, so fixing damage early helps you avoid more expensive replacement work later.
You can fix small bends with a pipe wrench, but replacing damaged metal sections requires cutting out the broken rail and securing new pieces with couplings.
Hiring a local fencing professional provides reliable help with post replacement and concrete work, keeping your fence stable and up to code without the heavy lifting.
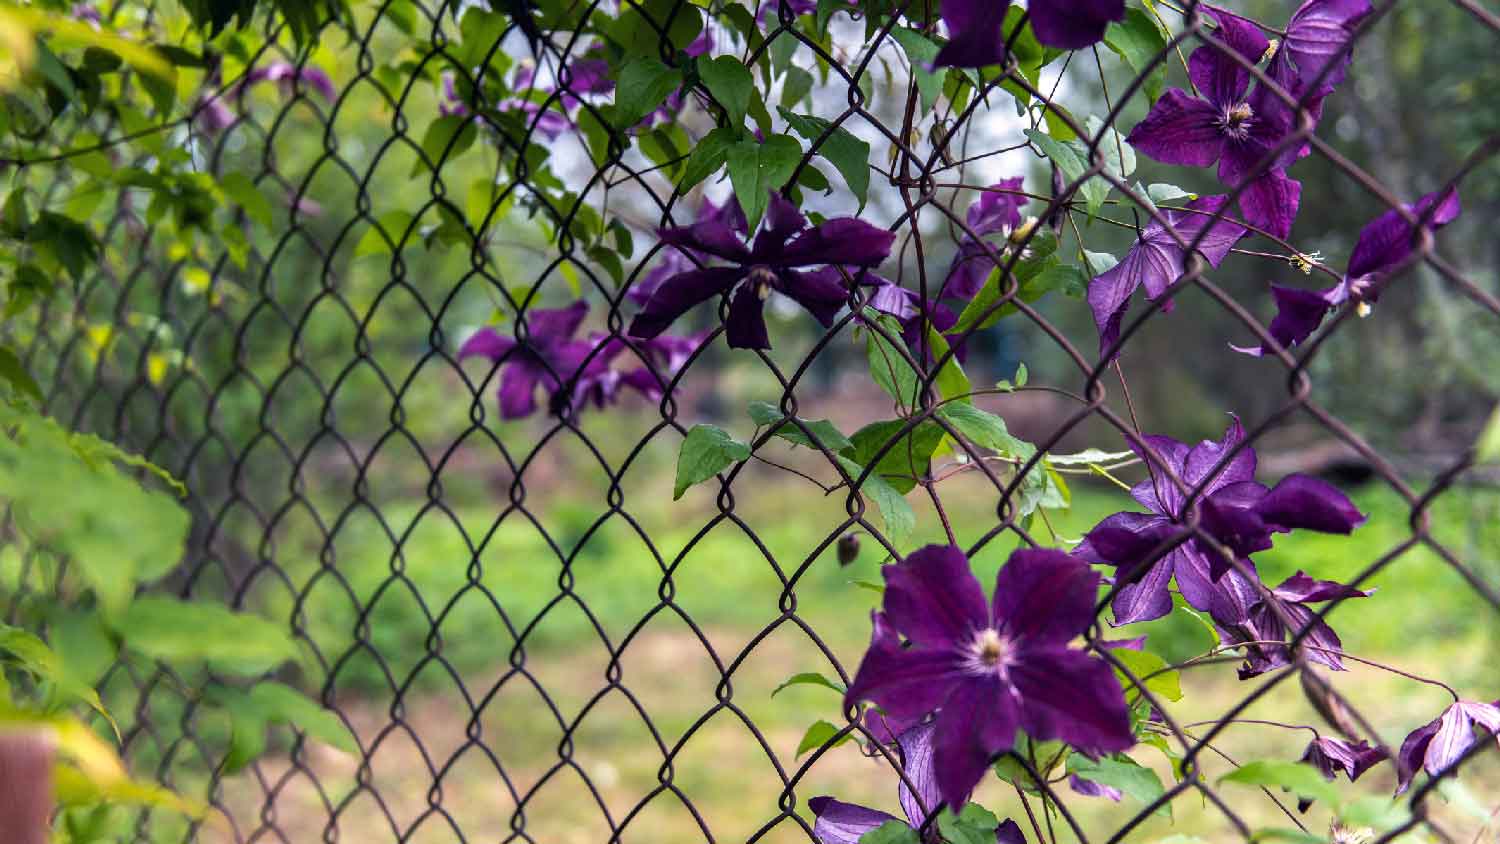
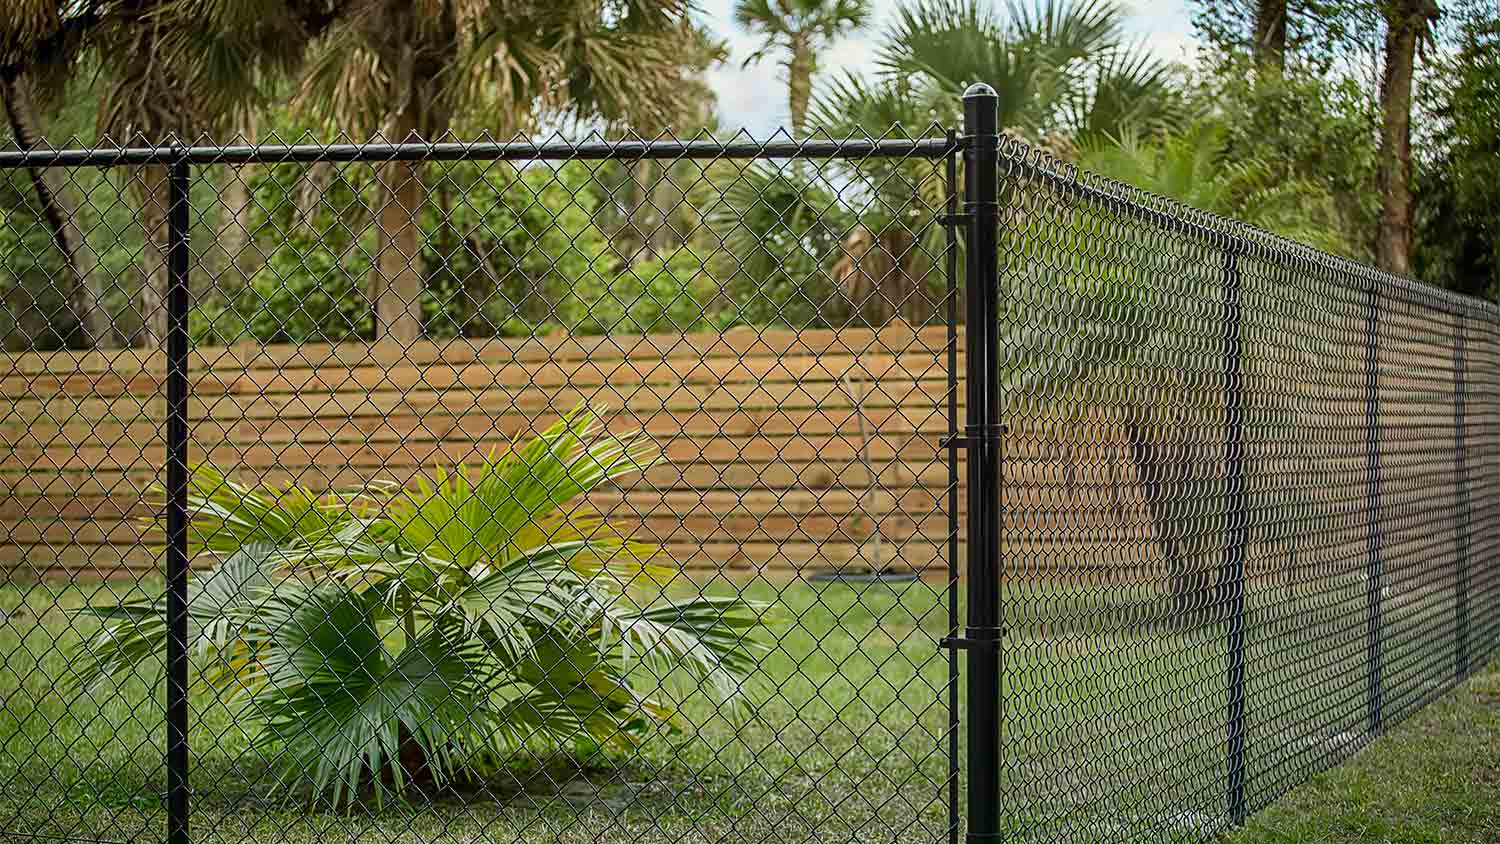
Stormy weather, curious pets, and fallen trees are just some of the culprits that can bend railings or create holes in your chain link fence wire. Replacing an entire fence can be expensive, but fortunately, there are steps you can take to mend a broken section, even if the railings are severely damaged. Learn how to repair a chain link fence yourself with this DIY guide.
Chain link fences are pretty tough, which is why many homeowners choose them. Still, a number of issues can crop up on chain link as it ages, including:
Sagging caused by wear and tear.
Holes created by weather, pets, or age.
Loosened fence due to age or general wear and tear.
Bent or damaged railings due to weather or fallen trees.
If you take good care of your fence, it should last 20 years, which is longer than most types of wood fences. Fixing holes or bends in the fence can preserve its life if it’s a little older.
A local fence repair company can help you tackle the job if it’s daunting, such as when the posts or post holes filled with cement are completely destroyed. That’s a much tougher job that will require several days of work.
Chain link fence repairs cost around $500, depending on the extent of the damage. The price ranges from about $300 to $800, though. If you tackle the job yourself, you can likely fix your chain link fence for under $200—perhaps even less if it’s just a bent post or section of railing that needs to be fixed.
Repairing an existing fence is far less expensive than the cost to install a new chain link fence, which runs about $2,225 on average.
A pair of heavy-duty worker’s gloves and safety goggles are recommended for this job, as you’ll likely be cutting metal with a hacksaw.
Other materials you may need include a tape measure, pliers, and a come-along tool if your fence has loosened.
Depending on the damage, you may need a new fence railing, ties, and a rail coupling to secure the section you’re fixing once you cut it out.
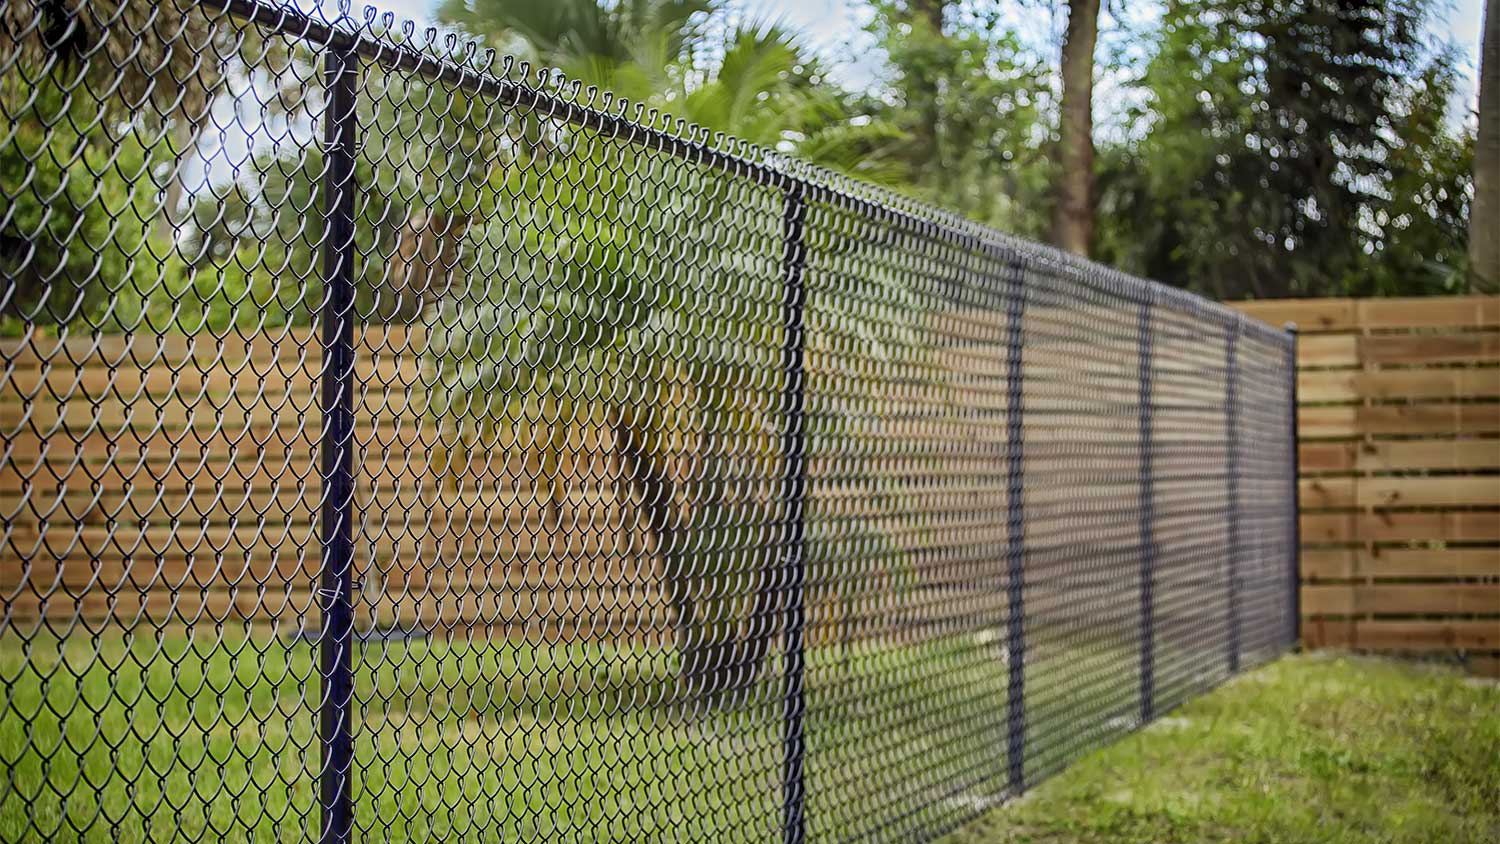
Also, for what it’s worth, repairing a broken chain link fence is a good time to consider some inexpensive ways to boost chain link fence privacy.

Seeing as you aren’t installing a new chain link fence from scratch, simple repairs won’t require you to fix post holes or work with cement. Depending on the issue, though, learning how to fix a chain link fence is a complicated project and may be best left to a professional.
Chain link fence rails can become bent from a myriad of causes—from heavy snowfall to strong winds—but this problem is relatively easy and affordable to fix on your own.
Before you can begin to fix a bent rail on a chain link fence, you have to know exactly where your problem lies. Find the source of the bend and take a closer look to figure out just how much work will be necessary to repair it. While you can fix some small bends by simply pushing and pulling with your hands, you may have to replace part or all of the top or bottom rail to fix larger bends.
Place a pipe wrench on either side of a bend in a chain link fence, then apply pressure and turn accordingly to straighten the bend. Place wood blocks on either end of the rail to stabilize it if necessary. If you’re struggling to get the desired results from this method, the bend may have been larger than you initially realized, and a more intensive solution may be necessary to remedy the issue.
If you’re dealing with a chasm of a bend, simply replacing all or some of the rail is your best option. New chain link fence rails are relatively inexpensive—$22 on average for a foot of new rail—but you’ll still save more by using less.
Remove just the broken part of an existing rail rather than the whole thing. Unless the entire rail is broken beyond repair, removing and replacing only the damaged area will cut down on expenses and effort. Follow the next steps to find out exactly how to do just that.
On the affected section of fence, untie the wire ties along the rails and base using a pair of pliers. If the wire ties are damaged, rusted, or falling apart, throw them away. If they’re in good shape, set them aside so you can reuse them.
Take a mental note of how far apart the wire ties are from each other; you’ll want to put them (or their replacements if they’re damaged) the same distance apart. Twelve to 16 inches is standard.
Depending on the type of chain link fence you have, this next step may take only moments or several minutes.
If your chain link railing is held together with standard-sized railing (sectioned off every 7 to 10.5 feet by a post), you may simply be able to slide out the damaged section and install a new one to existing posts.
If your chain link fence runs longer, though, you’ll need to cut on each side of the rail, leaving 6 to 12 inches on either side of the damage. Mark where you plan to cut, then use a hacksaw to cut clean through both spots until the damaged area releases easily. Cut as straight as possible, and remember to wear safety gloves and goggles whenever working with hazardous tools. It might help on a longer section of railing to have a friend or family member to hold it steady so you can cut through evenly if the section is particularly long and unwieldy.
If you cut your old railing, measure it, then cut a matching piece length-wise on your new pipe. Be sure you don’t accidentally cut the tapered end off.

Attach the replacement railing to the chain link fence, tapered side in first. Place a rail coupling over the connection and tighten the bolt or screw.
If the railing was bent or sagging but the mesh wire is still in good shape, you’re free to re-attach the wire using ties at this point. Otherwise, proceed to the next steps to repair the mesh wiring as well.
If your chain link fence is wobbly, it’s likely due to unstable or damaged fence posts. Look for noticeably rusty or decayed posts or posts that are tipping or leaning over in even the best conditions.
Replacing a chain link fence post involves many of the same steps as other repairs, including untieing and removing wires and a couple of additional to-dos, like digging up the ground below the posts. Keep reading to find out everything you need to know about the process.
Use pliers to loosen and eventually remove chain link fabric from the top and bottom rails and damaged fence posts. Use a screwdriver to remove the screws from the fence brackets connecting the rail to the posts. Then, use a wrench to loosen the brackets until the rail easily releases from the affected posts.
If a post was originally installed without concrete, you can easily remove it by simply digging around the base with a shovel until it releases. Then re-dig the hole until it is 10 inches wide and 2 to 3 feet deep before installing a new post.
If you’re removing a post that’s embedded in concrete, you can create a lever with a two-by-four piece of lumber and a strap. Lay the piece of wood on the ground and perpendicular to the base of the post, forming a T-shape. Firmly attach the lumber to the post with a strap. Then pull the wood up from the long end until the post pops out.
From there, dig a new hole for the new post, about 10 inches wide and 2 to 3 feet deep. Try to make the hole larger on the bottom and smaller at the top, so it has a bell shape.
Fill the hole with a few inches of gravel to ensure water doesn’t accumulate and cause decay. Then plant the pole into the hole, pointing straight up. Have someone hold it still for you as you pour concrete to ensure it doesn’t tilt during the process.
Assemble the concrete mix and fill the hole until the concrete reaches the top. Depending on the mix you’re using, you can pour the concrete mix into the hole and then add water. Let the concrete dry completely before reattaching the chain link and rail.
Begin by placing the rail into the post brackets and secure it with fence screws. Tighten the brackets with a wrench to completely stabilize the rail and prepare it for the next step: reattaching the chain link fabric. Use pliers to fix ties, recreating the original placement and spacing. Repeat this along the base railing, too, if applicable.
While it can be difficult to straighten a bent rail or replace a damaged post, repairing broken fence fabric is among the simplest chain link fence fixes. Whether you need to replace a large chunk or patch up a hole, keep reading to find out exactly what to do.
If the damaged mesh wire is in the same section as the damaged railing or posts, simply dispose of the old and replace and reattach a totally new piece of mesh wire in its place. A standard-size chain link fence mesh wire costs about $100 to $140 for 50 feet of replacement wire.
If you’d rather not replace an entire section of chain link fabric, you can cut out or untwist the affected area and replace it with a new piece of the same size. Cutting through metal is tricky work—and one that you should never do without safety goggles and gloves—so try to untie the damaged area of the mesh wire with pliers before resorting to tougher measures. Untwist the corresponding ties until the broken part releases from the rest of the mesh wire.
If you aren’t succeeding with this method, use metal clippers to cut all the way around the damaged area until you can easily remove it.
Using pliers or metal clippers, cut a new section of mesh wire that will fit perfectly into the now empty spot on your chain link fence. Carefully line your new mesh wire up to the gap, avoiding sharp edges, and secure the wire ties to your fence with pliers.
Get the most life out of your chain link fence by taking good care of it. Once your fence is secured and rewired, here are some things you can do to help get yours to stick around 20 years or longer.
Clean your fence regularly.
Remove plants or weeds that grow on or along your fence.
Don’t let kids or pets climb on your fence.
Periodically tighten your fence using a come-along tool or cable puller.
You can remove build up of mold and algae on your chain link fence to rejuvenate an older fence by mixing water and white vinegar (3:2 ratio) and spraying the fence. Let sit for 30 minutes then spray it down with a hose.

Repairing a chain link fence is doable for most homeowners, but when you’re messing with post holes or concrete, it might be a job worth outsourcing. You’ll need at least a whole day to repair such damage.
Building codes for fences can be rather strict in some states and counties. Make sure you’re following guidelines in your area if you’re doing it DIY, especially if your fence is directly connected to a neighbor’s yard.
If a tree fell over your fence or you’re working in an unsafe environment where obstacles could fall down on you, it’s probably best to outsource the job.
Ben Kissam contributed to this piece.
A reliable team for moves across state. My switch to a new place needed careful lifting through tight hallways. The movers checked the doorway first, then carried heavier pieces with slow, controlled movements. Their patience helped prevent damage, and I?d choose them again.
We have used Window Warriors many times with no issues. They arrived on time and were very professional . We have pets and Window Warrior team treated them very well, well trusted team.
We have bought and sold numerous times over the past 50 years. Sherman Hall and Top Line are top notch. Thorough and detailed, he explains every possibility, probability, and eventuality. High class and pleasant. The best.
 Top Line Home Inspections, LLC
Our homes curb appeal skyrocketed thanks to Custom Paint Jobs LLC s exterior painting.
Window Depot did an amazing job on my deck. I wasnt sure what I wanted to do, but their composite decking was affordable and will last a long time. I am excited to have family over, and I am no longer embarrassed by my backyard. Jeff and the ground crew were polite, respectful, and caring for...
Great job...edging and pre clean up went well with a great job with seal coat. Friendly, efficient and professional.
 All Star Paving and Sealing
Did an amazing job transforming my yard. Also installed sod in places, would recommend to everyone.
Manuel Calvillo is the best option in the area for roofing and you won't be disappointed.
We hired Andrew and the team from Midwest Lightscapes for a custom lighting design and installation on a Victorian Village home. The house had outdated low-voltage halogen outdoor lights and many of them were not working. Andrew designed and installed a new system including uplighting on the...
 Midwest Lightscapes
The work was completed in a day and a half. They cut small trees, pulled out an old swing set, pulled out railroad ties and left the place spotless when the job was complete. I am very happy with the fence and their efforts were above and beyond my expectations.
 Elite Fence
From average costs to expert advice, get all the answers you need to get your job done.
Get a detailed breakdown of chain link fence repair costs, including average prices, cost factors, and tips to help homeowners budget for repairs.
Black fencing adds some elegance to your property while maintaining security. Use this black chain-link fence cost guide to get an estimate for your fencing.
Chain-link fences are among the most affordable options available. Use this chain link fence cost guide to see what your fence installation will total.
Wondering who to hire to repair a chain link fence? Learn when to call a fence contractor, when a handyperson fits, and how repairs get done.
Whether you’re looking to replace your chain link fence or just want it gone, find out how to remove a chain link fence here.
This step-by-step guide will teach you how to tighten a sagging chain link fence. Improve your fence's appearance and protect your property.