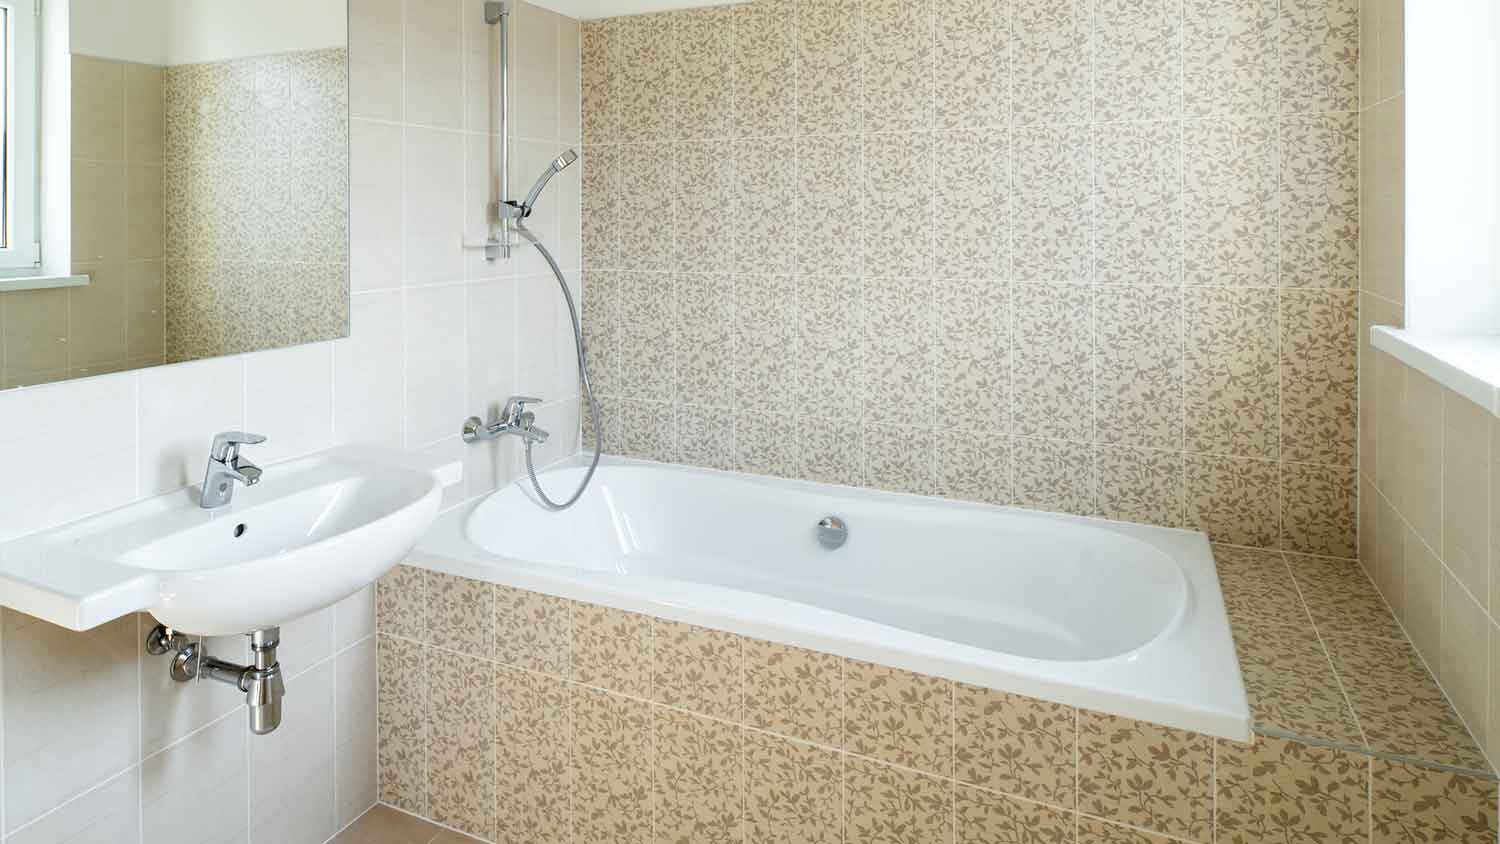
Find out how much it costs to refinish your porcelain sink and the factors that influence the final price to make it look like new, including size, type, and labor.
Hint: Make sure you match the right color repair kit to your porcelain sink


You're washing your hands and notice a little water has leaked onto your foot. Upon further inspection, you find a crack, chip, or hole in your porcelain sink. Sinks take a lot of wear and tear over the years, and water, caustic cleaning products, and other forms of corrosion can eventually lead to damage. Before deciding it’s a total loss, consider repairing your porcelain sink.
Learn how to repair a porcelain sink in this six-step guide—no praying to the porcelain gods necessary. Also, learn when damage may warrant a total sink replacement from a sink installer.
You’re ready to fix your porcelain sink once and for all. The first thing you’ll need is a porcelain sink repair kit. These cost between $14 and $40 and come with everything you need, including a color-matched adhesive. Look for a kit specifically for porcelain, which you can use on various porcelain items, including sinks, tubs, toilets, and appliances.

Before you start, you must clean your entire sink. The reinforcing product from the repair kit will only work if the adhesive is in direct contact with the porcelain. So, whether it’s a pedestal sink or a vanity sink, you’ll need a large area around the repair site to be clean and dry.
Use a mild cleaning agent like dish soap and warm water. Cracks, holes, or dents can sometimes result from overexposure to caustic cleaning products. Before proceeding, use a dry cloth or a blow dryer to dry the entire sink.
Read the directions from your kit carefully. In most cases, the first step will be to sand down the rough edges surrounding the hole or crack. Your kit should come with a medium-grit emery cloth or a similarly graded piece of sandpaper.
Only sand around the damaged portions of the hole or crack. Then, use a cloth or a towel to wipe away any excess materials in the sink. You can also use a blow dryer to blow it away, too.
Most repair kits come with two jars that you mix together to activate the sealing compounds. Again, read the instructions carefully and follow the directions. Wear gloves for this portion, as most adhesives shouldn't make direct skin contact.
Gently apply your mixed adhesive compound to the porcelain crack or hole in your sink with the provided wooden stick or syringe. Some kits also come with tiny razors that you can use to apply the repair material to hairline cracks. Use the same tiny razor to smooth out the edges after you've applied the adhesive. Make sure there are no clumps anywhere along the crack.
Sometimes accidents happen. If the adhesive gets messy, grab a cotton swab and dip it in nail polish remover. Wipe away any extra adhesive or spills.
Some products—especially more expensive porcelain sink repair kits—dry in minutes. Others can take as long as 24 hours to firm up. Follow the instructions on your package before running hot or cold water in your porcelain sink.
You can fix most minor cracks, chips, holes, and even dents. To fix larger sections of damage, you may need to take additional steps, like drilling directly into porcelain. If the sink is structurally compromised, you may decide your best option is to install a new bathroom sink.
However, if you make an error, these tasks can be time-consuming and costly, so proceed carefully. If these tasks feel out of your wheelhouse, consider contacting a local sink reglazing professional who can get your sink looking shiny and new.
Sink installation cost varies, but the average cost falls between $225 and $650, depending on the size, materials, and labor. If bathroom remodel costs for a full makeover aren’t in your budget right now, repairing your porcelain sink or installing a new one can give your bathroom a fresh feel.
Lauren Bongard and Ben Kissam contributed to this piece.
From average costs to expert advice, get all the answers you need to get your job done.

Find out how much it costs to refinish your porcelain sink and the factors that influence the final price to make it look like new, including size, type, and labor.

Bathtub refinishing costs are relatively inexpensive and can make your bathroom look like new. Our guide gives you the information to learn more about this process.

If you’re installing or replacing your shower doors, you’ll be working with a glass installation pro. Here are the most common shower door questions for this project.

The short answer is yes, you can paint a fiberglass tub. But you need the right preparation and paint to transform your bathtub successfully.

Weighing the pros and cons of freestanding bathtubs? Learn the good, the bad, and the costs to decide which bathtub best fits your bathroom and budget.

Is bathtub refinishing worth it? Yes, it can breathe fresh life into your bathroom by making your tub look brand new. It can also save you hundreds of dollars.