

Damaged tiles should be fixed right away. In this guide, find out all of the different factors that affect your tile repair cost.
Give that outdated tile the boot


Your mosaic tile was a staple piece in your home that took your countertops to the next level. But now, you’re ready for something new and want to learn how to remove tile from walls so you can be out with the old (and in with that new ceramic backsplash you’ve been eyeing). In this guide, get a step-by-step play on this removal project and when to phone in a pro.
From broken-up tile pieces to wayward dust—removing tile from your walls can be a tedious safety hazard. So you’ll want to prepare yourself and your area for the job. Use this time to keep traveling dust confined by:
Opening windows
Covering drains and ducts with painter’s tape
Sealing off the area with plastic sheeting
Removing anything that doesn’t need to be in your workspace
Use plastic sheeting and tape to protect anything you can’t remove from the site.
Wear a long-sleeved shirt, heavy-duty work gloves, safety goggles, pants, and a dust mask to protect yourself from dust and falling tile pieces.
Once you’re ready, look for the weakest point on your wall to start your project. See an area where a little grout started chipping away, or there’s a loose tile? Start there. If you don’t see anywhere on your wall like that, pick a spot you’re comfortable with to start removing your grout.

When tiling a wall, grout keeps it in place. So, you’ll need to get rid of this before tackling your tiles. If you’re trying to salvage most of your tiles, removing the grout surrounding them is best. However, if you don’t want to reuse or repurpose your tiles, focus on extracting more grout near the floor or ceiling than in other areas.
The most effective way to remove grout is with an oscillating tool using its grout-removal blade. If you’re using a battery-powered tool (not one that’s corded), lightly spray the grout with water to minimize the dust created. Then, position it at the center of the grout’s seam. If you’re working on a vertical grout line, you’ll hold your tool vertically and hold it horizontally for horizontal lines. Once it’s in position, turn it on and gently press the blade into the grout. Avoid pressing too hard since this can damage your tile or the drywall.
After removing a good chunk of the grout, slightly angle your blade to remove more near the tile joints. If there’s still grout left over, use a utility knife (with a few extra blades handy in case it starts to get dull) to finish the job.

After removing as much grout as you can, it’s time to start working on the tiles. Place your putty knife behind a loosened tile and strike down with a hammer in two or three spots until your tile pops off. If your tile is set into the mortar, you’ll have to break it to remove it.
Using a chisel and hammer, lightly tap your tile to start prying it from the wall. If you can, get someone to help you catch the fallen tiles to prevent shards from flying everywhere. Continue this process until all the tiles are removed.

After all the tiles are gone, the tile adhesive and spacers are the next part of this project that you’ll focus on. Position your putty knife at a low angle to remove the adhesive, and lightly tap on it with a hammer if you need more force.
Don’t try to rush through this step. Take your time chipping away at as much of it as you can. You likely won’t be able to remove all the adhesive, so try to remove enough so that it won’t interfere with adding new tiles. To remove spacers, use a pair of pliers to break them off.
After removing tiles, use a broom to sweep up all the dirt, dust, and debris from your project and place it inside a construction-grade trash bag. Once all the large pieces are out of the way, use a wet-dry vacuum to pick up any dust and debris you couldn’t get with the broom.

Removing tile from your wall can get fairly messy and make your wall look worse for wear. Use this time to inspect it and patch up drywall damages. Fill in dents and tiny holes with a lightweight spackle using your fingers. Let it dry for 30 minutes, then sand the area with a fine-grit sandpaper.
For holes that are slightly larger, but smaller than 4-by-4 inches, use a drywall patch kit and follow the manufacturer’s instructions. You’ll need to remove and repair that portion of the wall for damages greater than 4 inches.
While learning how to remove tile from your wall is possible for a handy DIYer, it’s a tedious, dusty process. Due to this project’s time (and effort) consuming nature, it’s one better left to a tile contractor near you. They’ll have all the tools to remove the tile, take care of patchwork, and dispose (or recycle) your tile for you. Plus, with them removing the tile for you, you can focus more on the tile size and design that’ll shine in your newly available space.
From average costs to expert advice, get all the answers you need to get your job done.
Damaged tiles should be fixed right away. In this guide, find out all of the different factors that affect your tile repair cost.

Tile varies dramatically in price, but there’s something for every budget. This guide will help you plan for tile installation costs, no matter the project.

The cost to install porcelain tile depends on materials, size, and whether you DIY or hire a pro. This guide will help you choose the perfect porcelain tile for your home and budget.

Learn how to remove bathroom tile with this step-by-step guide so that you can finally finish the bathroom reno of your dreams.
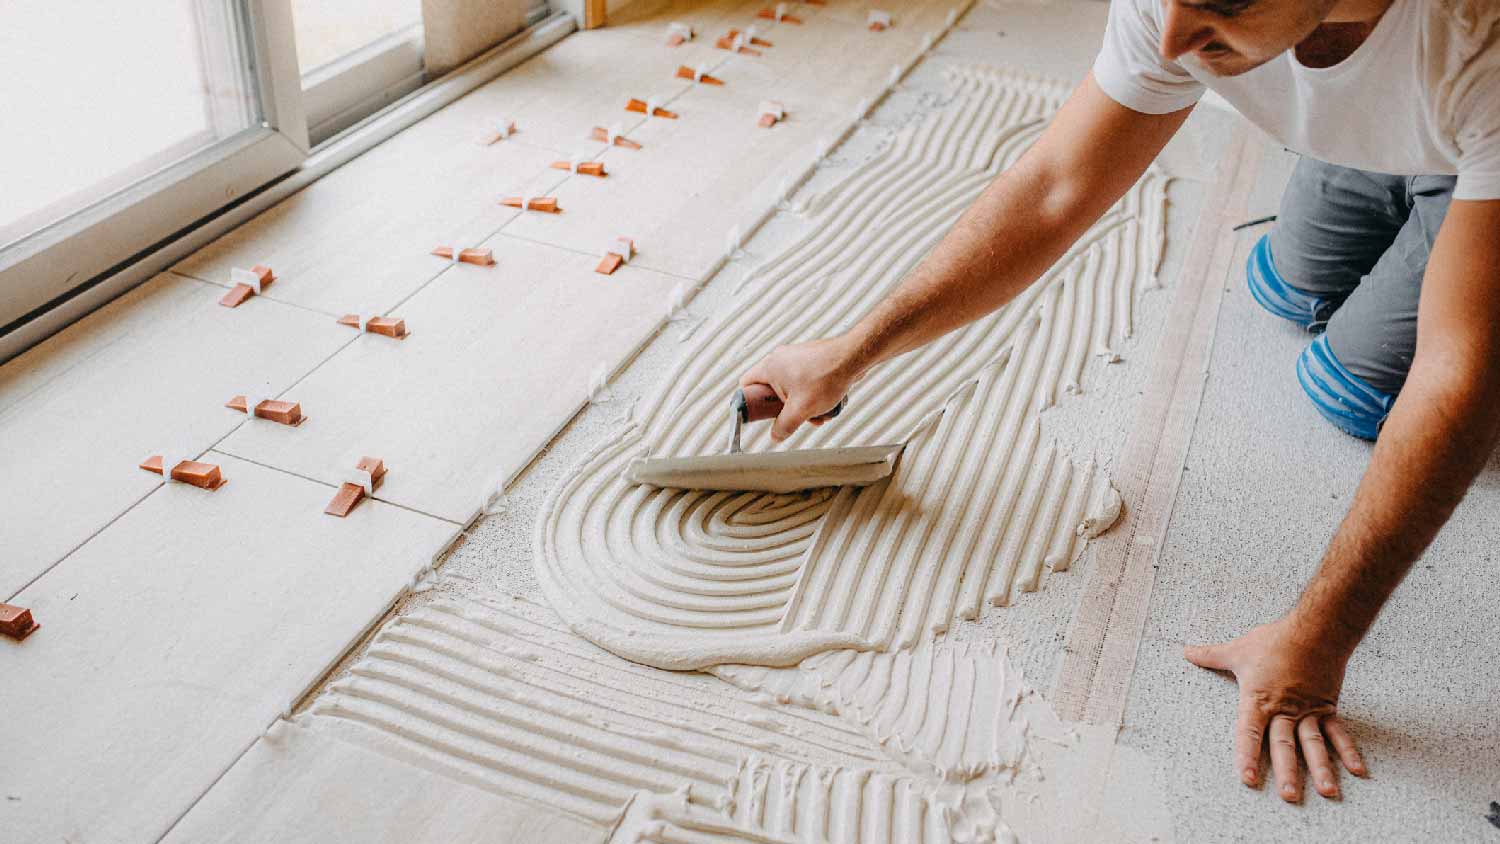
Calculating how much thinset you need involves multiple steps. Use this guide to determine exactly how much of the bonding material you’ll need.

If you’re hoping to restore a painted tile floor to its former glory, the first step is learning how to remove paint from tile. Get started with these tips.