•
Discover the average stucco repair cost, key price factors, and ways to save. Get expert tips to budget your stucco repair project with confidence.
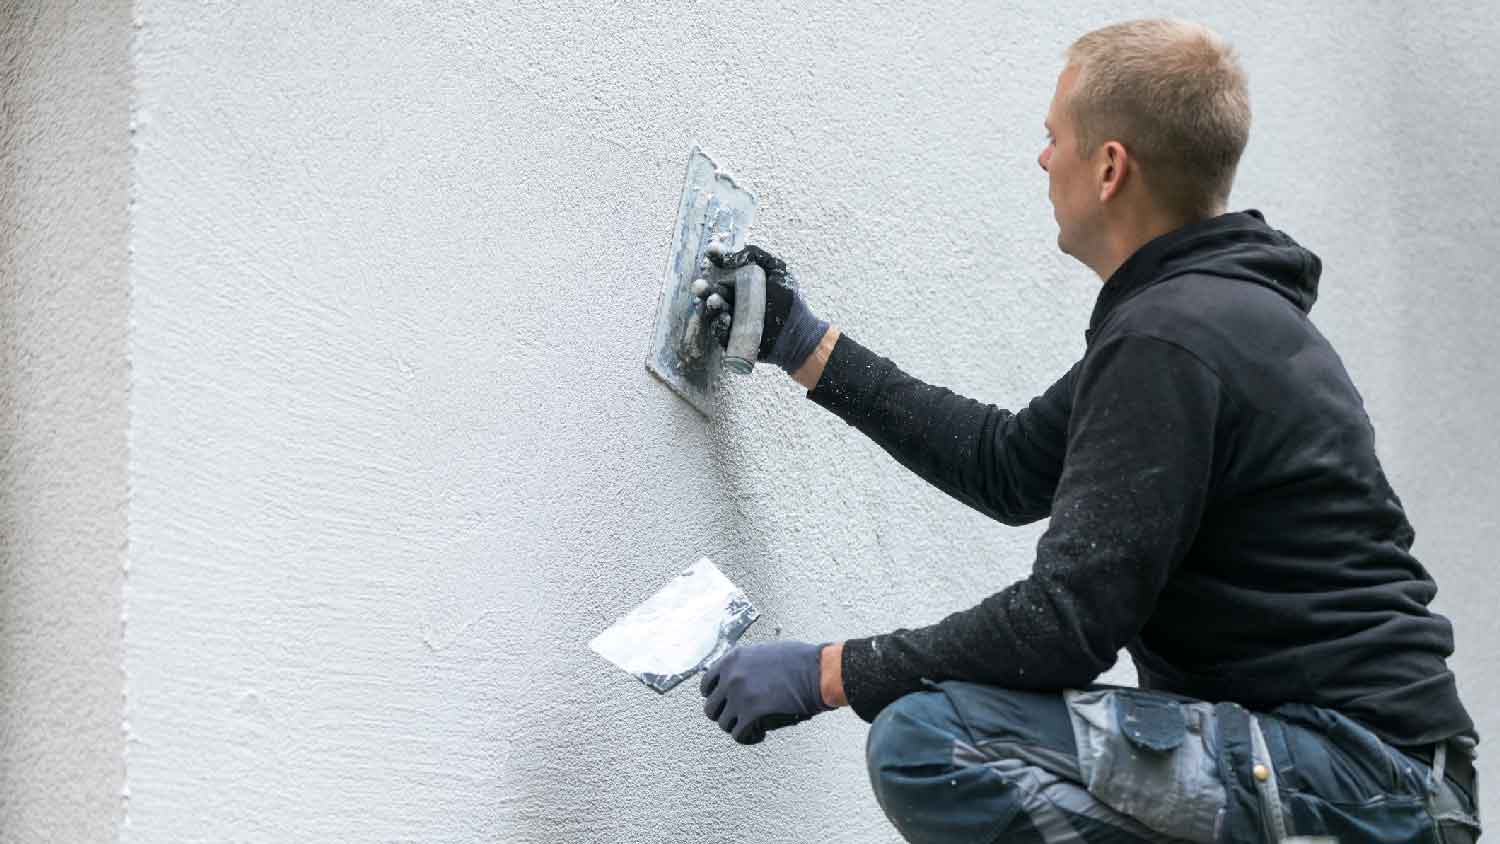
Fear not; you’re not stuck with that stucco


This project can take a long time to complete if you’re doing it in your off-time. Hiring a pro ensures a job done well and a quicker turnaround—plus you get your weekends back.
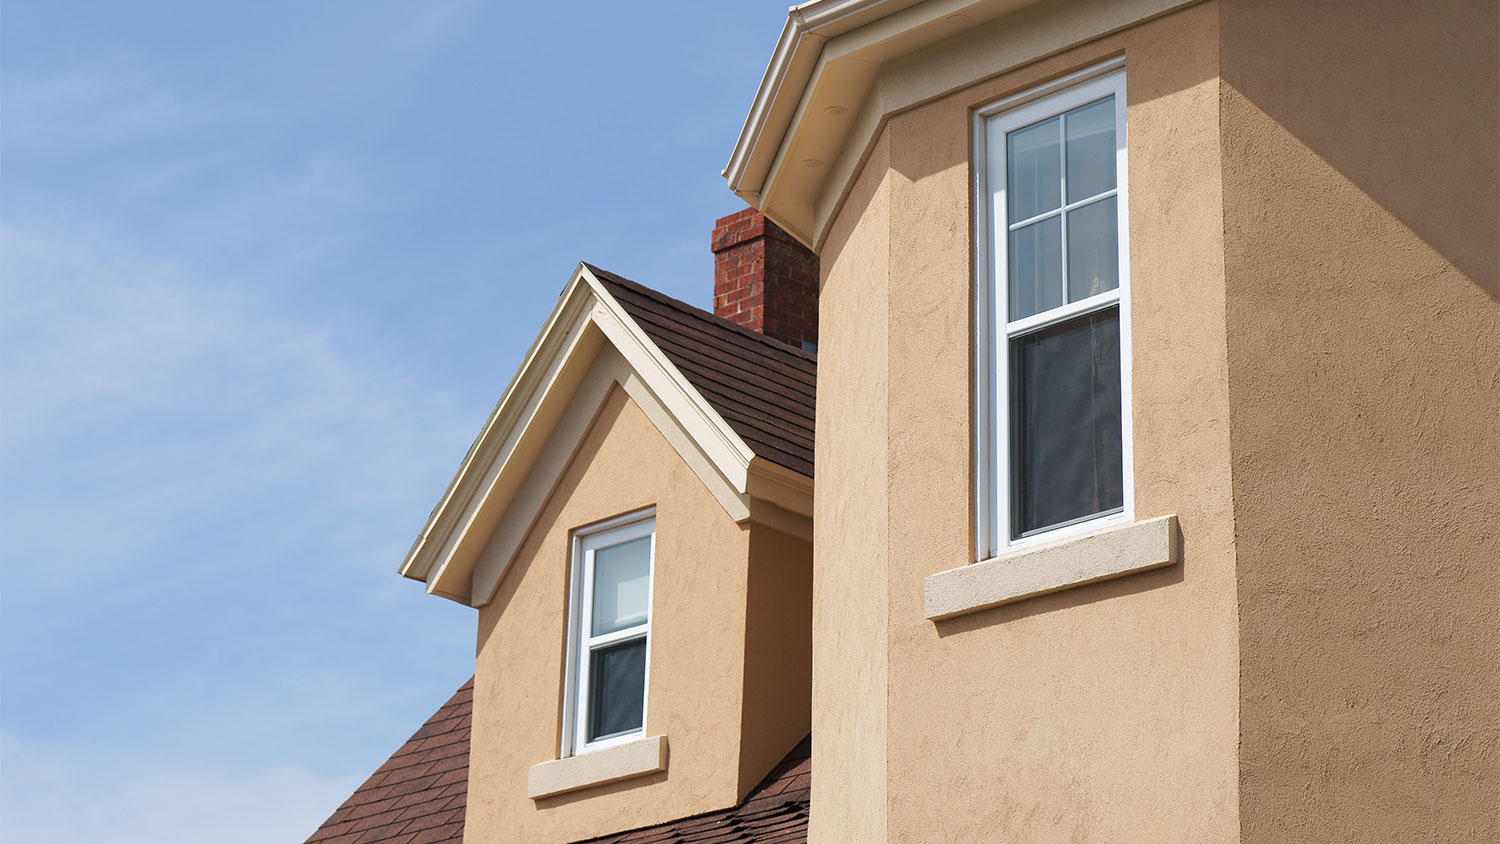
If you’re not a fan of the exterior stucco on your home and want to see what’s underneath (fingers crossed for high-quality brick!), knowing how to remove stucco and tackling the job yourself can save you $2,000 to $3,000 on the cost of siding removal. This is a labor-intensive job, but with the right tools and some safety tips, you can get it done in a day or two to prep for new siding and a fresh look for your home.
Stucco is a masonry product, and when you start taking a hammer and saw to it, you’ll get a lot of dust and small bits breaking off. Start by laying a large tarp on the ground to catch the debris. This will save you a lot of cleanup time later on.
You should also have a piece or two of plywood handy to cover windows as you work. Stucco is heavy—if you accidentally drop a piece as you’re removing it, you risk breaking through glass if you don’t safely cover nearby windows. Use your circular saw to cut pieces to place over windows, just to be safe.
You’ll also need to assemble scaffolding or put up a ladder if you’ll be working on a two-story home. Remember to wear safety equipment while you work, including work gloves, a respirator, ear protection, and safety glasses.

Choose a small section of stucco in an area that’s not readily visible, like a spot behind a bush. Use your hammer to create a hole to expose what’s underneath. The goal here is to see what materials are behind the stucco and gauge the stucco depth.
Set your circular saw depth so that it reaches down almost to the rear side of the stucco itself. Aim for the blade to stop about 1/8-inch in front of the back side of the stucco. Single stucco applications are often between 3/8 and 1-1/8-inch thick, but if the previous owner put stucco over stucco, it could be up to double that thickness.
Next, use chalk to draw rough guidelines for your cut marks. Aim for 1-foot-by-1-foot squares, and offset the vertical lines from studs if there’s no sheathing or siding behind the stucco. Studs on exterior walls are 16 inches apart on center, so you can measure from the first stud you find to locate the rest. This will help prevent accidental damage to the structural components.
It might be tempting to cut larger squares to make the job go more quickly, but stucco is heavy, so working with smaller pieces is safer.
Install a diamond-toothed masonry blade on your circular saw and cut out the first square along your guidelines. Then, grab the exposed edge of the square and pull it off. You might need to use a crowbar to loosen it, but have an extra set of hands to hold the section while you pry to prevent it from falling onto your feet.
With the first square removed, use tin snips to cut the wire mesh around the perimeter of the hole you created. You’ll need to remove the lath anyway, and doing it now will help the rest of the removal go more smoothly.
Continue the process of cutting squares, prying them off, and then cutting the metal mesh behind it until all of your stucco is removed.
As you’re removing the stucco, keep your worksite clear by hauling away large chunks in a wheelbarrow. Having a dumpster nearby will make the haul-away easier, but you can also stack them and then hire a local junk removal company to come and pick them up. Professional junk removal costs between $100 and $600 for construction debris. Once the larger pieces are clear, lift the tarp with a friend to move the dust and smaller pieces into the dumpster.
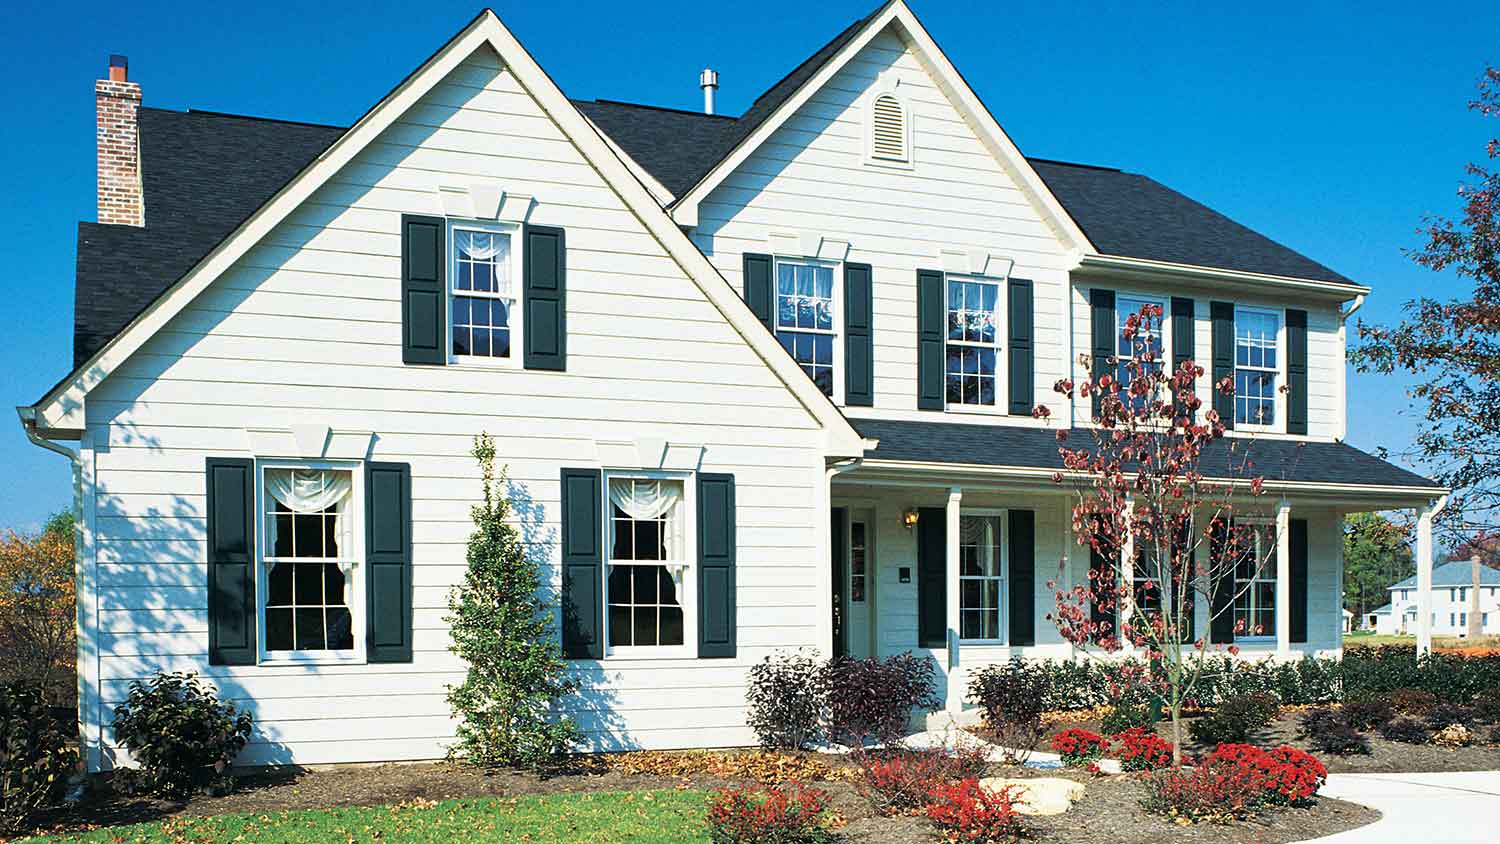
If there is brick beneath the stucco you remove, and you want to salvage it, you’ll need a wire brush to remove any residual stucco. You can also clean up sheathing if that’s what you find to prep it for new siding installation.
If you know how to remove stucco, the process is relatively straightforward. Still, there are some common mistakes you should aim to avoid for the best results.
Setting your circular saw blade incorrectly: You need to get the proper depth for your blade before you start cutting. Too shallow, and prying squares of stucco off will be too challenging. Too deep, and you risk dulling your blade on the metal lath or cutting into and damaging siding, sheathing, or structural studs below. Aim to get within 1/8 of an inch of the rear side of the stucco.
Working in bad weather: Getting up on a ladder or sheathing is always inherently dangerous, but it becomes much more dangerous in inclement weather. Avoid working until the forecast is clear for a few days. Plus, you don’t want to leave the building materials behind your siding exposed to water.
Doing too much too quickly: Once you get going on stucco removal, you may want to finish the job before moving on to siding replacement. However, you should go wall by wall, if possible, removing stucco and then installing new siding, especially if you plan on DIYing the new siding installation, too. This will prevent your building materials from being exposed for too long and sustaining damage.
Removing stucco yourself is doable if you have all the tools you need, are comfortable putting in some serious time and effort, and have a plan for how you’ll reside your home to keep it safe. However, there are some dangers to removing stucco: The pieces are heavy and could easily fall on your feet, and it’s also possible to damage windows and the underlying building materials when removing the stucco.
On top of that, you might uncover a bigger project than you’re comfortable handling, like severe water damage, pest issues, or deteriorating mortar on hidden brick siding that you planned on exposing.
If you aren’t comfortable on scaffolding, don’t have the proper endurance and strength for this labor-intensive job, or are worried about what you’ll find beneath your stucco, it makes more sense to find a professional stucco company near you and let them handle the project. They can get the job done quickly, avoid doing damage to the structure behind the masonry, and can even plan out new siding installation to get everything wrapped up, including your home, in a few days.
From average costs to expert advice, get all the answers you need to get your job done.
Discover the average stucco repair cost, key price factors, and ways to save. Get expert tips to budget your stucco repair project with confidence.

Get transparent stucco inspection cost info. Learn what impacts price, how to save, and what to expect before hiring a pro for your stucco inspection.
Discover the cost to stucco a house in 2025, including average prices, key factors, and tips to help you budget and plan your stucco project with confidence.

Weigh the pros and cons of painting stucco—and estimate the final cost—before calling your local painter.

Whether you’re tackling minor cracks or fixing major damage, learn techniques, necessary tools, and common mistakes to avoid when repairing stucco.
Knowing how to measure for siding gives you a more accurate estimate for installation cost. Learn how to get measurements yourself in just a few steps.