

Discover the leading factors affecting your main water line replacement cost in Columbus, including length, material selection, and installation details.
Removing a drain may be the only way to fix a sink clog


A broken or clogged drain can be a real pain, especially when you’re trying to brush your teeth quickly before heading to work or washing the dishes before bed. Fortunately, though, it’s not a difficult problem to fix. We’ll walk you through how to remove a drain from a sink step by step so you can clear that clog and get things flowing again.
Before you start removing the drain, you'll need to clear some space to work. You may have a fair amount of clutter underneath the sink, like cleaners and spare trash bags, so take all of that out. There’s a possibility some water will escape from your drain in the process, so remove any small appliances or other items that could get damaged. While you’re there, you have a good opportunity to scrub down the area, too.
You might also want to consider carrying out other repairs and maintenance steps while you’re removing your sink drain since you’ll already have access to the plumbing. These include removing your faucet aerator for cleaning and fixing a leaky faucet.

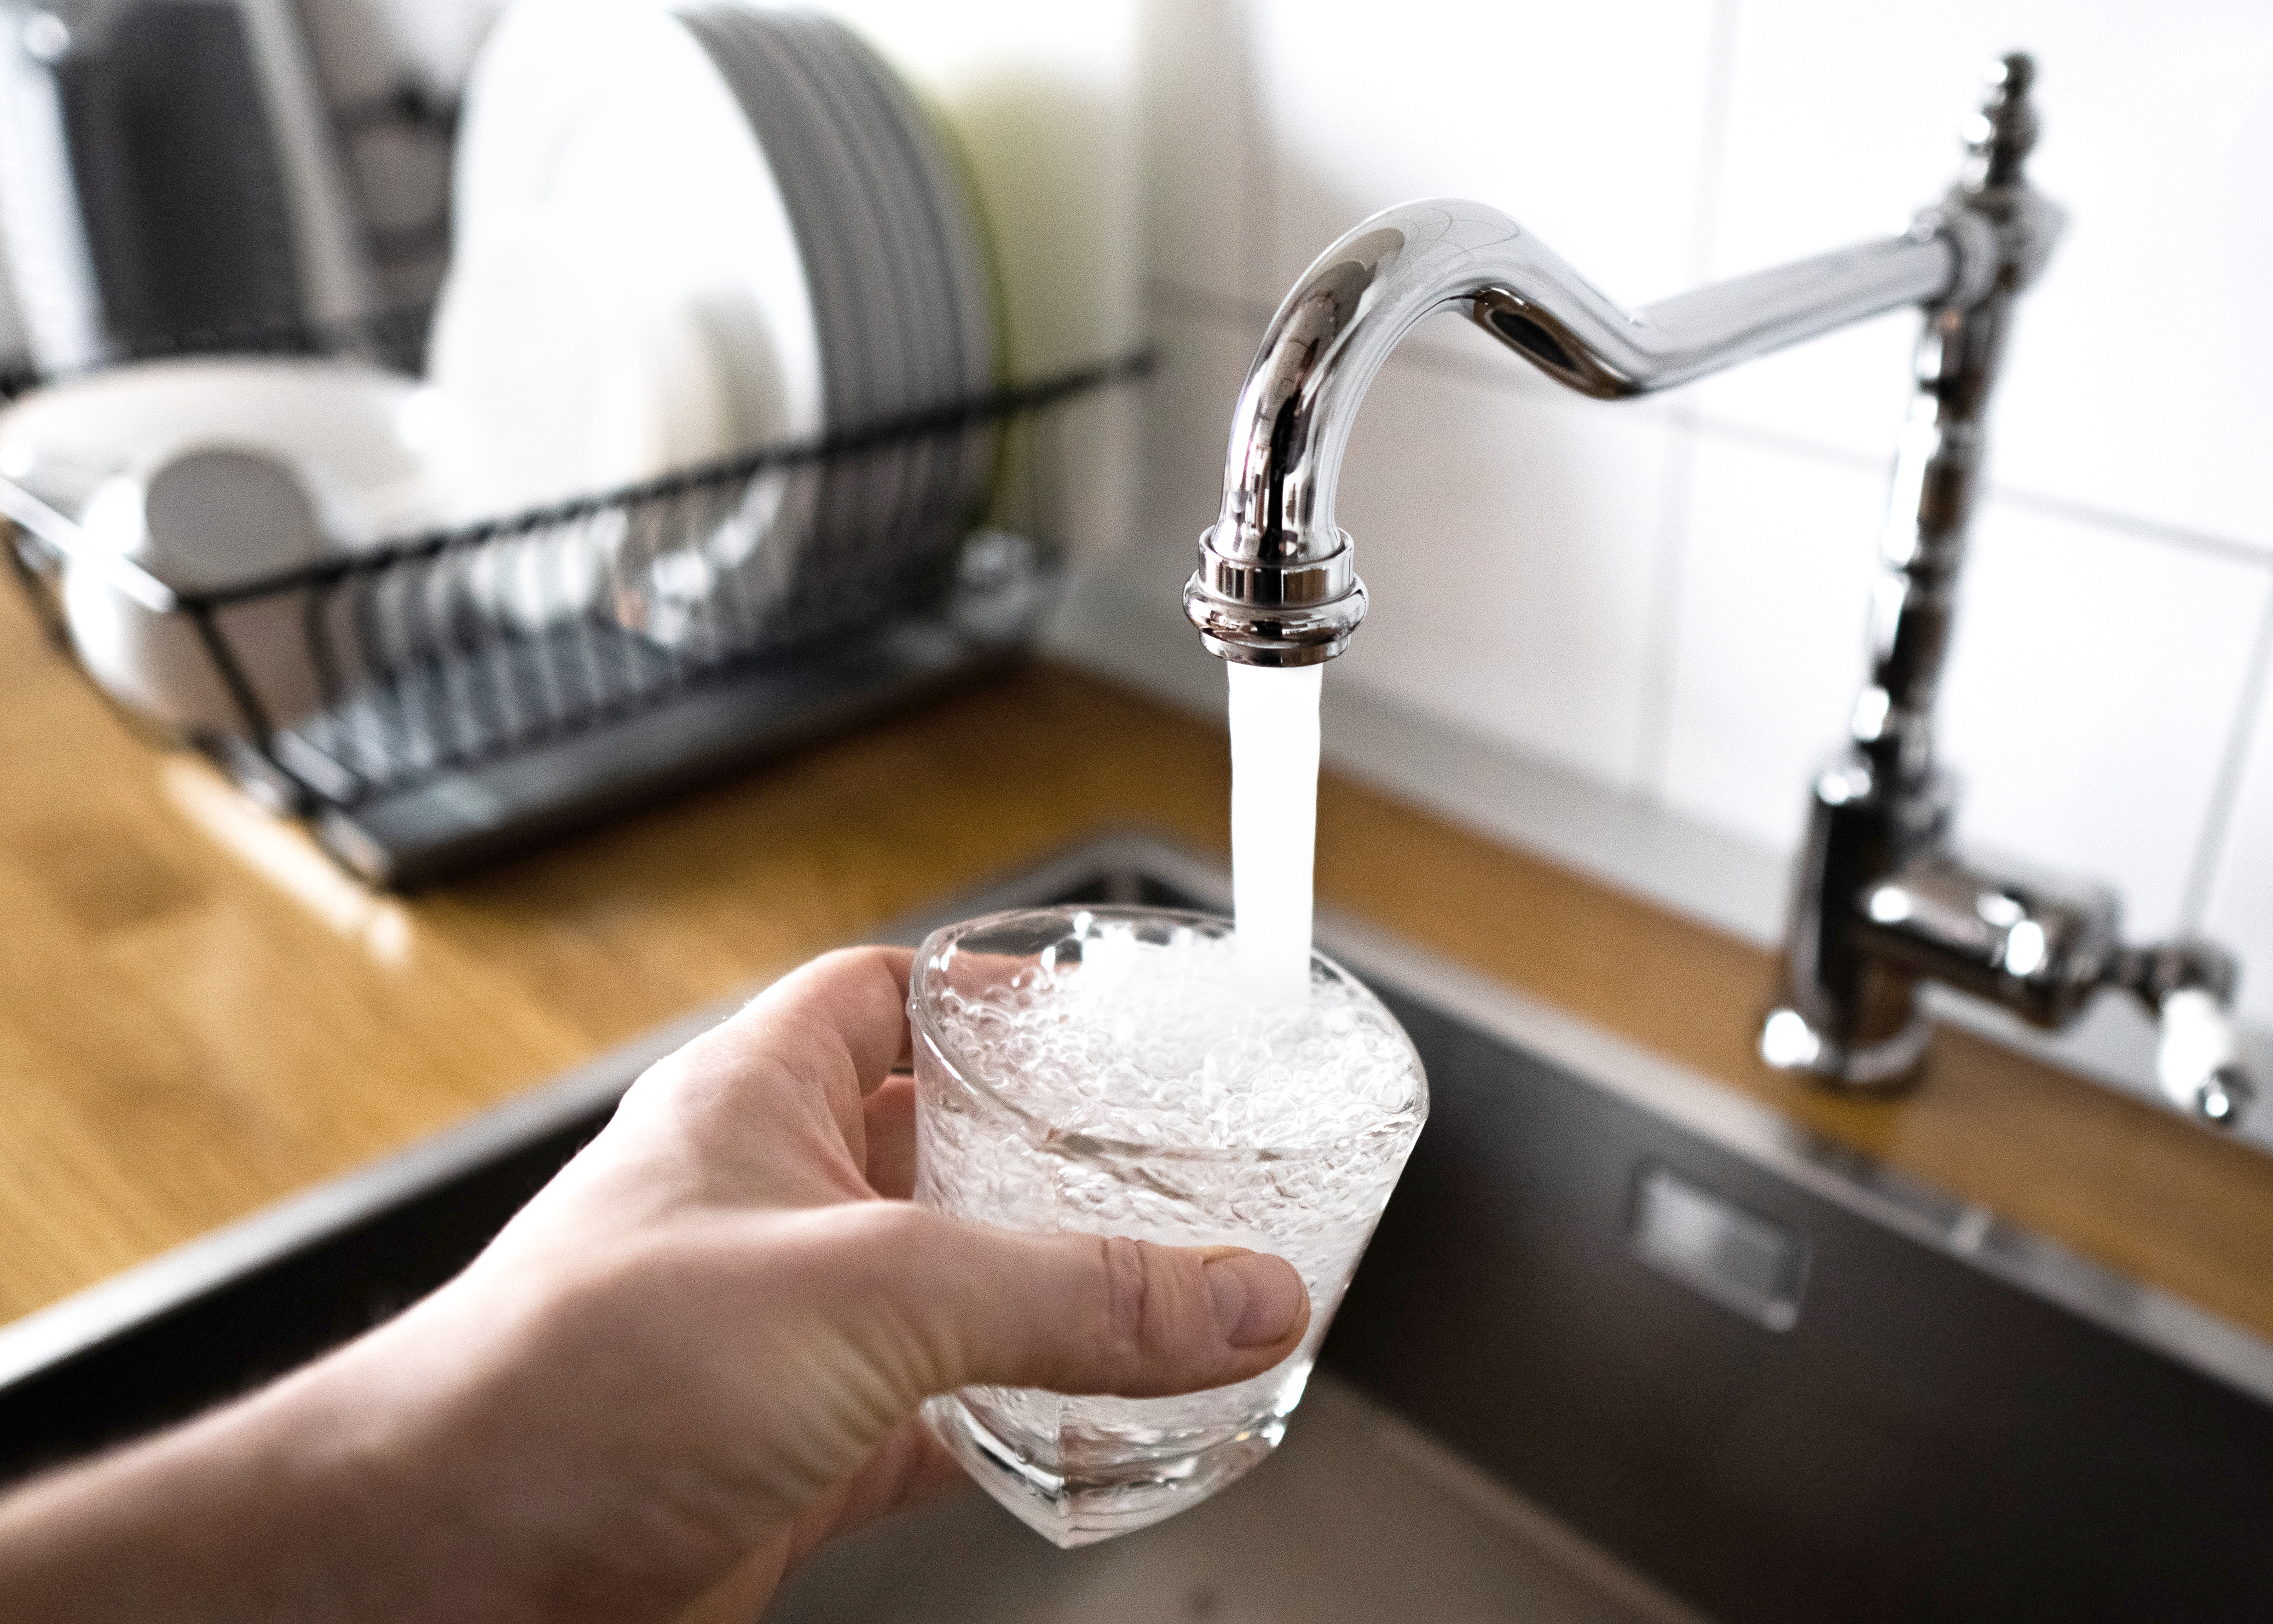
The first step in most plumbing jobs is to turn off your water supply. You can accomplish this by turning off your sink’s shut-off valve, which looks like a knob connected to your pipes and water lines under the sink. Turn it clockwise and test to make sure the water stops flowing. This step isn’t totally necessary, as you’ll only be working on the drain lines and not using the supply lines, but it’s good practice and can help avoid mishaps.
If this isn’t working for some reason, you can also use the shut-off valve for your home’s water supply. Keep in mind that if you go with the latter, you won’t be able to use any water fixtures in your home, so always try turning off the water to the sink first.

Remove the trap, or the curved pipe under your sink, by using your hand to loosen up the joints. Place a bucket or tray underneath to catch any water that flows out. Take a minute to clear any gunk or food scraps out of the P-trap, as this is a common place for clogs to start.

The tailpiece is a small section of metal—usually brass—that extends down from the drain at the bottom of your sink. You will see these as part of a kitchen sink faucet and drain system, but they might not appear in your bathroom faucet and sink drain setup.
You can disconnect it by holding your drain in place using a drain wrench, and then, using your channel lock pliers, unscrewing the slip nut that holds the tailpiece to the drain. Set these pieces aside.

At the top of the drain in the sink, remove the drain stopper, if you have one. You may be able to do this by hand by grabbing it and twisting it. However, if it doesn't come out this way, you'll need to take a few more steps. Find the horizontal plunger rod underneath your sink, which is attached to the stopper. Remove the metal clip that holds the rod in place, and then remove the rod.
There should be a pivot nut attached to the sink drain. Place a bucket underneath it and then unscrew the nut with a wrench, allowing any water that has collected to drain into the bucket. Then, you should be able to pull out the sink stopper from the top of the sink.

Take off any accessories or covers on your drain, then use a wrench to take off the lock nut that attaches it to your sink.
Place your drain wrench into the top of the drain again to lock it into place, and then use your channel-lock pliers to loosen the nut attaching the drain to the underside of the sink.

Clean the drain hole thoroughly using a gentle cleanser. You may also need to scrape any old plumber’s putty off of the surface using a razor blade or a putty knife. Once the area is clean, roll a chunk of plumber’s putty out and aim for a line that can stretch around the opening of the drain and maintain a thickness of around ¼ inch. Put the putty around the drain so that it will form a seal. You are now ready to install a new drain (or put the old drain back into place).
Removing a sink drain isn’t something that needs to be done on a regular basis, but there are certain situations where it’s the best solution.
The drain pipe is clogged: For a clogged drain, you can use a drain bladder, drain snake, or drain cleaner. But if the clog proves too stubborn for these methods, you might need to remove the drain from the sink to clear the debris.
The drain is damaged or rusty: If your drain is damaged or rust builds up on it over time, you can remove it and install a new one to upgrade its look and ensure it functions properly. A sink installer near you can help you upgrade your entire sink when the time is right.
You dropped something down the drain: Dropping an item down the drain doesn’t mean it’s gone forever. You can retrieve a lost item from the bathroom sink or another sink by removing the drain, removing the item from the pipe, and then putting everything back together.
While removing a sink drain is a fine DIY project, it can be tough to know how and where to start unless you have some experience fixing plumbing issues in your home. If you’re not confident or want to save time, call a local drain cleaning service to do a professional repair instead. They can walk you through which parts of your plumbing system are causing problems and may need repair.
Additionally, we recommend calling a professional if you run into related problems or believe frozen pipes are causing the clog. In the interim, drip your faucet with hot water and call a pro to resolve the issue alongside removing and replacing your drain. A certified plumber can diagnose problems and determine if there’s a hidden related issue.
Your plumber should also be able to answer any questions you have about whether or not a problem is serious enough that you should hire a pro. They may even recommend different courses of action and steps to keep your pipes above freezing temperature to prevent your pipes from freezing in the future.
From average costs to expert advice, get all the answers you need to get your job done.
Discover the leading factors affecting your main water line replacement cost in Columbus, including length, material selection, and installation details.
Learn about main water line repair costs in Columbus and what affects pricing to be prepared before you start getting estimates.

Learn how much plumbers cost in Columbus, Ohio. Discover pricing for faucet repairs, pipe work, and emergency services, plus how you can save money.

If your faucet hasn’t been working like it used to, you might need a replacement. Here’s how to replace a kitchen faucet like a plumbing pro.

Not sure who to hire for undermount sink repair? Countertop specialists are the best place to start, but plumbers may also be helpful.

If your tub stopper is ruining bathtime or it’s time for a new one, you can easily DIY the job. Keep reading to discover how to remove a bathtub drain stopper.