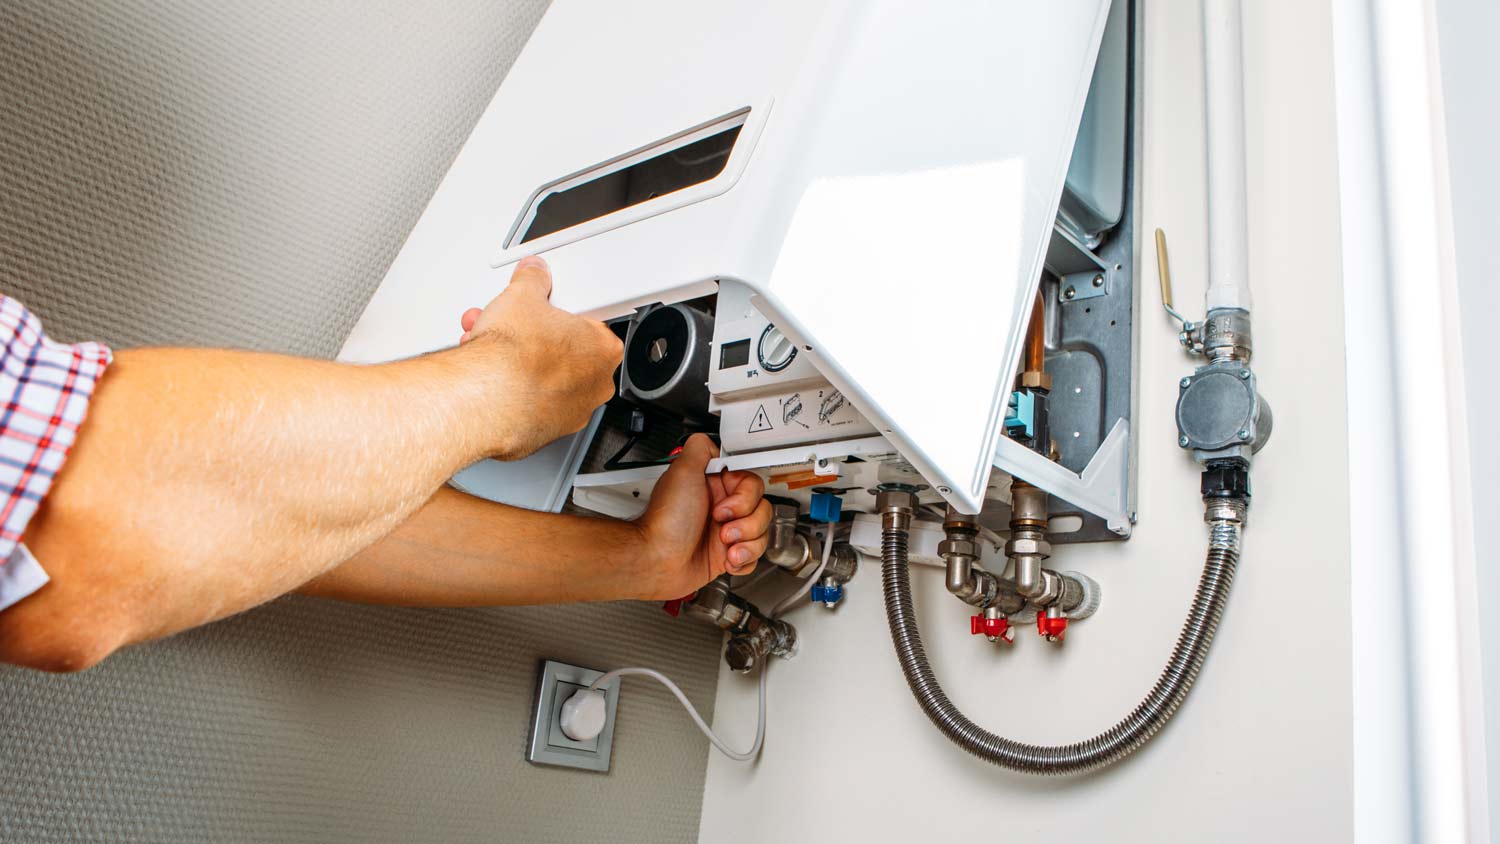
The average boiler installation cost depends on size, system type, and other factors. Keep reading to learn the cost of a new boiler in New York City.
Get rid of your baseboard heater safely and simply


Baseboard heaters used to be a popular way to warm up your home, but these days, there are more efficient and cost-effective options. If you’re thinking about switching to a new system, your first step is learning how to remove a baseboard heater. Let’s walk through the process of pulling out an old baseboard heater to make room for a new heating system.
Complex, high-risk projects demand more than typical DIY projects. They require time, specialized tools, and trained expertise to make sure the job is done safely and correctly. We made it easy for you to find a local pro—with our skilled network, you'll get the job done without the stress of doing it yourself or significant safety risks.

While the process of removing a baseboard heater is pretty simple, there are a couple of things to keep in mind before you get started. You won’t need any pricey tools or expertise, but since baseboard heaters are electric devices, you should be comfortable working with electricity. If not, consider hiring a local baseboard professional to tackle the project.

Before anything else, you need to make sure that the electricity is off—otherwise, you could get electrocuted while you’re working with your baseboard heater. To do this, head to your circuit breaker box and turn off the switch that controls your heater’s power.
With the power off, the next step is learning how to remove the baseboard heater cover. Fortunately, it’s simple and usually just involves removing some screws with a Phillips screwdriver. When you’re done, set the screws and cover aside.

Next, put on your rubber gloves and locate the wires in the heater. Unscrew the wire caps, pull the wires apart, and disconnect them from the heating unit.
Depending on your heater’s voltage, there may be three or four types of wires. With a 120-volt heater, you’ll see pairs of white, black, and ground wires; with a 240-volt heater, you’ll find white, black, red, and ground wires. Make sure to disconnect all of the wires before moving to the next step.

Grab your voltage tester and check the wires, ensuring no power is running through them. You’ll do this by connecting one probe to the black wire and the other to the white or ground wire.
If the wires are dead, the meter should read zero, and the tester’s lights should stay off. But if the meter shows an electricity reading or the lights activate, you’ll need to go back to your circuit breaker and shut off the correct breaker.
Don’t touch any wires or remove the heater until you’re sure that the power is off.
Inside the heater, you should find a few screws that hold the unit to the wall. Unscrew them with your Phillips screwdriver, then carefully pull the heater away from the wall, making sure not to yank on the wires. If the heater gets stuck, use a putty knife to help you remove it.

Once the heater is gone, you’ll need to tidy up or get rid of the leftover wires. Wire removal should always be handled by a licensed professional, but you can tuck them away temporarily until a pro visits your house. To do this, add wire nuts onto each wire, then put them into an electrical box with a cover.
With the wires sealed and secured, you can start to clean up the space where your heater was. You can start by cleaning any marks off the walls and floor, but you might want to wait to repaint or fill holes until after an electrician comes to remove the wires.
Now that you know how to remove a baseboard heater, you might be debating between doing it yourself or hiring an expert. If you’re okay with doing a bit of light electrical work, this is certainly something that you could handle yourself. But if that makes you nervous, then you’re probably better off getting professional help.
You might also prefer hiring a pro if you plan on installing a new baseboard heater after you remove your current one. On average, baseboard heaters cost between $380 and $1,280, with a typical project cost of $830.
From average costs to expert advice, get all the answers you need to get your job done.

The average boiler installation cost depends on size, system type, and other factors. Keep reading to learn the cost of a new boiler in New York City.

Discover the factors influencing air duct replacement cost in New York City. Learn how to save money and make an informed decision for your home's comfort.

You’ll spend an average of $5,466 on new furnace costs in New York, New York, but your final price depends on a number of factors. Here’s what to expect.

If you need to repair a gas boiler or radiator heating system, you should first talk to a pro. Here are the top radiator repair questions you should ask.

A HEPA filter can help clear airborne particles that plague your home, such as dust and pollen, making the air cleaner and easier to breathe.

An icy coil can create costly AC repairs. Learn what to do if the evaporator coil freezes to ensure your HVAC system operates efficiently.