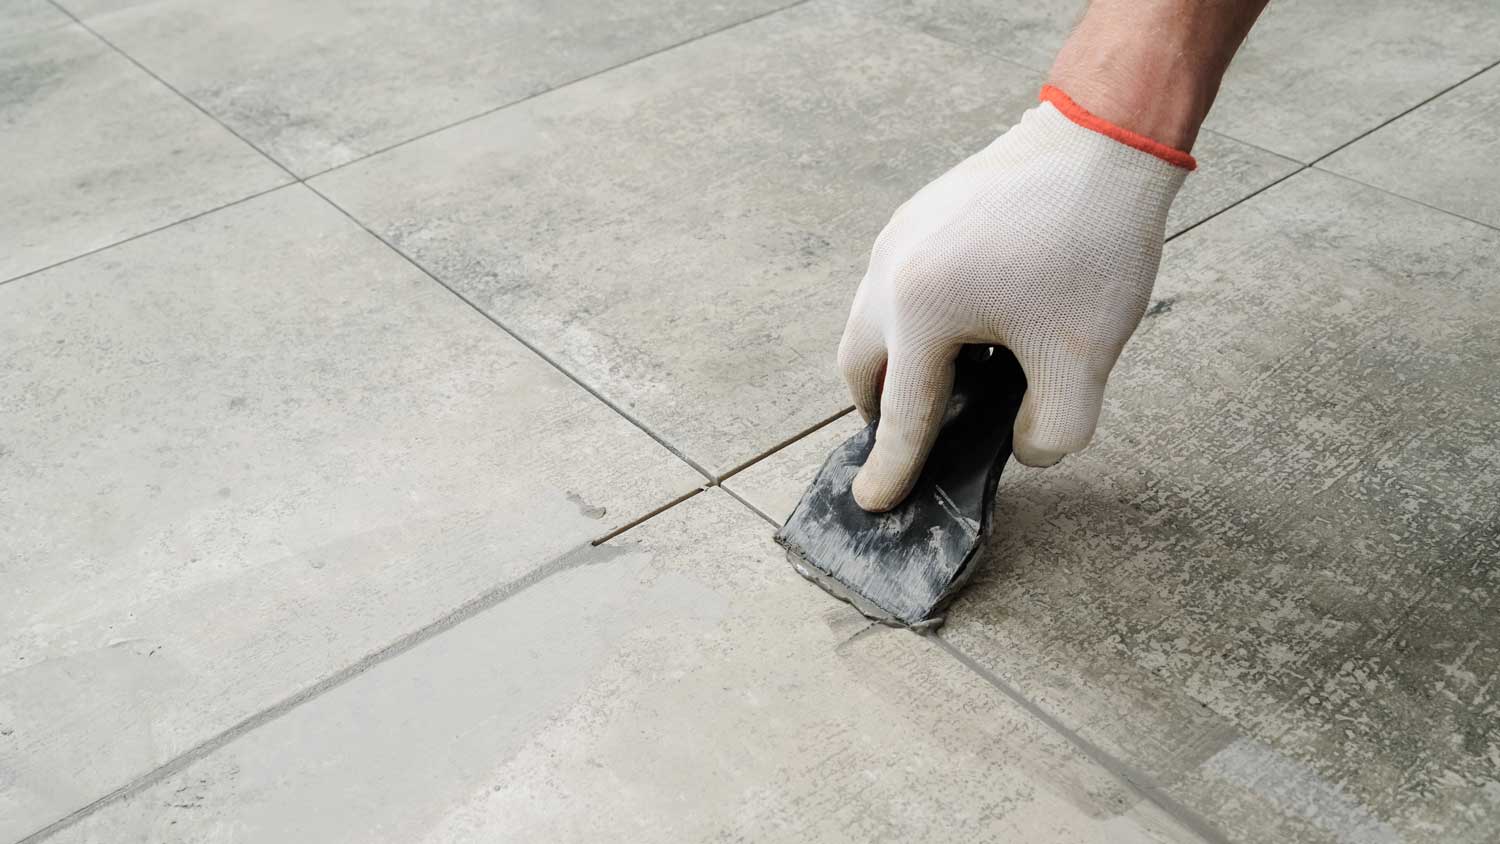
Damaged tiles should be fixed right away. In this guide, find out all of the different factors that affect your tile repair cost.
Take down a tired backsplash in just a few hours


A good tile backsplash shouldn’t budge—after all, it’s set in place with mortar and grout, two cement-like substances that dry hard. But what if you want to remove it? If it’s time for a kitchen or bathroom update, the good news is that you should be able to remove a backsplash yourself while doing minimal damage to the wall. Here’s how to do it.
Cover countertops with plastic or cardboard and plug any sinks to make sure tile and drywall don’t end up in the drain. Turn off the electricity to the area by shutting off the circuit breaker because, depending on the location of the backsplash, there may be wires and cables running behind the drywall. Remove outlet covers and any other obstructions, including trim pieces.
There will likely be a line of caulk sealing the seam between the backsplash and the counter. Using a utility knife or caulk removal tool, cut a line through the caulk, then peel it away.

Removing the grout should help loosen the tiles so that they come off of the wall with as little damage as possible. To remove the grout, use a multi-tool fitted with a grout removal blade or a dremel tool. Working slowly, grind the grout away, throwing large chunks in the garbage and vacuuming up smaller bits and dust with a shop vac. Unless you plan on reusing some of the backsplash materials, you don't have to worry about damaging the tiles, and you don’t have to get every bit of the grout—just get enough to make removing the tiles a little easier.
Beginning at the top row of tiles in a corner, preferably in an inconspicuous spot like behind the stove or refrigerator, use a putty knife or chisel to gently pry the tiles from the wall. To help get the tool behind the tiles, you can tap the handle with a hammer or rubber mallet. As the tool moves behind the tile, pull the handle toward you and then push it away from you to pry the tiles from the wall. Work from the top row to the bottom.
After all the tiles have been removed, there will be mortar left on the wall. You can scrape the high spots with a putty knife to make the surface level. You can also use sandpaper to smooth rough spots. Scraping and smoothing the leftover mortar will give you a good base for when you install your new backsplash.
It’s likely that some drywall will get damaged in the process of removing the tile backsplash, but it should be easily fixable with some drywall joint compound. For small depressions, scrapes, or holes, use a putty knife or drywall knife to smooth the joint compound over the area. Once it dries, use 120 grit sandpaper to make it smooth.
Backsplash removal is relatively easy for an experienced DIYer. But if you’re having a tile contractor near you install a new backsplash, it may not add much to your overall tile installation costs to have them remove the old backsplash, too. It costs between $3 and $6 per square foot for professional backsplash removal, while the cost to install a backsplash runs between $15 and $40 per square foot.
From average costs to expert advice, get all the answers you need to get your job done.

Damaged tiles should be fixed right away. In this guide, find out all of the different factors that affect your tile repair cost.

You're planning a bathroom remodel, but how much will it cost to retile your bathroom? Read this guide to find out.

Discover the average cost of grout repair, key price factors, and tips to save. Get expert advice to plan your grout repair project with confidence.
Discover the key differences between sanded versus unsanded caulk and find the best fit for your home projects with this comprehensive guide.

Learn about the seven types of grout so that you can choose the right one when installing tiles on any wall or floor in your home.

If you’re starting a bathroom refresh, you may wonder if you can paint shower tile. Find out everything you need to know about shower tile paint in this guide.