

•
Wondering how much it costs to refinish a table? Get average prices, cost factors, and tips to help you budget and choose between DIY or hiring a pro.
You'll be planning your next dinner party before the finish even dries

Your wood table needs stripping and sanding to remove old finish and expose bare wood for proper furniture refinishing services to work effectively.
Professional furniture refinishing services cost $400 to $700 on average, while your DIY materials run $50 to $200 for stain, stripper, and finish.
You need at least two coats of stain for rich color, sanding lightly between applications to create a smooth, even surface.
Hiring a local furniture building professional takes the guesswork out of stripping and staining, helping you achieve a smooth, even finish without dedicating your entire weekend.
Classic wood kitchen and dining room tables are often passed down from generation to generation. And if you didn't get one from your Great Aunt Joan, then maybe you found it in the depths of a vintage furniture store just waiting for some TLC. Luckily, while refinishing a table by yourself may look daunting at first glance, it's actually a very straightforward DIY that just takes a bit of time and elbow grease.
Begin by moving your table of choice to a well-ventilated area. A garage, partially enclosed porch, or an outdoor work area is best. Place your table on a wide drop cloth and make sure you can leave the table overnight safely to dry without disruption.
If you have an industrial or farmhouse-style table, cover any metal hardware with painter's tape. This step will keep the stripping and finishing chemicals from damaging the table's color.

It may seem odd to wipe down a table before removing its finish, but do not skip this step. Dirt and debris can get in the way of the sanding process and even damage the natural wood.
Use a clean cloth or paper towels and wipe down each section of the table—legs and all—with a wood-safe all-purpose cleaner.
Before you break open the can of varnish stripper, read the instructions on the container for safety and use tips. Paint and varnish stripper instructions will slightly vary brand by brand, specifically regarding how long you should leave on each layer.
This step is also the time to pop on those goggles, gloves, and a mask. We also recommend a long-sleeved shirt, full-length pants, and closed-toed shoes.
Use a paintbrush to generously apply the first layer of the stripper. Most varieties recommend leaving it on for 15 to 20 minutes, but keep an eye on the coat. It can be difficult to wipe off if it dries too much, so the length of time may depend on your project.
Here's the fun part. Once you've waited the appropriate amount of time, push a plastic scraper or putty knife along the grain of the wood to remove the varnish beneath. Be careful with metal scrapers, as they can scratch the wood underneath.
You may not be able to remove all the varnish in your first pass. After delicately removing as much of the wood table stain as possible, apply another layer of stripper and repeat the process until you can see the bare wood grain beneath.
While some furniture renovators choose to skip this step, you can remove the remaining residue of stripper and varnish with mineral spirits. After your table is dry from the varnish-removal stage, apply a thin layer of mineral spirits with a clean cloth and wipe in the direction of the wood grain.
Yet again, allow the table to fully dry before moving to the sanding phase.

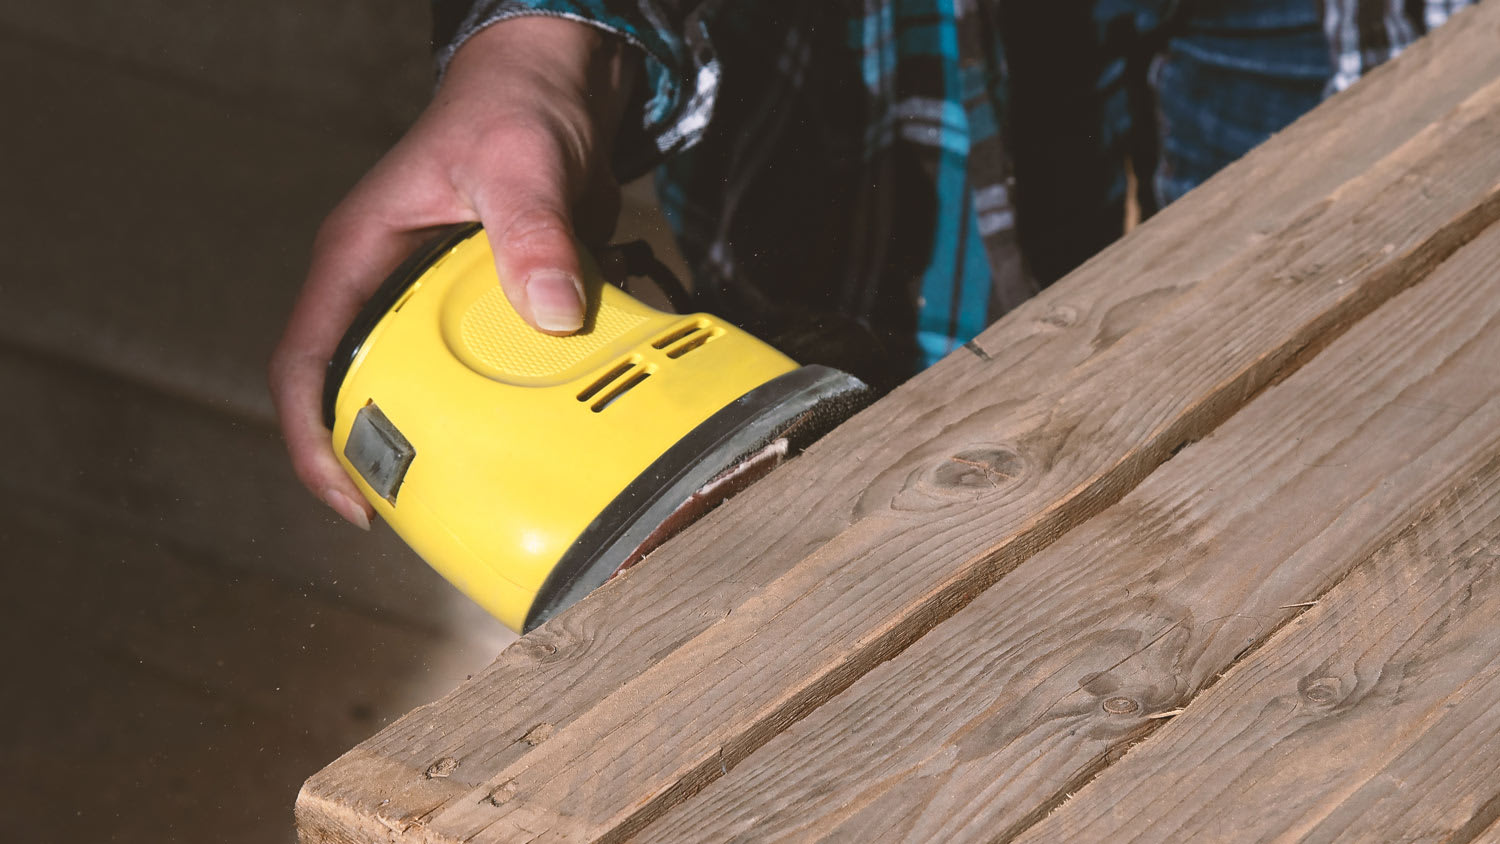
Begin by sanding the full surface of your wood table with coarse-grit sandpaper in the 60 to 100 range. Whether you sand by hand or with a belt sander, move in the direction of the wood grain and be careful not to cut into the wood with the edge of the sander. Move to finer and finer-grit sandpaper with each pass—up to 160 and eventually to 320, for example.
Curved and carved areas of the table can be trickier to sand, so break out the grade #000 steel wool for these areas.
Go over each surface with a tack cloth to remove the dust and sand from the process.
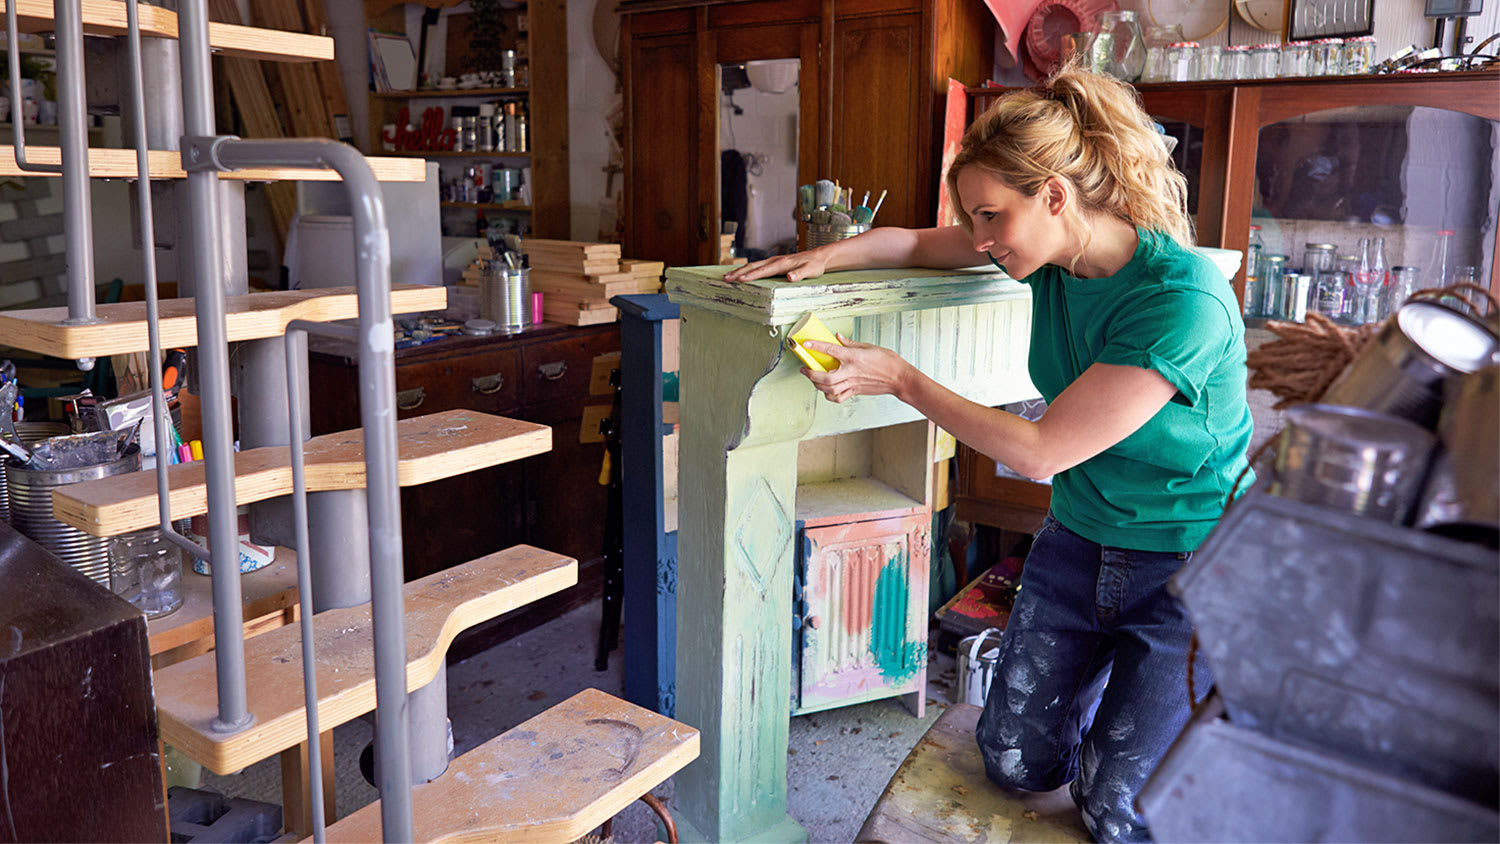
You have your pick of stain types and colors, but remember that the stain will absorb into the wood quickly since it's been stripped and sanded. The trick here is to apply an even coat that dries just as evenly.
Apply the stain with a paintbrush in the direction of the grain, and then wipe any excess with a cotton cheesecloth after it's had a few seconds to set in. Cotton will do a better job at absorbing the liquid. Above all, follow the specific instructions on the side of your stain can.
In most cases, you'll need to apply at least two coats of stain to get a smooth, rich color. Begin by letting the first coat fully dry—this will typically take overnight, if not 24 hours. Afterward, lightly sand the surface by hand with a fine-grit sandpaper. Add a second stain to the sanded surface and let it fully dry.
Refinishing a dining or kitchen table is best to keep in the stain and protect the wood from knicks and scratches. After all, the finish of such a high-use surface is more susceptible to bumps from plates, cups, and late-night homework sessions.
Apply a clear polyurethane, tung oil, or wax coat of finish according to the can's instructions. For extra protection, apply two coats, waiting for it to dry and sanding in between steps.
Refinishing a table is a great way to push your DIY limits, especially if you're a newbie. But if you live in fear of damaging your great-grandmother's heirloom table, calling a local furniture professional to help out is a great idea. Hiring a pro to refinish a kitchen or dining room table will cost between $400 and $700 on average.
Doing it yourself will only cost between $20 and $120 for the stain, between $10 and $30 for the varnish stripper, and $10 to $60 for a gallon of oil or water-based finish. If you have all the tools, this will bring you to between about $50 and $200 to do it yourself.
Cost aside, however, calling a professional will ensure that you get a smooth and even finish and that you don't have to set aside a whole weekend for the job.
While you will find some paint stains designed to cover over a current finish, it's not wise to skip the preparation steps. However, if there is only a thin layer of finish and stain on your current table—if you bought an old fixer-upper from a thrift store, for example—you may be able to sand off the full top later without using a chemical stripper.
Since dining and kitchen tables get so much daily use, opt for a durable oil-based polyurethane finish for maximum protection. Add a second coat of finish if you use the table on a daily basis.
Painting and staining wood furniture both have their pros and cons. While you will have more color options when painting a dining room table, you will cover up the natural wood grain. The paint may chip faster than the finish, especially for such a high-use area.
Showed up on time and cleaned carpets well, but didn?t move furniture.
My kitchen cabinets look brand new thanks to Custom Paint Jobs LLC. Their refinishing is exceptional.
Couldn't have been a worse experience. 3 of my belongings were lost and 5 belongings were damaged. My furniture was clearly dragged across the ground. The movers couldn't move the furniture I paid extra heavy weight fees for so I had to help them move my own furniture. The manager gave me...
 US Interstate and Rail
SOOOOOOO SHADY!!! We were quoted a max of $500 for 2- one bedroom apartments in the same complex moving to a two bedroom apartment 10 minutes away. The only large furniture that would be moved were 2 beds, 1 dresser, and a couch (very minimal heavy lifting). The movers showed up and joked...
 All My Sons Moving & Storage
Just moved from PA to Columbus in a studio apartment and needed help with some heavy furnitures because I couldn't do it alone. I called Hyremovers and they did a great and timely job and also left my apartment walls intact. Great service!
We ordered our bedroom furniture online in March with expected delivery in early April. 2 days before our delivery we received notice that the delivery would be delayed 2 weeks. We were very understanding and had no complaints. Again, 2 days before our new delivery date we received a notice...
Went well overall! The two downsides were 1) they only provided 2 of the 3 men promised and 2). the office guy who surveyed our apartment prior to the move underestimated the amount of stuff we had so the truck was too small. This meant the moving day lasted a bit longer than anticipated....
 Mr. Mover of Ohio Inc
I would absolutely recommend this business. They offer a variety of services, including: painting, roofing, and refinishing wood flooring. I hired them to refinish the original hardwood flooring in my home built in 1874. The job was quite challenging, as the floors were extremely aged and...
Removed various items (furniture, lamps, other junk) from my home. They were on time, personable, professional, etc. I can't say enough positive things about this company. <br />
Leaders does a very professional and affordable job. They were reliable and the movers treated our furniture like their own. I have used them twice, and I have recommended them to others. You can't find a better moving company in Columbus. <br />
From average costs to expert advice, get all the answers you need to get your job done.
Wondering how much it costs to refinish a table? Get average prices, cost factors, and tips to help you budget and choose between DIY or hiring a pro.

Get transparent furniture refinishing cost information and learn average prices, cost factors, and ways to save before hiring a pro and starting your project.
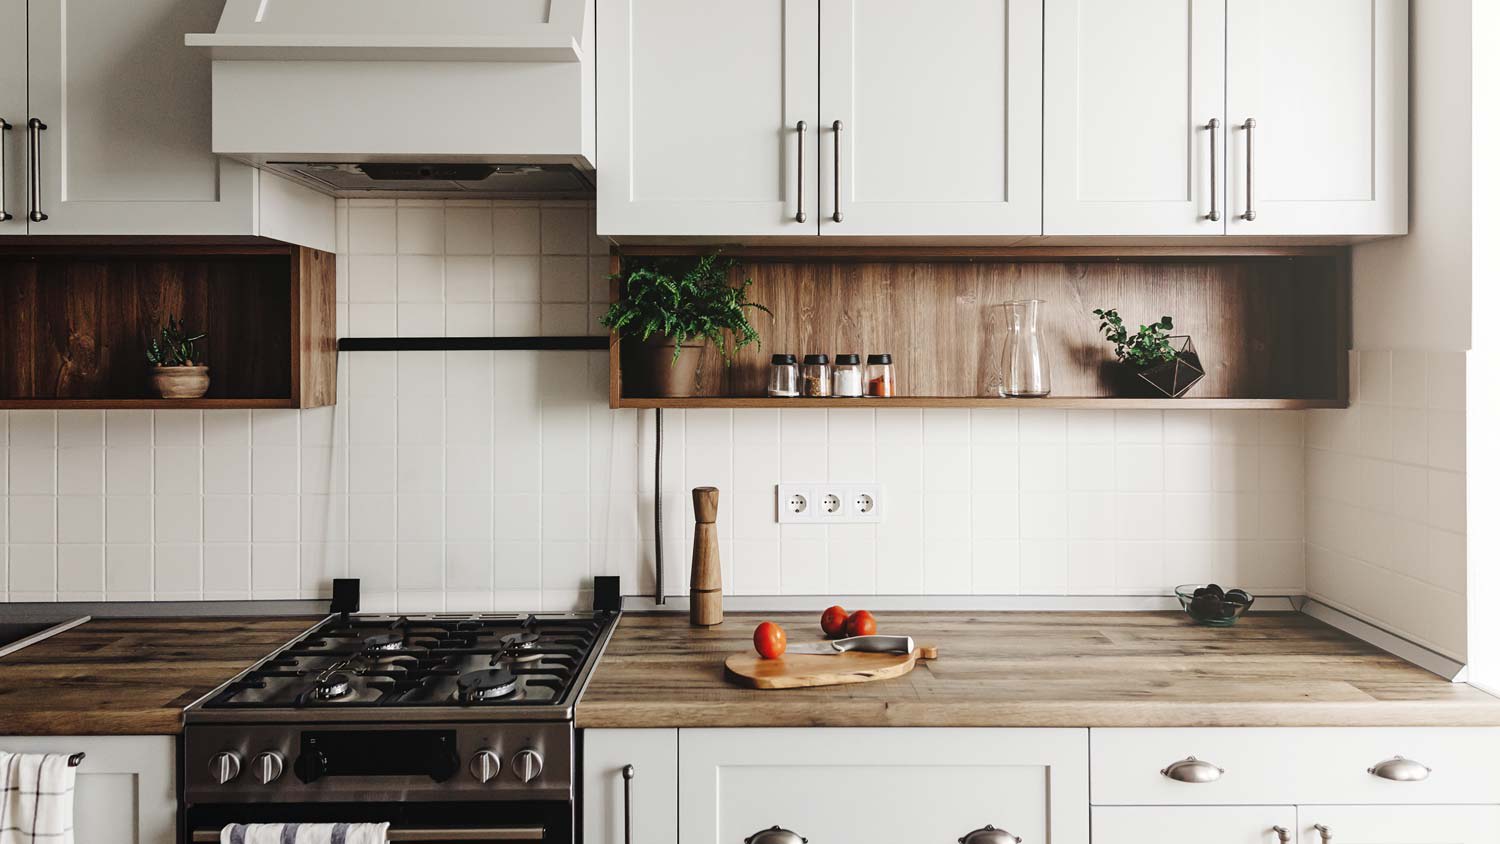
When refinishing your cabinets, you’ll need to consider the condition of your cabinets, budget, color, and stain preference. Find the cost to refinish cabinets in this guide.

Are you ready to give your kitchen a makeover? Learn how to refinish cabinets to a look you love with these top methods.
Looking to hire a furniture refinisher? Discover what to ask, qualifications to check, and how to find a reputable pro to restore your cherished pieces.
If you’re looking into refinishing some furniture, here are some common furniture refinishing questions you can expect to discuss with a pro.