
•
Discover the average roof heating cable installation cost, key price factors, and how to budget for your project. Learn how to save and what to expect.
Ice dams don’t have to be inevitable this winter


Ice dams are a common winter hazard, threatening your roof and your home with serious damage. The best way to deal with these icy threats is to prevent them from forming in the first place. Learn eight ways to avoid ice dams this winter so you can enjoy watching the snow come down instead of worrying about it.
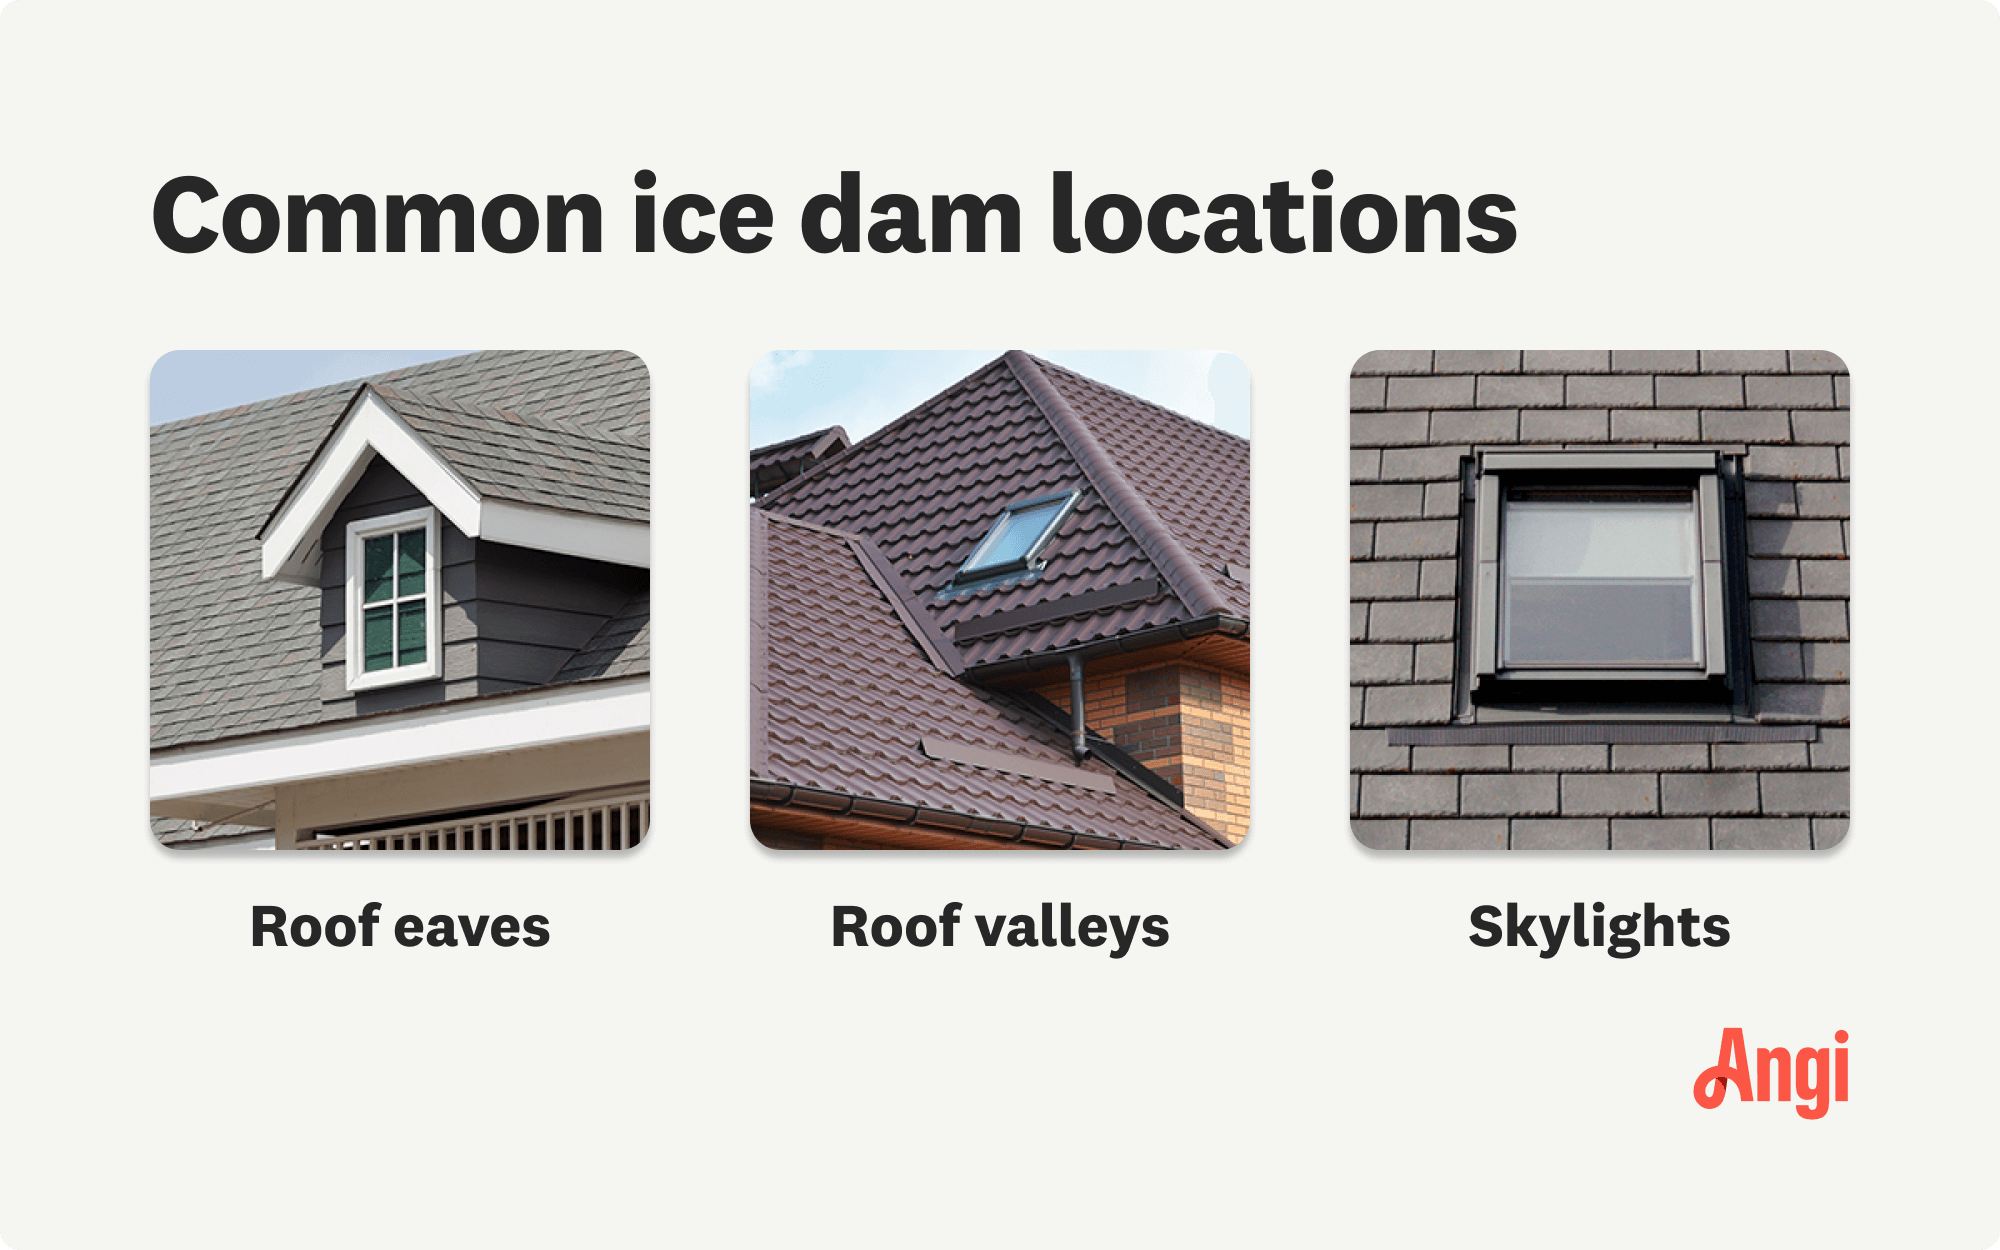
Ice dams form when snow on the roof begins to melt, often underneath still-frozen snow, then begins to travel down the roof toward the gutters. When the runoff reaches the edge of the roof, which is often much colder, it refreezes into a solid chunk of ice at the roof edge or on the gutters. Ice dams take much longer to melt than snow on the roof, so they create an obstacle that melting snow can’t move past.
Ice dams can cause roof damage because when the runoff has no way to drain off the roof, it’s forced underneath and between shingles, causing water damage or a roof leak. Water that makes its way underneath the shingles can leak into your home, damaging your attic, making its way in between walls, and causing damage to your ceilings. Fortunately, there are steps you can take to improve your chances of avoiding ice dams.

A poorly insulated attic is one of the most common causes of ice dams. When heat escapes your home through the roof, it melts the layer of snow closest to the shingles and begins the runoff process. Since lower parts of the roof aren’t being warmed by air from inside the house, they cause the runoff to freeze, creating an ice dam.
An insulation company near you can audit your attic’s insulation and improve it so you aren’t losing heat through the roof. Not only will this help you avoid ice dams, but it’ll keep your energy costs low by keeping heat inside your house where it belongs. It’s also worthwhile to check your duct insulation—you can lose heat through poorly insulated ductwork, which can raise your attic temperature.
When your attic is properly ventilated, it draws in cold winter air and expels hot air, keeping the attic cool and preventing the roof above it from heating up faster than the rest of the roof. Attic ventilation also prevents moisture problems and helps avoid mold, mildew, and fungal growth.
Like your kitchen or bathroom, your roof needs ventilation to extend its life span and control temperatures. Proper roof ventilation helps reduce HVAC costs and prevents ice dams and moisture damage. A roof repair pro can assess your roof and make recommendations.

Air leaks into the attic from access hatches, light fixtures, pipes, wiring, ducting, and other fixtures can cause warm air to leak into the attic and start the melting process on the roof. Seal your attic by closing up any leaks using the appropriate material—caulk, spray foam, and plastic-backed insulation can all be used, depending on what you’re sealing up.

Reducing the amount of snow on your roof, particularly at the edges, can help prevent ice dams. Roof raking after every six inches of snow can remove drainage obstacles and promote a more even rate of snow melt. Use a rake that’s made for roof snow removal with an extendable handle, and only rake what you can reach while standing on the ground. You can also hire a roof cleaner to do the work for you.
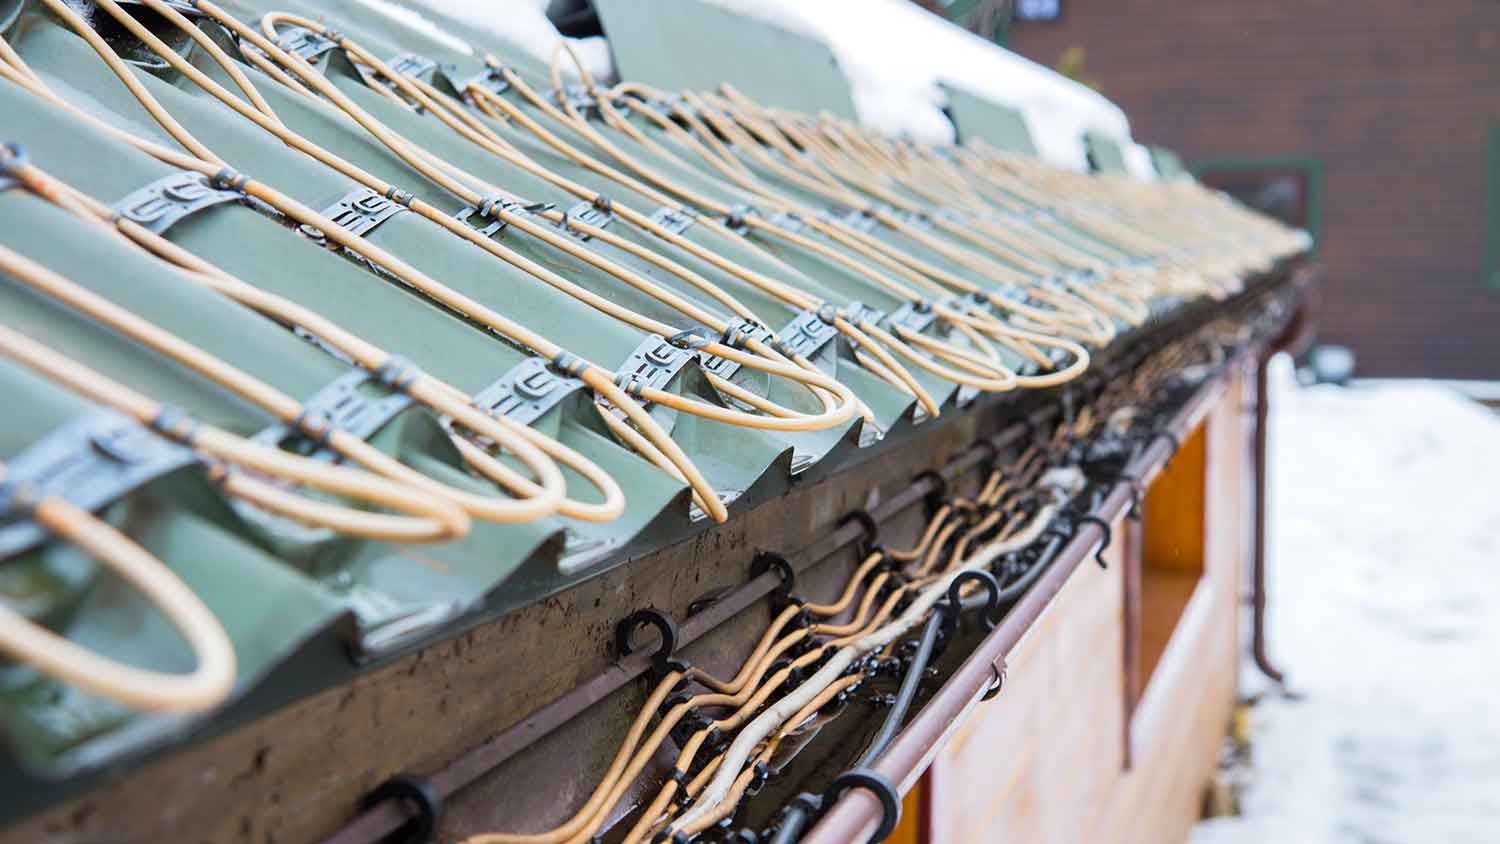
Roof heat cables are electrical cables installed along the roof edge and in the gutters to keep the surface warm and prevent water from freezing. When installed properly using safety-rated products, roof heat cables are not dangerous—although they may cause a significant increase in your electric bill. The added energy cost and the heating cable installation cost are worth it to avoid the very costly damage that ice dams can cause.
Ice and water shield is a waterproof material installed under your roof’s shingles or panels that protects the decking from water damage. In areas prone to severe winter weather, installing ice and water shield along the roof edge and in roof valleys can help prevent ice dams.
Your gutters and downspouts are critical to your roof’s drainage system, and if they aren’t working properly in the winter, you’re more likely to get ice dams. When gutters are filled with leaves, ice, or debris, runoff from the roof is blocked from draining, causing water to back up and freeze into ice dams.
After fall leaves come down, clear your gutters to remove debris and get them ready for winter. Installing heat cables can help keep water in gutters from freezing once temperatures drop, and if you find ice already frozen and blocking your gutters, using ice melt tablets—not rock salt— can melt ice in gutters, helping to get water draining smoothly again.
Ensuring your roof and gutters are in good shape before winter comes is the best way to prevent ice dams and other winter roof problems. A local roofer can inspect your roof and recommend any necessary repairs before the freezing weather appears. Clear your gutters and downspouts and ensure they’re in working order, inspect your attic to check for leaks and confirm that ventilation is working properly, and double check that no insulation needs to be replaced.
Staying on top of these maintenance tasks before the first snowflakes fall can save you a lot of the time, expense, and aggravation that come along with ice dams.
Your attic should be similar temperature to outside, which eliminates the melting on the roof which then will eliminate the ice problems. Keeping your attic cold through insulation on the attic floor and properly functioning ventilation is the solution.
From average costs to expert advice, get all the answers you need to get your job done.
Discover the average roof heating cable installation cost, key price factors, and how to budget for your project. Learn how to save and what to expect.

Knowing the signs of an ice dam on your roof can help prevent serious damage. Learn what to look for to spot a problem early.

Ice dams can cause serious roof damage. Learn why a metal roof can help you avoid ice dams and the problems they cause.

Say farewell to gutter-clogging ice that ruins roofs and puts a damper on enjoying the cold weather. Learn how to remove ice dams yourself in this guide.

Ice dams can cause roof and water damage and even structural damage to your home. Learn what causes them and how to prevent them to avoid property damage.

It’s a common myth that gutters cause ice dams, but any roof with snow on it can form ice dams. Learn how to protect your roof this winter.