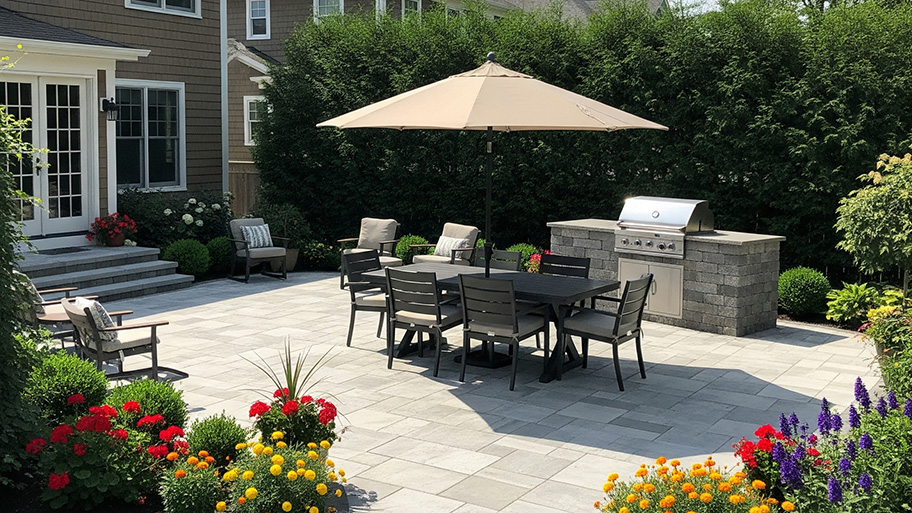
The cost to pressure wash a patio depends on the size of the surface and the type of patio you have, as well as whether you DIY or hire a pressure washing pro.
Those bricks aren’t gonna clean themselves


Brick houses are popular for a reason, as this material is easy on the eyes, offers immense durability, and helps maintain comfortable interior temperatures. So what’s the downside? Brick attracts oil stains, algae, mold, and all sorts of pollutants, so it requires regular cleaning and maintenance. Pressure washers offer a quick way to clean exterior walls, but are these tools just for concrete, or can brick join the party? Keep reading to learn how to pressure wash brick properly so you don’t damage your beautiful home.
Before we get to the how to, let’s discuss the if you should. You can use a pressure washer on brick—with some caveats. Brick is nearly as durable as concrete, so it shrugs off robust pressure levels, but older brick houses struggle with consistent high pressure. The same goes for grout and related building materials.
Keep an eye on the operating pressure, and don’t go higher than 800 PSI. Brick is porous, and less water is better, so don’t linger in any location for too long and keep moving to avoid damage from constant high pressure. Finally, don’t use a pressure washer on painted brick unless you plan on springing for a new paint job. Follow these rules, and your neighbors will envy your power washer before and after photos. Now let’s get to some instructions.

There are a few things you’ll want to take care of before you turn on that pressure washer and start spraying.
Before you even think about pressure washing, repair any obvious issues with the brick, and allow it to fully cure. This likely means patching worn-out or damaged mortar joints using mortar mix and a trowel. Don’t forget to let the mortar harden for a week or so before cleaning the brick. This process prevents water from seeping behind the brick and encouraging mold to form.
Most hardware stores rent them out for $35 to $175 per day. Buying one outright costs anywhere from $100 to $1,000, depending on the features. Remember, you don’t need an extremely powerful tool here, as this process requires a low PSI of 100 to 800. This helps save some money.
Pressure washers emit copious amounts of water, so protect nearby fixtures before starting. Cover all exterior electrical outlets and ports, like the one connected to your air conditioning unit. Plastic bags and rubber bands do the trick here. Follow this up by covering windows, trim, doorways, and other exterior openings.
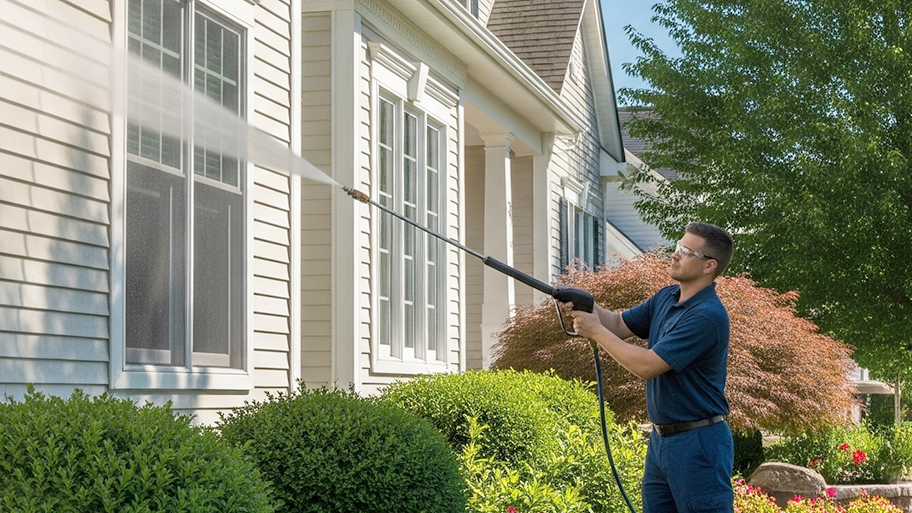
Even when using low-pressure nozzles, as you should when cleaning brick, this process can still cause injury. Gear up with safety glasses and close-toed shoes that won’t slip on wet surfaces.
Now the fun starts. Add the appropriate detergent to the pressure washer. Choose a dedicated pressure washer soap that advertises being safe for brick. Use a low-pressure nozzle and apply the soapy water to the brick walls using the machine’s lowest setting.
Spray detergent on the brick going from bottom to top. If you’re cleaning paving stones instead of walls, spray from one end of the sidewalk to the other. Let the detergent sit for a few minutes before moving on to the next step.
Once you let the detergent work its magic, rinse the bricks. Again, use a low-pressure nozzle, though you have more wiggle room here regarding the PSI. Just don’t go over 800, and you should be fine. Spray in horizontal strokes with a width of about three to four feet apart. As for nozzle distance, consult the manufacturer’s instructions, as each pressure washer is different. Work slowly and carefully, keeping an eye on any resistant stains or dirt buildup. Mark those locations for the next steps.
If there’s still some lingering detergent residue, rinse it off with a standard garden hose. This includes the actual bricks and any nearby surfaces downstream of the bricks. Use the hose to thoroughly clean the driveway, nearby walkways, the patio, soil, and even landscape fixtures.
Some stains are going to linger even after being blasted with pressurized water. Let the brick dry for a day or so, and then spot-clean these areas to reduce the presence of mildew, algae, rust, and mold. Use a soft-bristled nylon brush or a sponge, along with clean water and spray detergent. Remove any surface debris with the sponge and move onto the brush to tackle tough stains. If you find green or black growth on exterior brick, particularly in shady areas, use a mixture of bleach and water. Wear a mask to prevent ingesting noxious bleach fumes. Once finished, rinse everything off with the garden hose and let it dry.
This is only a DIY-friendly job if you have access to a pressure washer and are confident in your ability to use one. Otherwise, hire a local pressure washing company to complete the project. Pressure washing is not difficult, per se, but mistakes lead to property damage and even personal injury. These machines are rather expensive to purchase, and renting one is more budget-friendly than hiring a pro, but not by much. Hiring a pro to pressure wash your home costs $200 to $420.
From average costs to expert advice, get all the answers you need to get your job done.

The cost to pressure wash a patio depends on the size of the surface and the type of patio you have, as well as whether you DIY or hire a pressure washing pro.

The cost to pressure wash a house in Los Angeles, CA, is based on the project type and surface area. Plan your budget here.

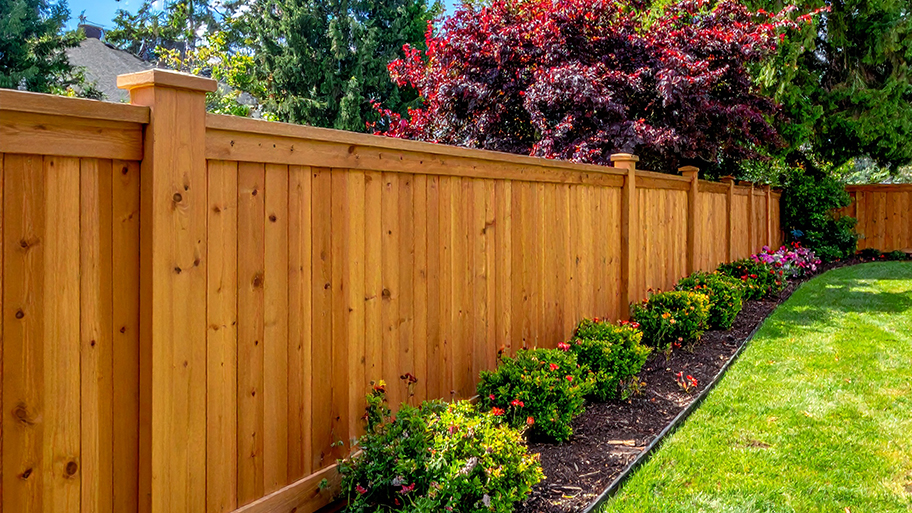
Pressure washing your fence can restore its appearance and keep your home looking great. Learn how much it costs based on factors like square footage and material.

Investing in a pressure washer can make it easier to keep your house looking great. Use this pressure washer buying guide to learn all about how to choose the right pressure washer for your home.

Who power washes houses? Hiring a power washing professional is the best choice, as this expert has the know-how and equipment to do the job correctly.

Find the root cause for why your pressure washer is not building pressure and how to fix it. You can resolve simple issues in minutes.